Category Archives: Projects

Don’t be afraid to get your hands dirty!

#the100dayproject

100 Days of Making

(photo via The Great Discontent)

When I saw details for #the100dayproject  (via EliseJoy),  I knew I had to participate! I’m always the first to get behind any sort of daily challenge. (I’m also probably the first to fall behind half way through…no judging!)

The premise behind this project is that you make something daily for 100 days. Can you just imagine what all you could get done by making something every day for 100 days?? I wasn’t sure if I wanted to make something or do something…I just knew I wanted to participate somehow.

#100DayProjectI actually had quite a bit of trouble deciding which project I wanted to tackle. I made a rather lengthy list and then deliberated for hours on what to do. By deliberated, I mean practically stressed over it and sent waaay too many text messages to Amanda for her opinion.

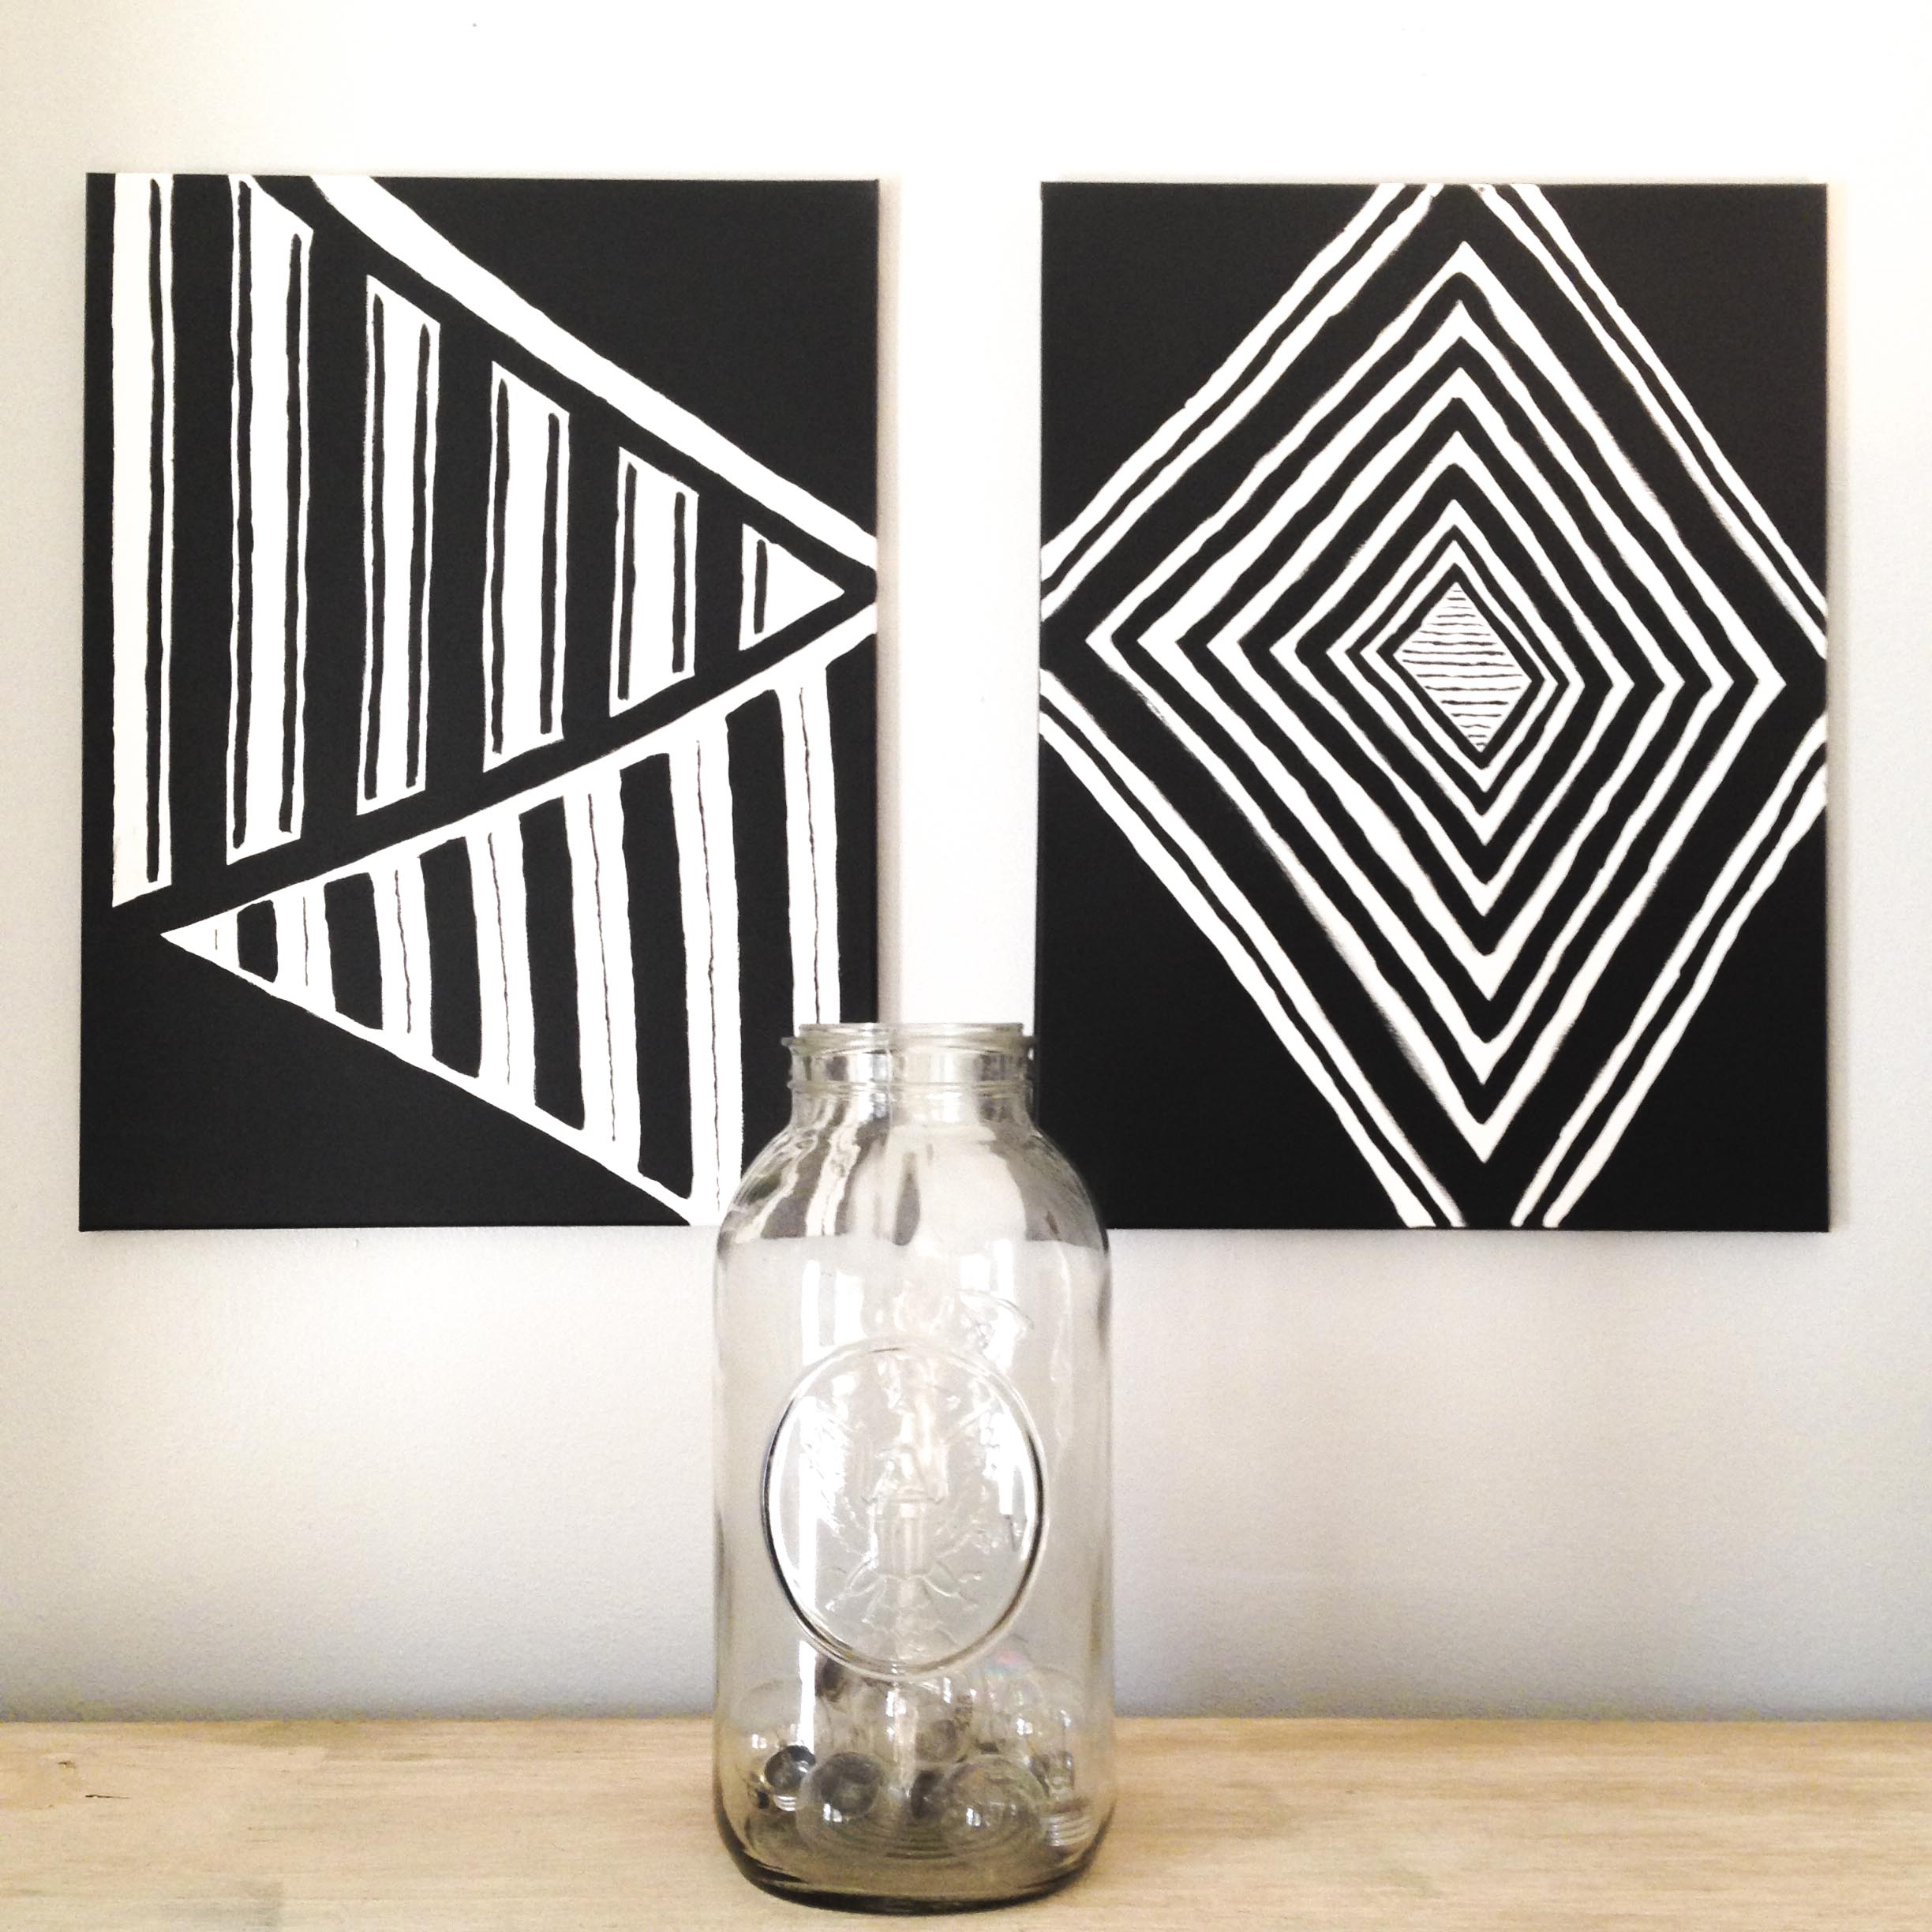
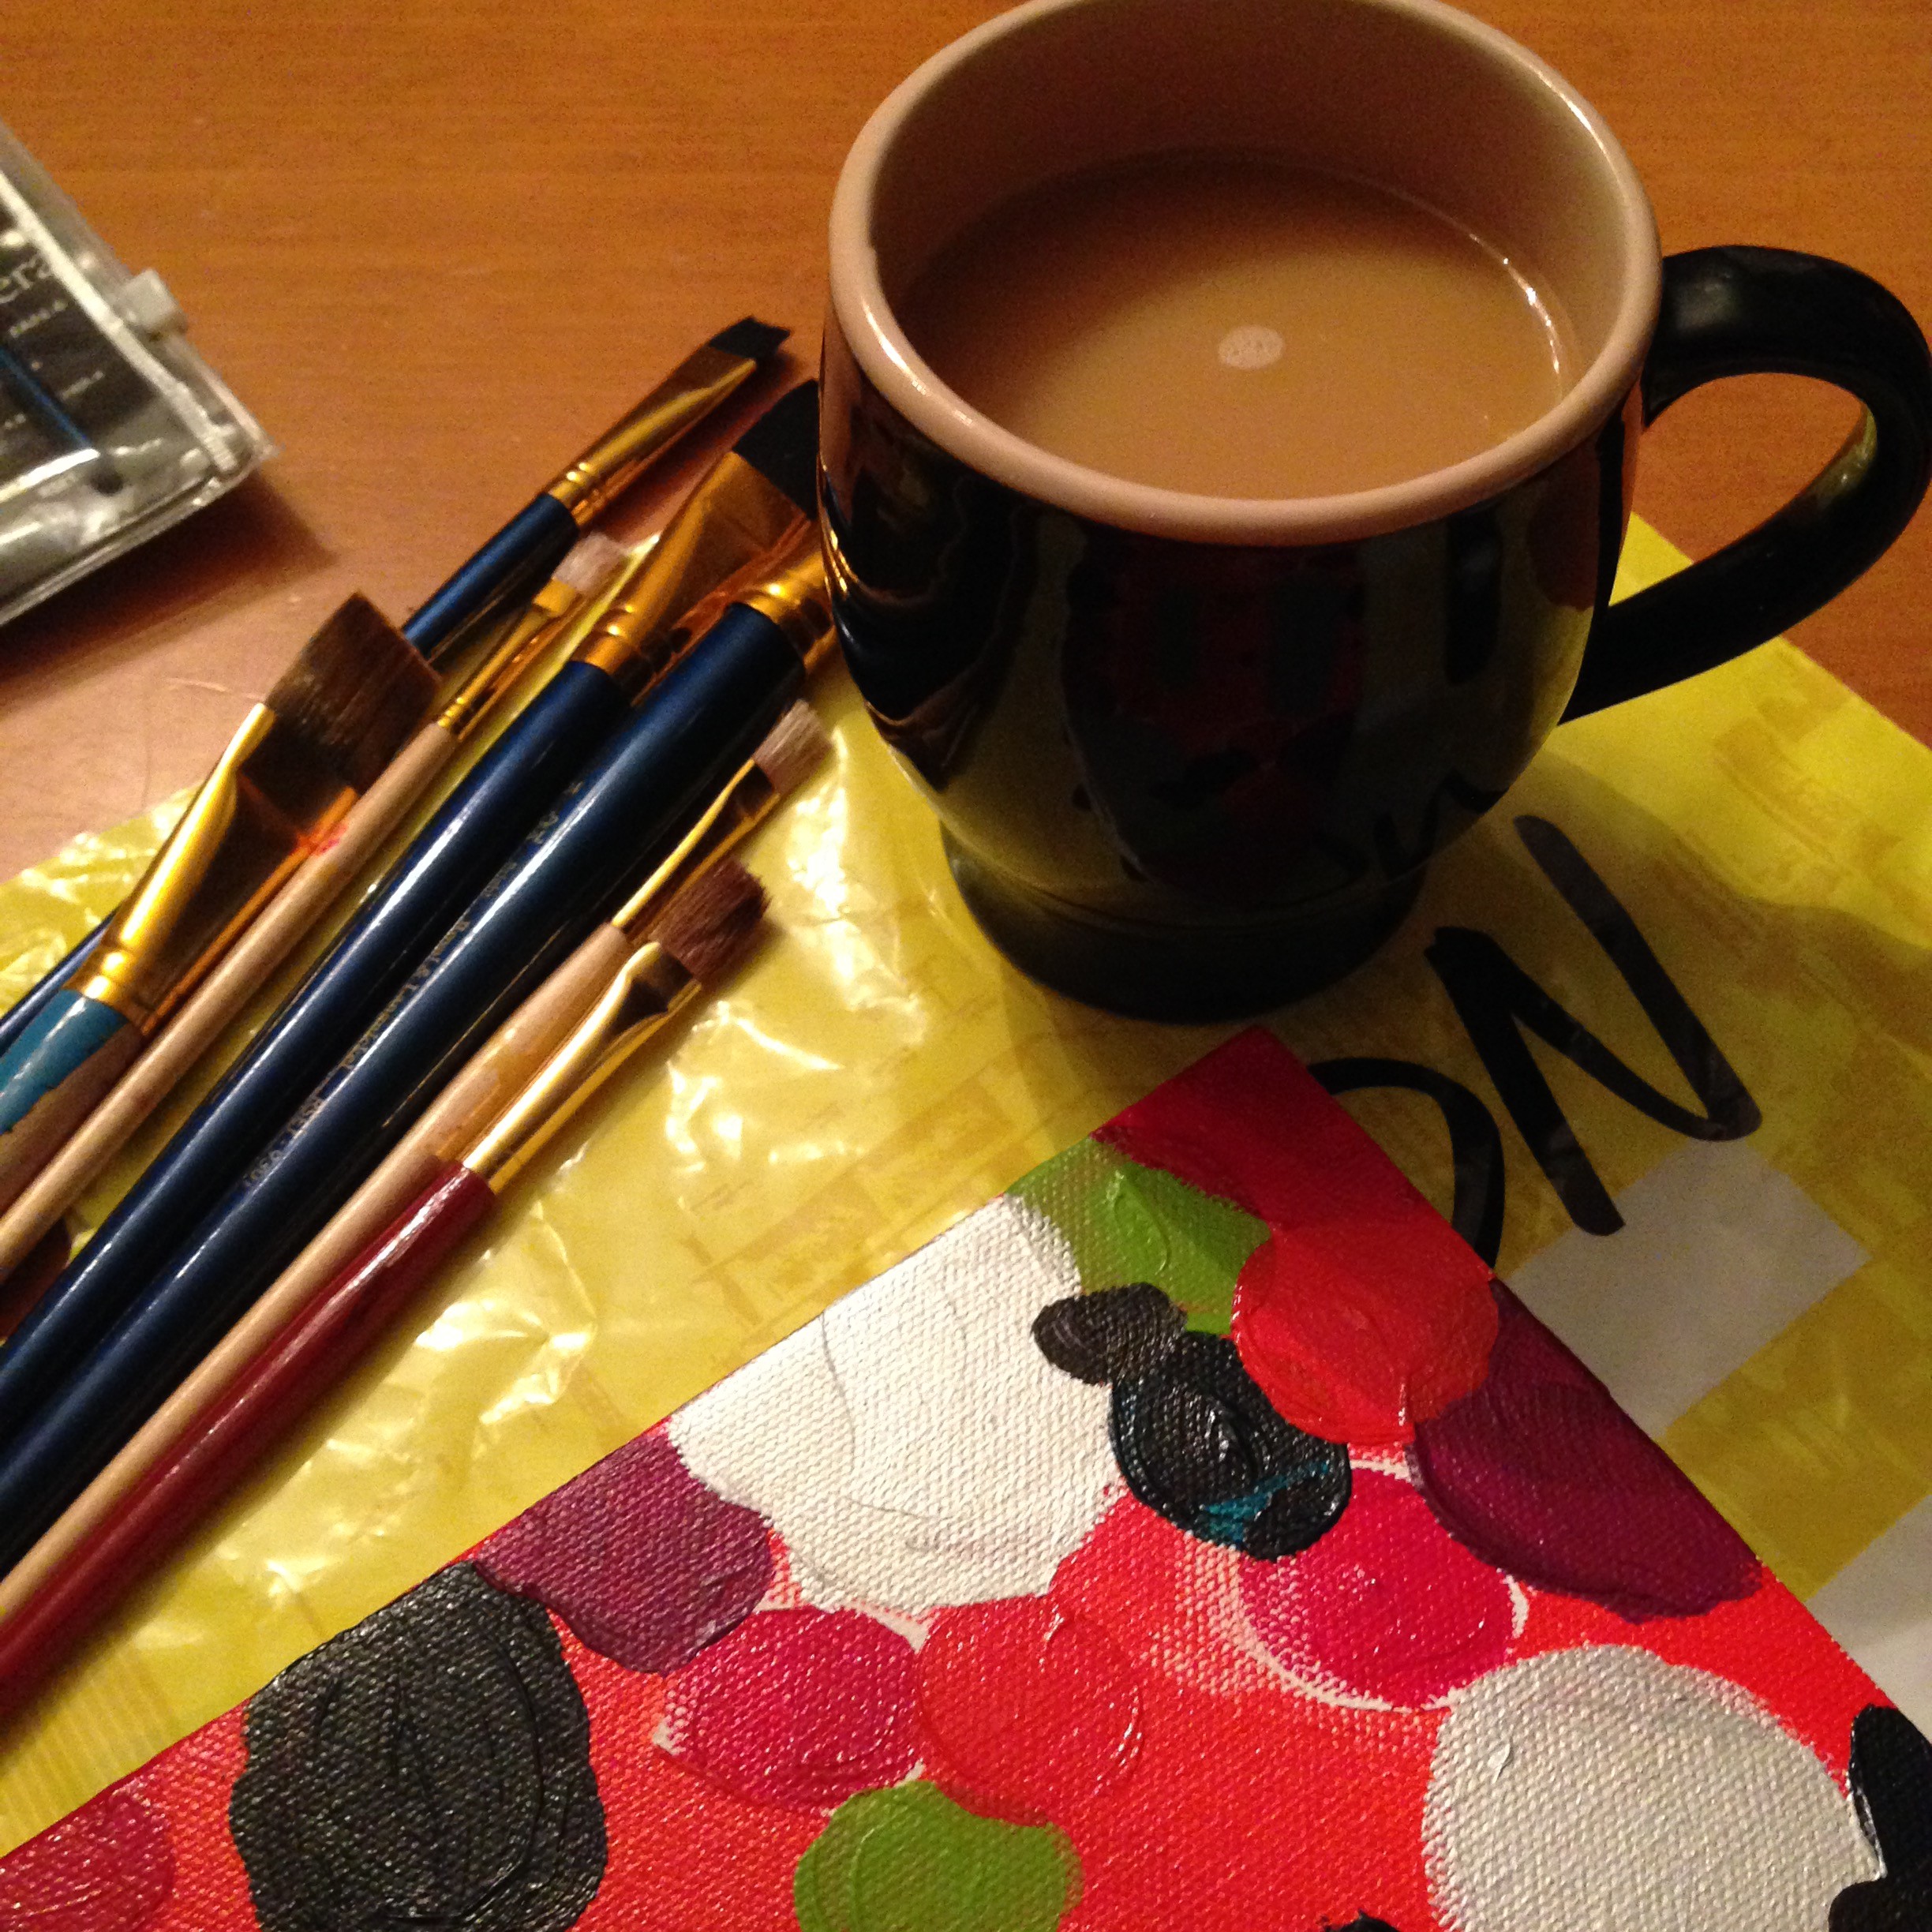
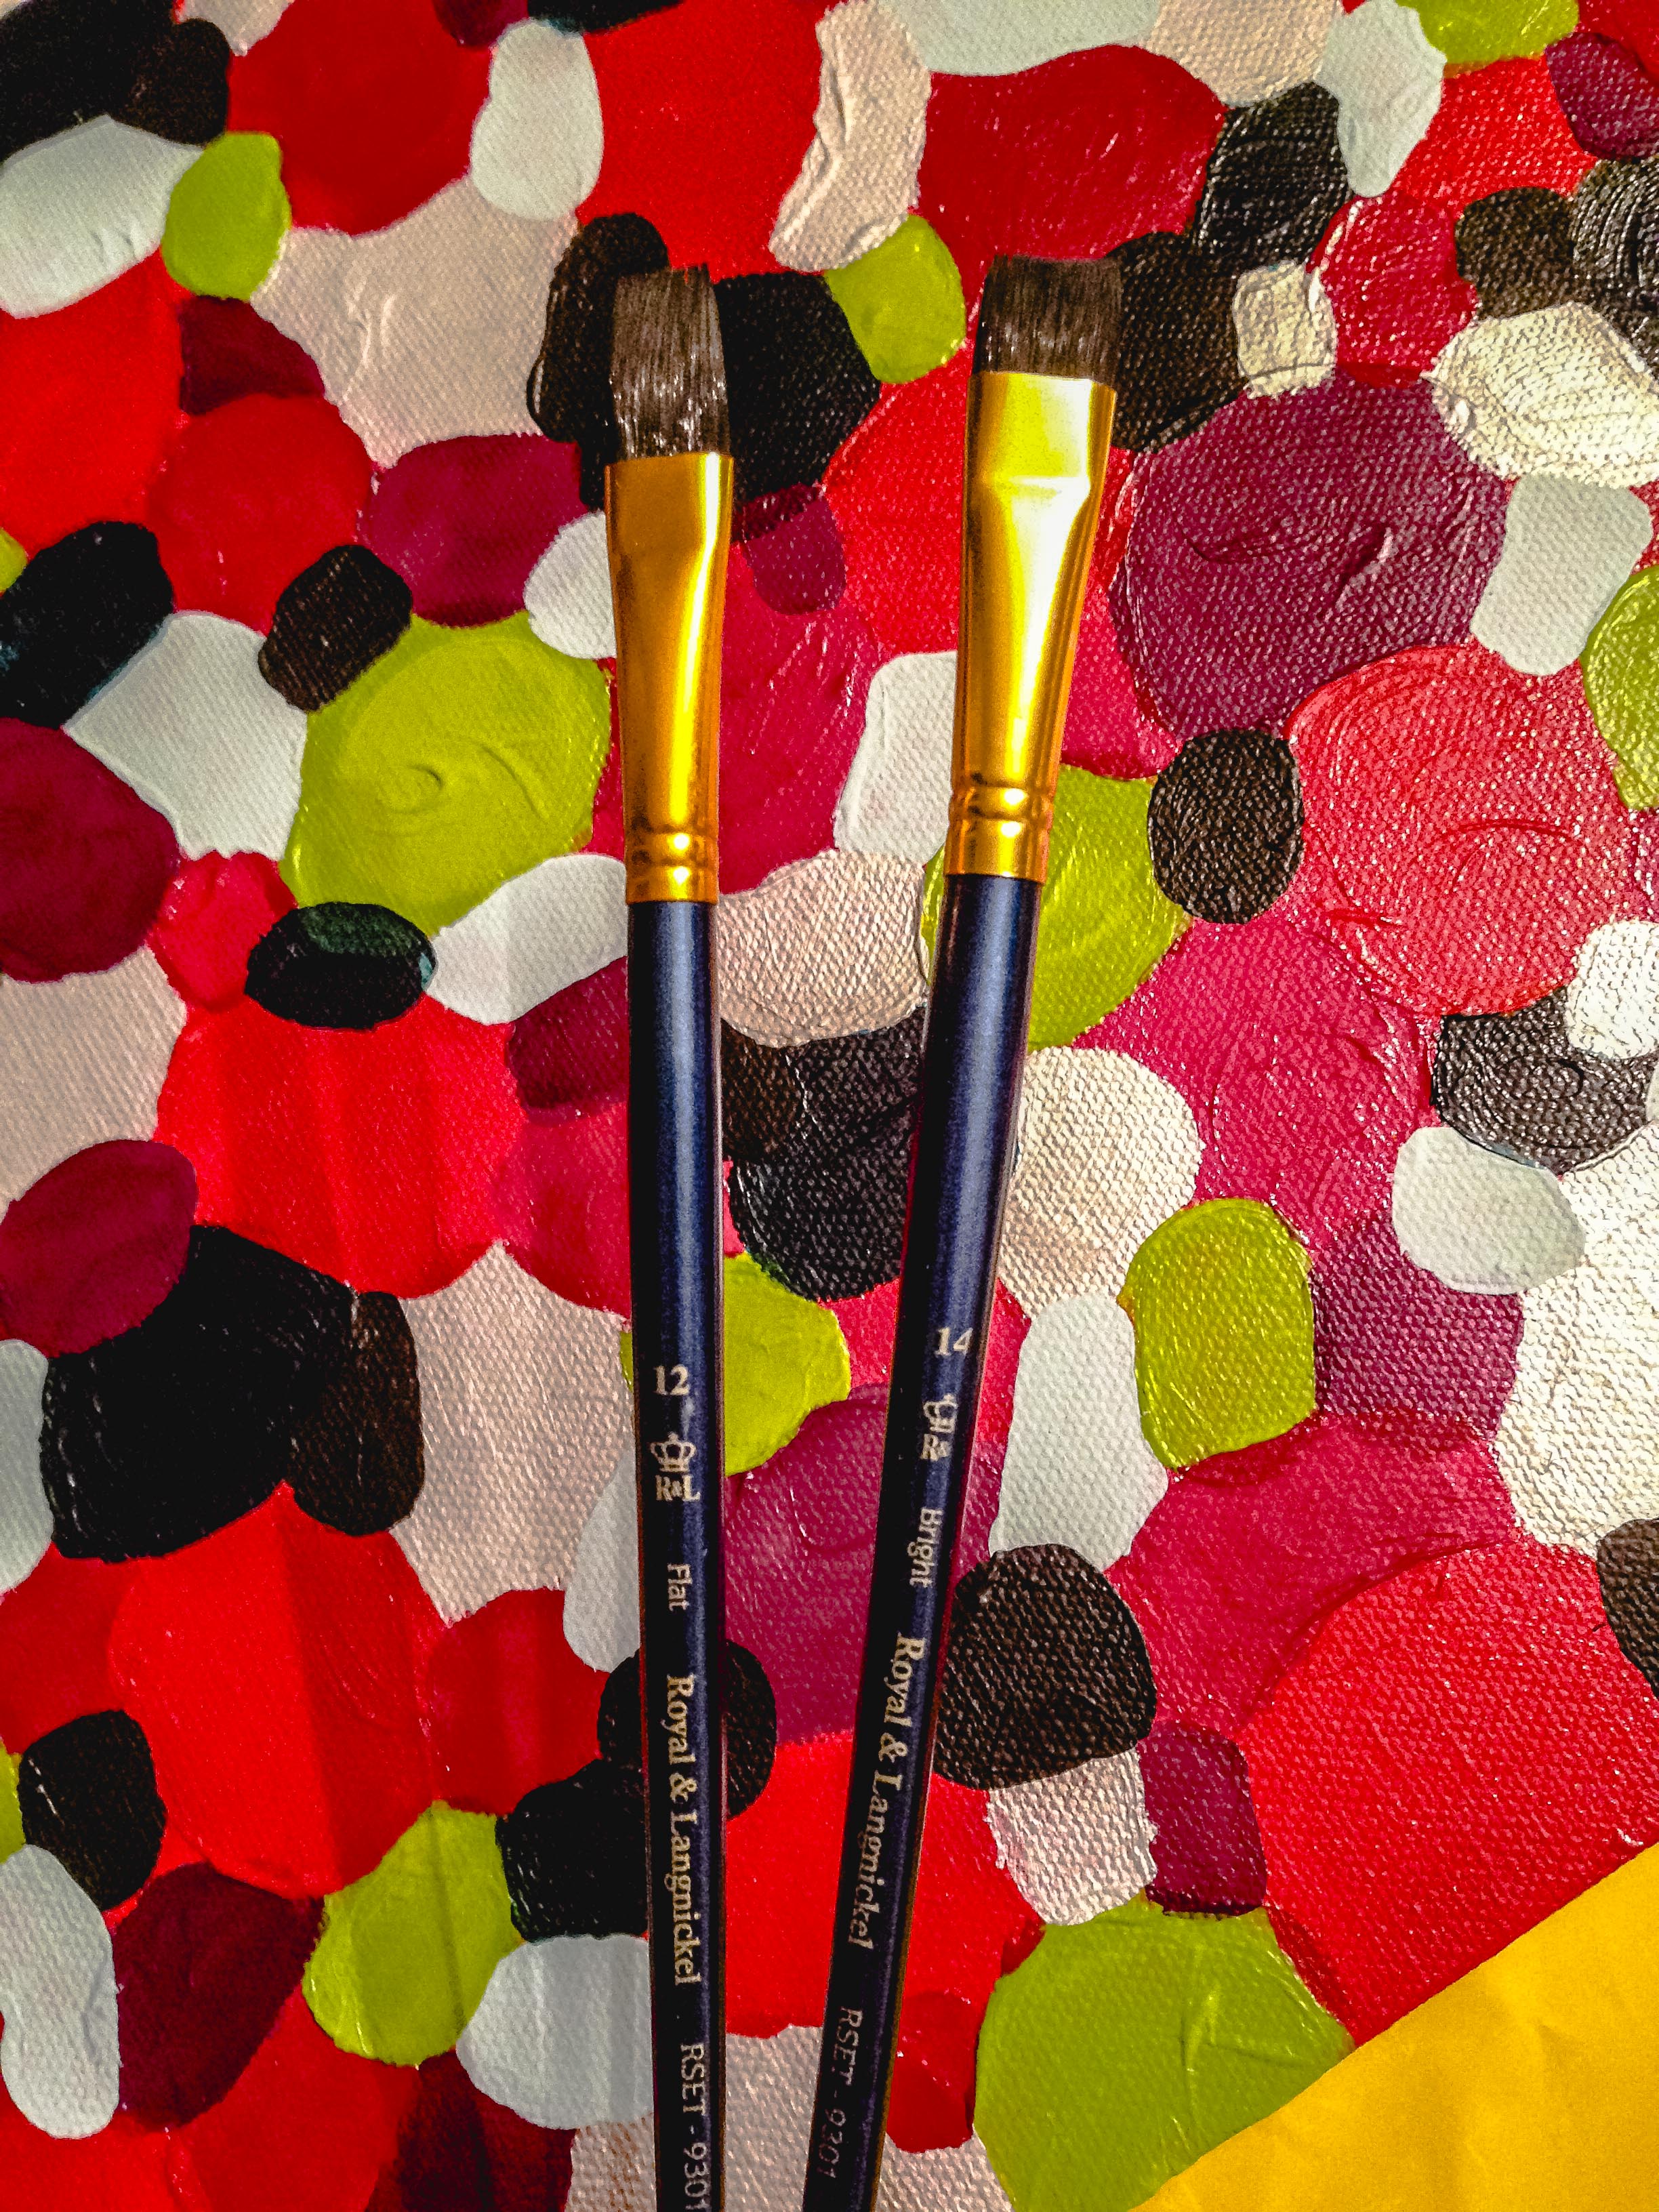
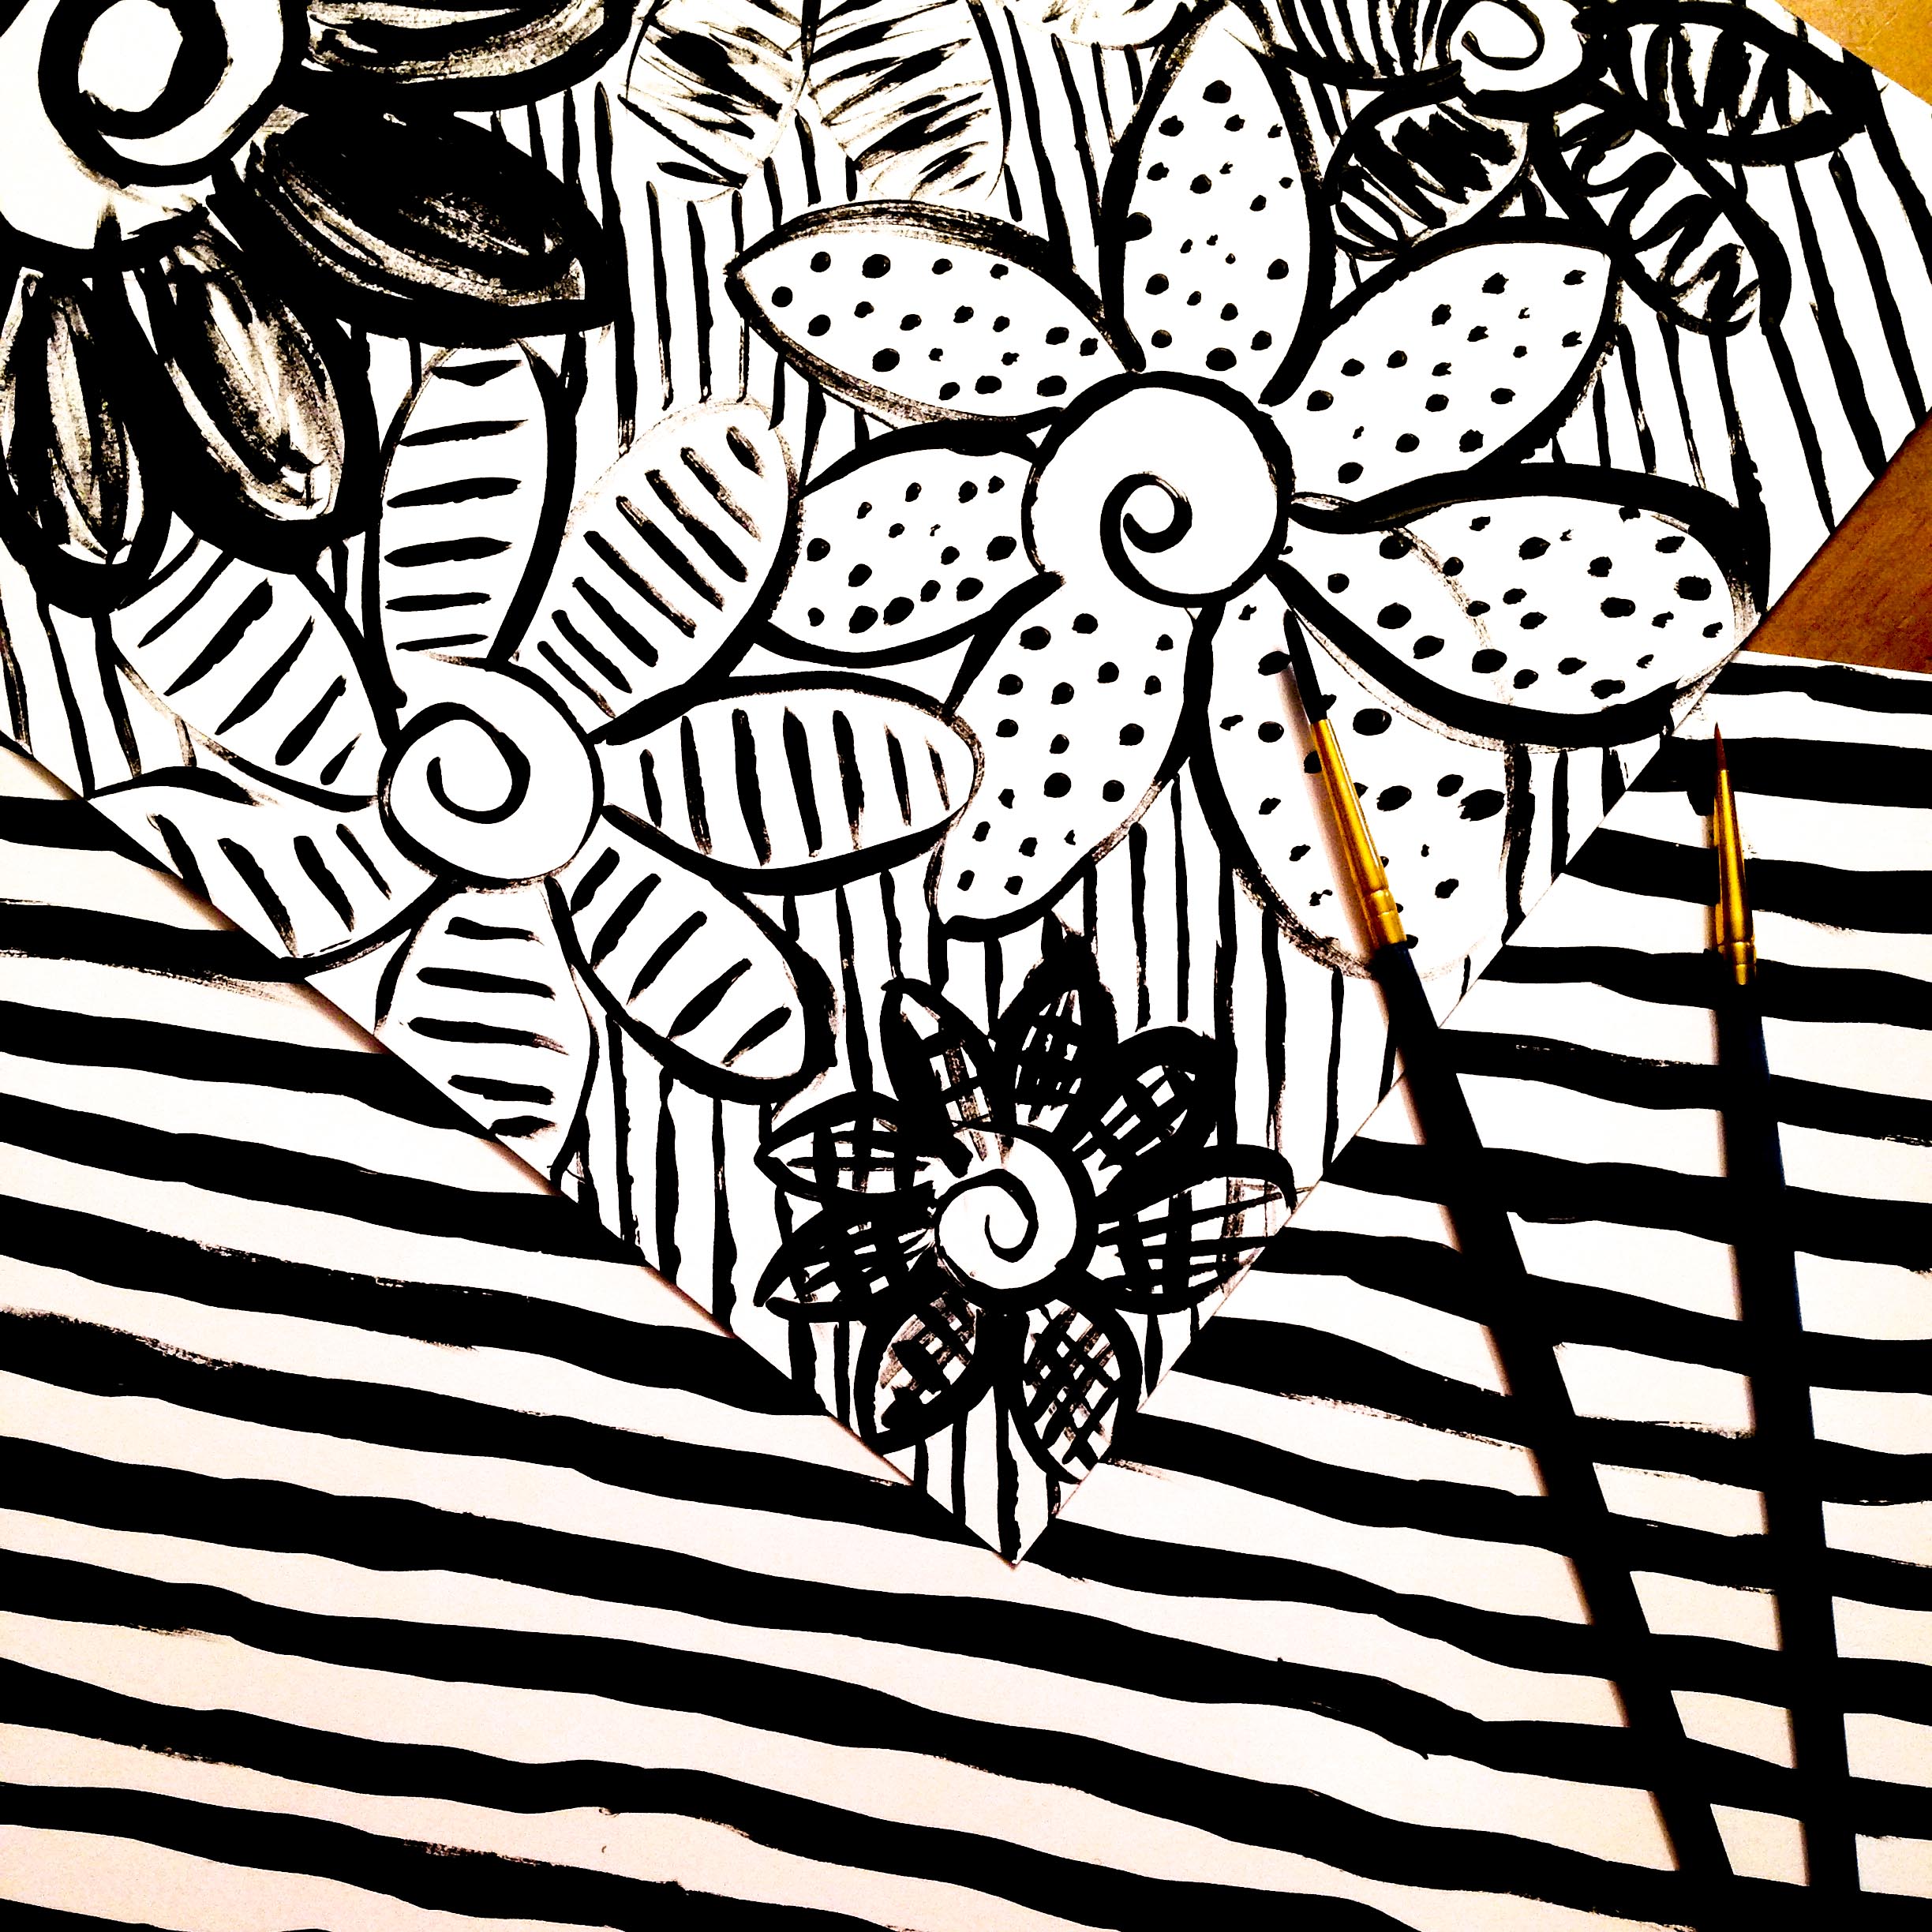
Nonetheless, I finally made a decision! I decided to go with 100 days of crafty things! I wanted something that had a bit of flexibility, so I left my topic a bit open ended. (I didn’t want to have to work on the same type of project every day.) As of right now, I envision my daily tasks being a variety of things. Some days I’ll paint. Some days I might finish decorating an area of my home, make something new, or learn a new, crafty skill.

Regardless of what actual task I complete each day, my focus is to actually do something fulfilling each day. Most days I am completely exhausted by the time I get home from work, and I tend to put off all of the fun projects I’d like to do. By participating in the 100 days project, I’m hoping to reserve a bit of time each day for creating/doing something fun.

gift wrappinghandmade braceletCinderella quoteWhat have I done so far?
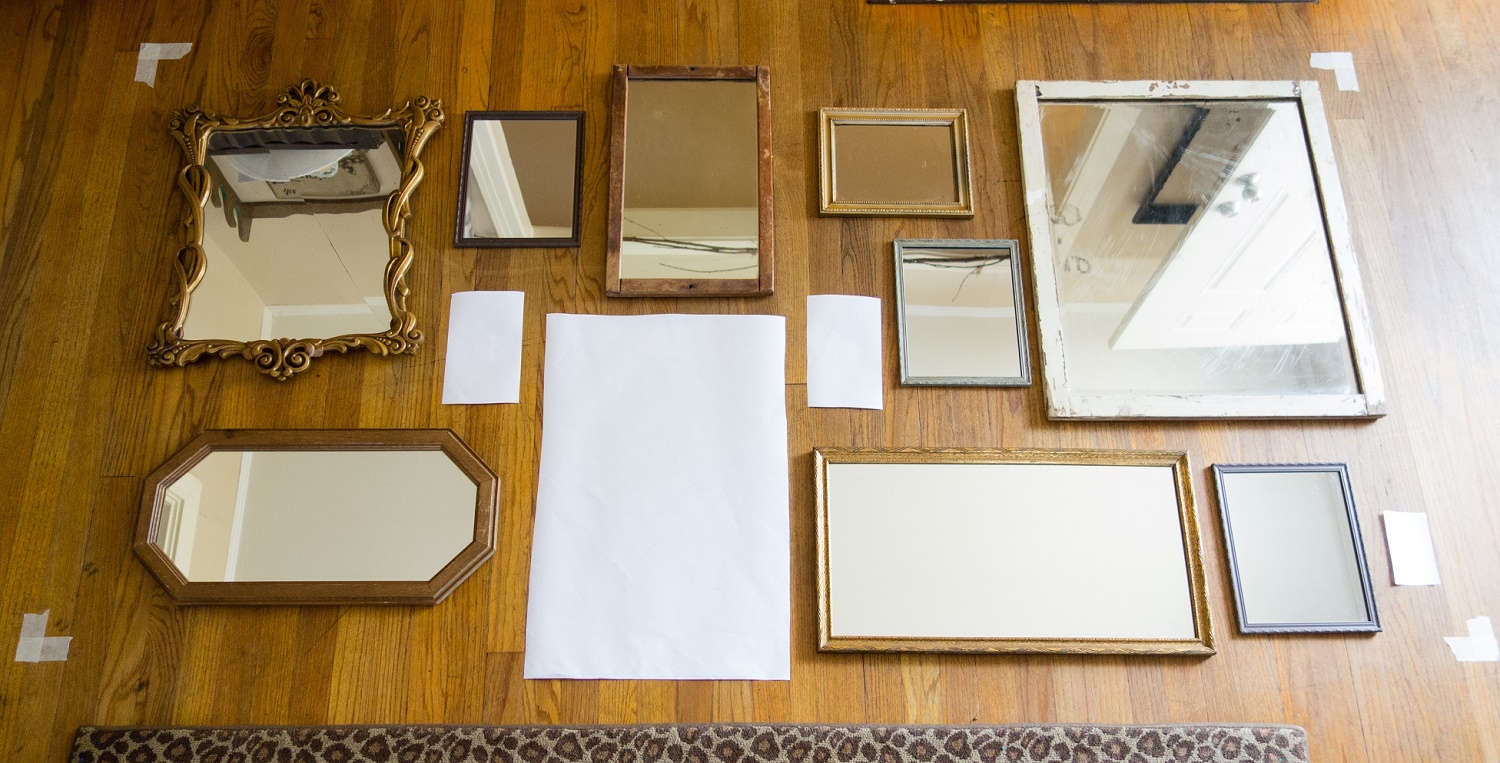
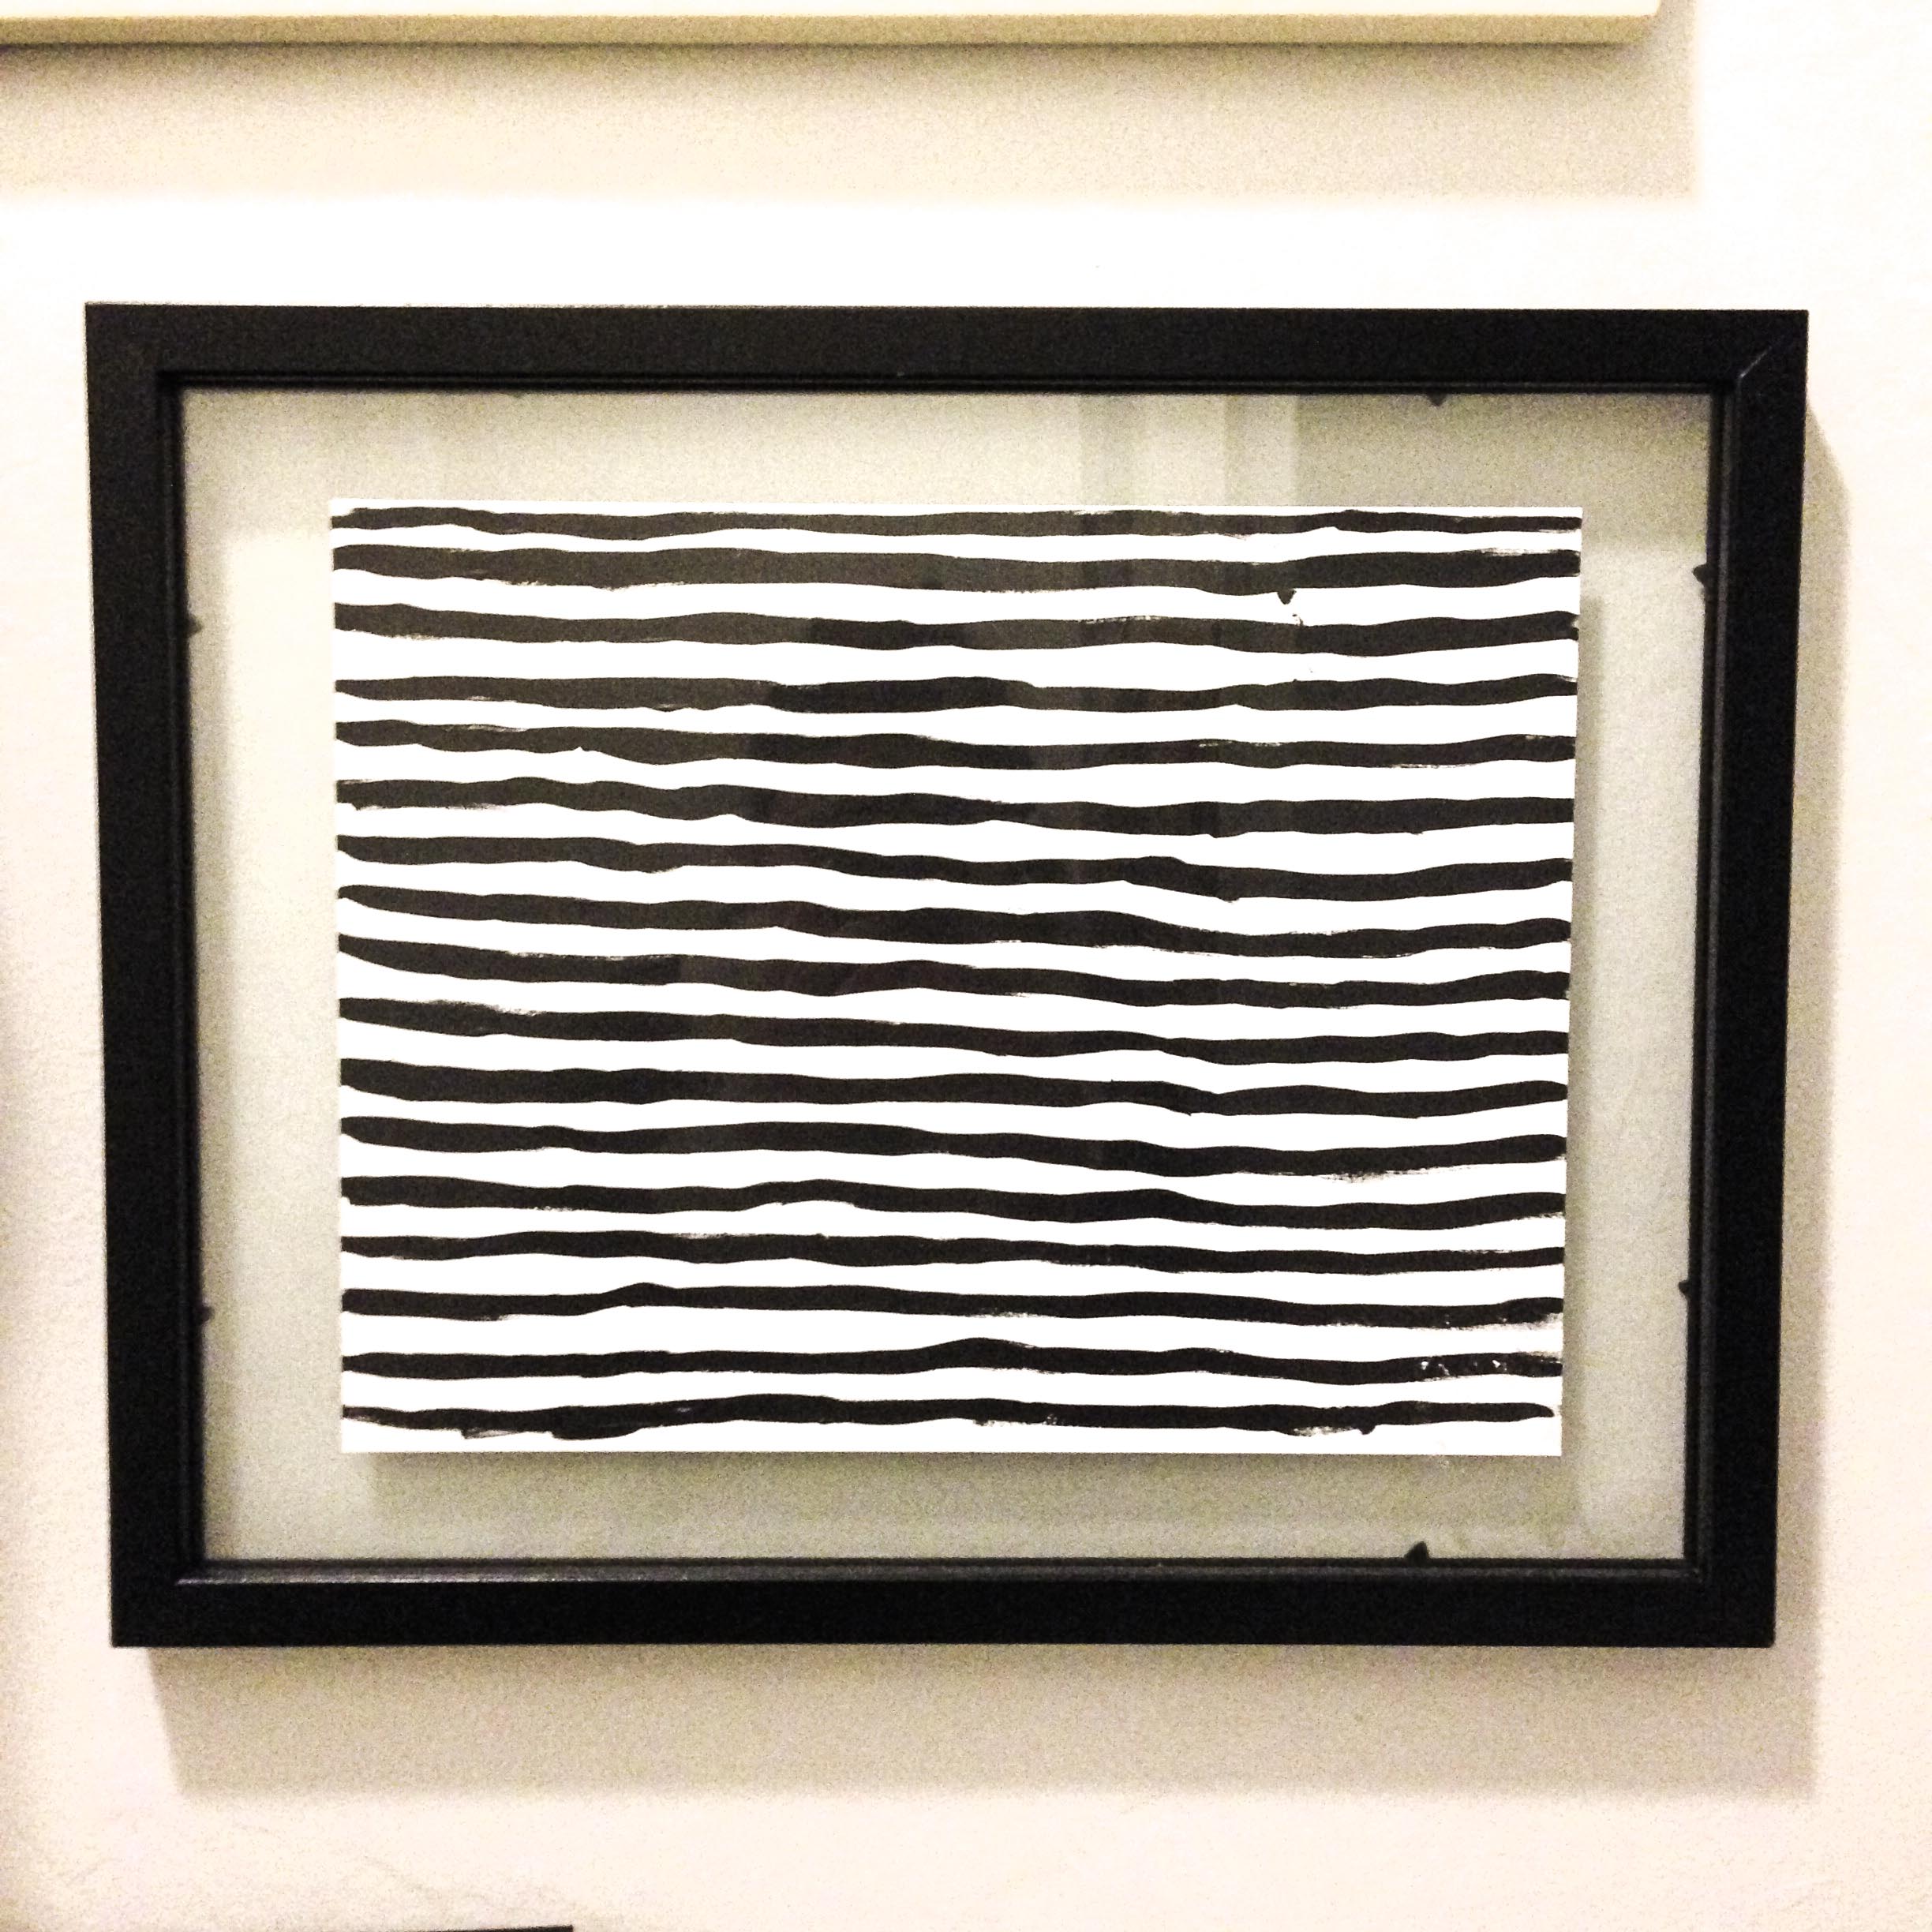
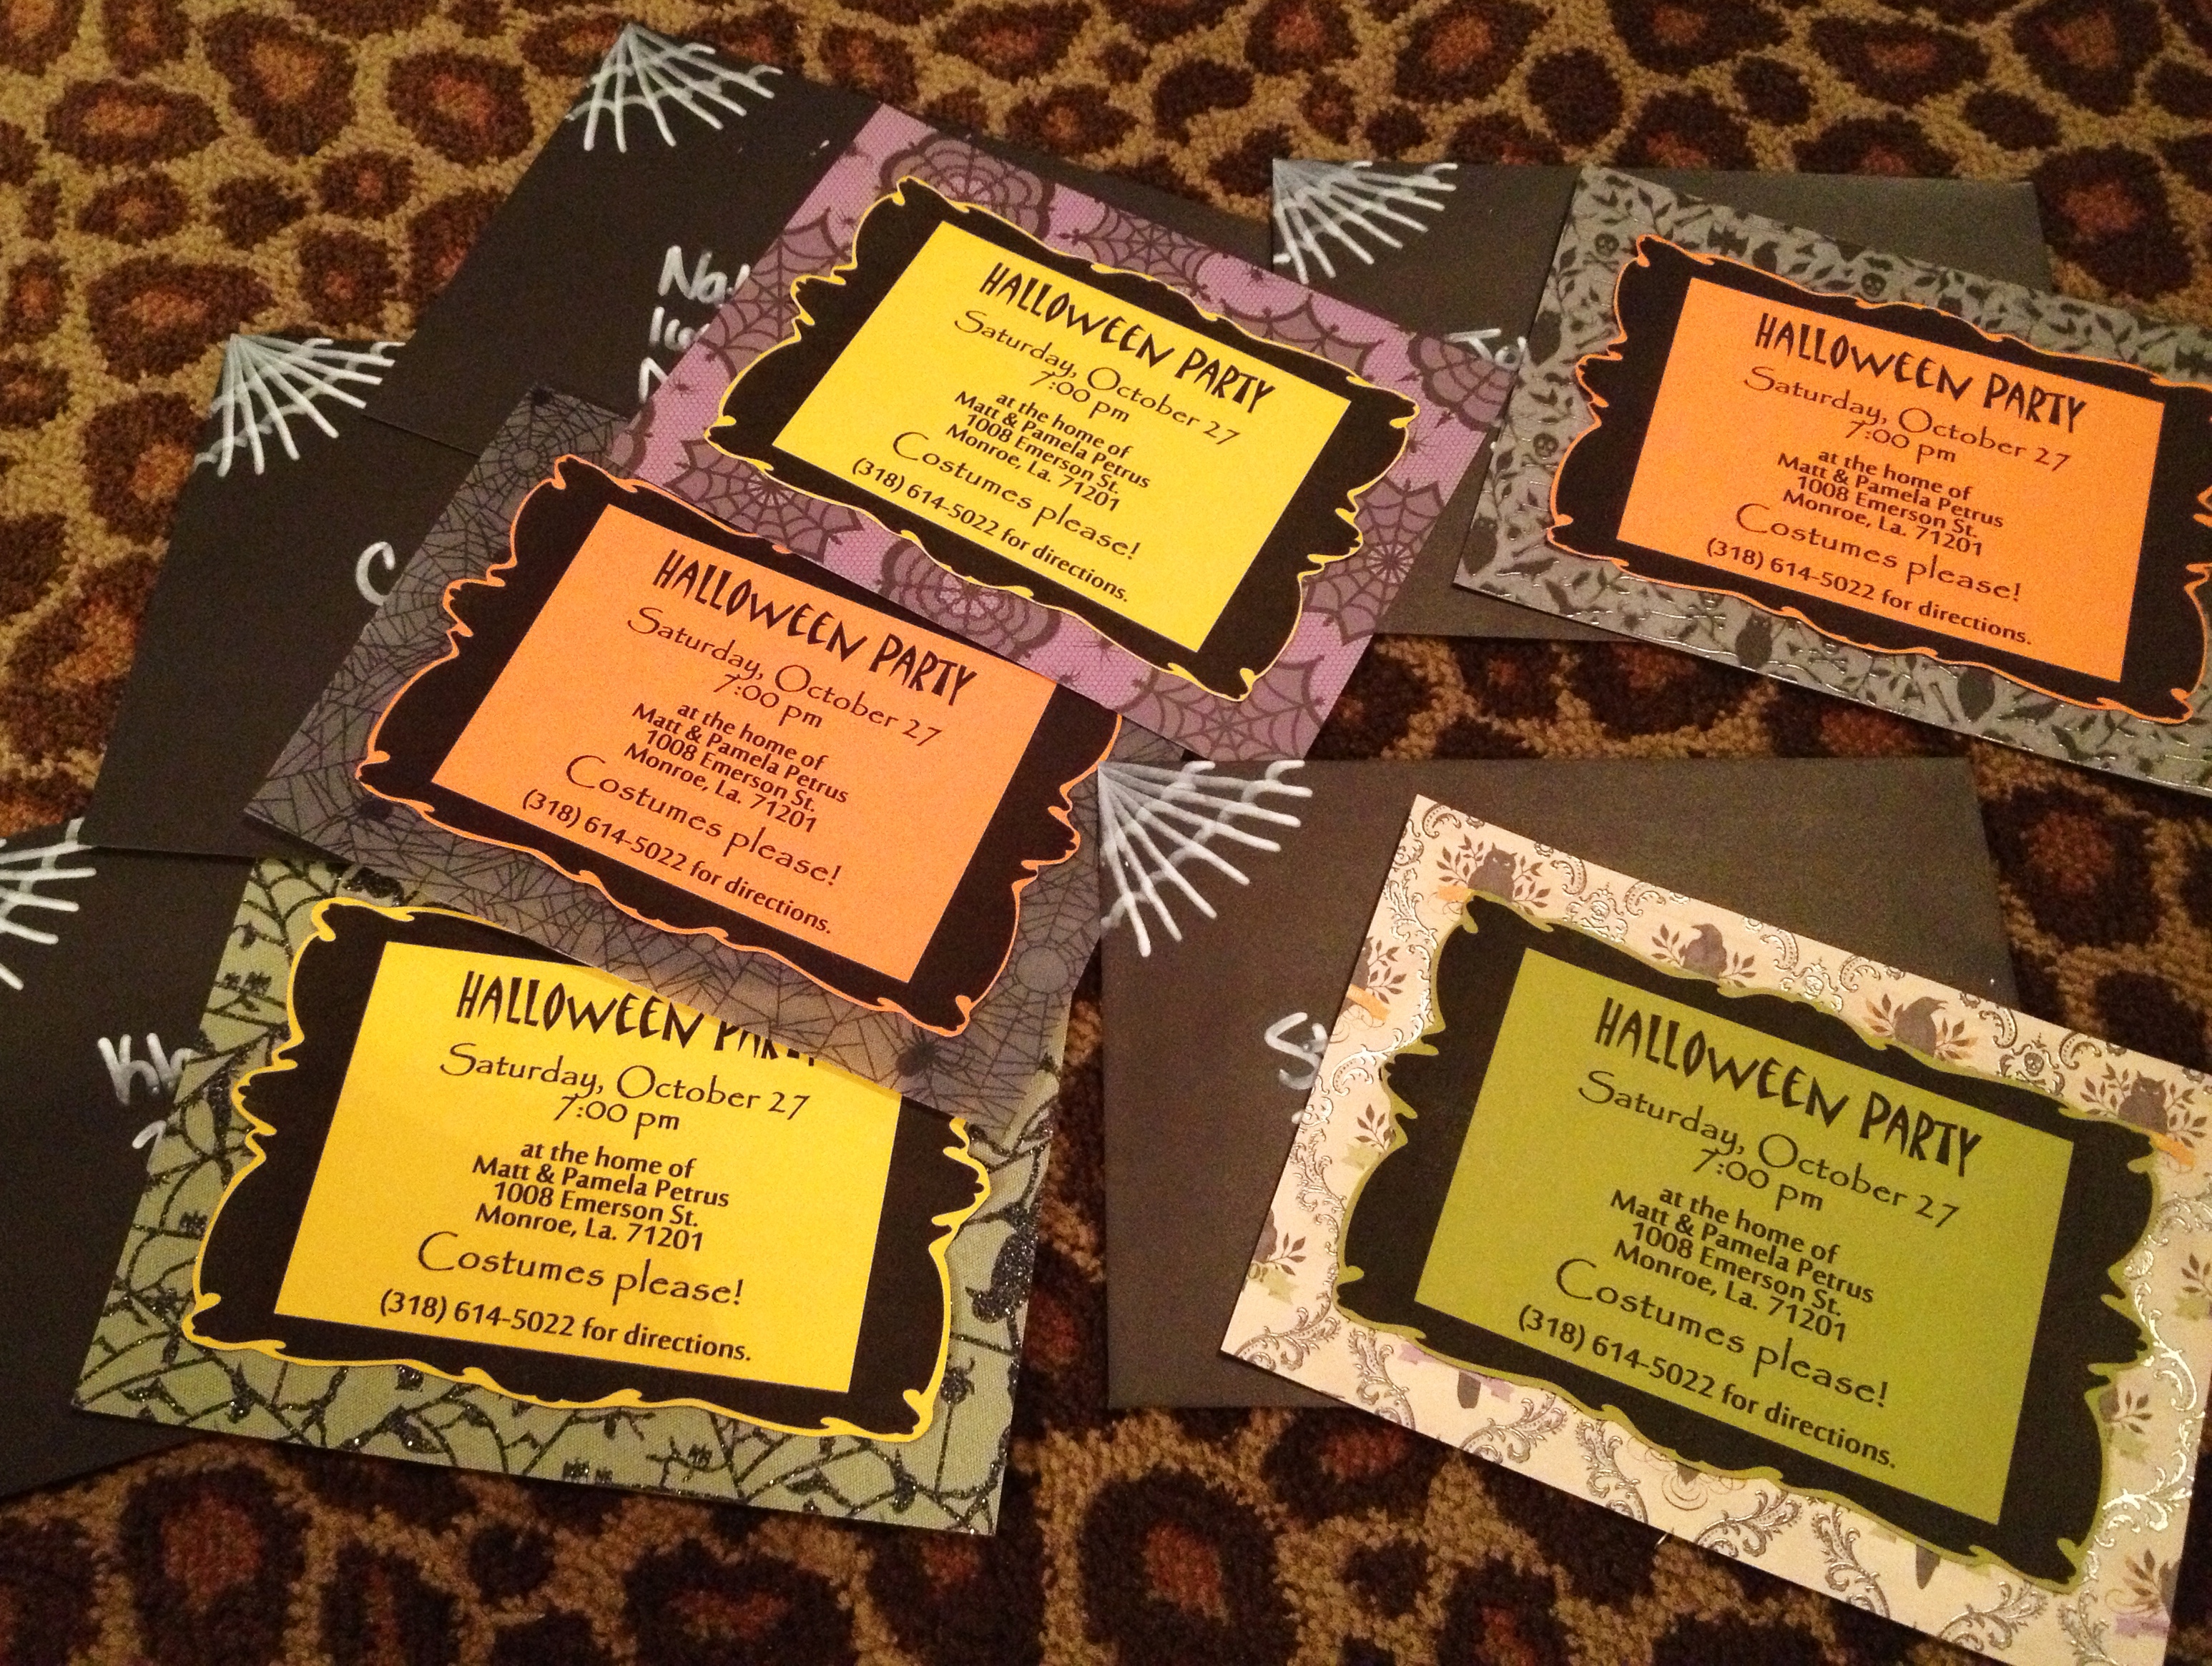
Day 1: wrapped a wedding present and made a gift tag for it
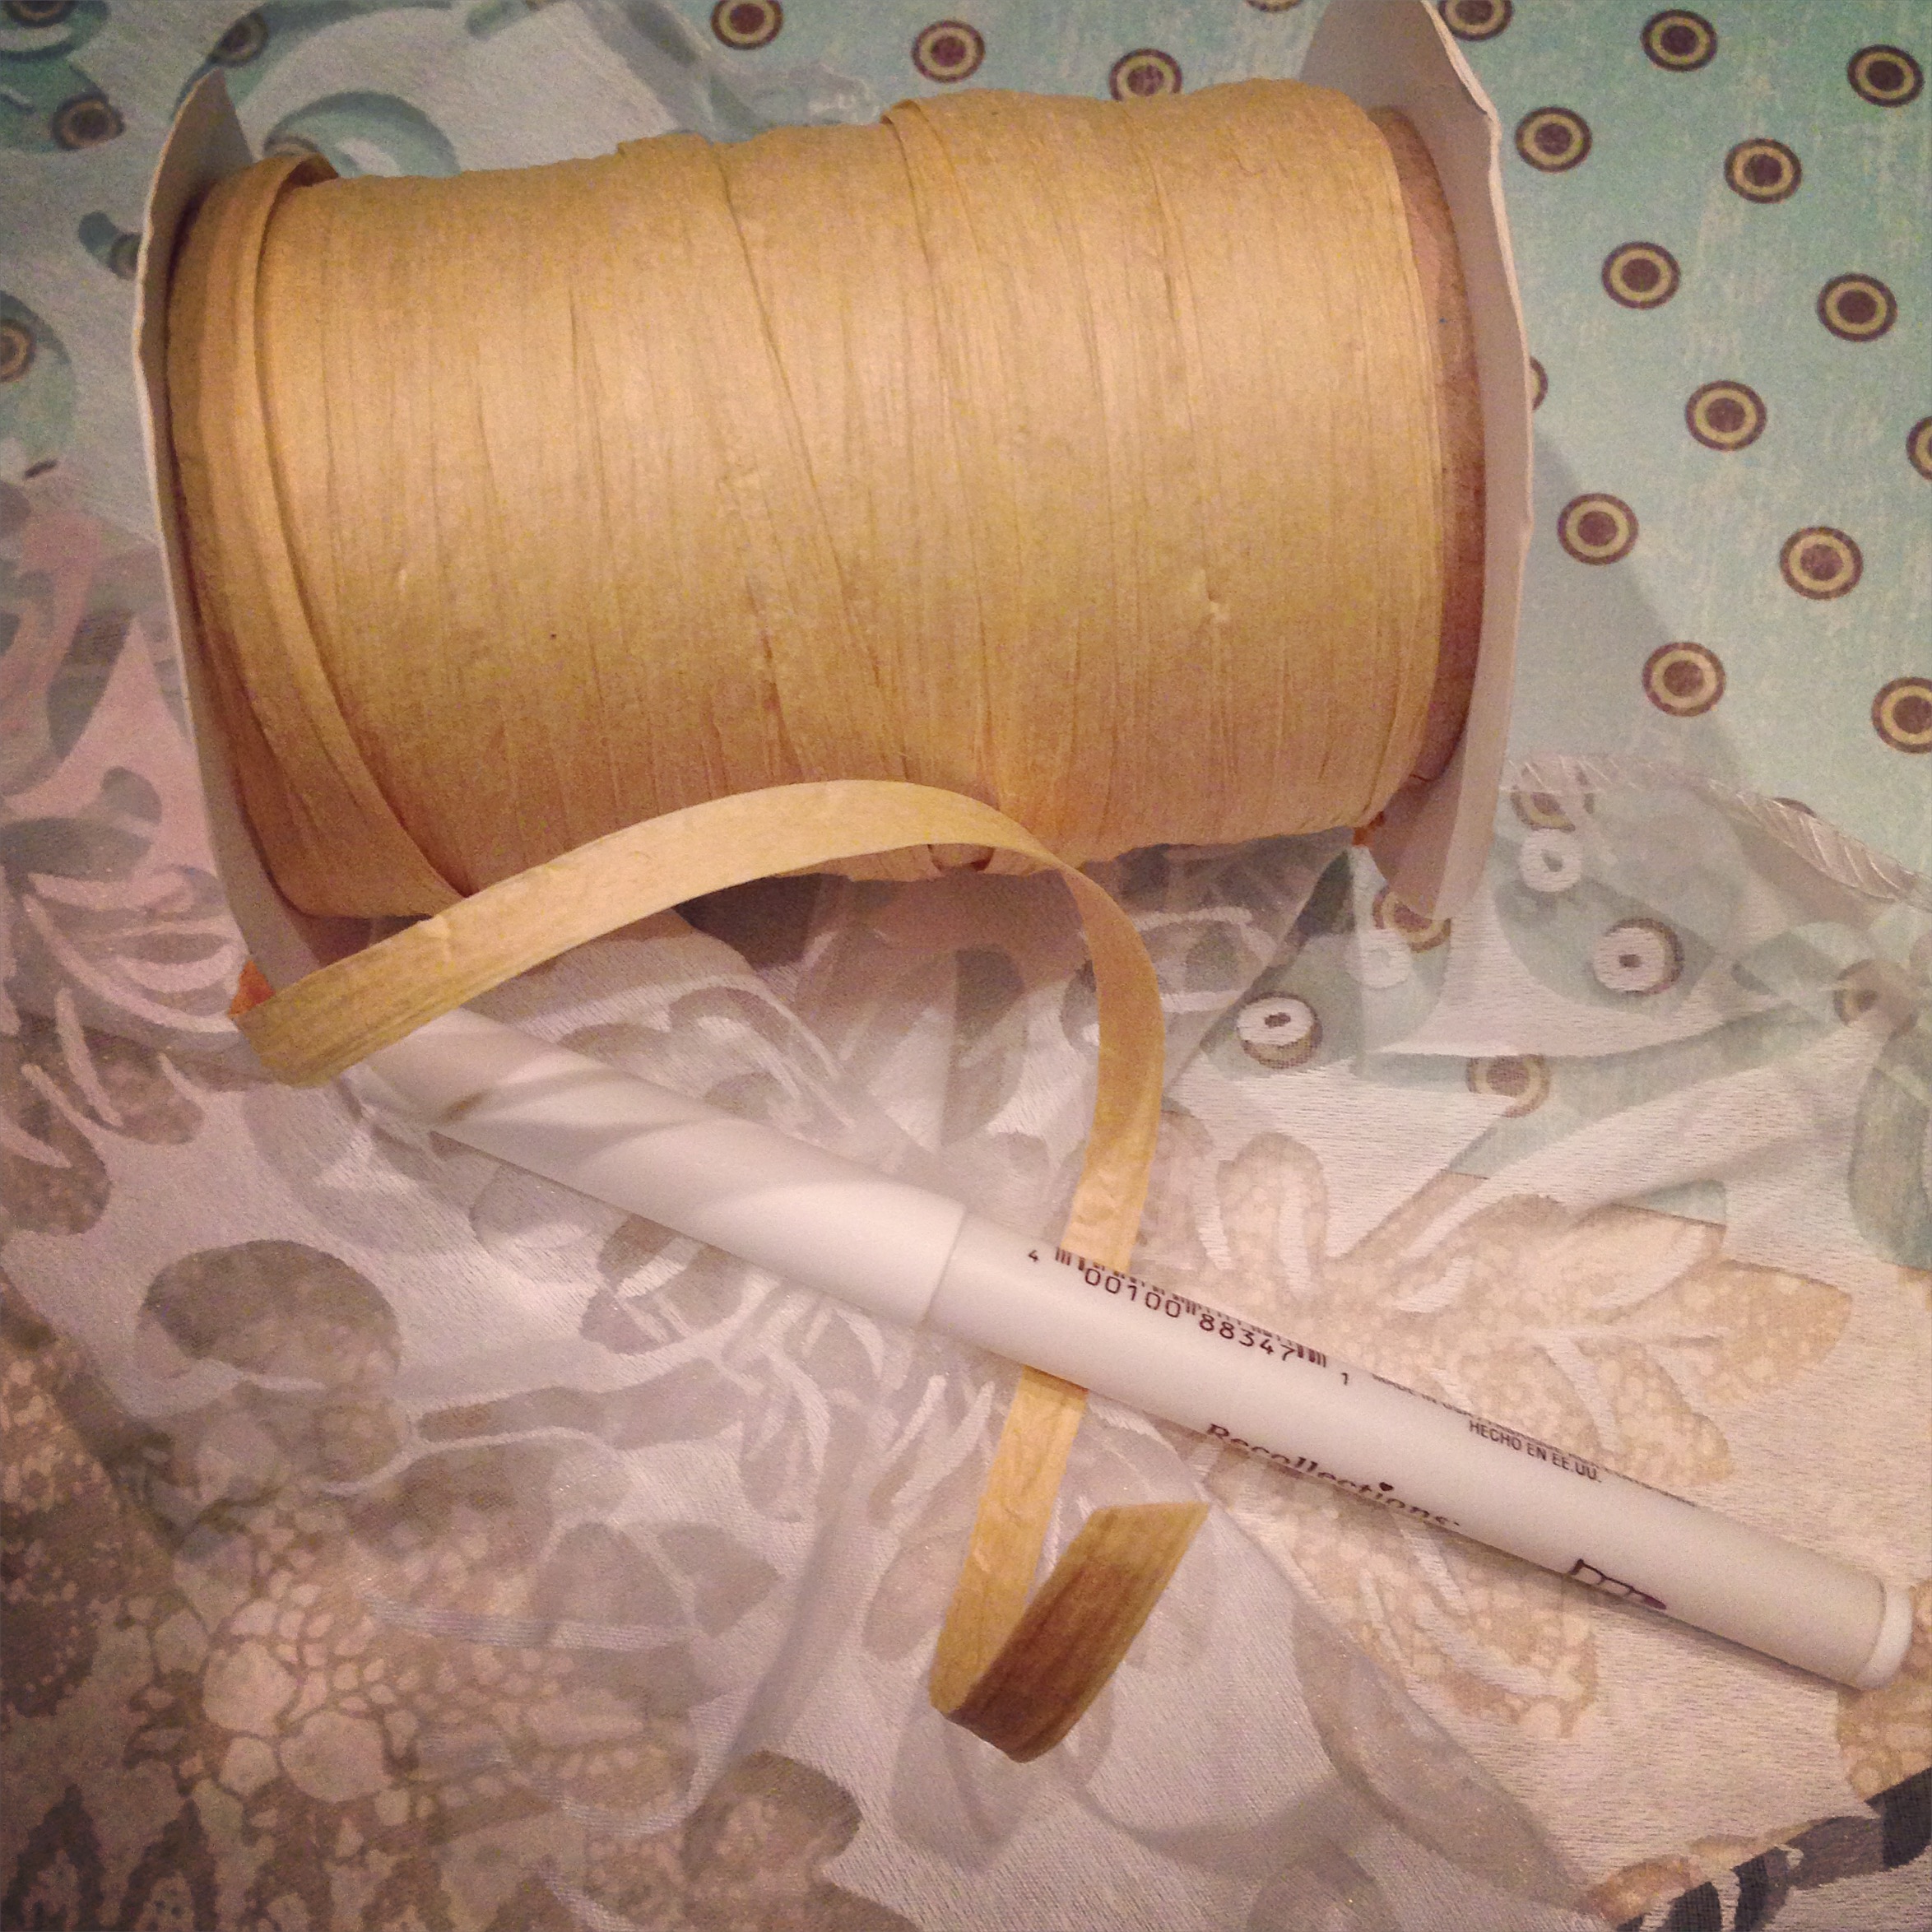
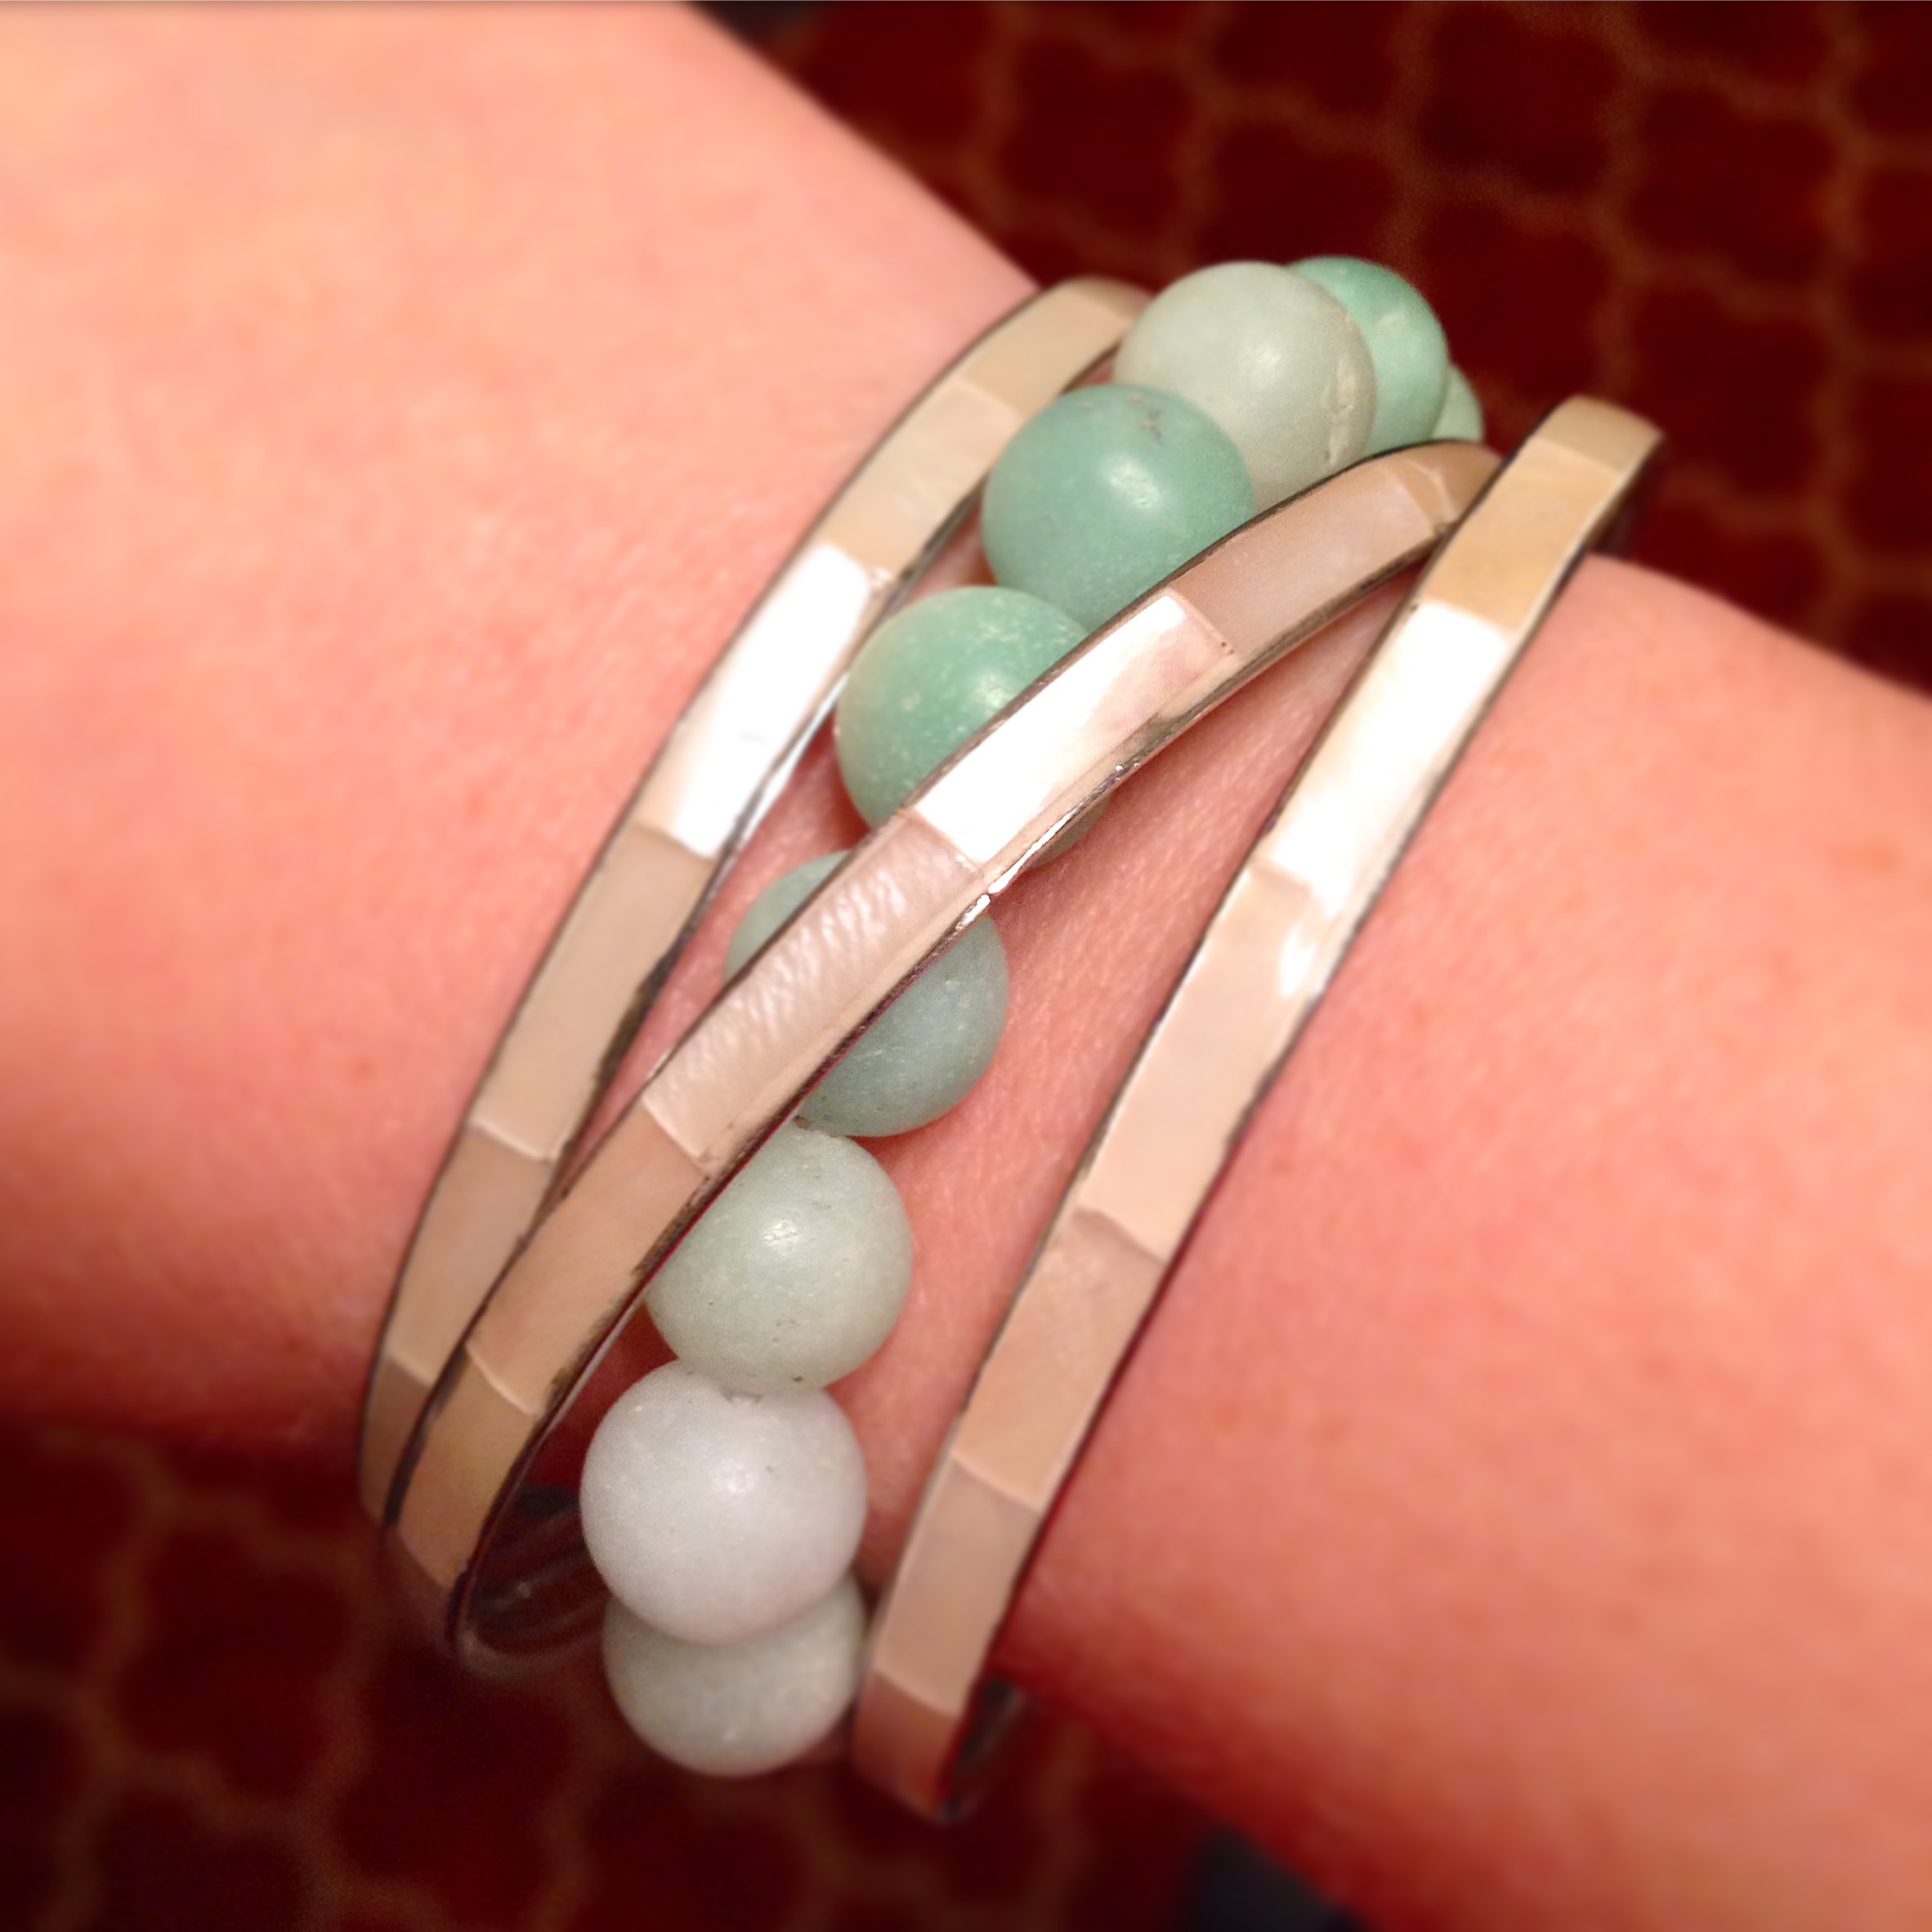
Day 2: made a bracelet
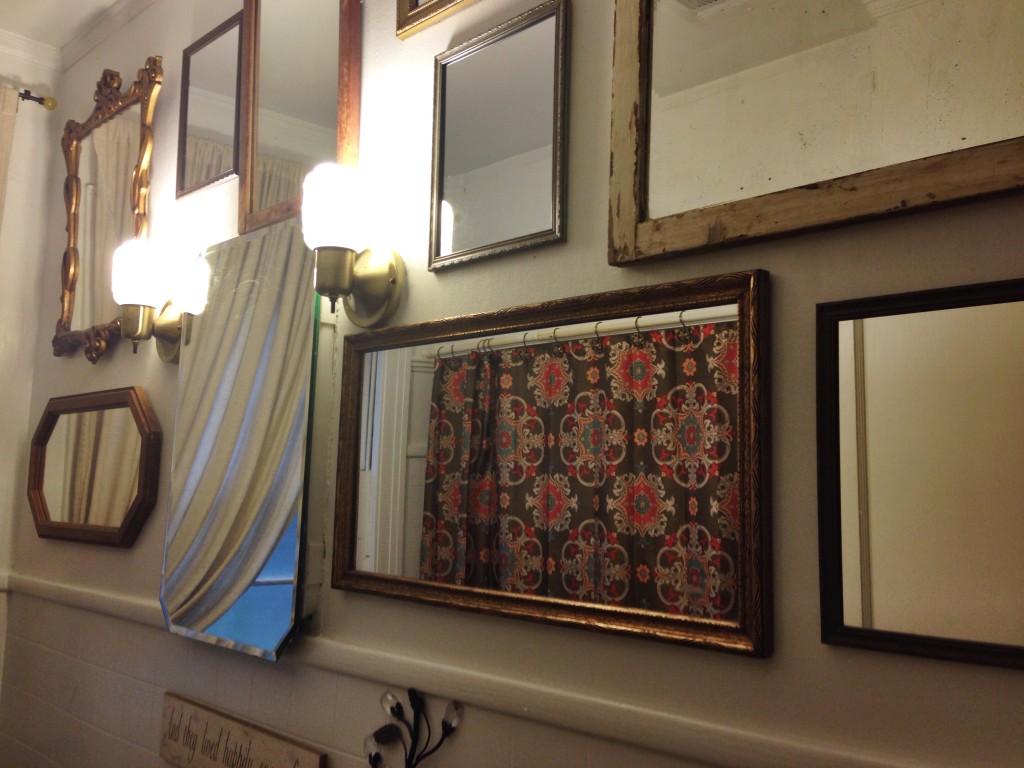
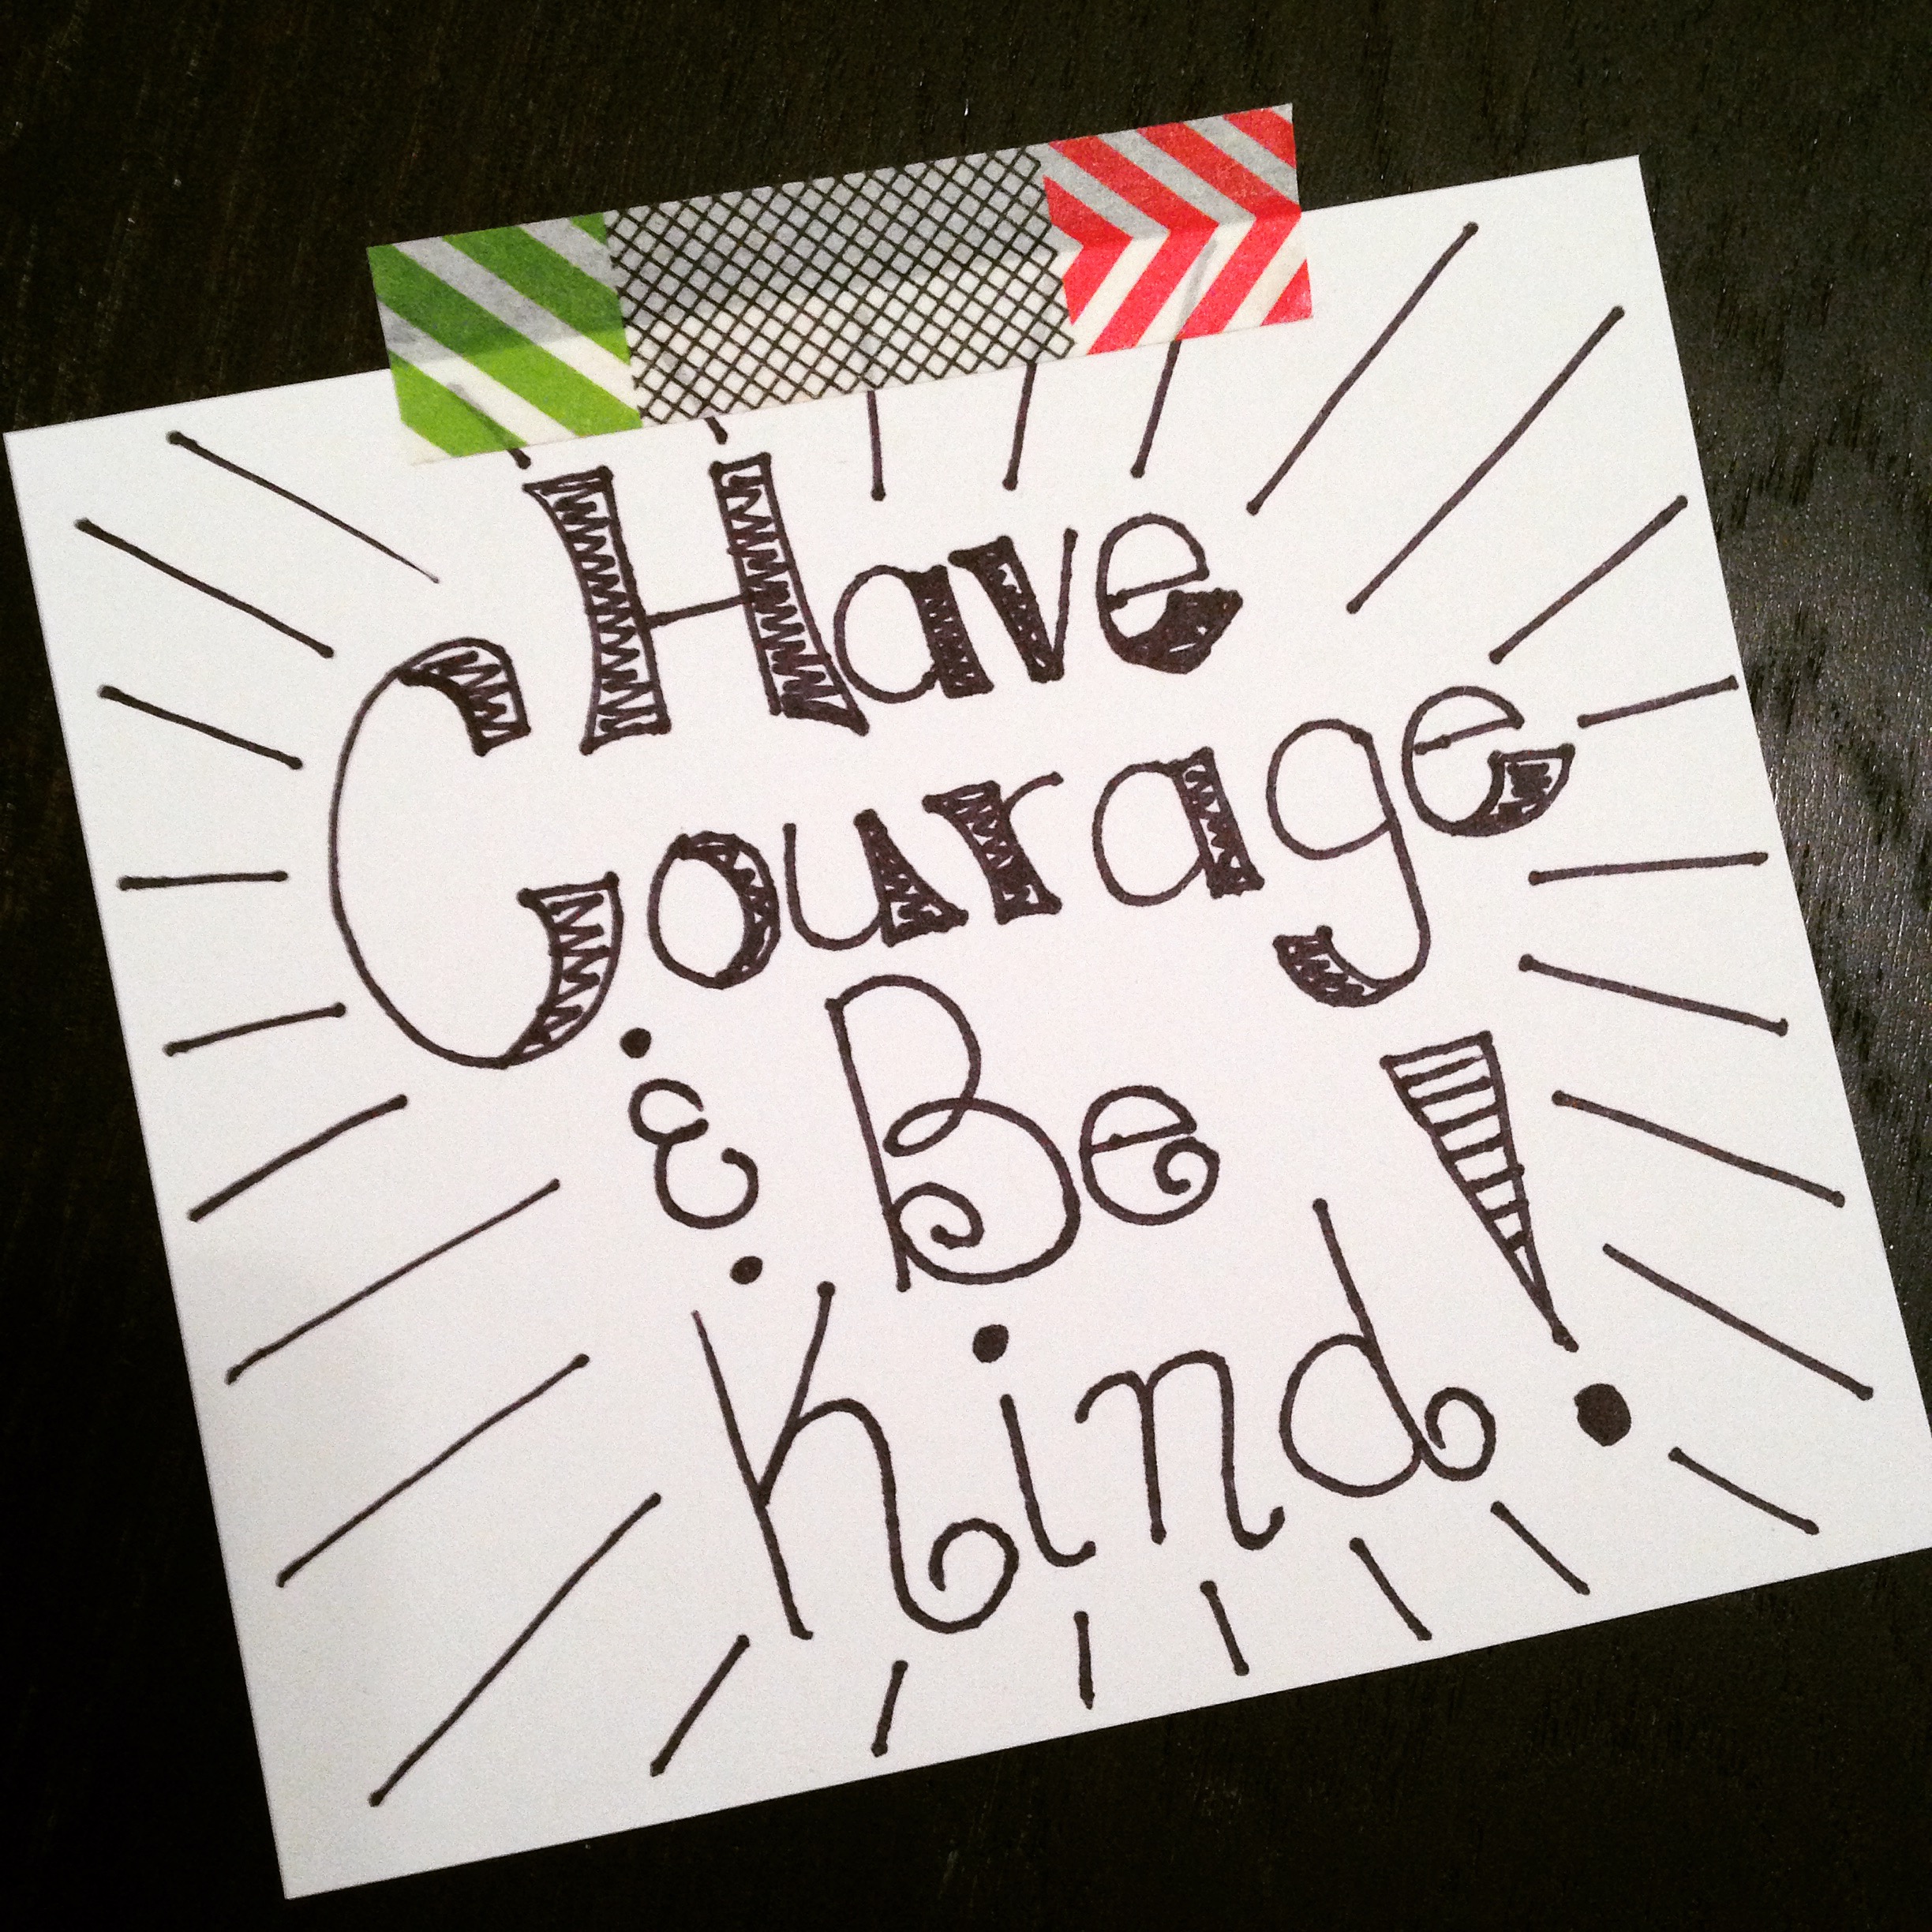
Day 3: doodled a quote from Cinderella for my mirror
Day 4: I’m planning to work on some crafty Lovely Lady Letters!

Think you might like to participate? It’s not too late! Go to the site and register. The project continues until July 14, 2015. You can play catch up if you’d like, skip a few of the first days, or continue on past July 14….whatever your heart desires! If you do decide to participate, let me know! I’d love to follow along.

If you’d like to keep up with what I’ll be doing through this project, you can follow #100daysofcraftythings on IG (@pamelapetrus). Happy crafting!

DIY Painted Light Fixtures

Before and After

When Matthew and I purchased our current home, we had quite a hefty list of updates that we planned to do. (You can see some of the before photos here.) Some of the updates we envisioned were immediate, like painting and new floors. Others will come along later, like painting the exterior and bathroom overhauls. Light fixtures were one of the items that we knew we’d do rather quickly. However, I’ve had the hardest time finding decently priced lights that I like, so we’re still working on this one.DIY Light Fixture

DIY Light Fixture
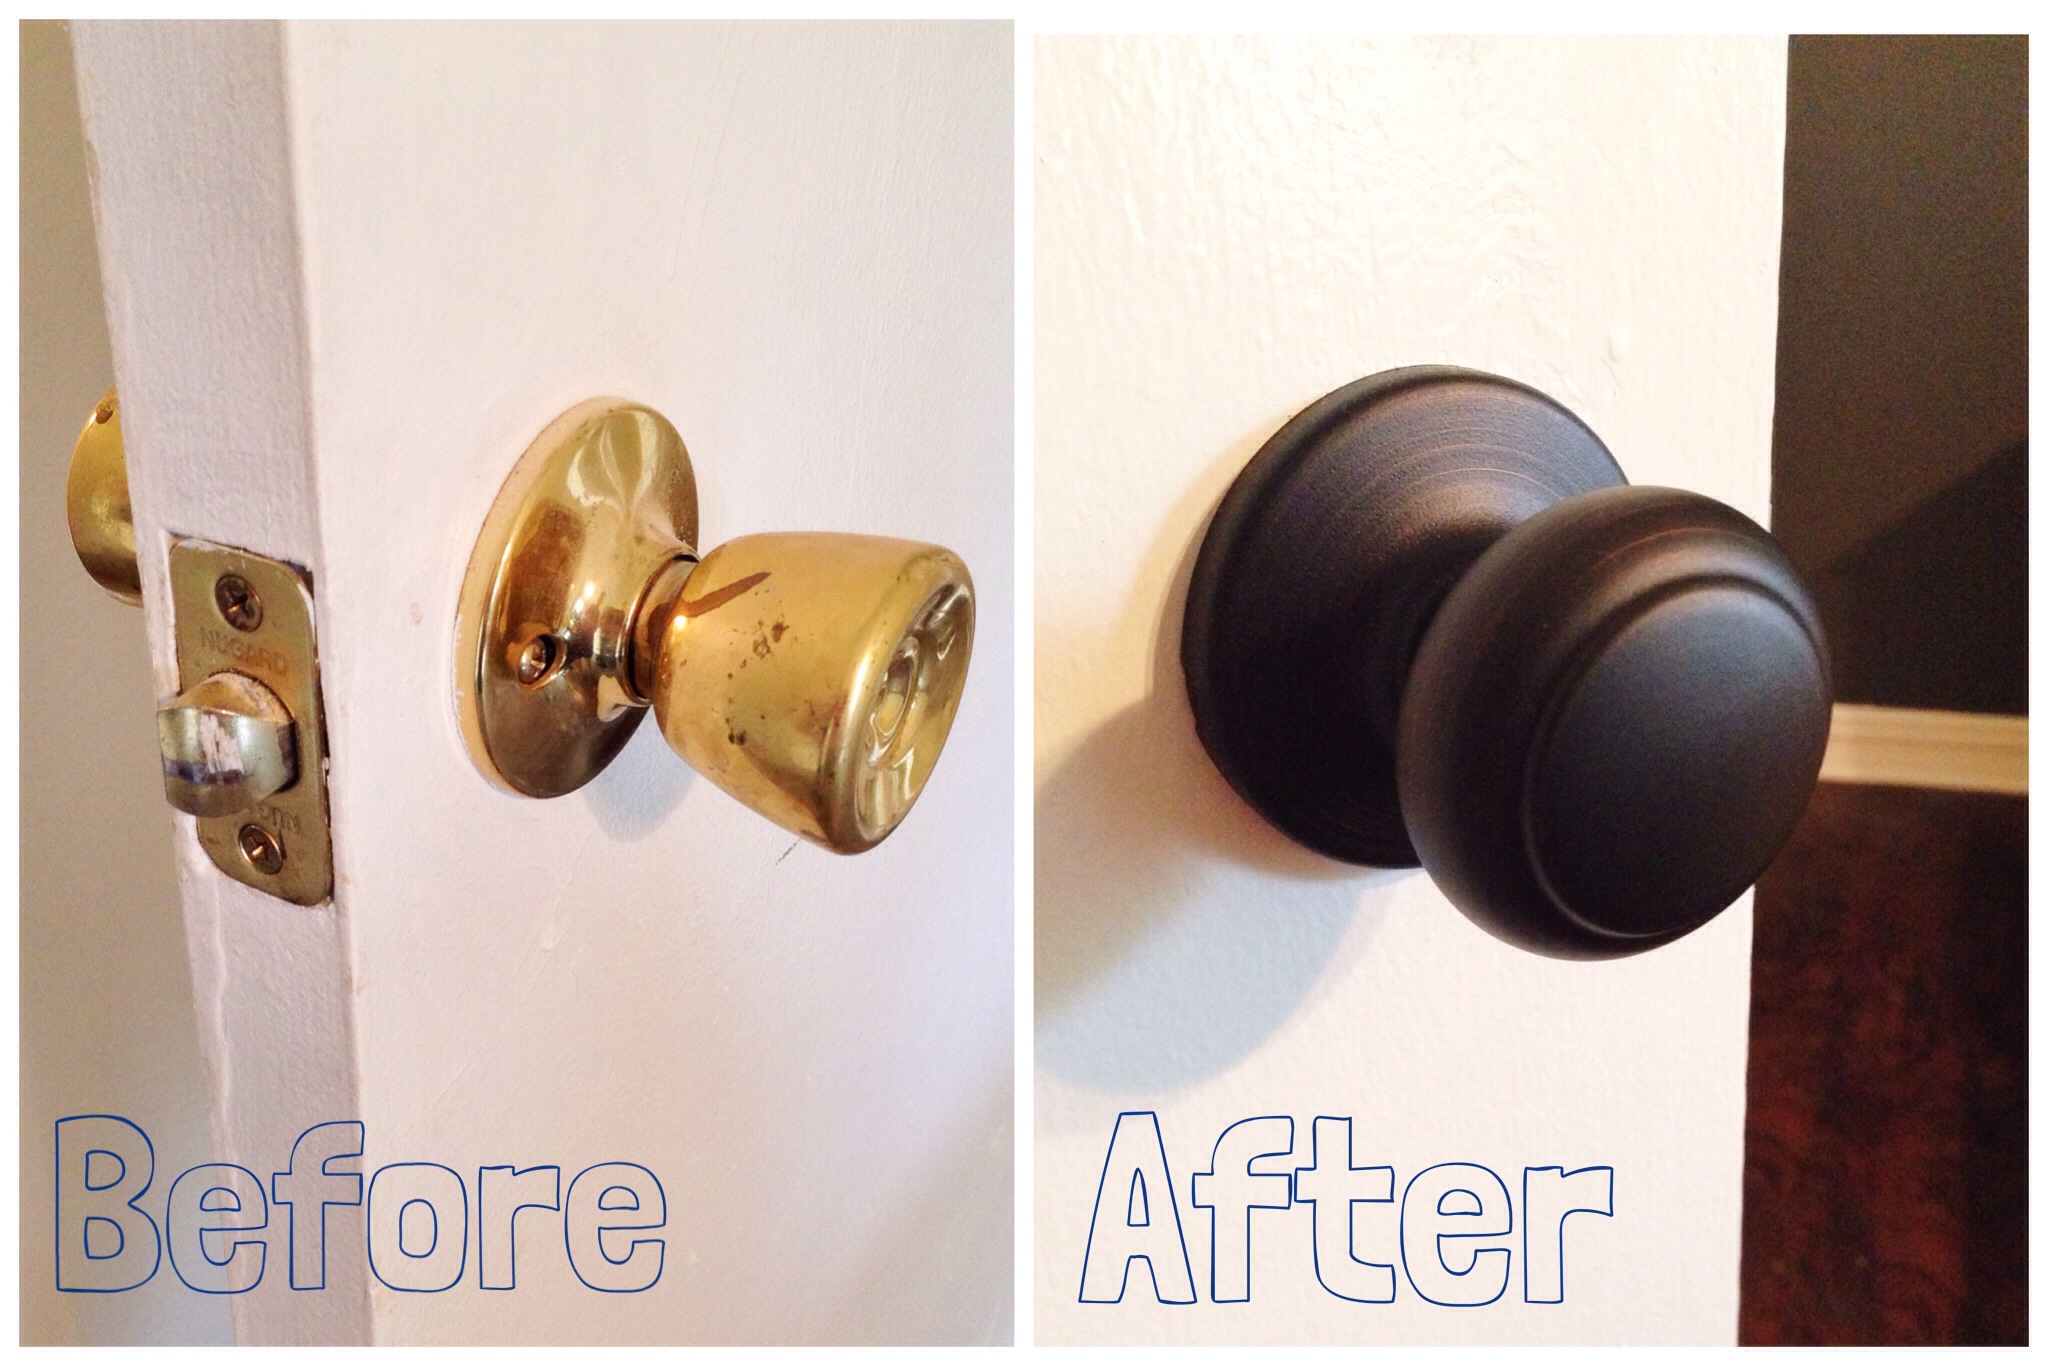
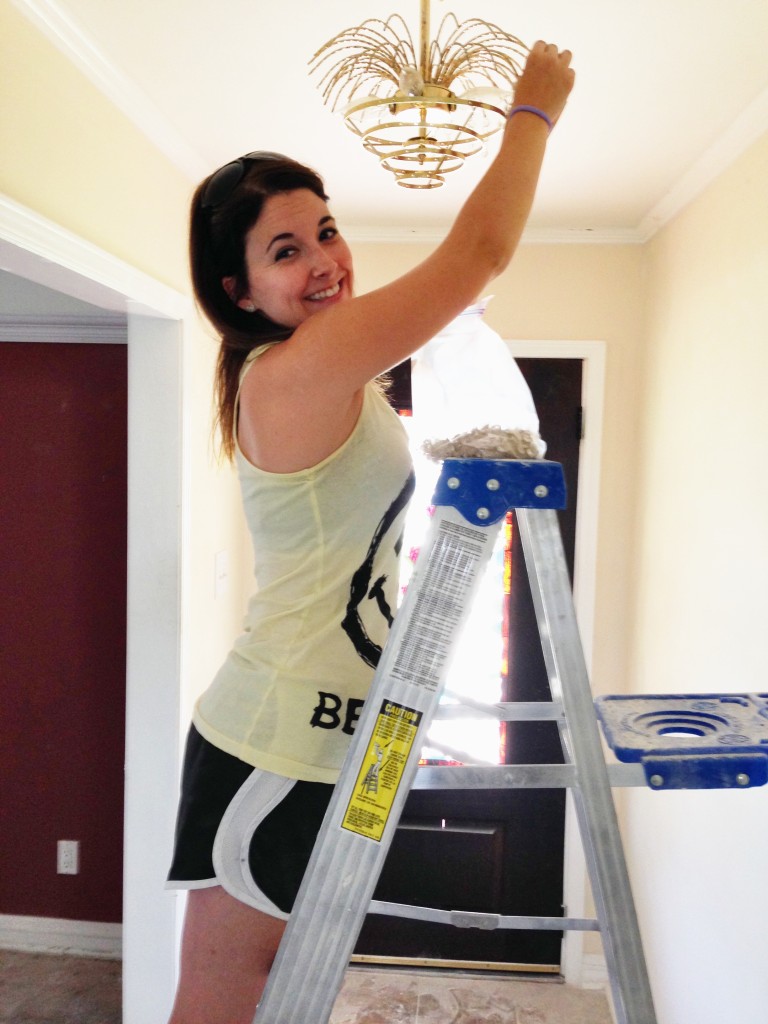
When we bought the home, there were only two light fixtures in the house that I even remotely liked…the dining room chandelier and the entry way light. All of the others were very dated or not at all my style. (The leaf fan, for example, doesn’t fit my décor style.) Our bedroom fan is also leaves. The kitchen had a ceiling fan, which Matthew could only barely walk under without risking decapitation. The rest of the fixtures were classic 1990s brass. The two fixtures that I liked were also brass, but the bones were good. Rather than replacing these two, I decided to give them a little facelift.

DIY Light FixtureDIY Light Fixture
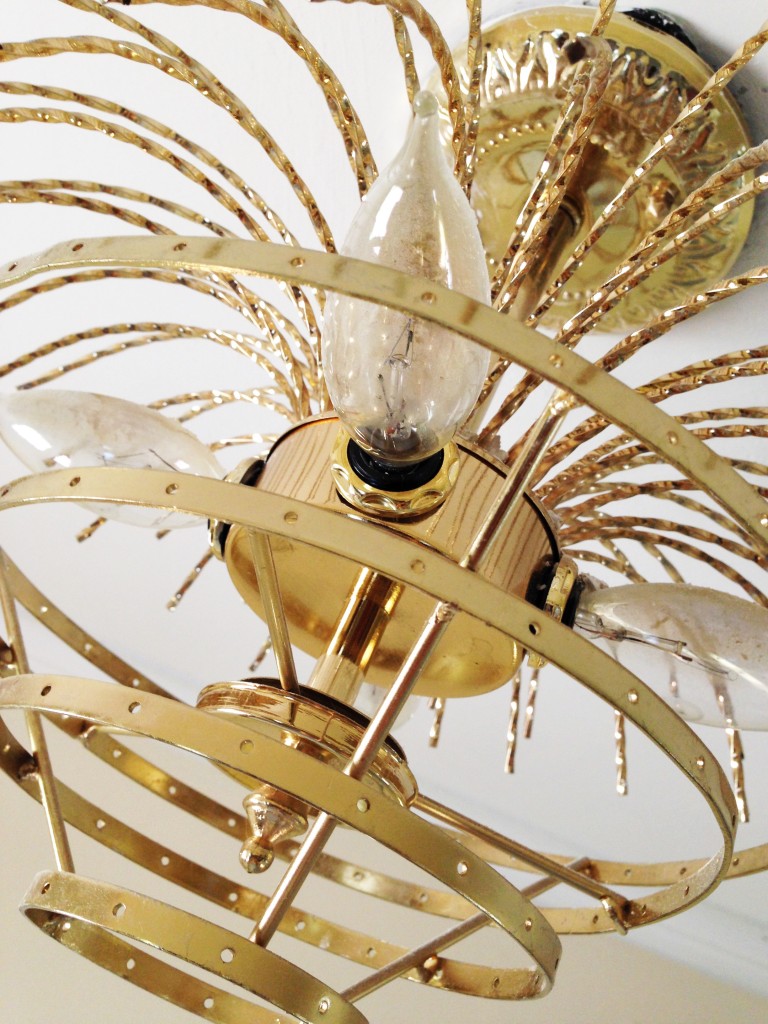
I haven’t tackled the dining chandelier yet, but I worked on the entry light pretty soon after moving in. I used Rust-oleum Hammered spray paint, and the process was rather quick and easy. Here’s what I did:

  1. Remove any crystals or globes. Luckily, the crystals on our entry light were attached with hooks instead of rings. I removed all of the crystals and cleaned them individually with a damp cloth. I didn’t want to submerge them in case it would cause a discoloration of the metal. Honestly, this was the most time consuming part of the process.
  2. Remove the fixture. Be sure to turn of the power before taking the fixture down!
  3. Clean the fixture well. You’ll want to be sure it’s free of dust and debris, especially if it’s an older fixture. Most of our lights (and every other square inch of the house) were covered in construction dust from having the ceilings scraped. Even after a professional cleaning, there was still quite a bit of dust in the crevices.
  4. Get to painting! I sprayed two coats of paint on our fixture, being sure to coat both the top and bottom of the fixture so that you didn’t see any traces of the old, brass color. Be sure to let it dry between coats. This was super quick and easy.
  5. Once the paint dries, hang the fixture back up and reattach any crystals or globes.

After Light FixturesSimple as that, you have a new fixture for less than $5. I’ve seen numerous tutorials online where people find dated fixtures at garage sales and thrift shops and paint them bright, fun colors. I went with a neutral color on our fixture because I wasn’t quite sure what décor I was going with yet. Whether you already have an old fixture or pick one up somewhere, using a little spray paint is a great, inexpensive way to update your lighting.

After Light FixturesNext up is the dining room chandelier. I have a bit of a different plan for it, but I’ll hopefully get to work on it soon. Have you ever used spray paint to update light fixtures in your home? I’d love to see your before and after pics!


DIY Paintings

imageIt’s been several months since we moved into our new home and even though I’ve made a conscious effort to get this place decorated quickly, there are still so many bare walls. This is partly because this house is a bit larger than our last, partly because we are trying to change our style up a bit, and partly because we have tall ceilings and huge, empty walls to fill.

I made a promise to share the progress of our home here on the blog. I have shared bits and pieces here and there,  but I haven’t really shared that much. The boxes are emptied, but if I were being honest, I’ve experienced quite a bit of frustration trying to get things pulled together. Decorating a new home from scratch while working full time and trying to have a social life is rather difficult, it turns out.

DIY PaintingWe need quite a bit of art to cover the big, bare walls here and finding enough pieces that are within our budget has proved to be impossible. Therefore, I decided it was time to do some DIY. I’ve done a little bit of panting in the past but I haven’t picked up a brush in a while. As a matter of a fact, I didn’t like the last few things I painted, so I decided to give it up. After a bit of a break, I realized that I just had to keep trying. (Listen to this two minute video if you need some encouragement in pushing through the ugly.) Once I got over this hump and picked up a brush, I actually loved the next thing I painted!

This post isn’t about teaching you to paint. Instead, it’s about encouraging you to just try. It’s about helping you to push through the ugly when you think you suck at something. Inevitably, you’re bound to eventually end up with something you like.

DIY PaintingFirst and foremost, I should say that I’m not a painter. Instead, I’m just a person that likes to paint. I’m someone who can splatter some paint on a canvas and call it good enough. I can fill my home with one-of-kind pieces that cover up empty walls. I’m not going to win any awards, but I can mark some items off of my to-do list.

My first painting that I did recently was the oblong circle painting. I took my inspiration from here, and ended up hating the result. I was getting ready to paint over it or add more circles, but Matthew insisted that we hang it as is. I’m still debating on whether it’ll stay or not.

DIY PaintingNext, I began the dot painting. I started with something like this in mind, but it ended up being a little more symmetrical. At first, I wasn’t quite happy with how it was turning out, but when I decide to add the light blue color, I fell in love. That was a different paint so the texture was a bit different, but it was what I had on hand. I ended up loving the difference in color and feel of the paint. (Lesson: don’t give up on something because you don’t like it immediately. Your big idea might be right around the corner!)

I was having so much fun with paint that day, that I decided to keep going. I didn’t have anymore canvases on hand, so I just pulled out some card-stock and made the black and white stripes and flowers. I didn’t really have anything in mind for these, but I ended up framing the striped one, and it’s one of my favorites!

DIY PaintingA few weeks passed after painting these four things, and I decided to keep going. I picked up some more canvases and went to town! (To be honest, my in-laws were coming into town for Matthew’s pinning, and I needed to cover these bare walls fast!) I saw an awesome wall mural covered in various black and white designs and fell in love. I hoped to show it to you, but I can’t find the link! My default is almost always black and white these days, and I knew that I’d love to create something similar. When I started those two paintings, I was using straight, sleek lines. Then, when I “messed up” the first time, I realized that I liked the rough look much better. Again, none of these projects are perfect, but they do cover wall space that was otherwise empty and bland. Plus, those bland walls would have likely stayed that way for many more months until I could commit to purchasing something else.

DIY PaintingIf you have bare walls and a small budget, I highly recommend creating some of your own art. The first several pieces might be terrible, but you’ll eventually get something you love. Besides, it’s a great creative outlet. If you’d like some more DIY painting suggestions, look here! Elise has done some great, DIY pieces in the past. Happy painting!

March Goals + February Review

A Beautiful Mess Planner_March GoalsBelieve it or not, we’re two full months into 2015! I’ll let that sink in for a bit…. If you’re like me, that blows your mind a little. Nonetheless, the show much go on. I didn’t set many goals for February, but I’m happy to report that I accomplished all three of them! *Cue the hallelujah chorus.* Here’s my happy report:

1. I attended Family Reunion and came home with several great ideas! I can’t wait to spend some time developing them and getting them into practice.

2. Matthew and I celebrated Valentine’s Day. Even though I almost backed out at the last minute, I pulled it together and made something happen. (By the way, we watched the full SNL 40th Anniversary together the next night, and I’m sort of counting that as an extension of our Valentine’s Day celebration.)

3. I hung MORE THAN three things on the walls!! I think I’m most excited about this one. We have several new things hanging here and there AND we installed a new gallery wall in our bathroom. I can’t wait to show you!!

I’m pretty pumped at how much I got done in February. I’ve even more impressed by the fact that I got so much done even though we had our fair share of wet, crummy, and cold weather. Isn’t it super easy to stay curled up under a blanket and read the internet when the weather is gross?? I’m giving myself two thumbs up for still being productive, despite the yucky weather.

What’s on the agenda for March, you ask? Quite a bit. Here are my basic goals for the month:

1. Spend lots of time with Matthew. Since he just wrapped up nursing school, I’m hoping that we finally get to spend some quality time together! We have a bit of time before he starts his new job, so I’m going to soak up as much husband/wife time as possible this month.

2. Travel to Dallas for the weekend. Matthew and I are planning a quick trip to Dallas, TX. This is mainly to get some items we need for the house, but it’s also for quality time together and to celebrate his graduation. Plus, we’re meeting some friends there…can’t wait!

3. Square away three areas of my home. Yes, this is a little vague. However, I want to leave some wiggle room. I’m not sure what all we’ll find on our trip to Texas, so I’m just hoping that whatever we come up with will complete at least three parts of our home. (To be clear, “parts” can even mean a corner or vignette…I’m being reasonable here!)

4. Paint three new paintings. Painting is my new thing. I’ve been SO excited about it lately. I’ve painted a few new pieces for the house, and I’m hoping to do three more this month! (More on this later this week!)

So there you have it! For me, March is going to be all about creative endeavors and quality time. What are you looking forward to this month? Whatever it is, do it big!

DIY Wall Hanging

Rope Project

Rope Project

Rope Project

When I saw this wall hanging on A Beautiful Mess, I knew that I needed to give it a whirl for my own home. Rope is one of my favorite things ever, and I’ve been drawn to anything copper lately. Perfect combination! Plus, the world is being taken by storm with textured wall art and weavings these days, which I’m totally fine with. There’s some pretty awesome work making its way around the internet, if you’ll look around a bit. If I’m not careful, my home might end up with a weaving or rope/yarn art on every wall!

I actually started on and completed this project months ago. It was finished (with the exception of trimming the edges to level them out) months before we decided to move from our rent house. Now that I think about it, I may have actually purchased these supplies this time last year! (Take you a year to get something completely finished? Me too…don’t feel bad.) I planned to hang this in our master bedroom….that I never finished. Instead, this little guy just hung out in a laundry basket until we moved. However, it was one of the first things I planned out for the new house. I knew right away that I would hang it in our dining room, and I was excited about how it would pop on the dark gray wall.

Rope Project

Rope Project

Rope Project

Rope Project

I’m not sharing much of a tutorial here since you can get all of that from the ABM link. I will say that all of the supplies came from TP Outdoors. The rope was a 3-strand rope, and I unraveled it to use the individual strands. I also taped the ends with scotch tape before cutting them to keep them from fraying quite so much as I worked. I removed the tape after hanging it on the wall. For the most part, I followed the directions pretty closely. The hardest part of this project was cutting all of the rope and getting the knots to line up. However, after you get going with a few strands, it’s pretty easy to work out a system. Don’t worry too much about the ends being the same length at this point. It’s much easier to make them a tad longer than necessary and then trim to the correct length after that.

This is one of my first DIY projects to make from ABM (They share so many good ones!), and it’s one of the first that I’ve done that turned out pretty much exactly how I’d hoped! It’s been a bit of a conversation piece in our new home and most people are shocked to hear that I made it.

How about you? Have you made any awesome DIY projects lately? I’d love to see them, so send me a link! I actually have another project that I made from ABM that I hope to share soon…just gotta get to work in that closet room of mine!

DIY Halloween Rug

rug before and afterThis old, worn out rug was left at our house by the previous owners. I’d been meaning to pick up a new one but just hadn’t gotten around to it. The list of things that I need to get for this house is incredibly long. For example, light fixtures…I still need to pick out new light fixtures for every room in the house. One thing at a time, Pamela. One thing at a time.

Anyway, I was waking around outside, thinking about Halloween/fall decor one morning, and I decided that I should give this old rug one last ride before tossing it out. I decided to add a little paint and use it as part of my Halloween decor before replacing it. I could have just bought a Halloween rug from the store, but this option gave me a chance to use something that I already had, and I won’t have to try to reuse or store a new rug until next year.

Halloween craft suppliesI used simple craft paint for this project because it’s what I had on hand when I had the idea. This rug is under the front porch, so I don’t have to worry much about it getting wet. Also, I only needed it to last for a few weeks, so I didn’t spend too long worrying about the paint choice. If you’re going to do something similar in an area exposed to weather or want it to last longer than a couple of weeks, you’ll want to use a more durable, exterior paint.

DIY Halloween RugLooking back, I should have probably painted the top and bottom portions instead of the middle where most of the feet-wiping will take place, especially since I used craft paint. However, I feel pretty confident that it’ll make it through Halloween anyway.

So there you have it….a quick and easy way to give a new life to something old. Do you have anything lying around your house that a little paint might spruce up? Even temporarily? This project took about an hour to complete. That includes the idea process and hunting up supplies. If you have an old, ugly rug lying around, you should try it!

See more Halloween decor ideas on my previous post.

Halloween Decorating Ideas

Halloween Decorating Ideas (9)Halloween has always been one of my favorite holidays. Costumes, decorations, the cool fall air…it’s just so much fun! Matthew and I hosted a Halloween party shortly after we were married in 2012, but I never shared any pictures from that night. (We ended not having a party last year.) When preparing for Halloween 2014, I thought it would be fun to share a few photos from the 2012 party. We didn’t get pictures of all of the guests, but how fun are these costumes?!

Halloween Decorating IdeasHalloween Decorating Ideas (6)Halloween Decorating IdeasHere are a few quick and easy decorating ideas from the 2012 party.

1. Giant spider web: Use masking tape to put a spider web design on the floor. I did mine coming out from under the food table. Note: Be careful using masking tape on hardwood floors. It didn’t leave a lasting web impression on the floor or anything. I’m definitely warning you from past experience.

Halloween Decorating Ideas (7)2. Hanging ghosts: Cut scary ghosts from butcher paper and hang from the bottom of doorways. I added a little caution tape from the Dollar Tree to give it something extra.

Halloween Decorating Ideas (14)3. Giant hanging spider: Tape black streamers to balloons and hang from the ceiling to make a giant spider. We used push pins to secure it to the sheetrock ceilings. This is a great idea to take up a large space…you could make it as big as you’d like!

Halloween Decorating Ideas (8)4. Apothecary jars: Use plastic bones in water with green food coloring to create a lab-like vibe.

Halloween Decorating Ideas (5)5. Food labels: We made Halloween themed labels for the food and included names like Petrified Popcorn, Witches Stew, Black Cat Cakes, Poisoned Punch, Casper Crunch, etc.

Halloween Decorating Ideas (10)6. Faux spider webs: You can never have too many spider webs. This is a cheap and easy way to make any space look more festive. Stretch them over everything!

Halloween Decorating Ideas (2)7. Invitations: It’s no secret that I have a slight infatuation with stationary and paper products. We printed invites on fall-colored paper, cut them out, and glued them to Martha Stewart Halloween paper (similar to these). I mailed them in black envelopes and wrote the addresses with a white marker. I also drew a little spider web in the corner. I loved it! I might have to use this idea again this year.

Halloween Decorating Ideas (13)Halloween Decorating Ideas (4)Whether you’re doing a small get together or something larger, these ideas can be incorporated into practically any space or event. I’m getting pretty excited about this Halloween, and I know that I better get busy! I’ve been pinning quite a bit of Halloween and fall décor ideas lately. If you’d like an extra dose of inspiration, go check out my Halloween/Fall Board on Pinterest!


#mapfirsthouse – Closet Plans & Inspiration

flamingo printI had a closet room in our last rent house, but I never quite made it into the room of fabulousness that I had hoped for. In this house, I have pretty large plans to make this room a dressing room paradise. 

My overall inspiration for the room came from this nursery. I loved the black and white stripes with hot pink and orange accents. I even ordered this flamingo print from Elise!  (Once upon a time, I really hated pink. However, since this spring I’ve really kind of liked it.) 

My original idea was to hang black and white striped curtains, but when reading this post by Myquillyn, I saw the striped wallpaper and fell in love! Striped wallpaper would make such a grander statement than just curtains, and I’m pretty excited about my new idea. (Also, I love the idea of those Style Saturdays by Lowe’s and would love for one to take place near me!)

Chandelier

As for other inspiration, I plan to paint our current dining room chandelier and use it in the space. I’m also thinking I’ll spray paint/update my dear mannequin a copper color to pull from the orange. The yellow worked great at Salt & Pepper, but I think it’s time for an update. Have I mentioned that I’m loving copper these days?? I’d paint everything copper right now if it made sense. (P.S. That’s my wedding dress that she’s wearing.) 

Yellow Mannequin I certainly hated to take down my old shoe shelves, but I was excited to make a new plan for this closet. I brought in this shelf as a temporary solution for my shoes until I could decide exactly how I wanted things done. However, I think I might love this option! This shelf was built by my dad with 100 year old wood from our old barn. That’s amazing, right?? I’ve always used this shelf for picture frames and such because the shelves are too narrow for books and taller items. I never considered it as an option for shoes, but I’m thinking that I might be in love! 

Barnwood ShelfAs of right now, I brought in the orange printed rug from my last closet. I’ll wait until more of the decor comes together before deciding if it stays, but I definitely love this rug. I’m thinking that I might end up with an ottoman in the center of the room, but I’m still thinking on that too. 

Orange RugMy next plan is to recover my grandmother’s cream vintage chair in this black and white printed fabric. I purchased this fabric from a clearance rack years ago with no plan for it. I’ve been waiting on the right project, and I think this is it! You might remember this chair from my old living room. I’ve used it since I was a little girl. Speaking of recovering chairs, if anyone has any tips for that project, I’m all ears! 

vintage chairThings are definitely coming together around the house. Of course, it’s a slow and steady process, but I’m feeling good about what we’ve accomplished so far. I’ve enjoyed dreaming up plans for this closet space of mine, and I can’t wait to pull it all together. Have you seen any fabulous closet spaces lately? Send me a link! 

#mapfirsthouse: All the Small Things

If you didn’t burst out into a Blink 182 song when you read that title, you need a little fun in your life.

#mapfirsthouseNow that Matthew and I are actually living in our new home, I figured it was time for an update. We made a ton of progress the first weekend with squaring away furniture and unpacking boxes and such. Unfortunately, most of the progress was the small, not-so-fun-and-exciting things. You know, those things that have to be done but aren’t exactly glamorous. Here’s a list of some of the small things we’ve been working on lately:
 
1. Cabinet knobs and hinges: We had to replace most of the cabinet hardware. There were 7 different knobs in the kitchen alone! I’m still looking for the perfect knobs for some rooms.

2. Door knobs: We replaced all of the exterior and interior knobs in the house. While it’s a relatively easy update, it can certainly cost more than you might think. If you only have one or two to replace, you could always consider spray painting them. Since we replaced all of the knobs, we decide to go ahead and buy new ones. It cost us over $300 though, so be sure to budget accordingly!


Doorknobs3. Kitchen plumbing: We had to replace the plumbing under the sink and install a water valve for the refrigerator. Like I said, we’ve been working on the not-so-glamorous projects.


4. Hanging blinds: We kept the blinds that came with the house, but we had them taken down and cleaned. When the painters re-installed the brackets, they weren’t quite in the right spots, so Matthew had to go back and move them all. What we thought would be a quick and easy project ended up taking much longer. 


5. Installing new toilets: We weren’t originally planning to replace both toilets, but as our renovation progressed, we ended up needing to. My video of the soft-close lid cracks me up a little bit.

6. Closet rods and shelving: I totally underestimated how much it would cost to add shelves and new rods to most of our closets. It also took quite a bit more time than I expected. Again, these are simple updates when making a home your own, but you want to be sure to plan accordingly.


moving boxes7. Mopping and other cleaning: The amount of mopping that I’ve done in this house is simply mind-boggling (especially when I HATE to mop). I have never seen so much lingering dust in my entire life. I spent pretty much an entire day mopping, over and over again, and I still don’t feel like they’re clean. (By the way, I still stand by my statement that this is the best mop in the world. Hands down!)


8. Hauling off garbage: Matthew spent one morning hauling all of the leftover materials to the dump. We had molding, scrap pieces of Sheetrock and wood…you name it. I think he underestimated the amount of trash we’d accumulated so far. We had 0.4 TONS of stuff to drop off at the landfill…that’s almost 1,000 pounds!
 
9. Laundry repairs: We had to install new shut off valves for the washer because one of them had a slow leak. This was another one of those items that we weren’t planning to do. We also added a new dryer vent because the other one wasn’t sealing off properly. I can’t wait to show off my new dryer vent….said no one ever.
 
10. Cable outlets: We had to install new cable outlets because we are planning to put our TV and router in different places from where the previous owners had them. You should ask Matthew how much he enjoyed hanging out in our attic mid-August in Louisiana. Doesn’t that sound fun??
 
11. New shower heads: This one is something that you’re likely to not think about until you’re living in a new home. The shower heads in our new house looked fine. However, after taking our first showers, we quickly realized the current shower heads didn’t provide enough pressure. It took FOREVER to get the shampoo out of my hair! I absolutely love the new waterfall shower head that Matthew got at TP Outdoors

(By the way, if you’re local, you can order things from the True Value website and have them shipped to either the Monroe or West Monroe stores for free! We also got our door knobs (and practically every other supply) from there. This is a super easy and convenient way to shop local!)

brass doorknobsThis list is just a few of the things we’ve been working on since moving in. It’s important to keep these sorts of things in mind when you’re renovating because they’ll not only cost money, but they’ll also take up a lot of your time. I must say that I’m very thankful for such a handy husband. He’s done all of these projects himself and done a fantastic job…with my supervision of course. 
J

Now that we’re through with most of the small/boring things, we can move on to the fun parts! Like looking for new rugs. And hanging things on my freshly painted walls. I’m getting excited just thinking about it! I’m pinning quite a bit of inspiration on Pinterest lately. If you’re up for seeing all of my crazy ideas, go follow me!


Antique Mirror Gallery Wall

antique mirror gallery wallWhen we did our original bathroom update, I knew that I wanted a gallery wall on the top half of that wall. However, after painting and putting up the new shower curtain, I didn’t particularly care for the items that I’d collected to put there. I hung the two old sconces there in the meantime, and it took me several months to come up with a better idea.

Finally, one day it dawned on me. I should do a gallery wall of antique mirrors in there! After all, there’s little that I love more than gallery walls and antique mirrors…why not combine the two?? It took me a few weeks to gather enough mirrors that would work in the space, but I finally collected enough and had some spare time to work on the project.Mirror Gallery Wall Layout

When planning out a gallery wall, it’s very important to play around with your layout before you start hanging things on the wall. Otherwise, you’ll likely end up with a bunch of excess nail holes and something that’s hung just a little off. I measured the size of the wall and marked the corners on my floor with masking tape. I cut slips of paper the size of the existing mirror, lights, and light switch and taped them on the floor according to their location on the wall. Then, I spread my mirrors out and moved them around until I was satisfied with the layout.

My darling husband hung the mirrors for me, and to do so he used the toothpaste trick. At first he thought I was a little crazy when I mentioned it, but then he agreed that it was genius! Basically, you just dab a little bit of toothpaste on the hangers of whatever you’re hanging. Then, you press it against the wall where it’s going to go and voila – you have a temporary mark on the wall, exactly where your nail needs to go! With the mirrors already laid out and using the toothpaste trick, I think it took him about 30 minutes to get them all hung. Aside from collecting the mirrors, the whole project took roughly 1-1 1/2 hours.
antique mirror gallery wall
I have to say that this is likely one of my favorite projects to date. I simply love how it turned out, and I enjoy getting to look at my collection of mirrors on a regular basis. Plus, it made our tiny bathroom feel a little bigger. Most of the mirrors I used are vintage from various sources, but the 8×10 filler mirrors are actually from the Dollar Tree! That’s right…I only paid $1 for those!

What do you think about the finished product? Think it looks better or worse than before? If you like gallery walls as much as I do, be sure to check out my first one from the living room.