Category Archives: Projects

Don’t be afraid to get your hands dirty!

New Project: The Dark Wood House

Front of the House Introducing my next big project! This house and its massive shop have stood here since the early 50s. It was home to the Bunn family for over 50 years. Mr. Bunn was a deacon and a minister and performed in a gospel band all across Northeast Louisiana and South Arkansas. He loved West Monroe High School football and had a room in his shop, just for collecting memorabilia. He was a woodworker and so much of this home was constructed thoughtfully by him.

Continue reading

5 Years of Halloween Costumes

I have always loved Halloween and I think working on and wearing some sort of costume is so much fun! Since today is Halloween and this year marks mine and Matthew’s 5th Halloween together, I thought we should all take a quick trip down our memory lane of costumes. Grab yourself a pumpkin spiced latte – or more realistically – some of your kiddos Halloween candy, and enjoy a few pictures of our various shenanigans from the last 5 years!

2016
Matthew was the World’s Strongest Man – including that killer mustache and new tattoo sleeves – and I was the Ringleader.
Earlier this year, I also dressed as a red pepper for a “Boiling Point” themed real estate conference event.
Ringleader and Worlds Strongest Man Halloween CostumeRingleader and Worlds Strongest Man Halloween Costume red pepper costume


2015
My tennis partner/friend and I attended our work party shortly after things had gone awry on the court….  Matthew and I wore some pretty fun wigs to the Wiggin’ Out event and dressed up for a friend’s 1920’s themed birthday party!
angry tennis player costumegreen afro and rainbow wig 1920s costume


2014
First, Matthew and I were Frankenstein and his Bride. (And sadly, this might be the only photo from that night.) Then, we attended another party as Little Red Riding Hood and the Lumberjack!
Frankenstein and Bride of Frankenstein costumeLittle Red Riding Hood and the Lumberjack costumes


2013
I hope my dates aren’t off here. I blogged about the fun 90s Party we went to in 2014. However, I’m pretty sure the event actually happened in the fall of 2013. Either way – we love the 90s! And look like babies!
90s costume


2012
We were pirates! This was our very first Halloween party to host together and I still love these costumes and pictures. I also dressed as Audrey Hepburn for our work party.
couples pirate costumeAudrey Hepburn costume


And that rounds out most of the costumes we’ve worn for the last 5 years – both for Halloween and other occasions! I do love to dress up and I’m glad Matthew and our friends enjoy it too.Bert Macklin Janet Snakehole Worlds Strongest Man and Ringleader costumesDo you enjoy dressing up too? What are you planning to be this year??

Fun & Simple Halloween Projects

Halloween has always been one of my favorite holidays, so it’s no surprise that I’ve been pinning different fall and Halloween goodies for a while now. Since it’s officially fall (!!) and October is right around the corner, I thought I’d share a few of my latest favorites with you. It’s time to start making those fall and Halloween crafts, my friends!diy-crayon-pumpkin-tutorialdiy-crayon-pumpkin-tutorialI’ve never been too much of a fan of the crayon art projects. These pumpkins though… *heart eyes*. That black/purple/blue one is GORGEOUS!

Sources: Oh Gee Lindsey & Dream A Little Bigger

wood-porch-pumpkinsI also love a good, simple wood project. When we end up with scraps of wood from a project, I’m always wanting Matthew to save it. (I get it from my Mama..) And this is why! This project (and this wooden candy corn DIY without a source) would be so easy to make with scrap pieces from around the house. If you don’t have any scraps and aren’t super handy with the power tools, you can buy wood from Lowes and they’ll cut it to size for you there.

Sources: Hazel & Ruby & If that candy corn is your crafty work, please let me know!

diy-tin-can-halloween-artHere’s another project you can make out of scraps around the house. She turned them into a bowling game and I think they’d be cute as just decorations too! You could use them for candy, decorative twigs, flowers…you name it!

Source: Party Delights

diy-pumpkin-treat-bagsI’m always looking for creative ways to give little gifts, so it’s not surprising that this one caught my eye. I wouldn’t recommend this approach for your 1,000 trick or treaters, though it’d make a great little prize for folks around the office, teachers, etc. I will most likely be handing these out to someone this year…

Source: One Little Project

diy-halloween-yarn-garlandThis is possibly one of my favorite projects because I love yarn. I love garland. And I love tassels! The tutorial shows you how to make each item, so it seems pretty simple!

Source: Growing Up Gabel

burning-spellbook-sculptureAnd finally, for those more crafty in nature and serious about their Halloween décor… (I’m looking at you, Meghan.) This burning spell book is simply stunning! Apparently the original source hasn’t been traced. It’s thought to have been a part of a college sculpture class. If this beauty is yours, let me know because you deserve some credit!

These few items should get you started on your fall crafting adventures. If you want more inspiration, go ahead and follow my Fall & Halloween board, or follow me on Pinterest altogether! (Right now, you’ll see lots of pumpkins, Christmas décor, and flannel. If those are your things, hop on over!)

Also, check the Halloween tag for a few more ideas. Have you seen any other cool ways of decorating lately?? I can’t wait to get started!

Quick & Easy DIY Holiday Gift

for your mistle toes at pamelapetrus.comI saw this idea on Pinterest back in the early days and I’ve filed it away in memory, hoping that I’d have a chance to use it someday. Yesterday (and today) I attended the ALC Retreat with a few of my peers and since it was so close to Christmas, I decided to bring along a little prize for everyone. (The Associate Leadership Council is similar to a board of directors at our local Keller Williams office in which you can be invited to join if you’re in the top 20% of the company. Yay me!) Of course, I didn’t have the idea until the last minute, so I needed something I could throw together quickly. As I was wrapping up the gifts, I decided to share it here with you guys because this little idea could come in handy if you need a quick and relatively inexpensive gift for upcoming holiday festivities.for your mistle toes at pamelapetrus.comfor your mistle toes at pamelapetrus.comAt first, I woke up and started designing my own tag and then I reminded myself, “Don’t recreate the wheel, Pamela.” With a quick google search, I stumbled upon this adorable printable for free! I printed two sheets of the tags on cardstock, and I was in business. I love the turquoise and red and that the designer left a spot for a hole punch at the top…good design gets me every time. Next, I simply purchased a few bottles of red nail polish and attached the tags with string!for your mistle toes at pamelapetrus.comfor your mistle toes at pamelapetrus.comVoila! You have a quick, adorable gift that doesn’t take much time or money. This idea would make a great stocking stuffer, teacher’s gift, or a happy for someone that you don’t know very well. Adding the customized and cheeky tag takes a simple gift up a notch and proves that you put some thought in to it.

Have you seen any other fun and simple gift ideas floating around lately? I’d love to have some other ideas to store away for later!

P.S. My apologies for the poorly lit photos. The lighting in my office is awful!

Sewing Scissors

My own pair of sewing scissorsSometimes it’s funny what little bits and pieces of things you hang on to from your younger years. When you’re thinking back on life, there’s most likely a few specific, seemingly insignificant, memories that stand out. You might remember this one particular time at the park or that day that your Dad spilled Cheerios all over the kitchen floor. In the big scheme of things, these specific memories may not have much affect on the entire picture. For some reason though, these little pieces tend to linger in your mind.

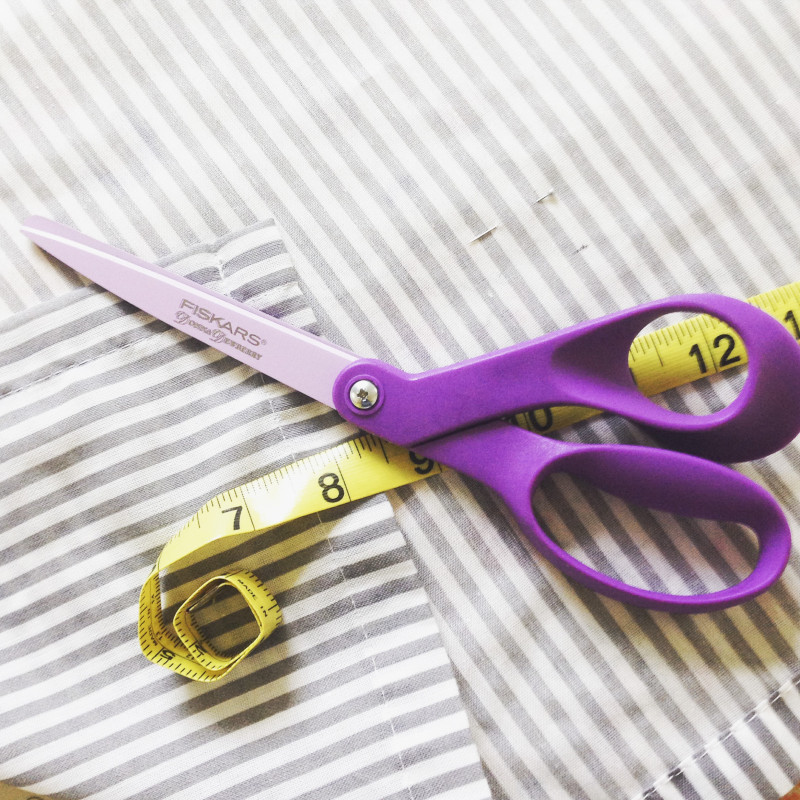
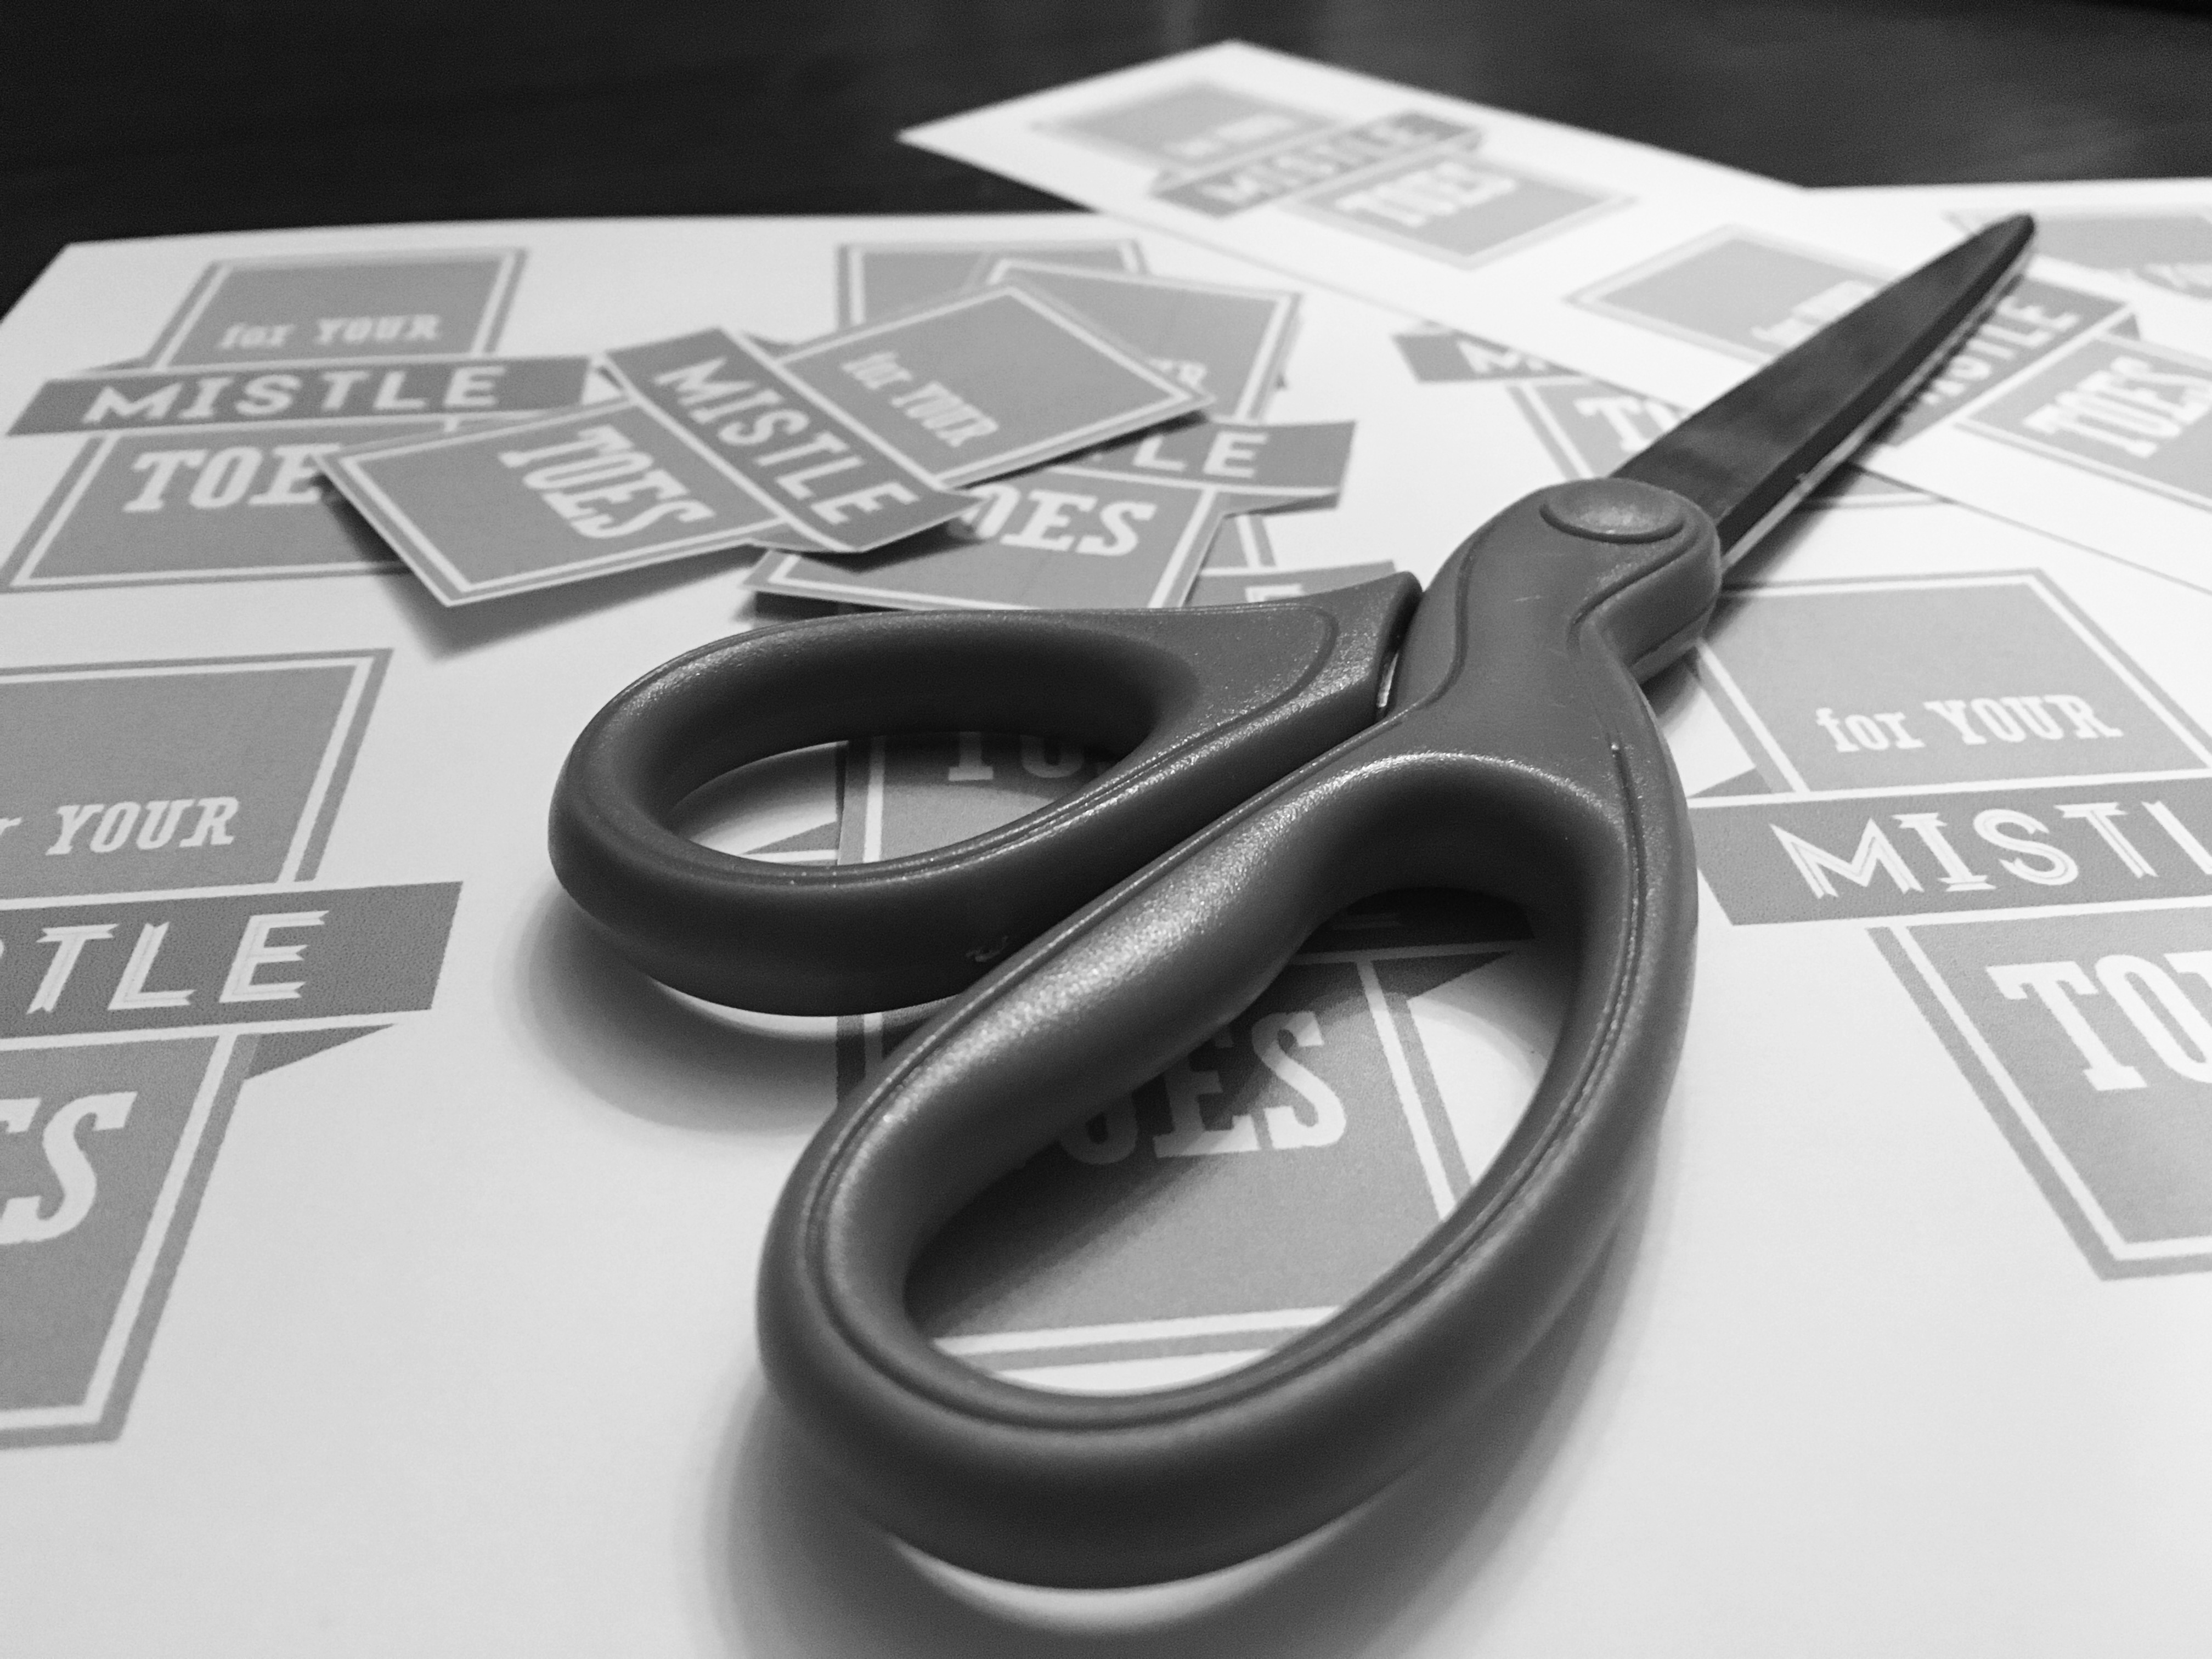
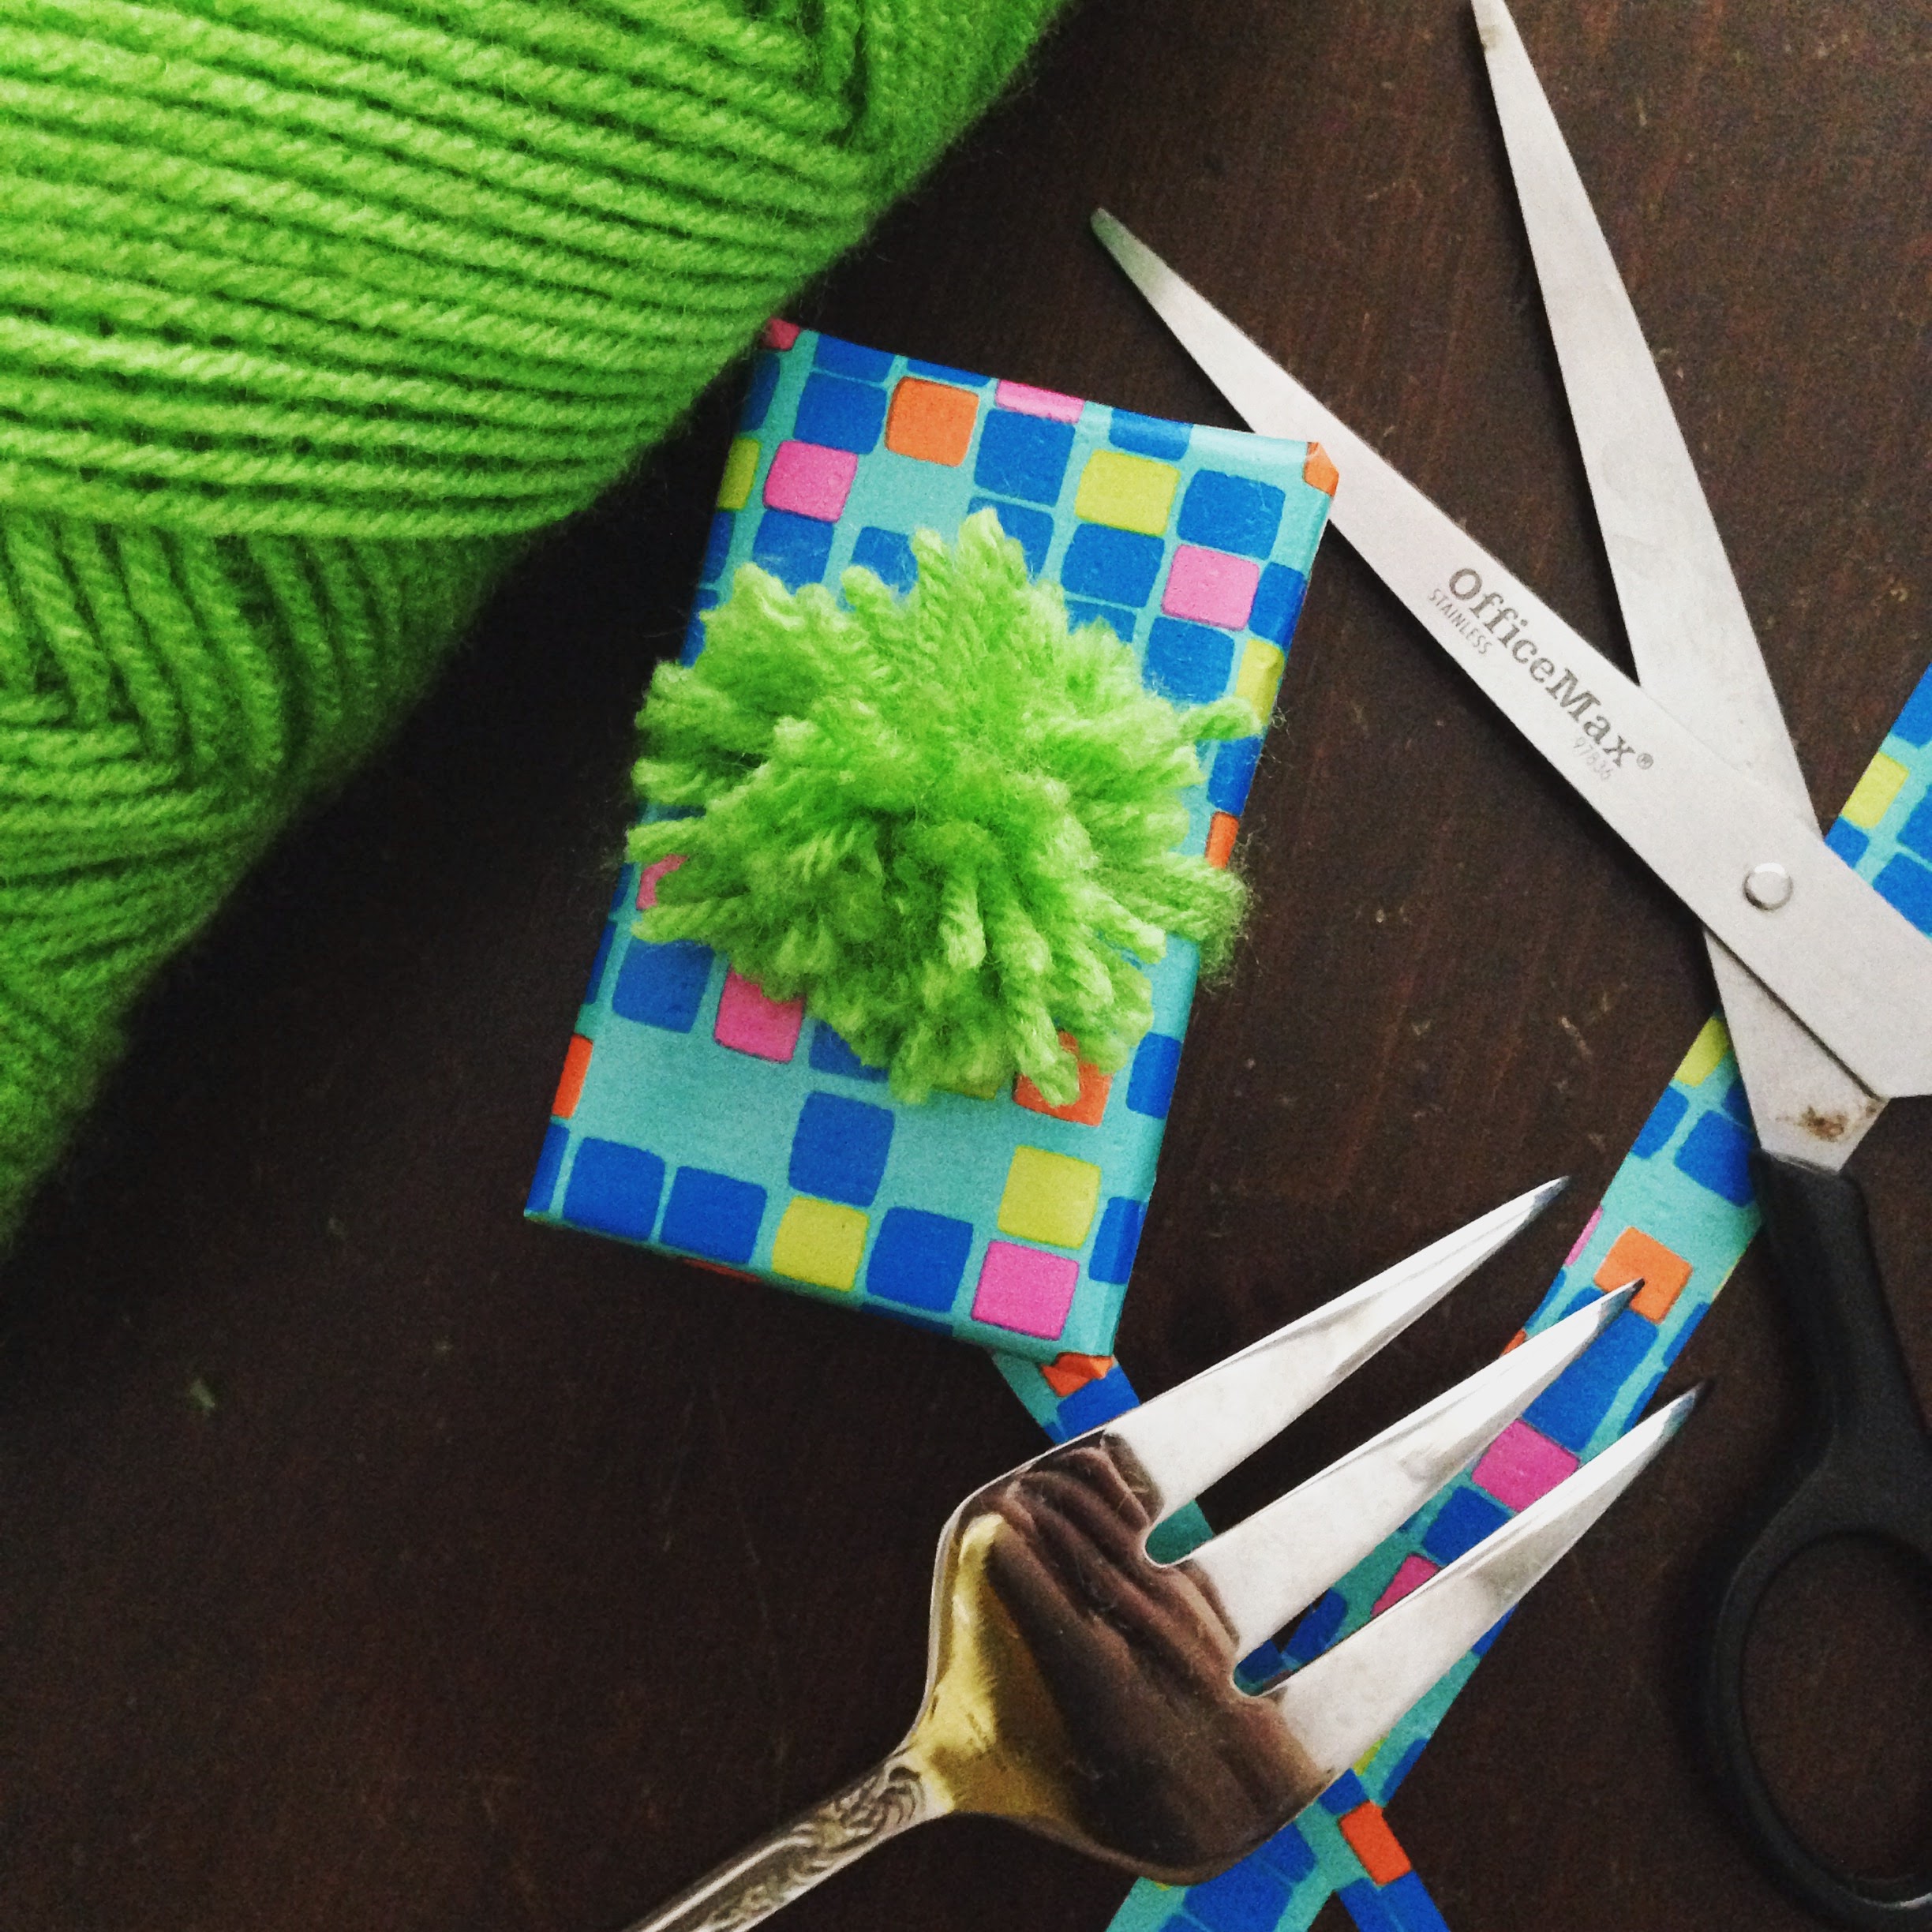
For me, there are several memories of this sort that I could share, and maybe someday I will. For now though, I want to talk about sewing scissors. For anyone who is crafty or grew up in a home where there was even a bit of craftiness taking place, you know what sewing scissors are. You know that the absolute only thing you can use them for is fabric. There is never an instance where it’s acceptable to use them for anything else. Not paper. Not plastic. Not cardboard. If the house were burning down and you could save it by cutting one strip of tiny cardboard somewhere, you best not use the sewing scissors.

The part I find most comical about this is that for the longest time, I didn’t really know why this was the case. Honestly, it didn’t really matter if I understood the reasoning…I just better not use those scissors for anything but fabric. As I grew older, I collected bits and pieces of craft items, and even though I didn’t actually do much sewing, I had sewing scissors. When I decided to make Matthew bow ties for Christmas, I bought a fresh pair. Immediately after, I made sure the husband knew not to use those sewing scissors for anything else. They were simply sewing scissors. Months later, I realized he had been avoiding a certain pair of blue-handled scissors thinking they were the sewing ones. Poor fella.

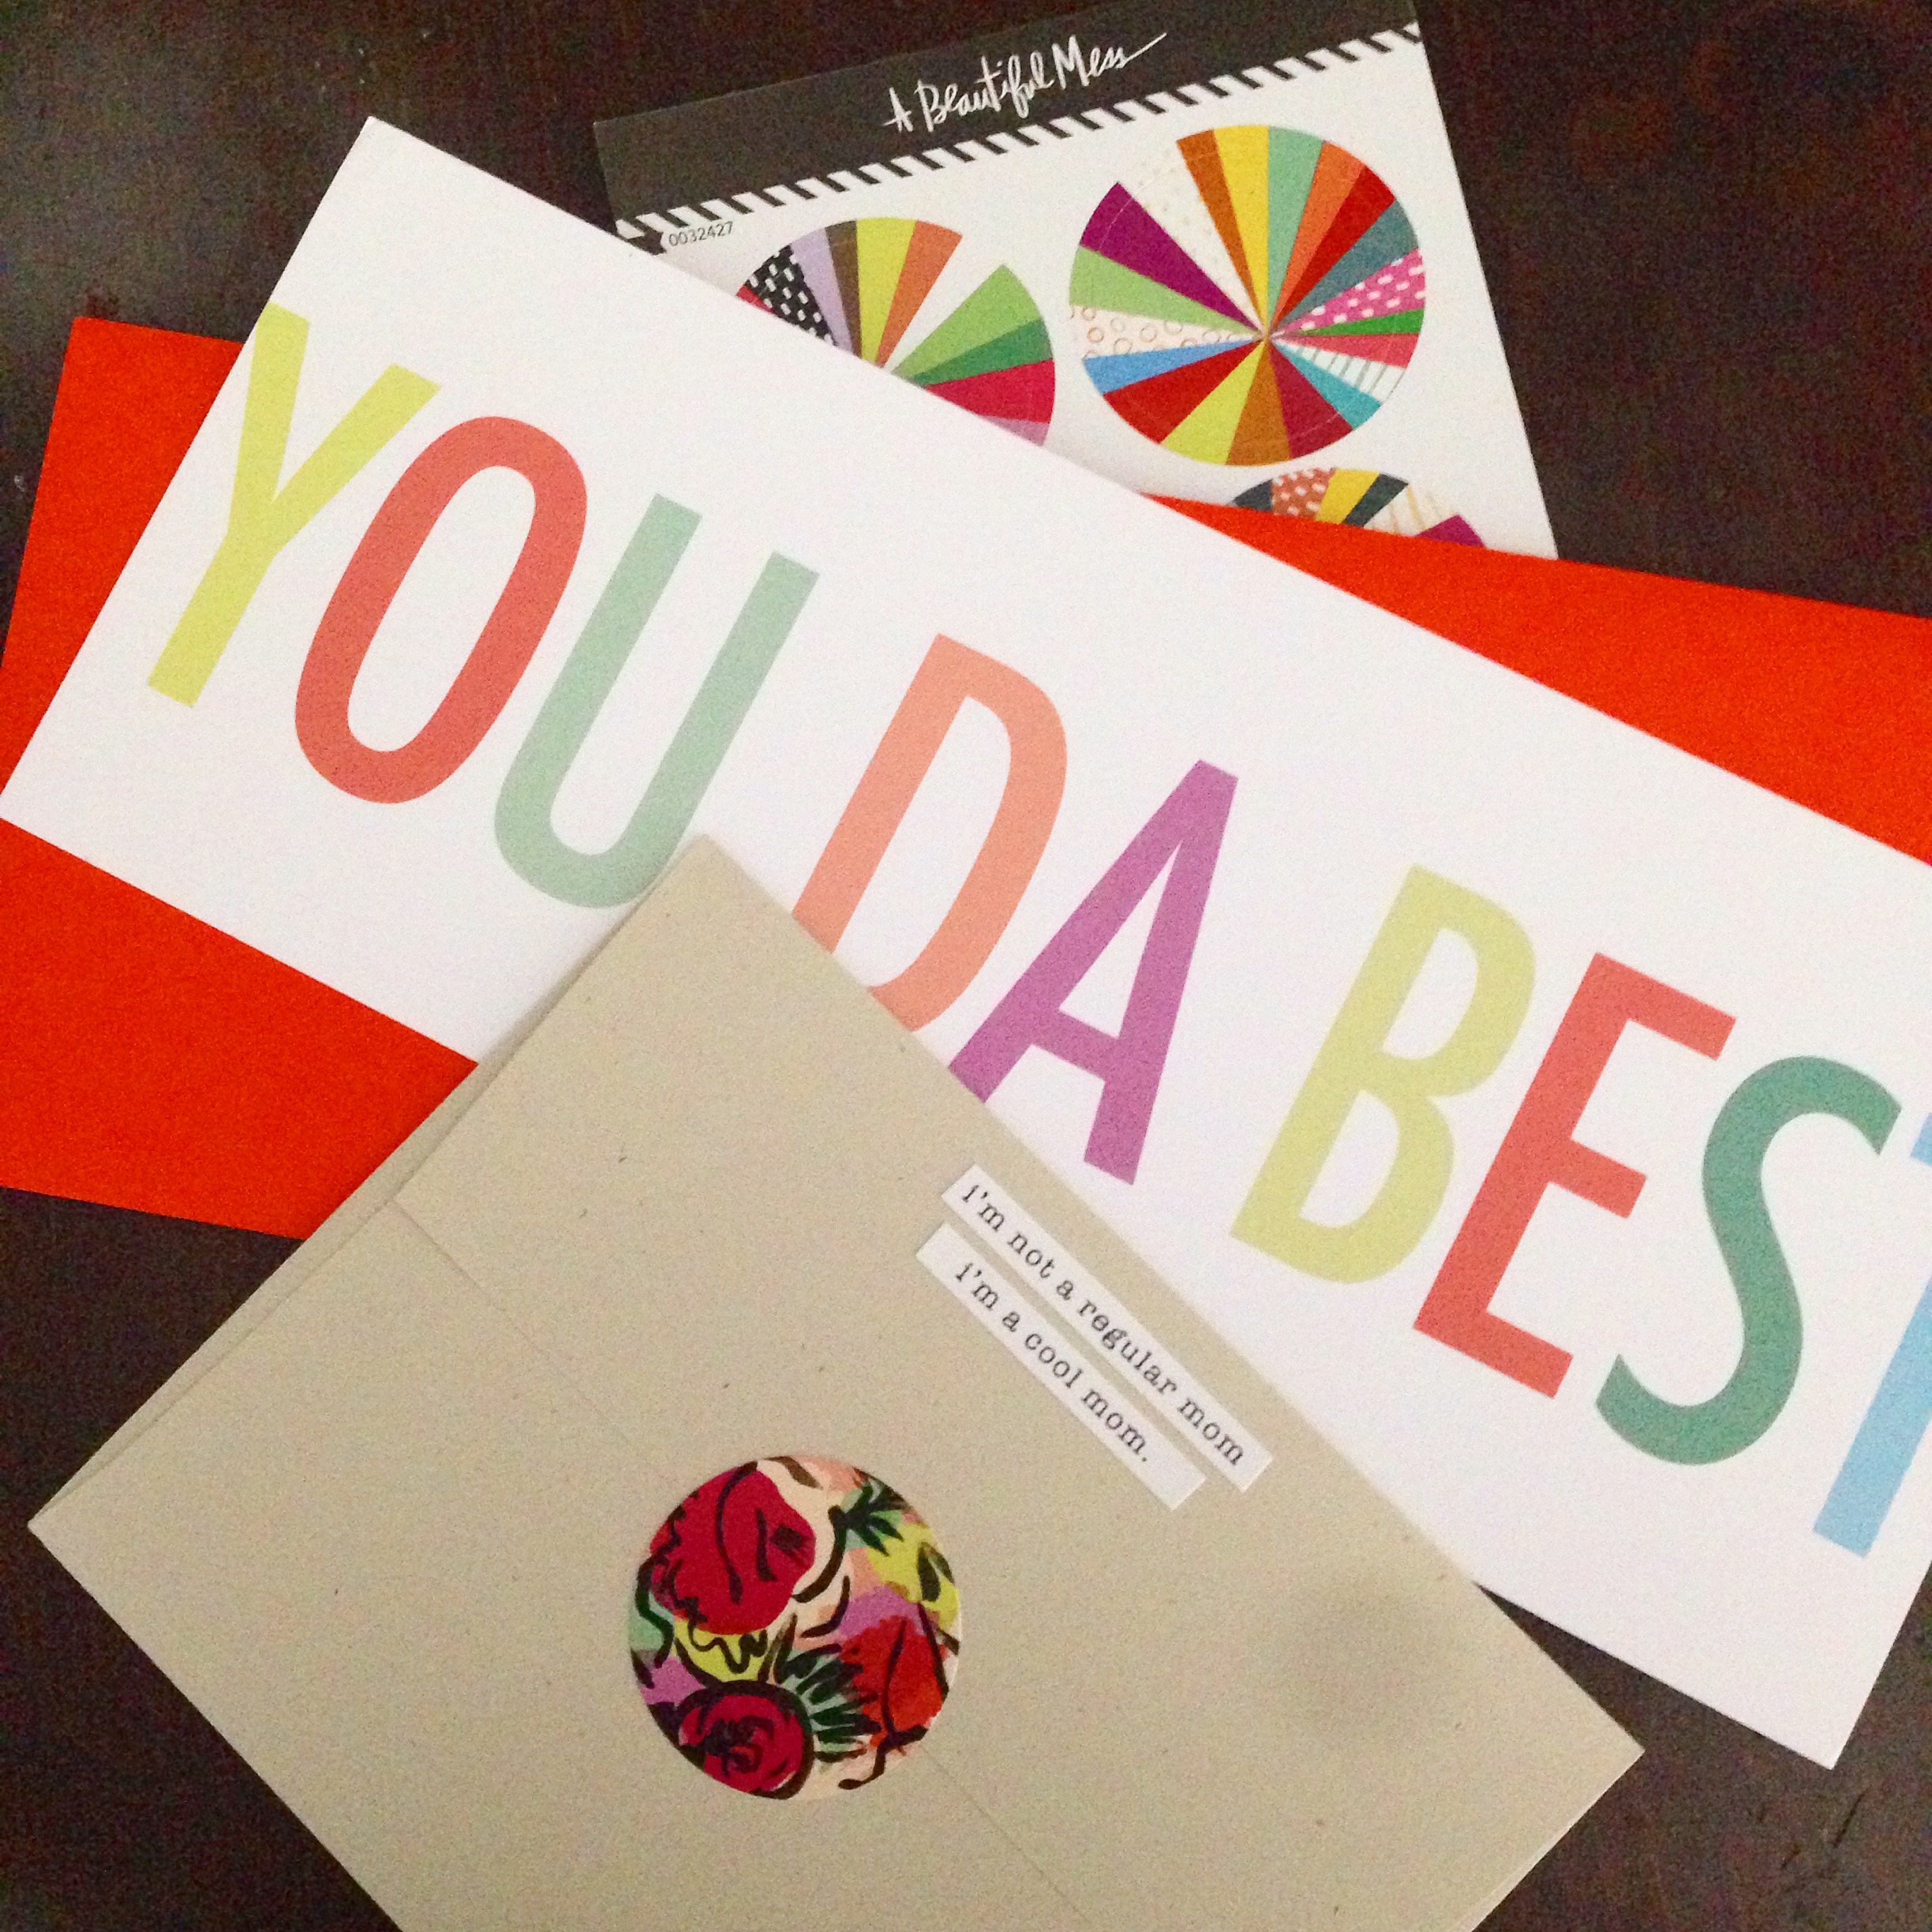
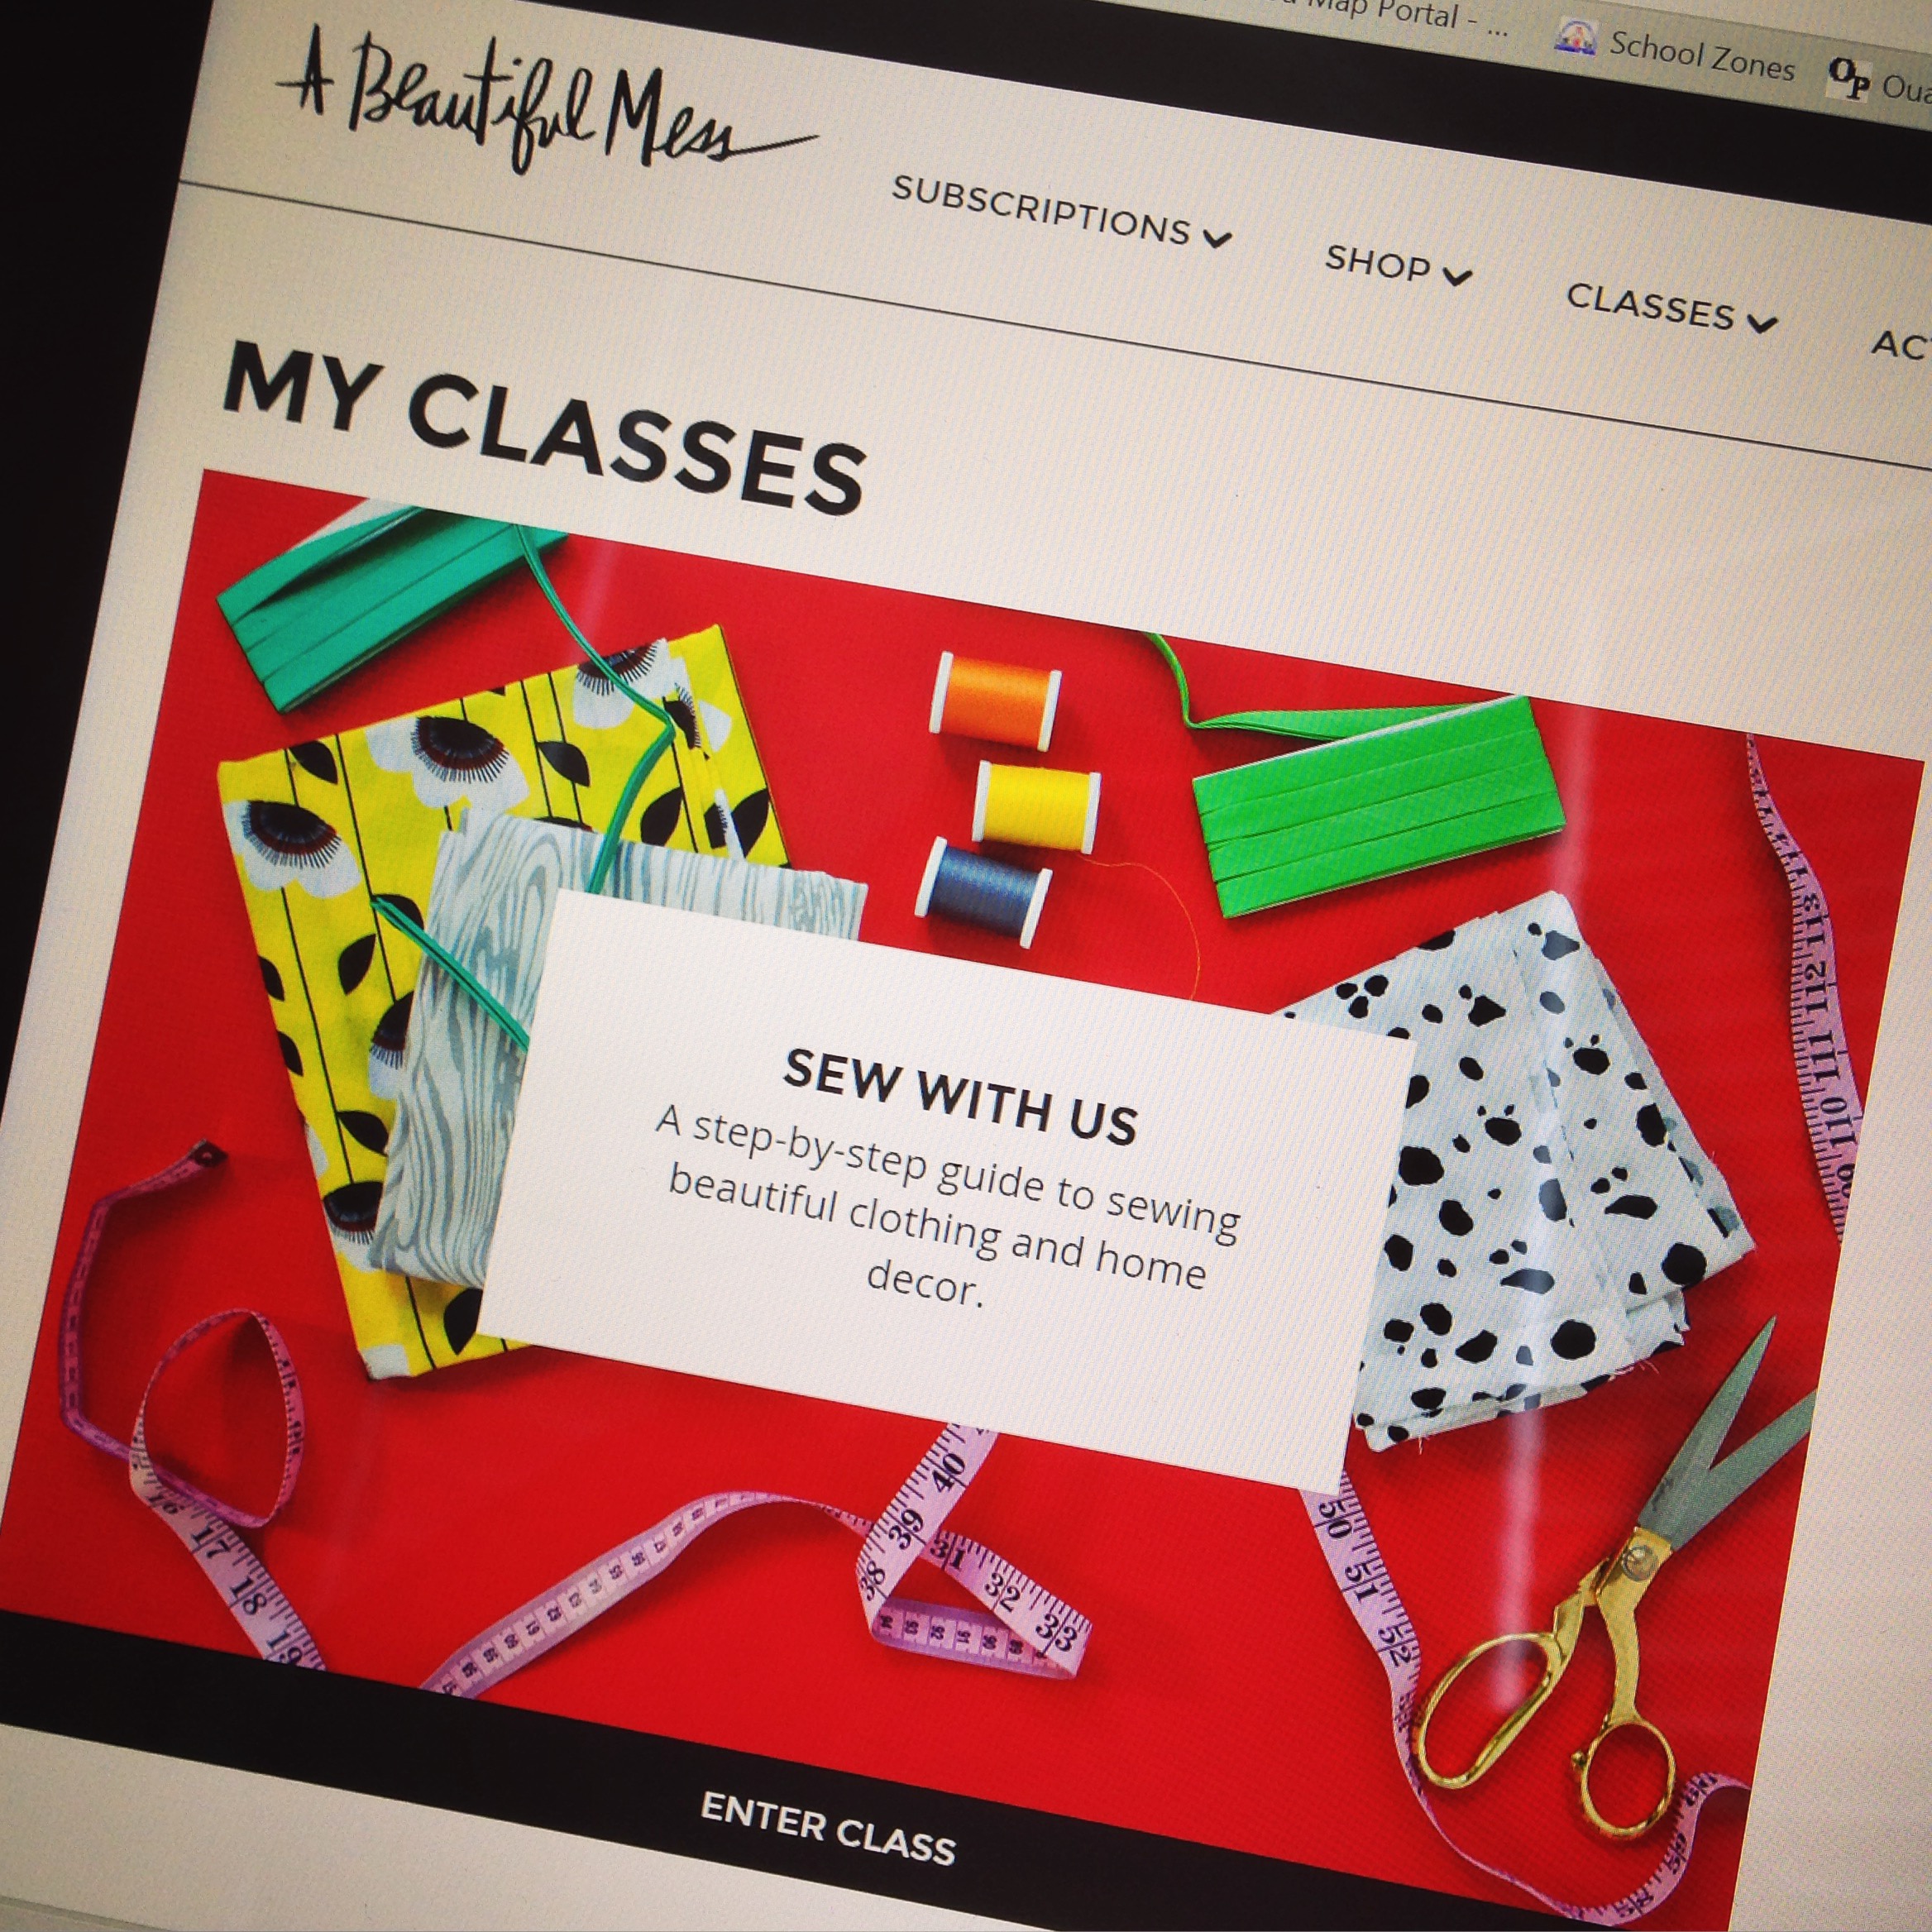
I was reading this post on A Beautiful Mess recently and her references to sewing scissors made me think more about this. (Side note: I really, really want to make that dress.) First, I thought about how interesting is was that “sewing scissors” are somewhat of an industry term. People who’ve never been around much sewing likely don’t see the importance. Anyone who’s ever been exposed to much craftiness though, understands.

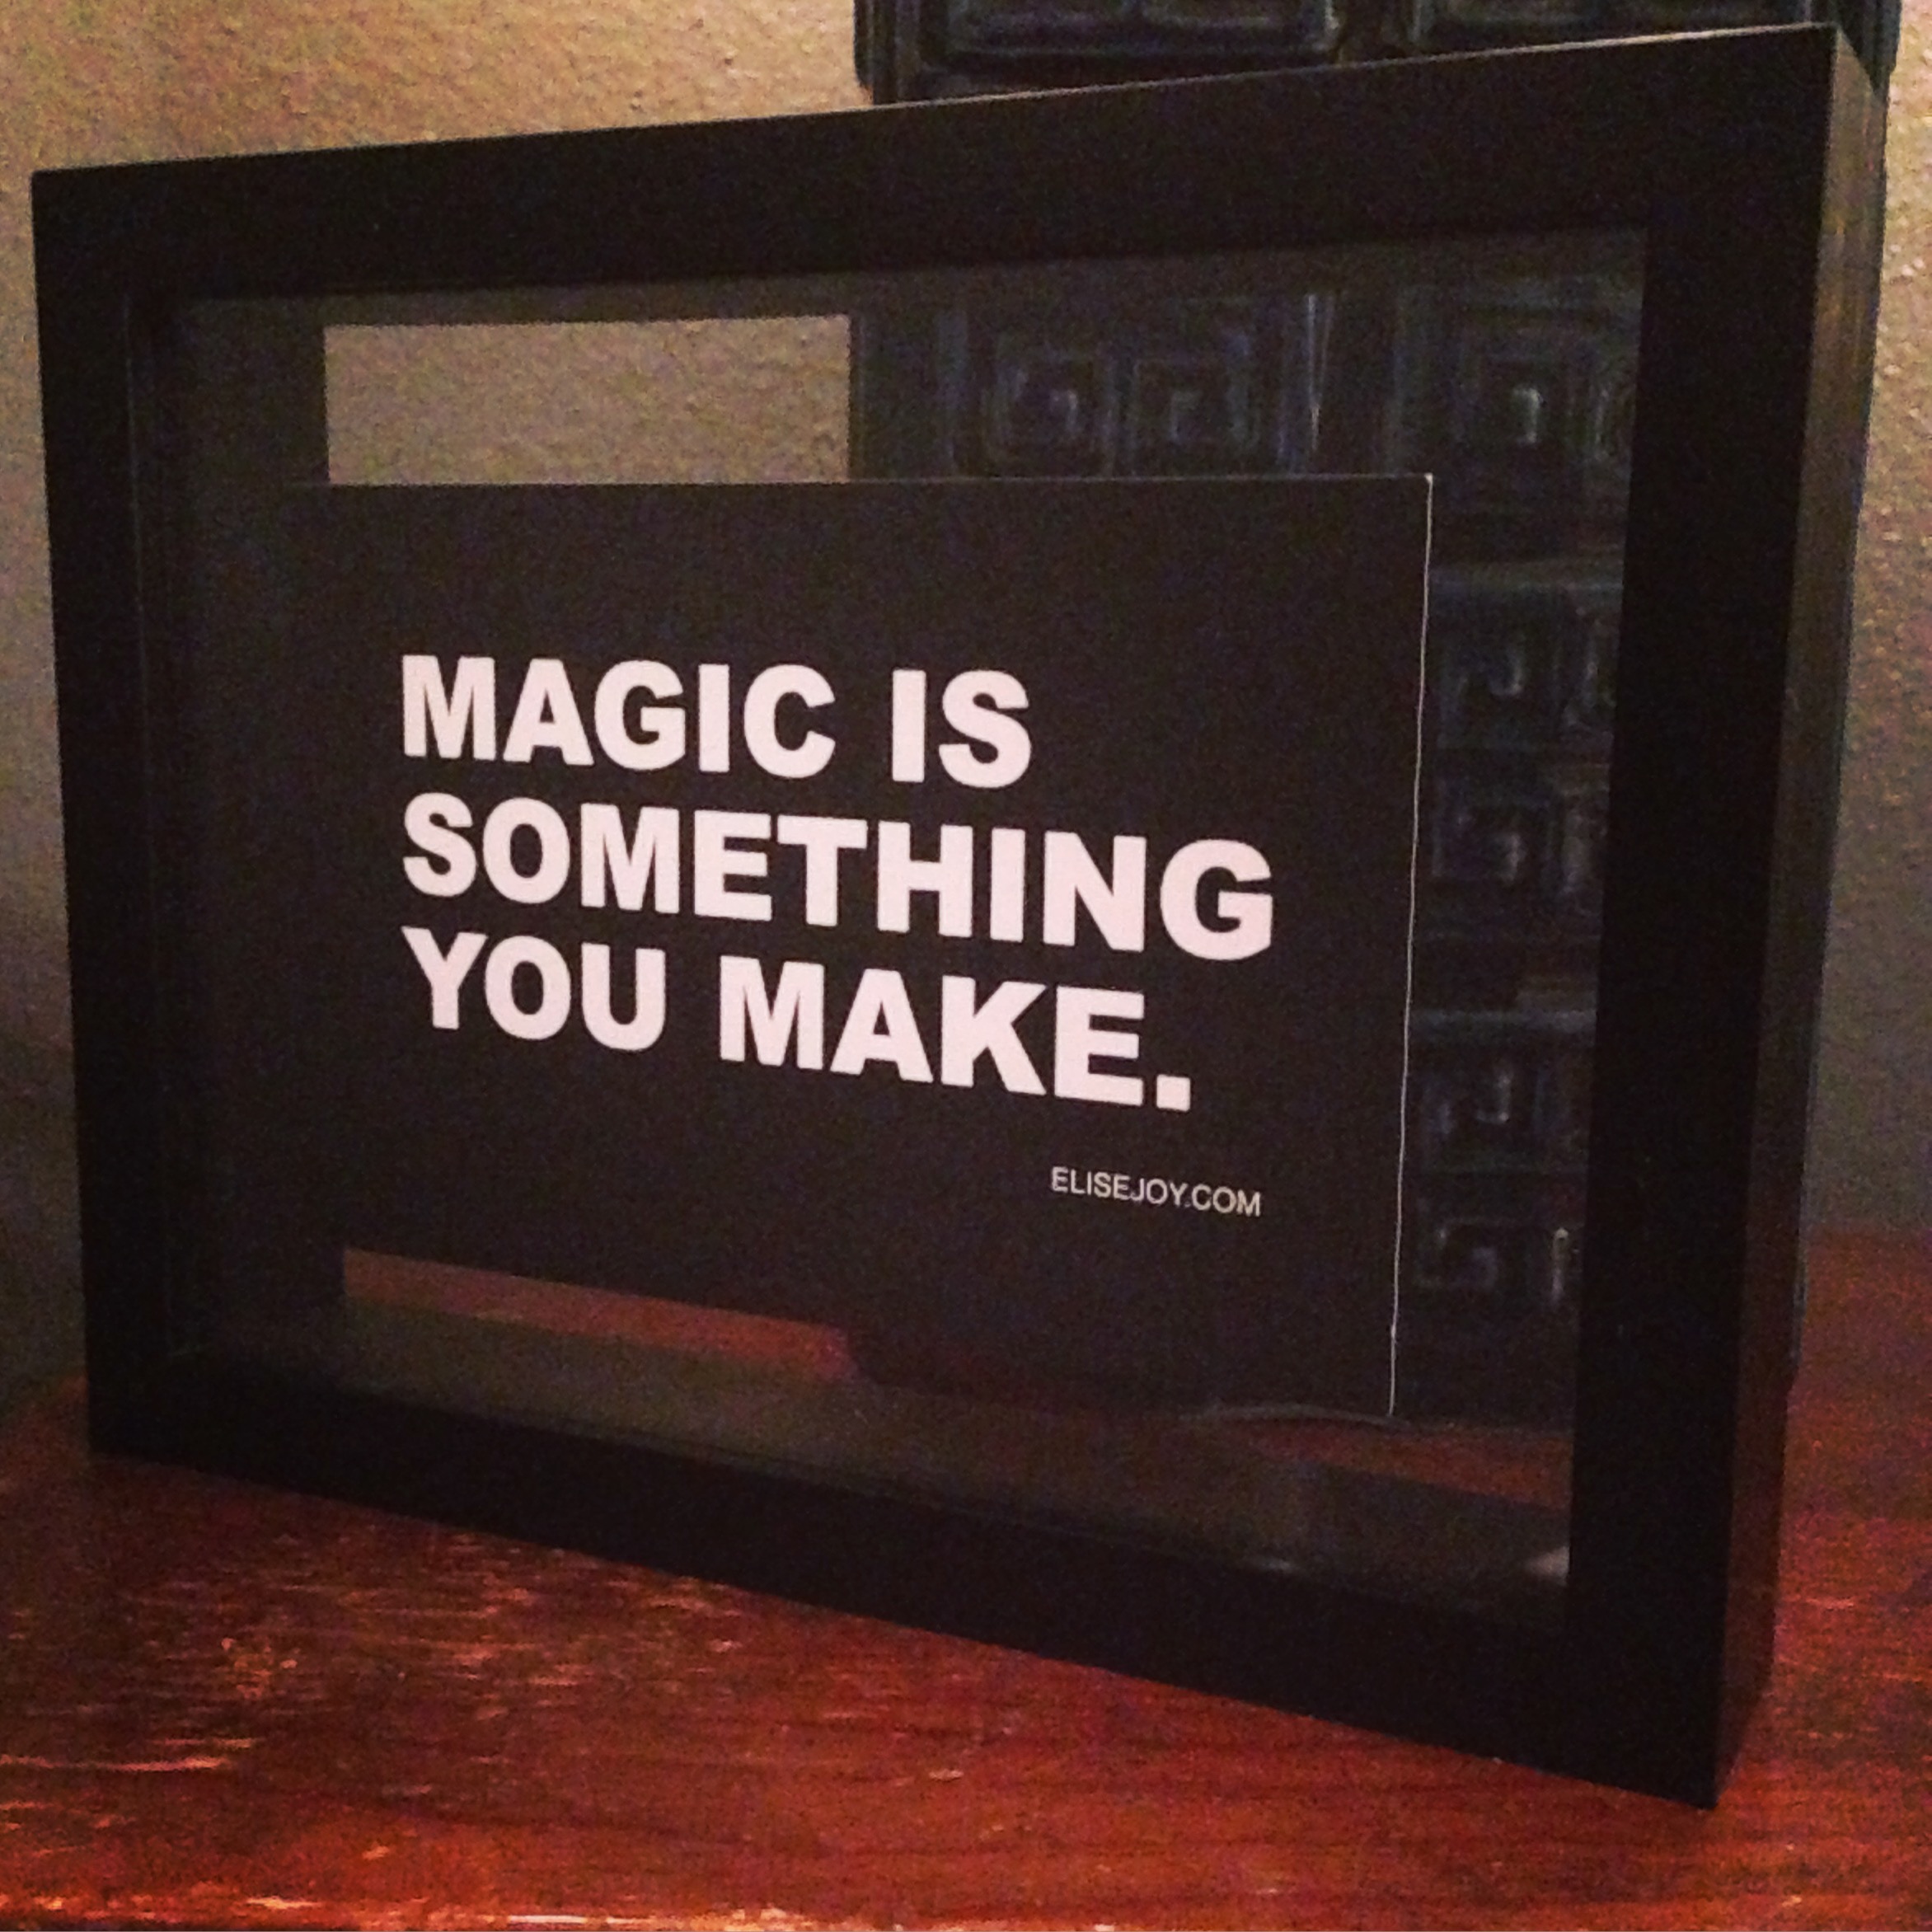
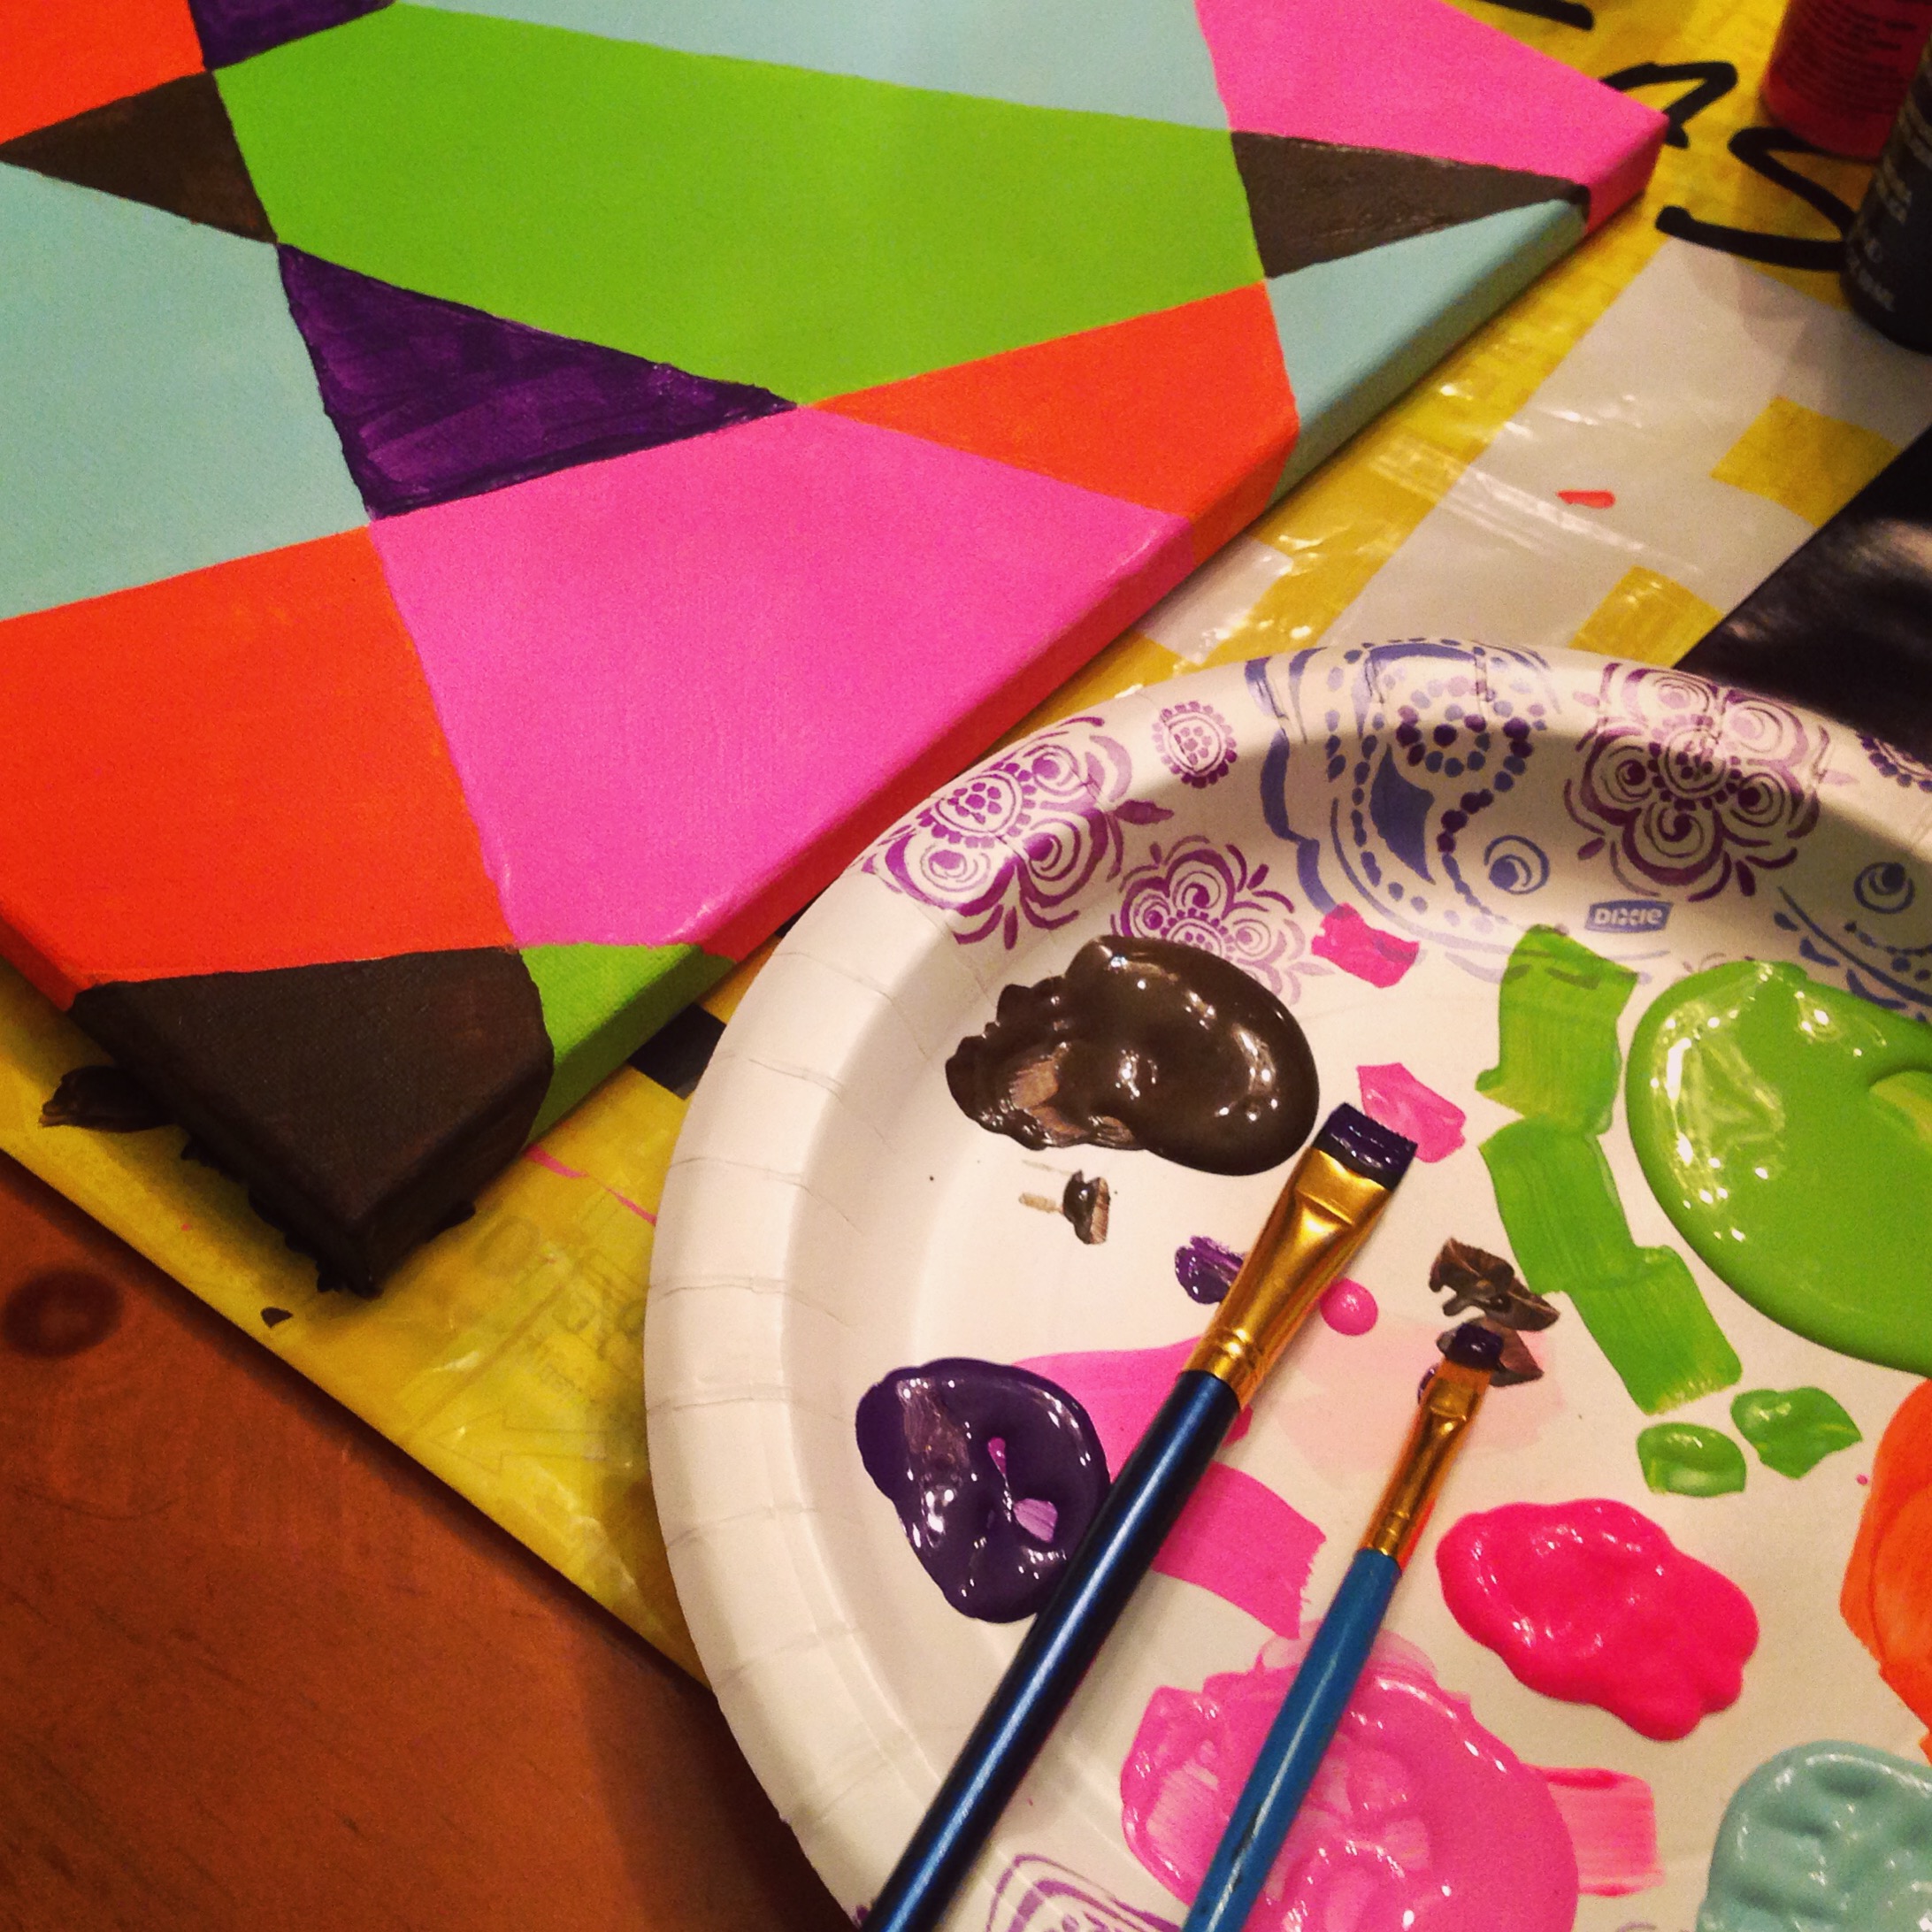
Furthermore, it made me think more about what we learn and how we’re raised and the impact it has on who we become. I was very lucky to have a Mom who created things regularly when I was a child. She was a painter, crafter, seamstress, handy-woman….you name it. I watched her create many things from nothing and saw her explore many different creative outlets. While I didn’t pick up as many of her talents as I would have liked, I was still exposed to that world. I know not to touch someone’s sewing scissors, and I’m not afraid to attempt making something. Lately, I’ve really been exploring my own creative talents a bit, and I finally feel comfortable in pushing myself creatively. I have my own sewing scissors, and I’m glad that I was shown these creative opportunities.

If you don’t have your own sewing be scissors, don’t fret. Maybe sewing isn’t your thing. Maybe crafting in general isn’t your thing. Something is though. Sometimes we have to explore our options a bit before we really find something that speaks to us. Regardless of what your “thing” is, I think it’s important to share it with someone. Allow people to see what you do. Expose your children/friends/coworkers to your talents. They’ll be thankful to have seen something new, and your demonstration may be what leads to them having their very own sewing scissors one day.
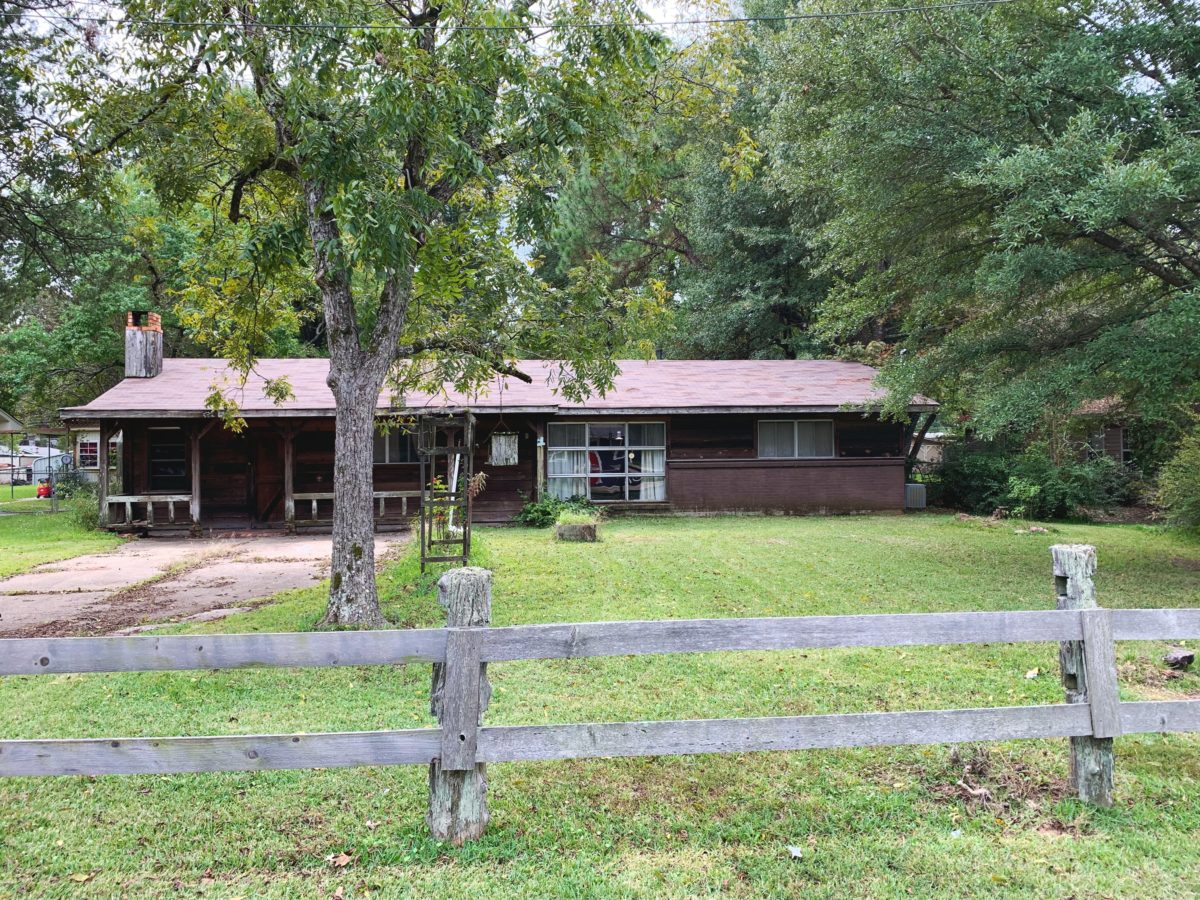
Everything AND the kitchen sink.

new sinknew sink faucetI’ve mentioned time and time again that we have a rather lengthy update list for our house. There really isn’t anything here that we haven’t already changed or plan to change later. The past few weeks, Matthew and I have been a bit discouraged by that ever-growing list. Last week on the patio, we talked about how we probably just needed to start doing some things here and there to make ourselves feel encouraged again. We’d fallen in to the trap of waiting until we had all of the money to do all of the things. Let’s get real…that’ll never happen. After chatting on the patio for a bit, we decided we needed to just bite the bullet and get back to working on the updates. I had no idea that we’d start so soon.

Saturday morning we discovered some puddling water on the kitchen floor. After a bit of exploration, we (and by “we” I mean Matthew) discovered a leaky faucet. After I showed a few houses, he and I headed off to Lowe’s to pick a new faucet. We decided that we’d “price” some sinks while we were there. The old saying goes “everything but the kitchen sink.” In the case of our renovations, we had hoped to replace “everything AND the kitchen sink.” We just weren’t planning to do it quite so soon.

water leakAfter shopping our options, we decided to go ahead and replace the sink while we were working in the kitchen. I practically loathed the one that we had, and while it wasn’t my top priority, we’d save a bit of money (and time) by doing it all at once. We said we needed to start somewhere. I guess the sink would be our jumping off point. In an ideal world, I’d have some lovely farm sink built into my cabinets. Since that’s not in the cards, this one-tray stainless option will have to do.

While we were at Lowe’s I browsed the hardware section and picked a few options for our cabinet knobs. (We haven’t had knobs since we’ve moved in. Don’t judge.) If nothing else, having to replace our kitchen sink and faucet, got me back in the mood to get things finished. (I use that term lightly.) I came home and pinned 100 light options on my Pinterest and started dreaming of the possibilities. (I also did a bit of housekeeping over on Pinterest, so if you’re not already following me there, you should!) While I’d absolutely love an unlimited budget to do everything I want at once, I also know that having to do things one at a time and as economically as possible has some value.

what a mess! handy husband In addition to getting re-inspired, this little project also gave me the opportunity to think about my marriage a bit. You see, I learned early on to let Matthew have the reins on projects like this. For most women, that wouldn’t be a problem. For me though, it was a bit difficult. You see, I grew up with a mom who knew how to (and did) fix/repair/change/build/update everything herself. I feel pretty confident in my ability to do most minor fixes and updates around the house. I certainly won’t argue that I’d do everything perfectly. However, I do feel like I could make it work. When Matthew and I married, there was a bit of a standoff on who would be the one to handle these sorts of things. I definitely wanted him to fix things; I just had a bit of an opinion on how it should be done. Marriage is absolutely about a give and take between spouses. I decided the common DIY would be the area where I gave. That’s why I sat patiently and explored Instagram while Matthew selected what supplies we needed. He gives me the reigns sometimes and I hand them off to him sometimes. Today that means that I’ll search for amazing light fixtures while he determines how to best caulk the new sink. It’s a win, win for everyone.

Use a cute bowl to collect miscellaneous items by the sink! // pamelapetrus.comnew sink!Up next on Matthew and Pamela Very Slowly Update a House from Top to Bottom…..who knows. I guess we’ll see what breaks next. On a serious note, I promised you guys a house tour this month. I’m going to need for things to stop breaking in order to make that happen!

P.S. Don’t look too closely. Neither of the curtains pictured in this post are hemmed. That’s on the agenda for another day.  I’m planning a before/after post (including details about that stenciled wall) once those curtains are hemmed and a few other items are marked off the list. Hang in there!

#the100dayproject – Half Way!

DIY pom pomfirecrackergift bags!mountain sketchGet To Work Bookthe100dayprojectI am officially half way through the 100 day project. Judging by the fact that the project is intended to wrap up on July 14, I clearly didn’t keep up very well. In my usual fashion, I lost momentum quickly in. I regrouped, started again, and then lost momentum again. I think my biggest problem was that I sorely underestimated how difficult it would be to add in some creative time to my schedule. Going from allowing myself practically NO creative time to suddenly deciding that I’d do it every day, proved to be a bit tricky.

After falling off the wagon for the third or fourth time, I decided that I was going to complete the project…it just wasn’t going to be by July 14. Some days I’d “play catch up.” I’d knock out several projects on the weekend to make up for missing several days the past week. That’s all fine and good, yet it does sort of miss the point of the project. Therefore, I decided to cut myself some slack. I decided that I might not be able to give myself creative time every single day. However, I would still create 100 projects. Even if it took me a few additional months, I’d still likely have way more to show for the year than if I hadn’t taken on this project.

I shared a progress report a little way in to the project where I talked about what I’d learned so far. Here’s a few more things that I’ve picked up on recently:

  1. It’s best to do any sort of creative project in the morning. I tended to put off my creative time until everything else was done. Shame on me. First of all, things photograph better in the morning. Some of my photos are dark and not that great because I’d be photographing it with poor lighting late at night. Plus, expecting myself to feel creative and inspired after a long day of work, isn’t the smartest move. Most of the time, I’d come home exhausted and not work on anything, which resulted in me getting off track. If you want to truly embrace your creativity, it’s likely best to do that in the morning.
  2. There are so many mediums that I’ve never tried! In thinking up ideas for the project, I realized that there’s a lot of artistic things that I’ve never tried. This project gave me the freedom to try out charcoals, watercolor, purchase a sewing course, etc. If I wouldn’t have taken on this project, I would have likely continued to put this sort of exploration on the back burner. I’ve learned that I have more artistic interests/abilities than I thought I did, and I’m happy to be trying new things. I’ll succeed at some and fail at others. That’s how this goes.
  3. I mainly wanted to do more painting. I set my hashtag as #100daysofcraftythings because I didn’t want to limit myself. I wanted to be able to do all sorts of projects. However, I learned a little ways in that what I really wanted was to allow myself more time to paint. When planning out projects, I almost always gravitated towards painting. This project helped me to realize that I want to explore this art a bit more.
  4. Everyone has an opinion. Some people love everything. Some people hate everything. I already knew that I can sometimes get my feelings hurt rather easily. Creating something and then getting somewhat negative feedback on that thing, takes hurt feelings to a whole new level. I have a new respect for “real” artist that put their art out there and in turn open themselves up to all sorts of unsolicited feedback. If you create something and freely share it with the world, I have mad respect for you.
  5. I suck at following too strict of rules. The entire concept of this project is that you take time each day to nurture a creative habit. I totally get it AND support it. However, I also have a natural aversion to following the rules too closely. I think the main reason I couldn’t keep up was reason #1 (above). However, I also think that I sort of rebuked the idea of having to do something every single day…even if it’s something I wanted to do. I think I needed to give myself the freedom to not have to do it sometimes.

All in all, I’m still thrilled I took on this project and I also know that I’ll be immensely proud of myself once I reach #100. I’m truly learning a lot about myself and my creative ability through the process. I think that I’m going to benefit greatly from “giving” myself this time, and I can’t wait to report back with 100 projects completed.

If you’d like to see what all I’ve been up to, check out #100daysofcraftythings on Instagram. Can you imagine that there will eventually be 100+ photos there?! I hardly can’t.


#the100dayproject Progress Report

100 Days Project (12)Re-Purposed Muffin Tins100 Days Project (2)100 Days Project (3)100 Days Project (4)100 Days Project (5)100 Days Project (6)Business Owner100 Days Project (8)100 Days Project (9)100 Days Project (10)100 Days Project (11)

Day 4 – I used my ABM happy mail to send lovely lady letters to some fabulous friends!
Day 5- I re-purposed muffin tins to use for earring organization!
Day 6- I FINALLY painted the wooden rod for my DIY rope curtain.
Day 7- I framed a card (from elisejoy‘s packaging) & got it ready to complete a gallery wall.
Day 8- I did a bit of miscellaneous painting. 🎨
Day 9- I added a third coat + touch ups!
Day 10- I added a bit of sparkle and called it DONE!
Day 11- I doodled my BOLD law that I focused on for the week.
Day 12- I made these yummy pineapple mojito cupcakes!
Day 13- I quickly free-handed a 4×6 card.
Day 14-  Made another black & white painting (my fav)!
Day 15- Signed up for the Sew With Us e-course from A Beautiful Mess!

I’ve been participating in #the100dayproject for some time, and I’ve learned a lot already. Overall, I’ve done fairly well with the project. Although, I did fall behind early in the project and had to play catchup.

Here’s what I’ve learned so far:
1. Committing to something for 100 days is tough!! If I were being completely honest, I’d say that I have slight commitment issues. They pop up from time to time, and I think it stems from my fear of being locked down. I also struggle with the thought of having to do something (even something that I enjoy) repetitively. I need my day to look different each day and the thought of repetition makes me want to run for the hills! It was on day 8 that I realized how large of a commitment I’d made. Ultimately, I had agreed to do something every single day for 100 days. I felt trapped.

After the shock wore off, I realized that this commitment was a good thing. Sometimes I might regret it or fall behind. However, the finished product would be well worth it.

2. I can get so much done!! I am certainly not a lazy person and I don’t typically come home and waste time. However, I do tend to put off tasks until I have “plenty of time” to do them. For example, I wouldn’t have sat down on a random evening and made a bracelet or painted something. Instead, I would have waited until I had an entire day off with nothing else on the agenda. Do those exists?? Not usually. Therefore, I tend to seldom get around to those crafty projects that I’d like to do. Committing to this challenge has enabled me to get so many projects done! I force myself to make time for being crafty…even when I don’t really want to sometimes. In return, I’ve marked off several items from my list AND I’ve attempted new projects.

Take jewelry making, for example. I’ve never really had much of a desire to make jewelry (other than friendship bracelets when I was 7). However, I knew I needed a few quick and easy projects that I could knock out when I was short on time and energy. Voila! I attempted something new.

3. When it comes to crafty things, I’m not at all a perfectionist. In general, I’d say that I struggle a bit with the concept of perfectionism. (Read more about that here.) In practically every other area of my life, I’ll avoid a project until I have time to do it just right. There I go again! When it comes to craft projects, that perfectionist tendency goes right out the window. I’m a champion of good enough. Take these muffin tins, for example. They had chips here and there from debris sticking to the wet paint. Totally fine. Let’s say I’m making a pillow and the seams aren’t straight. Nobody cares. When it comes to handmade items, I’m perfectly ok with good enough. This project has made me even more evident of this and I’m quite proud of it.

I think that part of the beauty of tackling a large project is how much you can learn from it. It’s a certainty that you’ll learn something about yourself or the world around you. Even though I was secretly wanting to give up on day 8, I’m glad that I pushed through and I can’t wait to see what day 100 feels like.

Have you tackled a big project like this lately? I’d love to hear what you learned!

Re-Purposed Muffin Tins


IMG_2231


Have some old crusty looking muffin tins?? It turns out that these make great organizers for your earrings! I was just about to toss these pans when I realized I could likely re-purpose them.

Re-Purposed Muffin Tins

Re-Purposed Muffin Tins
Here’s how to do it:
1. Clean the pans. Be sure the pans are clean and free of debris. Any extra granules or particles will show up after they’re painted and cause the paint to not stick.

2. Spray the bottom of the pans. I used Rust-oleum for metal spray paint in copper for my pans. You’ll want a paint that’s designed for metal. Otherwise, the paint will flake off too easily. I recommend starting with the bottoms because if there’s overspray from the top, it won’t matter as much.  I did two coats on the bottoms.

3. Spray the top of the pans. I did 3 light coats of paint. You have to be careful to not overspray while trying to get the paint into the cups. I held the can 7-8 inches from the pans and kept it moving, which seemed to help achieve an even coat while getting into the crevices. (Be sure to let the paint dry between each coat.)

4. Spray the pans with polyurethane. Be sure the paint is dry before spraying. I used Minwax fast-drying polyurethane and did 3 medium coats. This step isn’t mandatory. Although, adding the extra coating will help keep the paint from chipping after excessive use. It will also protect the paint from too much damage from pointy earring backs. Again, be sure to let it dry between coats. (I did not seal the bottoms…just the tops.)

5. Fill with goodies! After the pans are dry, fill them with earrings, craft supplies, or whatever your little heart desires. The shallow cups allow you to sort smaller items while still being ableto see your options clearly.

Re-Purposed Muffin Tins
If you look closely, you’ll see that these aren’t done perfectly. It was a windy day, and I ended up with a bit of yard debris stuck to my wet paint. However, the important thing to note is that I could mark this project off of my list and that I ended up with a functional storage solution for my home. After all, “it doesn’t have to be perfect to be beautiful.”

Personally, I love seeing an everyday item repurposed into something more useful, especially when it was otherwise going to be trashed. Have you seen any other useful ideas lately? What else could these tins be used for? If you decide to re-purpose some old muffin pins, please share your finished product!

Side note: I’ve been planning this project for months and haven’t actually taken the time to do it. After joining #the100dayproject,I finally got it done! Happy crafting, everyone!

Sundays are the best days.

Easy Sundays

This past Sunday was something like what dreams are made of. Matthew was home studying for his NCLEX. While he studied, I worked on project after project. Amidst negotiating contracts, chatting with new clients, and addressing issues at an open house, I also got so much done at home and enjoyed the heck out of a sunny Sunday.

This Sunday’s activities included:

  • a 6 mile bike ride together
  • driving to pick up lunch with the windows down and music blaring
  • eating lunch on our patio, again with music blaring
  • working on this and that with the windows open and taking time to chat in between (Remember, opening all of the windows in my house is one of my favorite things.)
  • laundry…boo.

I also watched a lizard shed his skin AND THEN EAT IT. It was literally one of the most disgusting things I’ve ever seen.

IMG_0962

While Matthew studied, I got caught up on #the100dayproject. Friday and Saturday were so incredibly busy that I didn’t have a chance to do my daily activities. I made up for it on Sunday by doing three items in one day. I painted muffin tins (more on this later), painted the rod for a rope curtain I made (more on this later too), AND I framed an elisejoy promotional card to add to a gallery wall.

Rope Curtain

In addition to these fun projects, I did still have work to do. I answered phone calls, texts, and emails. I attended a bridal shower and showed a house on the way back home. Like I’ve said before, there’s hardly a such thing as a day off in my world. However, this Sunday was very close. I realized that these days are the ones that give me the energy to make it through the busy work days. They’re what keep me from going completely insane.

Elise Promo Card

At first, I didn’t want to share this post because I felt like no one should know that I stayed home and did fun things on a Sunday. Then I realized something more important, I deserve these days. I needed the rest. I needed the sunshine, and I needed the time at home with my husband. Here’s to hoping for many more of these days in the near future! I hope you, too, had a fantastic weekend. Now, I’m off to conquer a massive, two-page to-do list!