Category Archives: Projects

Don’t be afraid to get your hands dirty!

Spring Market 2013

It’s been quite a while since my last post, but work has gotten in the way. (Silly job!) We just wrapped up Spring Market 2013, and it’s taken up practically all of my time the past two weeks. Soooo…since Spring Market has been my life recently, I thought I’d share!

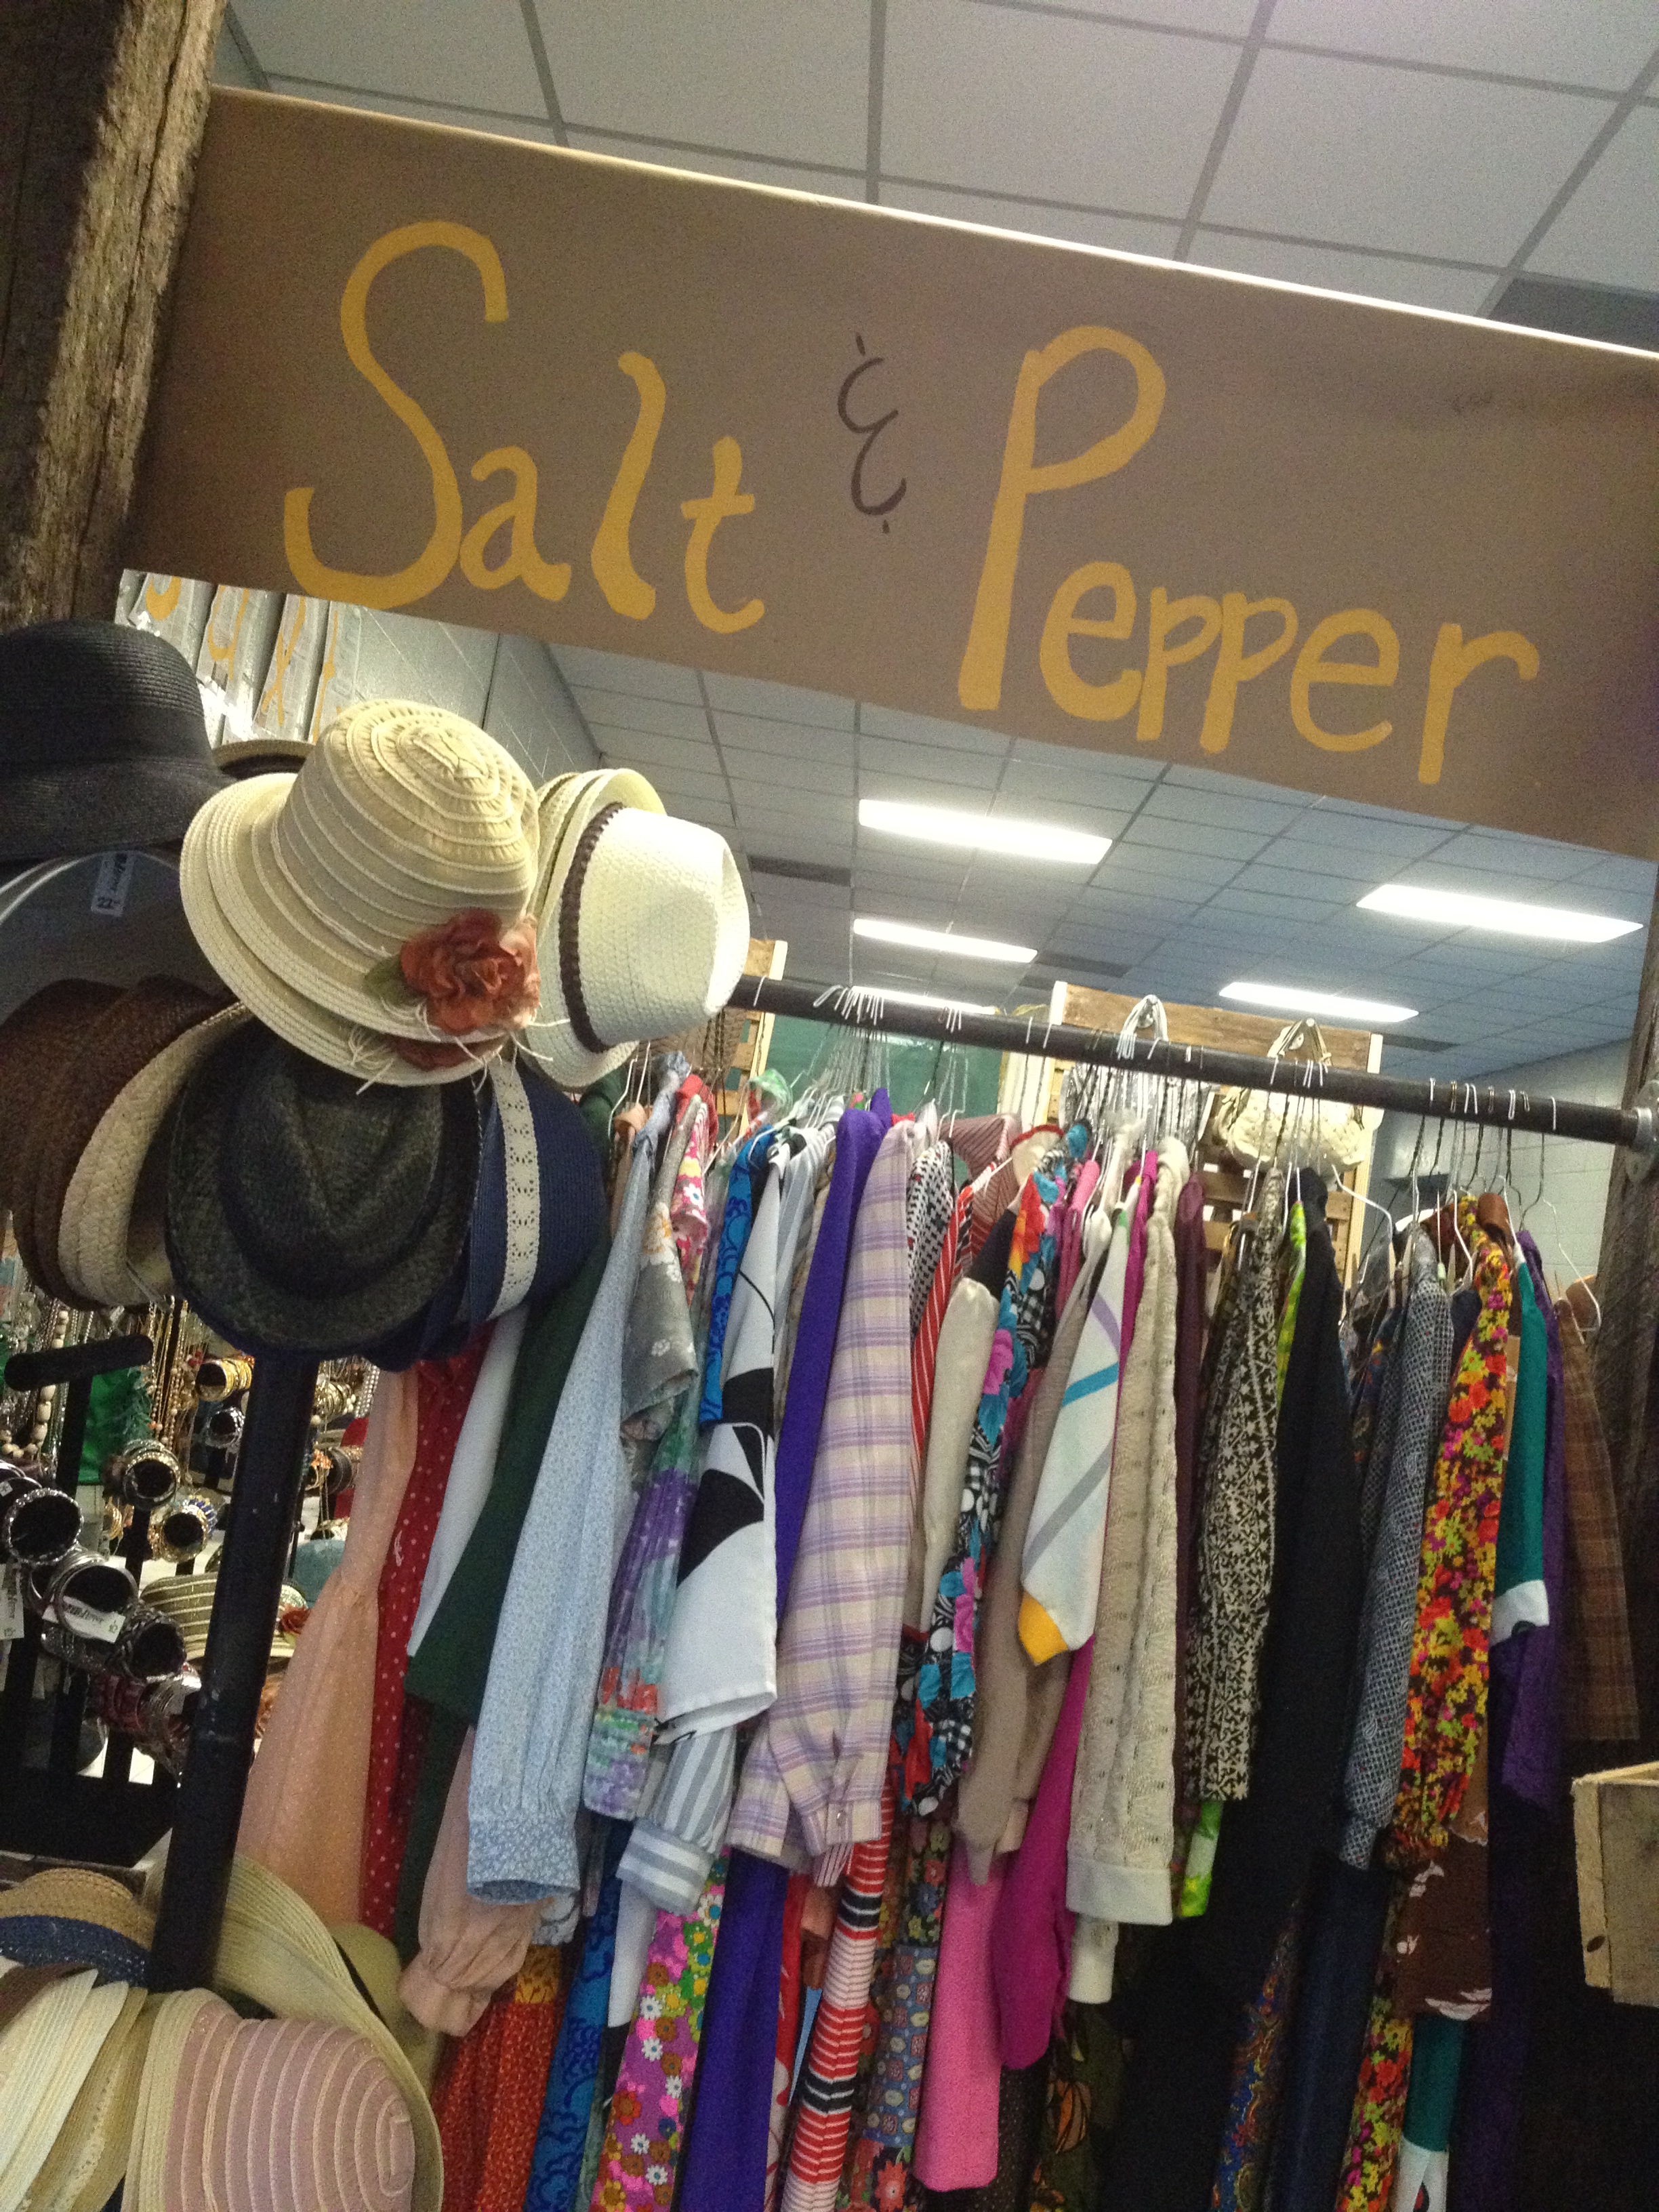
At Salt & Pepper, we are known for doing things outside the box. Our Spring Market booths are no exceptions. Here are a few pics of years past. As you can see, we don’t roll in slat board racks like most do. Of course, we’re going to do things the hard way!

Spring Market 2010 - Our first year!
Spring Market 2010 – Our first year!
Spring Market 2010 - Hate this sign was ruined in the flood =(
Spring Market 2010 – Hate this sign was ruined in the flood =(
Spring Market 2011
Spring Market 2011
Spring Market 2011 - rusted tin
Spring Market 2011 – Boy, that tin was a pain to haul in and install!
Spring Market 2012 - pallets galore!
Spring Market 2012 – This was an awesome year! Wish you could see all of the little details.
Spring Market 2012 - railroad timbers
Spring Market 2012 – Those timbers were HEAVY!

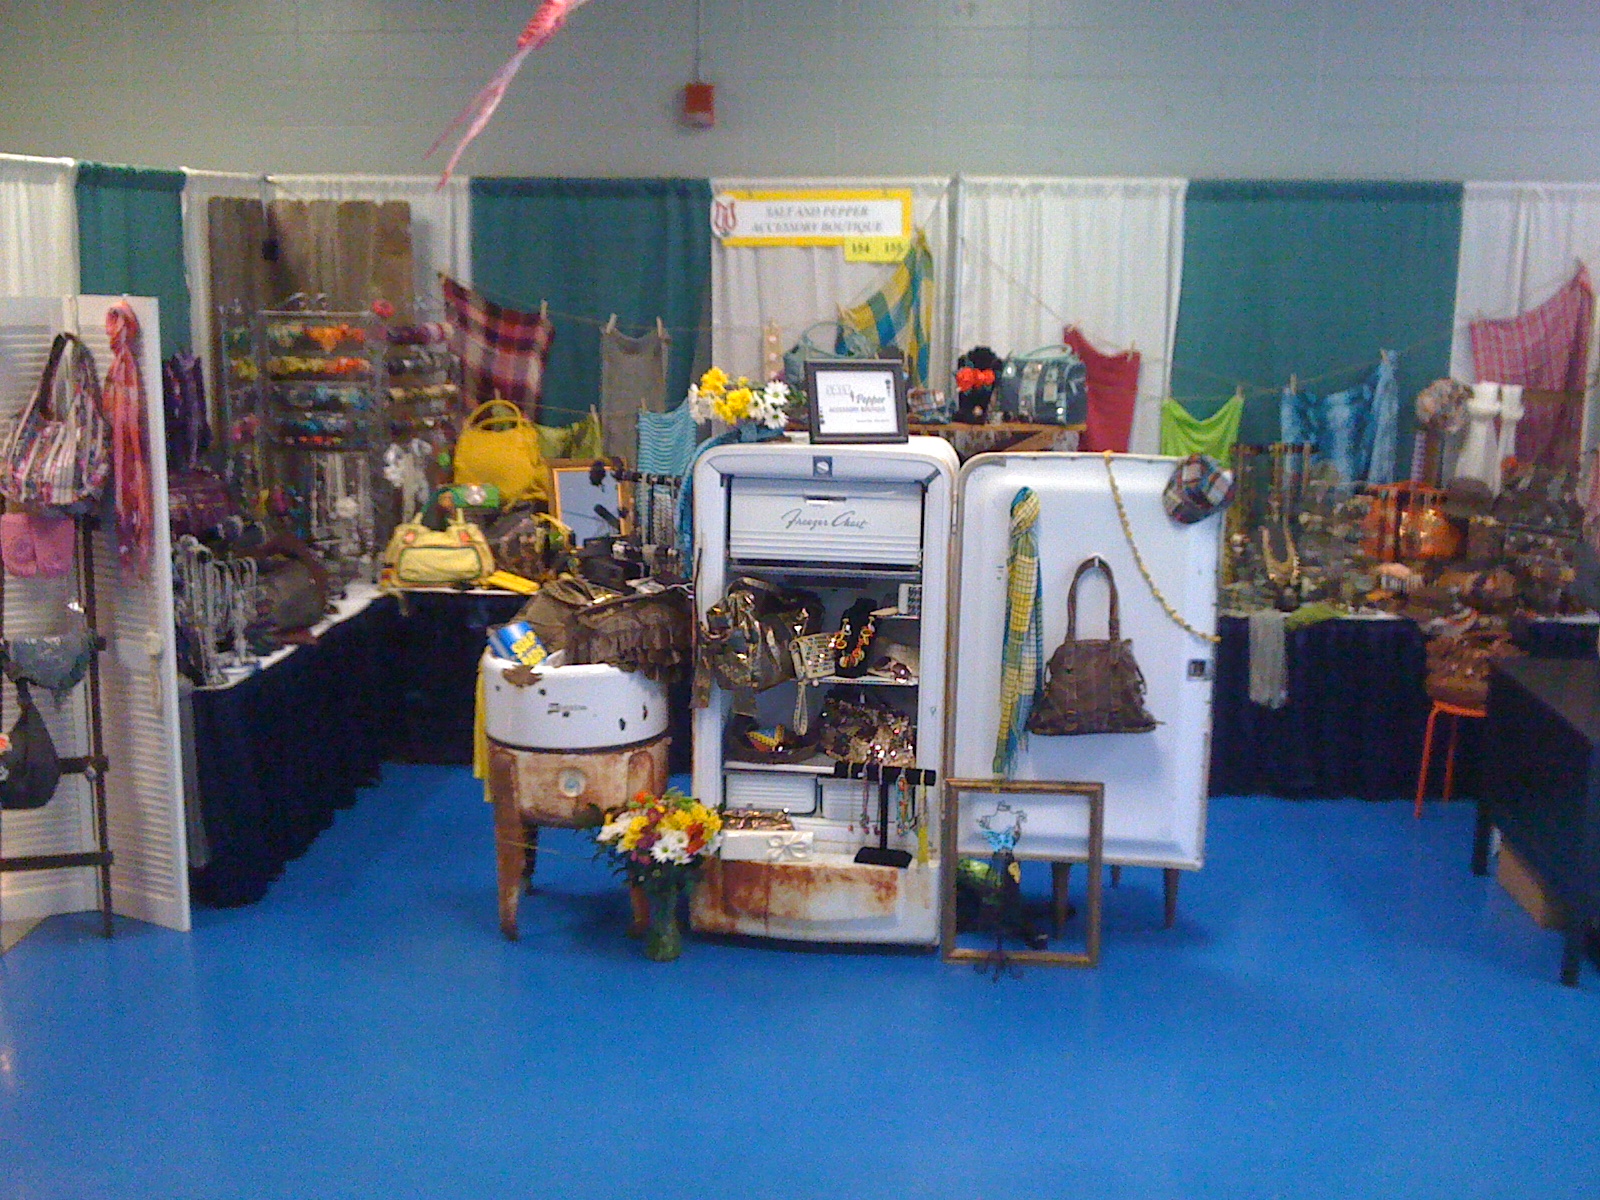
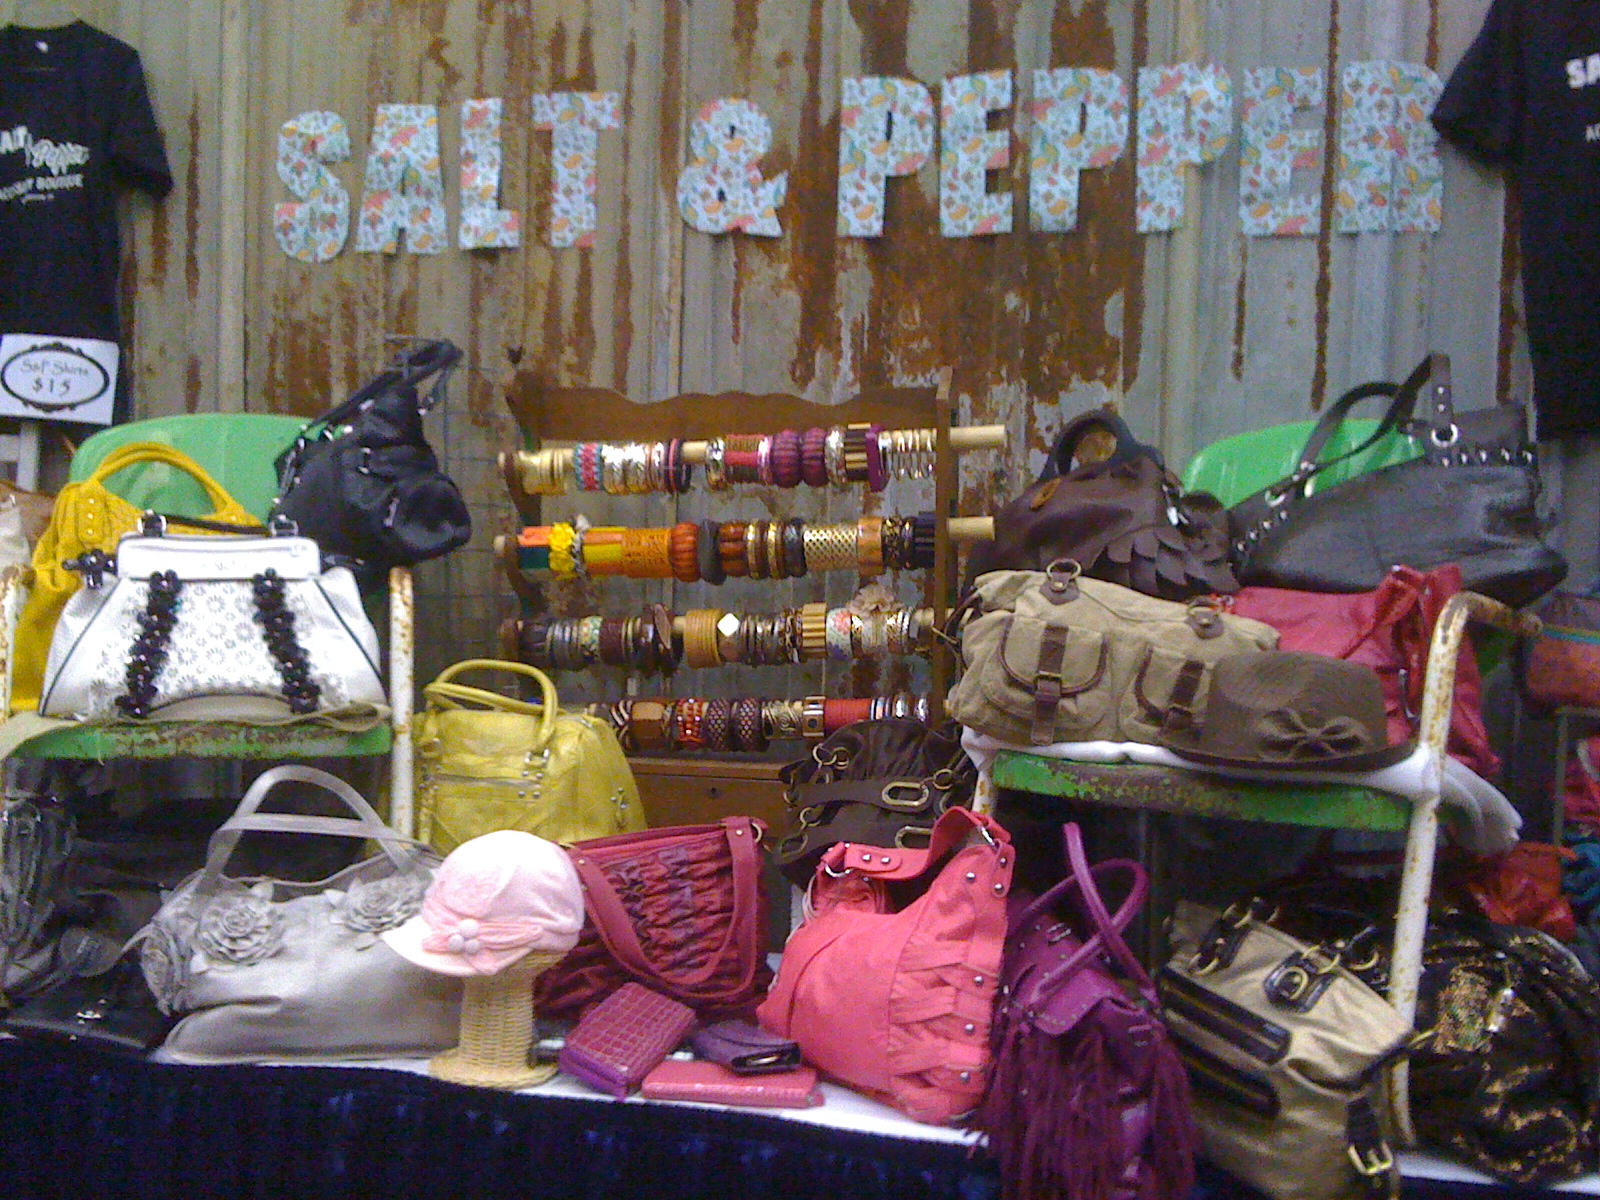
Last year our store was closed while we were waiting on the new building to be built, so getting ready for the market was much easier. The hubby built us those amazing pallet walls and hauled in the railroad ties to build that awesome clothes rack. (I often tell people that I married him after I saw how talented he was. Hehe!) On a serious note, Spring Market 2012 is where Matt & I got our start. He helped design and set up our booth, and I was amazed at how well we worked together. Who knew that we’d be married by Spring Market 2013!

We used the pallets and railroad timbers in the new store design, so we were back to square one on this year’s market booth. Purses are always tough to display in the booth, so I knew we needed something similar to the pallet walls, to make use of the wall space. I like to fill up every possible inch!

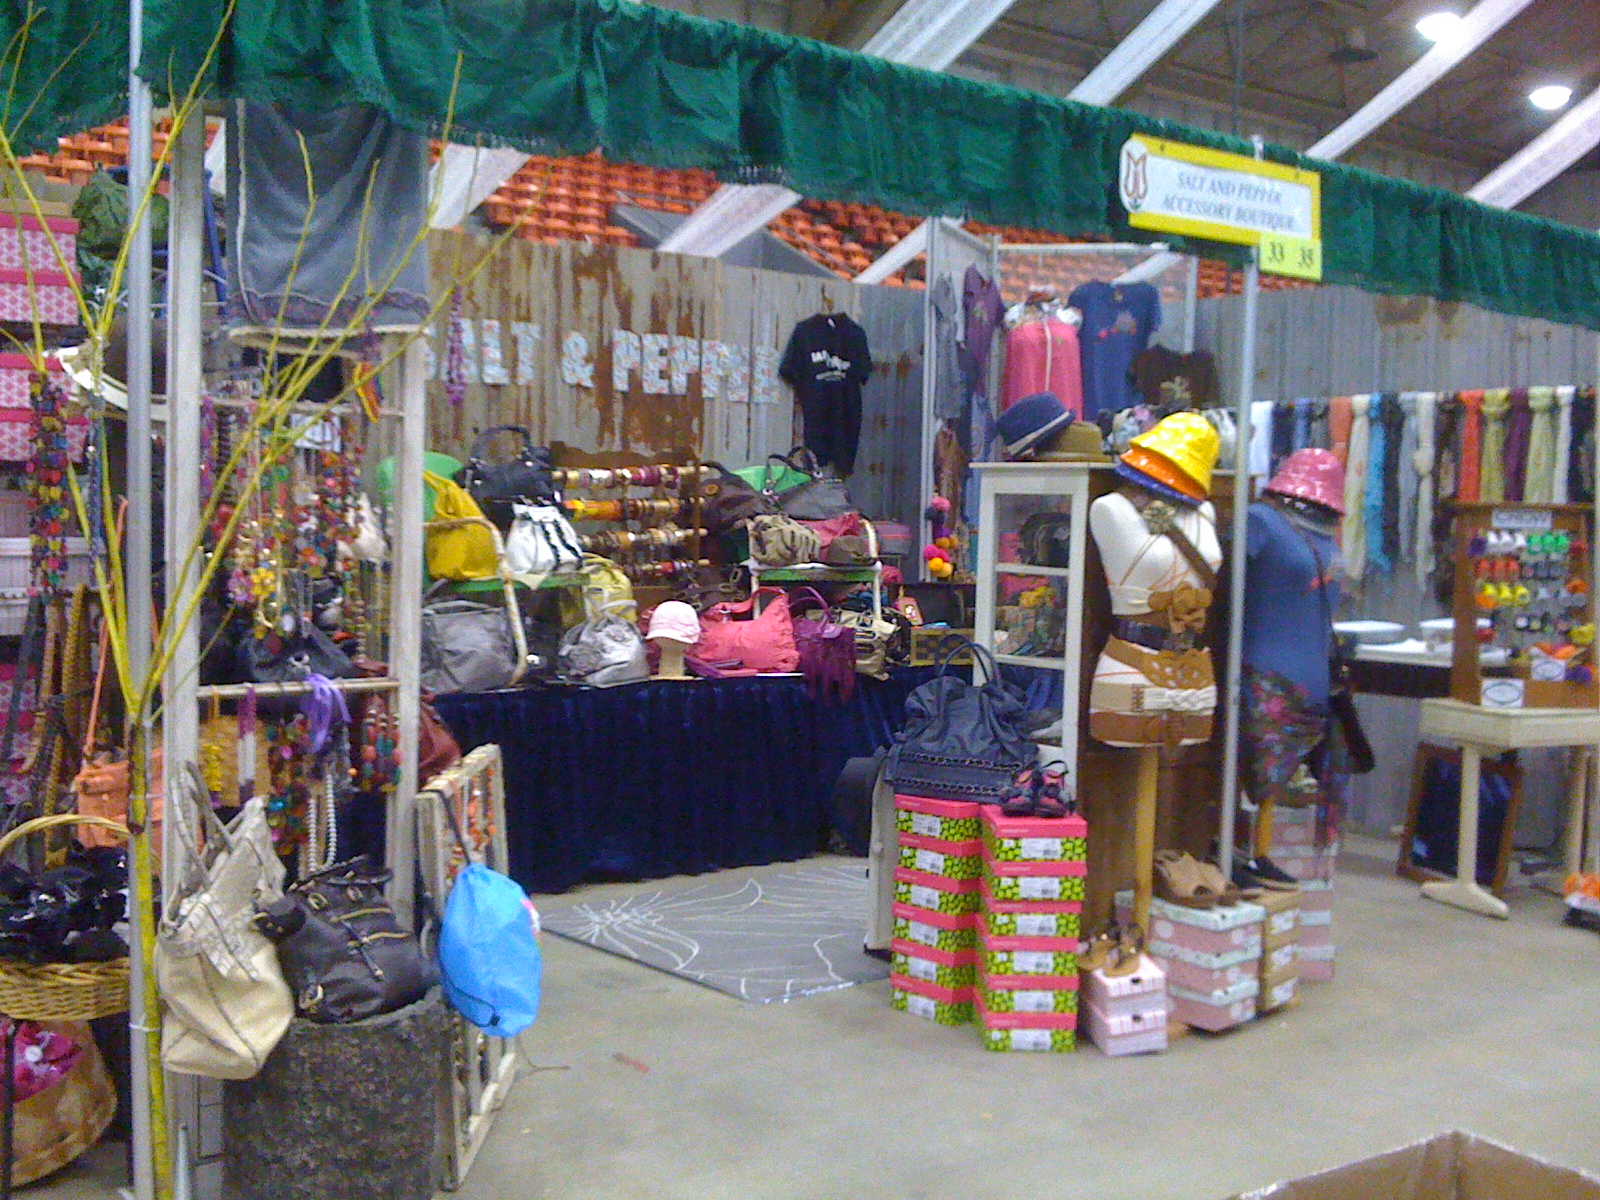
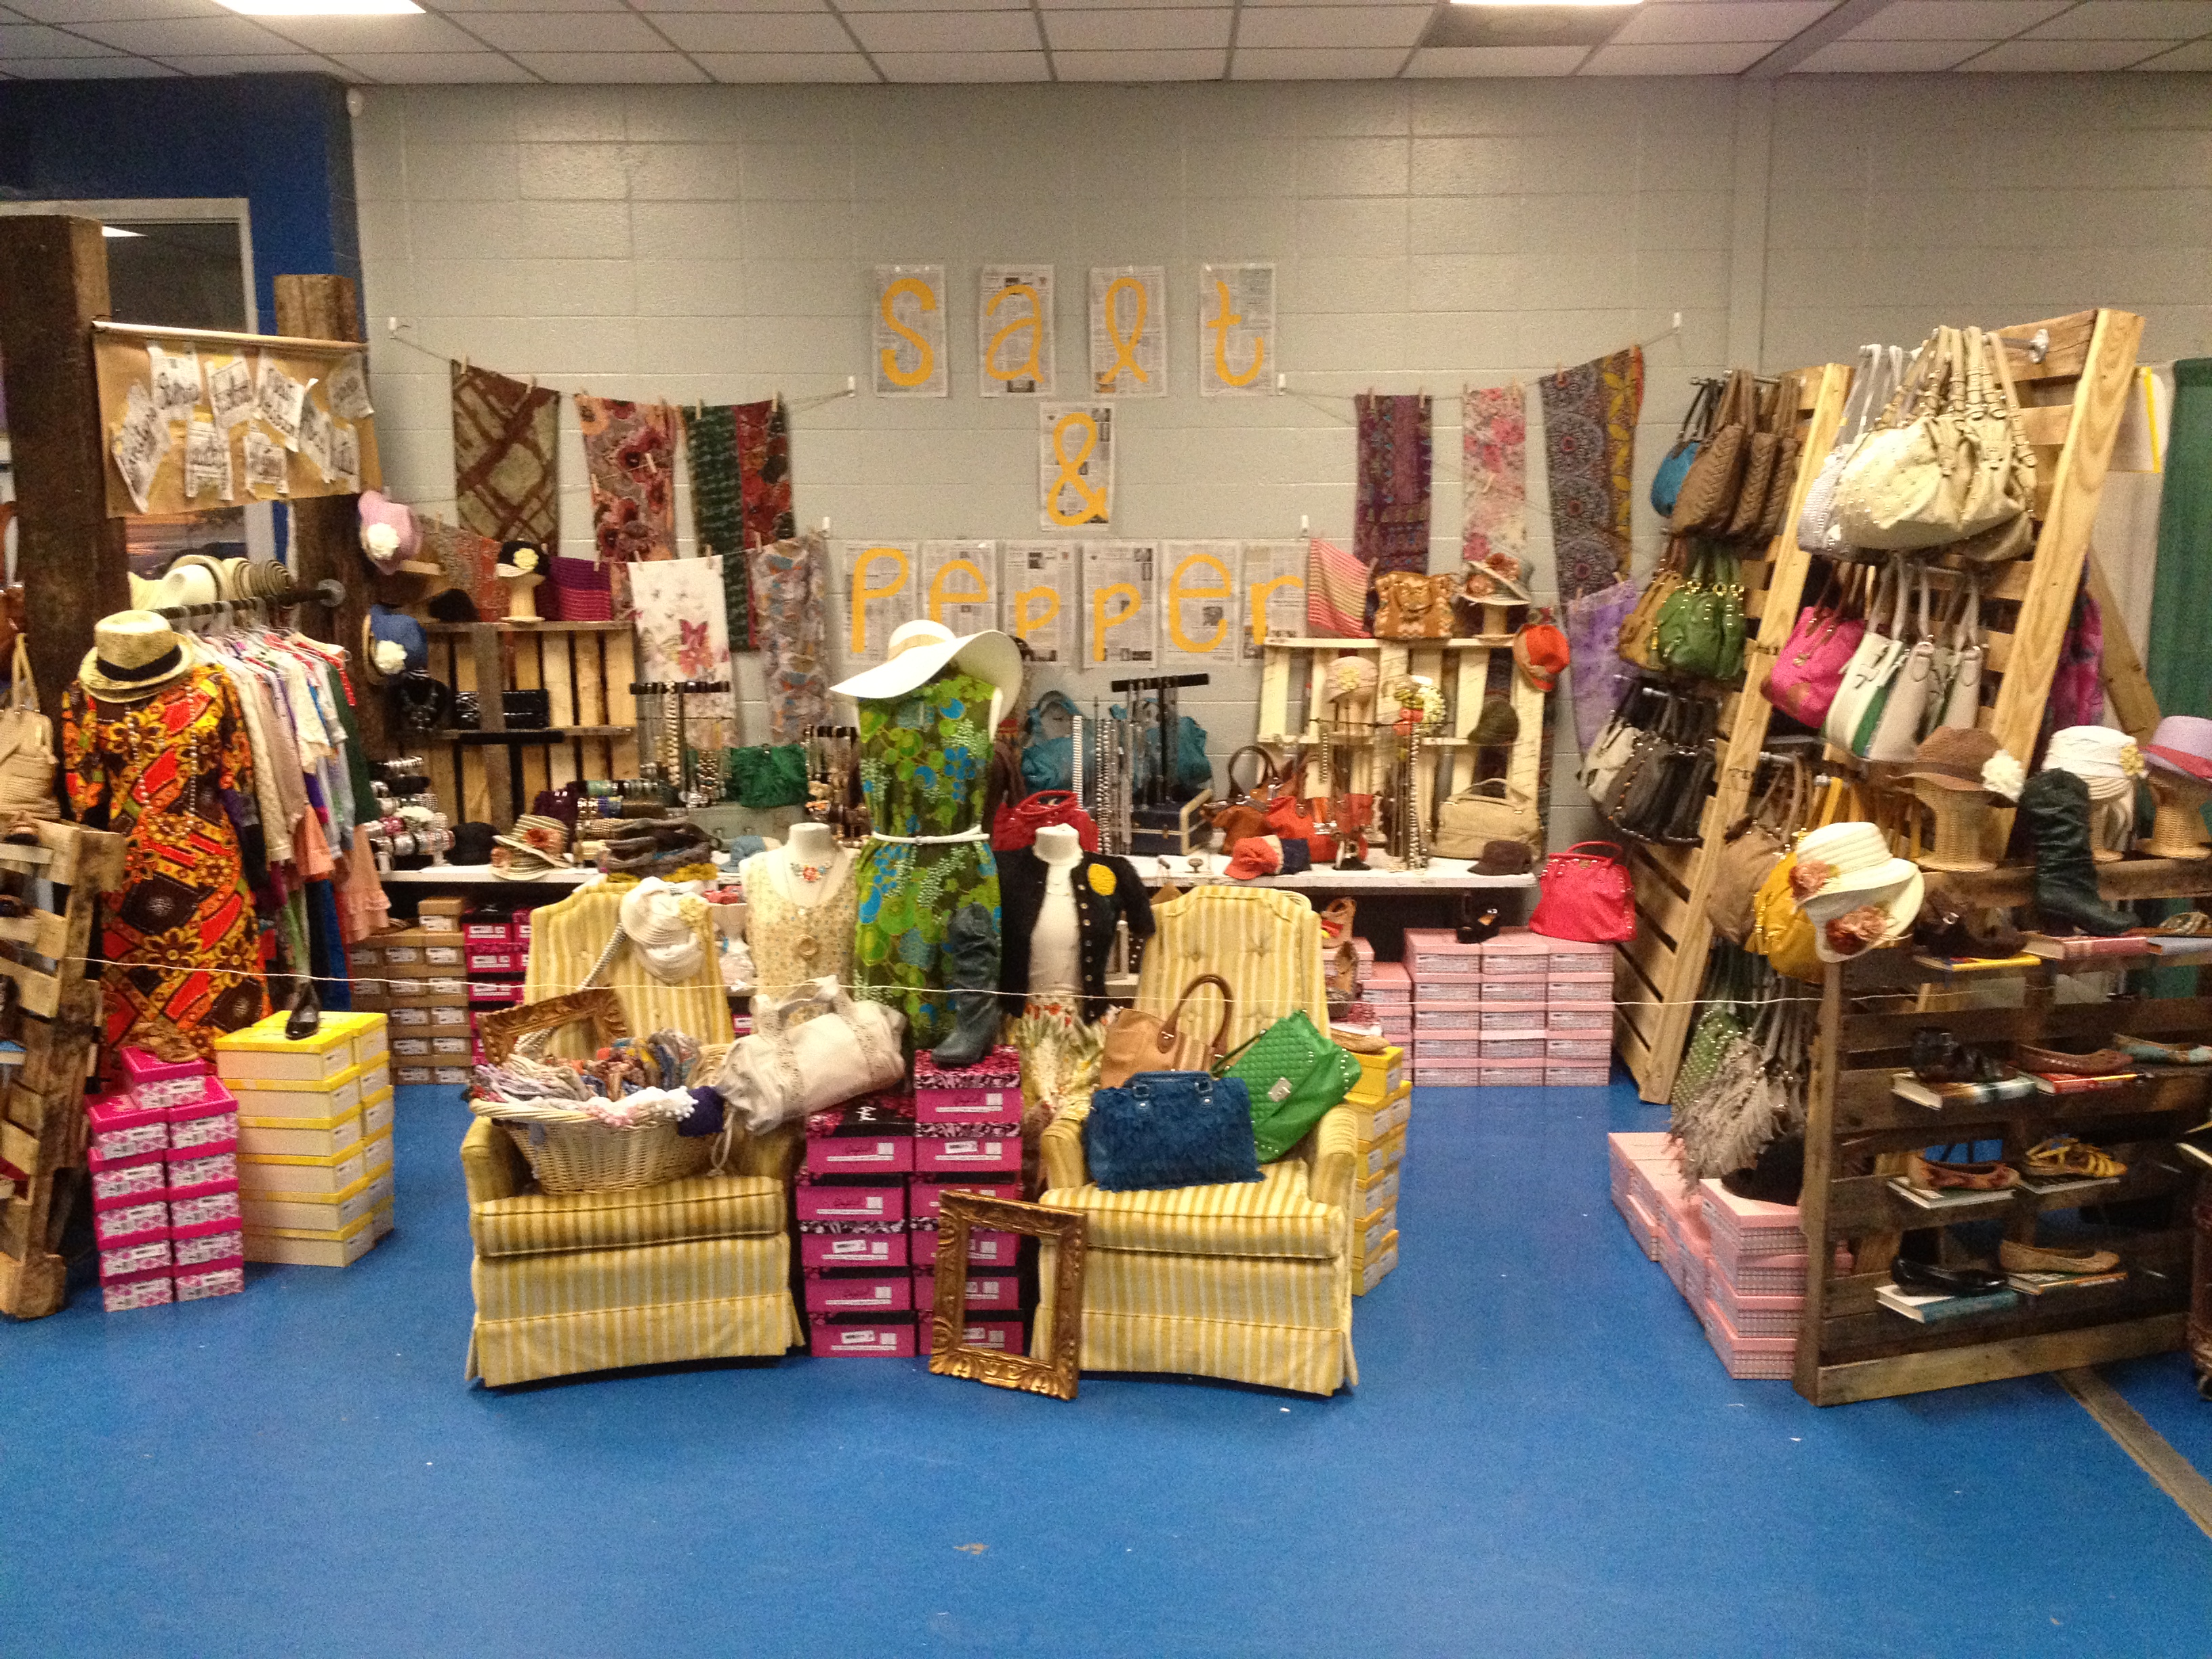
During our brainstorming dinner, I decided to go with a spring yard theme…as if you were hanging out on your front porch. I had a flower project that I wanted to try from Pinterest, and we had some unused astroturf rugs from a previous project. I finally decided to just prop some 1×8’s with pegs on the wall and use those for purses. Then, the hubby had the genius idea to make that into a fence…fitting perfectly with our outdoor theme! I tell ya, I think he has to be the smartest man in the whole world. (I’ll post more about this process and the flower project later this week.)

So, here we have it! Another successful Spring Market at the Monroe Civic Center!

Spring Market 2013
Why didn’t I notice that one box of shoes out of place before now?! What a shame!

Spring Market 2013Spring Market 2013Spring Market 2013Spring Market 2013I have to scream a huge thanks to my hubby for his building skills; my nephew, Cody, for helping to set up; my sister for running the store while I was on lock down at the Civic Center; and our FABULOUS staff for working late nights and long hours to pull this event together. I am pretty blessed with an amazing team!

So, what do you think of the booth??

Update: See more from our Spring Market booth here.

Little Girl’s Dresser Project

I spent last weekend helping my friend set up her little girl’s “big-girl room.” (We have a new baby on the way that’s going to need the nursery!) Priority #1 was finding a dresser. This post is written to show you to think outside the box…it could save you some cash!

The dresser we found was going to cost $300, but we checked the sale section and found a similar white dresser for just $125! It needed knobs/handles and a good wipe down, but other than that it worked perfectly! (There was also a small scuff on the back, but no one would see it anyway.) So of course, we bought this one and headed off to find hardware!

She just needs a little TLC!

I learned a valuable lesson about handles that day. The pre-drilled holes were only 1 ½ inch apart, which turns out to be a very difficult size to find! My friend started to get a little nervous about our purchase, but if there’s anything my Mama taught me, it is to “make it work.”

We found some gorgeous coordinating pink knobs and handles at Hobby Lobby (for ½ price!) and headed home to “make it work.” Figured out how I solved the problem yet? The handles we bought had 2 inch plates behind them, so I just drilled an additional hole in the drawers, and the plates covered the original, predrilled holes!

Break our your power tools!
Break our your power tools! The two outside holes were the original ones, & I drilled the one in the middle.
Dresser (5)
Isn’t she perfect for a little girl’s room?!

Our other steal for the day was this oh-so-pretty canvas print that ties together the purple & pink of the room perfectly. It was priced at $89.99 and on sale for ½ price. It gets even better! One of the wooden flowers on this particular canvas had fallen off, so we got an additional 10% off and just glued that puppy back on when we got home! All in all, we bought the dresser, hardware, canvas, laundry basket, and other wall art…all for the price of the original dresser!

They look great together!

What’s the moral of this story? Don’t be afraid to think outside the box. A little DIY project can save you lots of cash and turn out even more perfect in the end. I have another project for little Aubrey’s room up my sleeve, so I’m sure you’ll see more from her room soon!

P.S. I apologize that these photos are a little dark. We were doing these projects at 10pm with a sleeping little girl in the next room.

$1 Valentine’s Day Project

ValentinesTake a look at my quick, easy, and CHEAP Valentine’s Day décor. By cheap I mean it only cost me $1!

I picked up this garland heart at the Dollar Tree. When I got home I used some red tulle and cream ribbon to tie a bow on the top. Then, I tied a little loop of tulle through the back of the bow to use as a hanger.

I would have probably used a printed or white ribbon, but these were items that I already had. If you have to buy ribbon, this project would cost more than $1, but not more than $5!

I bought this for my front door, but it was a tad smaller than I’d like. It would be great for hanging on a cabinet door, wall, etc. Next year I’ll probably do something more creative with this heart, but with limited time right now, I’ll take this as a quick, easy, and completed project!

Finding pieces like these at the Dollar Tree and expanding upon them, is a great way to have inexpensive holiday décor. What do you think??

Bathroom Makeover

I’m finally getting around to posting pics of our bathroom makeover. With the busy holiday season approaching at Salt & Pepper, I’m sure my posts are going to be few and far between for a bit.

Before: Yuck!

Nonetheless, here it is…our amazing bathroom transformation! They say that bathrooms and kitchens sell houses. Well, that just wasn’t the case in our rent house. (I won’t even talk about the dreadful  kitchen today.) And as you can see, the bathroom is the size of a small closet. The awesome master bedroom, gorgeous hardwood floors, and PERFECT location are what sold us on this house…definitely NOT the bathroom or kitchen.

I will never understand what made someone chose this dreadful green color for the bathroom. It was the color of toothpaste! To make matters worse,

Love this shower curtain!

someone patched the walls (poorly) with the wrong color paint, which really made it look like a child smeared old toothpaste all over the place. In this case, a can of paint really made a huge difference.

Since the room is so small, I decided to paint it stark white. I also thought it would be a good contrast to this FABULOUS shower curtain.

We switched out all of the towel racks to our awesome, new branch-looking ones. (Thanks, Mom, for all of the new bathroom goodies. She hooked us up with a new bathroom as part of our wedding present.) We changed the knobs on the doors. Two doors had old, dreadful silver knobs, and the other two had porcelain white ones with monkeys on them…no joke. (Notice the new knobs match the shower curtain rings that I already had. Total accident, but I loved it!)

Possibly my favorite part of the new bathroom is this cool ladder shelf. I bought this ladder to use as a night stand, but it was too short. It makes a perfect holder for these baskets! Matt & I each have one for our toothbrushes, etc. (The baskets were also a wedding present.)

My favorite part!

Other bathroom details: My mom bought me the rug as a housewarming present when I moved here, and it covers up a large chunk of that ugly floor. The bird containers were also a wedding present from my mom. (I’ve since broken one of them, so now the center serves as a candle holder. I was so mad!) I already had the wall sconces, curtain hook, and rod from my very first town house. The curtain was originally my sisters. My mom used it for a bit at her house. Then, we used it as a table cloth at one of our wedding celebrations, and now it’s my bathroom curtain! Also, Matt hates the light fixtures, but I happen to love them! I think they compliment the decor nicely, and of course, I love anything vintage!

Well, there ya have it…our Sunday afternoon bathroom makeover. I’ll post the living room decor next, but in the meantime, let me know what you think of the bathroom! I love seeing everyone’s thoughts and comments!

After: Much Better!