Category Archives: Projects

Don’t be afraid to get your hands dirty!

DIY Winter Wreath

Winter Wreath

It’s no secret that I love wreaths…wreaths that are different and unique to be exact. As a matter of a fact, I have a Pinterest board dedicated to just them! This year, I was a little late switching from a Christmas wreath to a winter one. I didn’t put up a new wreath until the first of February, so I knew I wanted something that was wintery but could also welcome the first of spring without looking too dark.

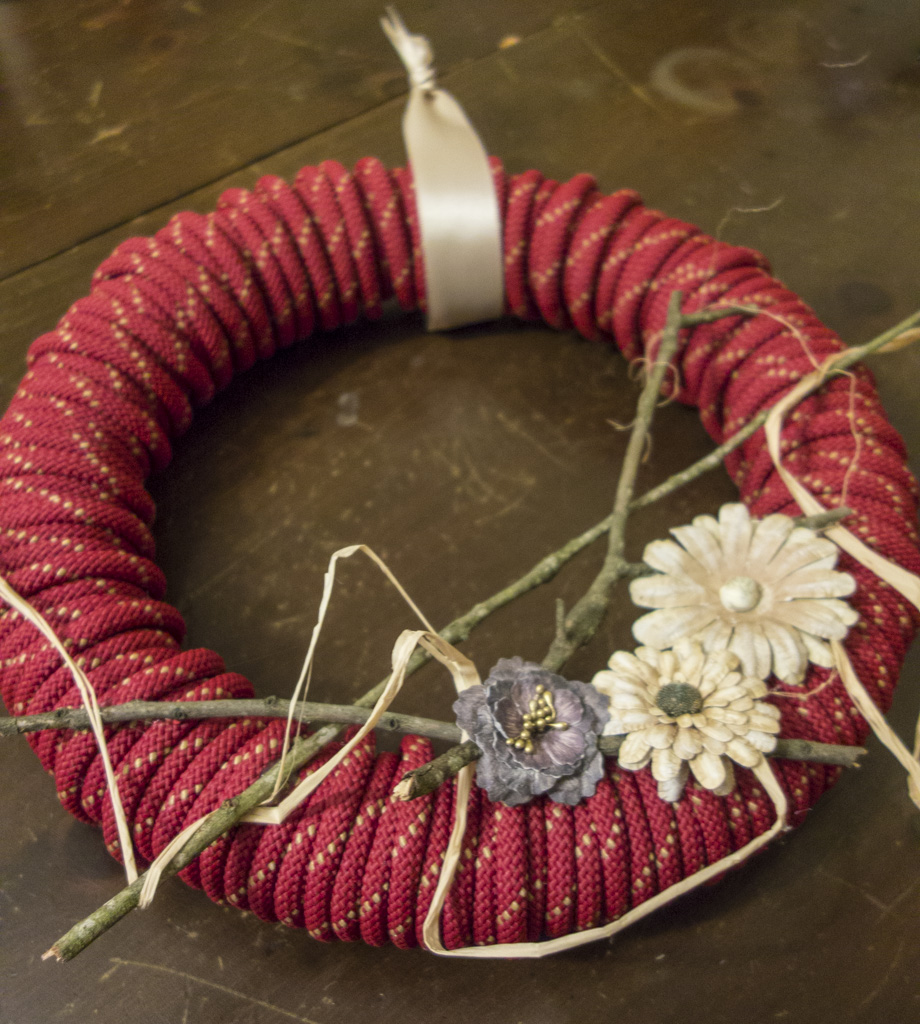
As usual, I didn’t actually like my first couple of strategies. The finished product is sort of a combination between this wreath and this one that I saw on Pinterest. I used a foam ring from Hobby Lobby, rope from Tyner Petrus, sticks from my yard, and flowers from my wedding hairpiece (They were originally from Hobby Lobby.).
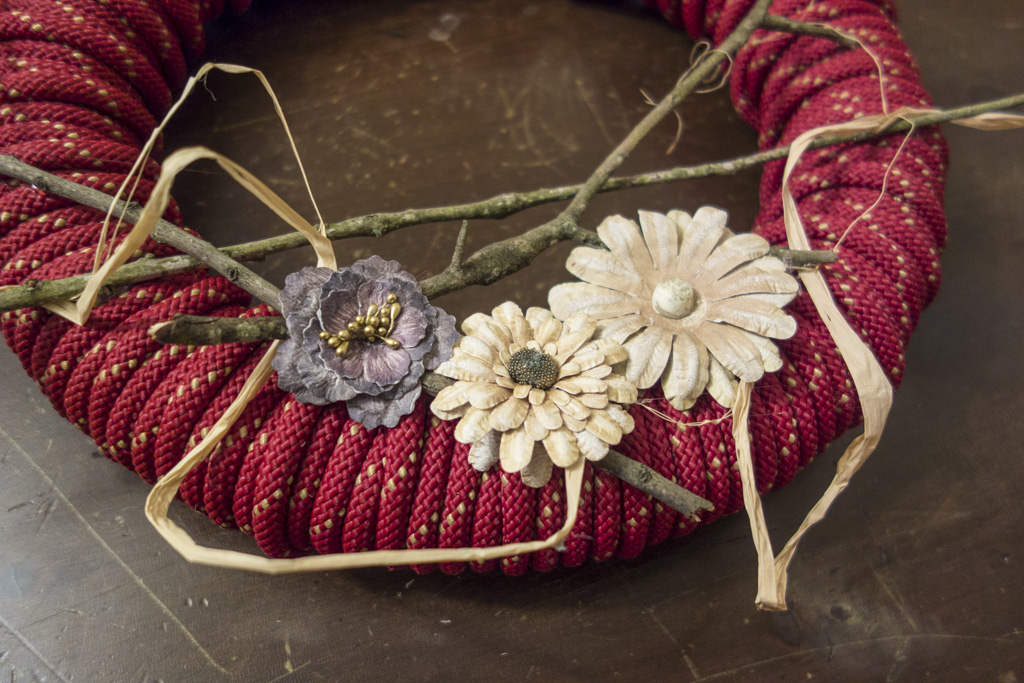
Winter Wreath Close UpJust like with my yarn wrapped wreath, wrapping the rope took a little longer than planned. I had planned to do something similar to that first inspiration wreath with brown rope, but it looked like it belonged on the door of a cowboy’s house. Unfortunately, neither of us are cowboys, so I scratched that idea.

I loved the winter stick idea from the second photo, but I wanted something that had a little brightness to it so it could be left up through the beginning of spring. I went digging through my craft supplies and came across leftover flowers from making my wedding hairpiece. They were light and airy enough to brighten the wreath but not too bright to be inappropriate for this cold February. Plus, every time I walk through the door, I think about marrying my husband…not a bad bonus! Finally, I added a little bit of raffia to give it a whimsical look and some ribbon for a hanger. And there you have it…a new wreath that looked nothing like my original idea!
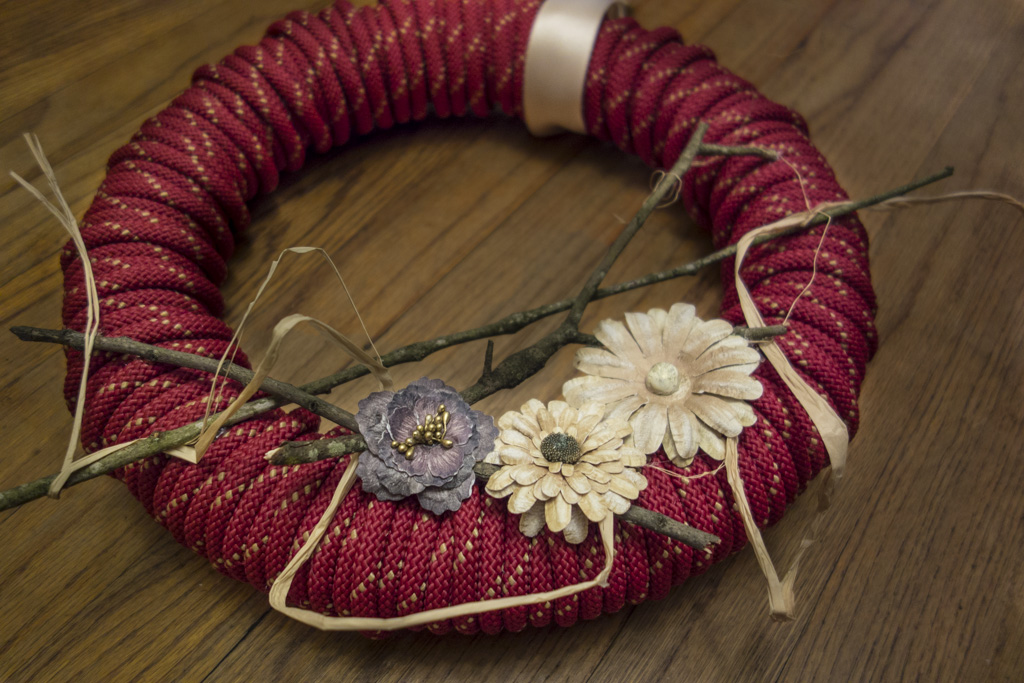
Winter WreathI wish I could end this post by saying how many people love my new wreath. However, during our little ice storm, my wreath literally froze and broke into several pieces. That’s not even a joke… click here to see my poor, little broken wreath. It wasn’t even up for a week!

Now I’m faced with a dilemma. Do I remake the same wreath or do something completely different?? Help me decide!


Valentine’s Day Inspiration

Valentine's DayI’ve rekindled my love affair with Pinterest lately, and I decided to share some of my latest favorites. Is it just me or is Pinterest the best place to look when you need a hefty dose of inspiration?? With Valentine’s Day right around the corner, I thought I’d share a few of my favorite finds.

These nails are what started my Valentine’s Day pin collection. The pins of elaborate art on nails are fascinating, but I’d never attempt such a feat. However, I think I can handle this one!
I think this pillow is adorable! I recently ordered some wall art for my office from Michelle, and this pillow is on my wish list. It’s great for year round decor, but I think it’s perfect for Valentine’s Day!
I really, really want to make some of these heart trees. It looks like such a cute and easy project! You could also do a similar version for other holidays.

I love this tutorial for making a heart cake. I don’t own a heart shaped pan, and this would be soooo much easier than trying to cut out a heart shape. Genius!

This post had some simple but good Valentine’s Day date ideas. Of course, I think you should show people that you love them year round, but there’s nothing wrong with using this holiday to do something extra special.

Feel free to browse my Be My Valentine board if you’re looking for more Valentine’s Day ideas. Plus, you can see my quick and easy heart wreath from last year here.

Have you seen any fun Valentine’s Day projects or decor that I should add to my list? Please share!

Handmade Holiday

Christmas TreeThis year Matthew and I decided to do something a little different for Christmas. Rather than buying the usual gifts, we decided to take a little post-Christmas getaway to reconnect and rest from the busy holiday season.

I still wanted to have gifts to open on Christmas, so I suggested we each buy a simple $20 gift…just to have a present under the tree. Then, Matthew suggested we make each other something. He loves to work with his hands, and I adore a good craft project, so this was a genius idea!

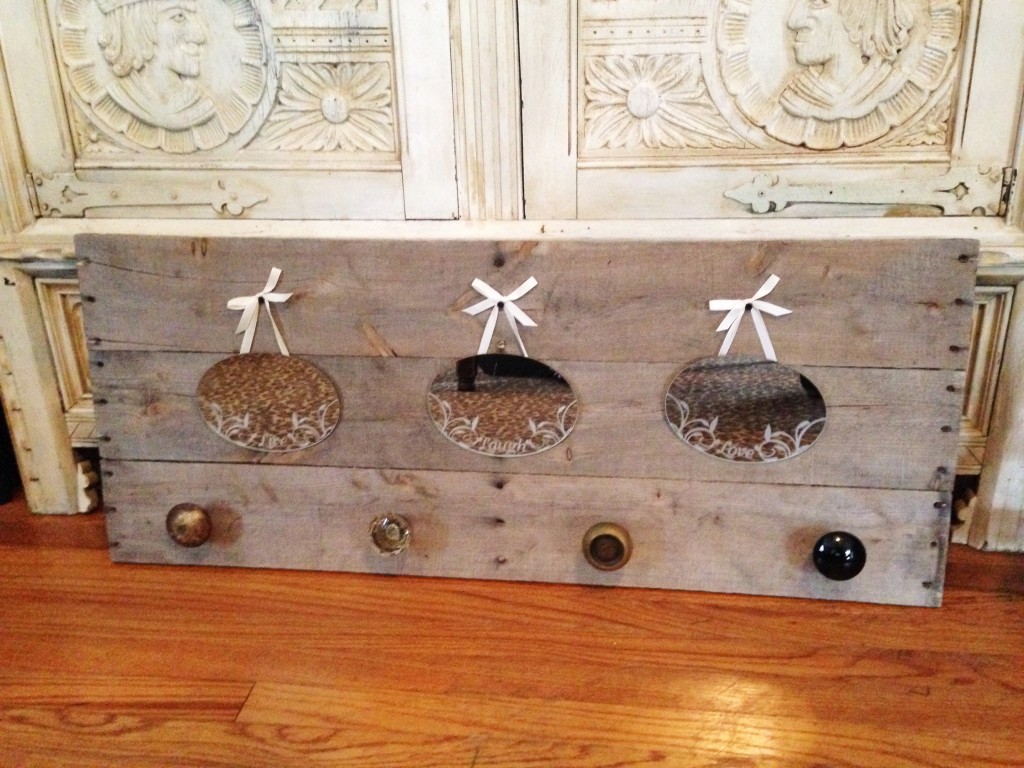
I’ll spare you all of the details, but eventually we had wonderful, handmade gifts to open. Matthew made me a coat rack from pallet wood and some of the vintage doorknobs he bought me for Christmas last year. We’ve desperately needed a place to hang our coats, and I’ve been anxiously waiting for a project to use some of my doorknobs. My favorite part is that the blank space can be used to switch out various artwork and seasonal decor. I think it’s adorable that he went to Hobby Lobby to shop around for the mirrors he hung there. I should also mention that he made the entire thing by hand…no power tools were used whatsoever!

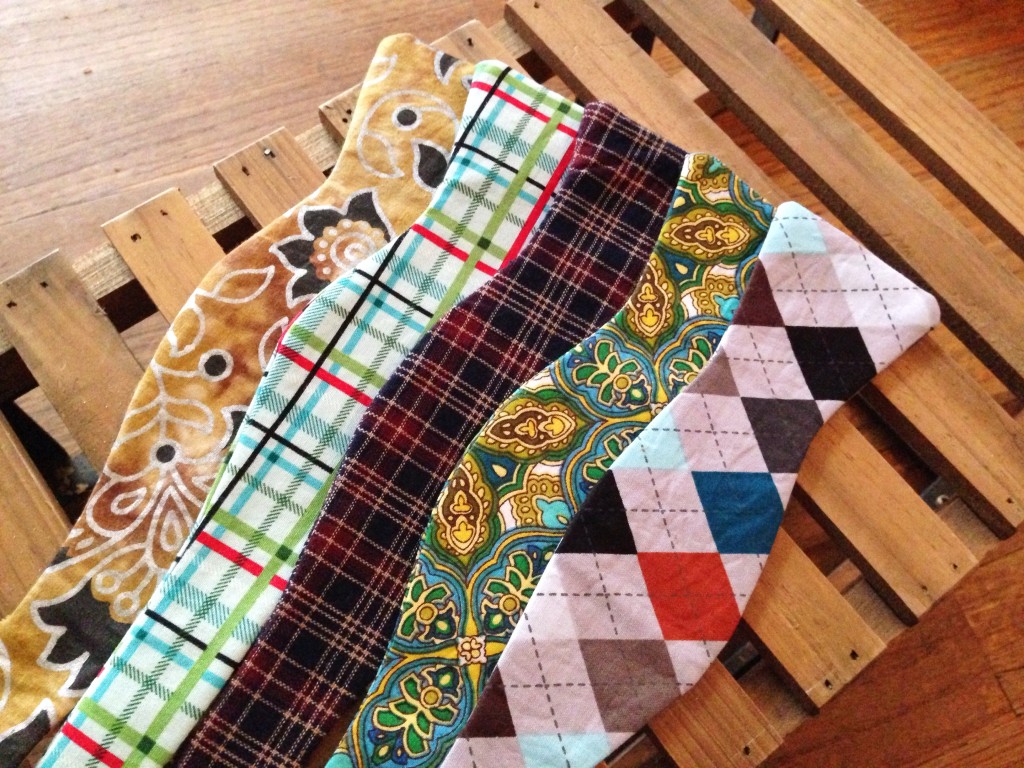
pallet wood coat rackFor Matthew’s gift, I decided to try my hand at making some bow ties. First of all, I should admit that this was a much bigger undertaking that I thought, especially since it’s been 15+ years since I’ve really used a sewing machine…and that was with my Mom’s help! Nonetheless, several retakes, multiple machine adjustments, and lots of mumbled curse words later, Matthew got 5 new bow ties! (I used this tutorial and pattern if you’re interested in making your own.)

Overall, I loved the handmade Christmas project, and I think we might do it again sometime! I hope that you all received heartfelt gifts as well, but most of all, I hope you spent a lot of quality time with loved ones.

DIY bow tiesThis Christmas season came and went so quickly, and while I’m happy to get back to a somewhat normal routine, I’m sad for the holiday spirit to fade. In an effort to enjoy the season more, I’ve made a few goals for next year. I hope to:

  • decorate earlier. I love holiday decor so much, so I want to have more time to enjoy it.
  • create more DIY decor. There are so many wonderful ideas out there for holiday decor. I want to reserve more time to create.
  • use more thoughtful wrapping. I LOVE wrapping presents. This year I ran out of time and had to rush through the process. Next year, I want to really enjoy it. I usually feel obligated to use up all of the previous year’s paper before opening new rolls. Next year, I want my wrapping to match my tree, and I want to use more personal touches, like these photo name tags for example.
  • consider more handmade gifts. I love the thoughtfulness that went into mine and Matthew’s gifts this year. Maybe it would be nice to pass that on to other friends and family. The idea of an entire handmade holiday sounds lovely…daunting but lovely!

How about you? Are you excited to see the holiday season fade or sad to see it go? What would you like to do differently next year? Surely I’m not the only one to set goals for the next year…let’s talk!

Happy Halloween!

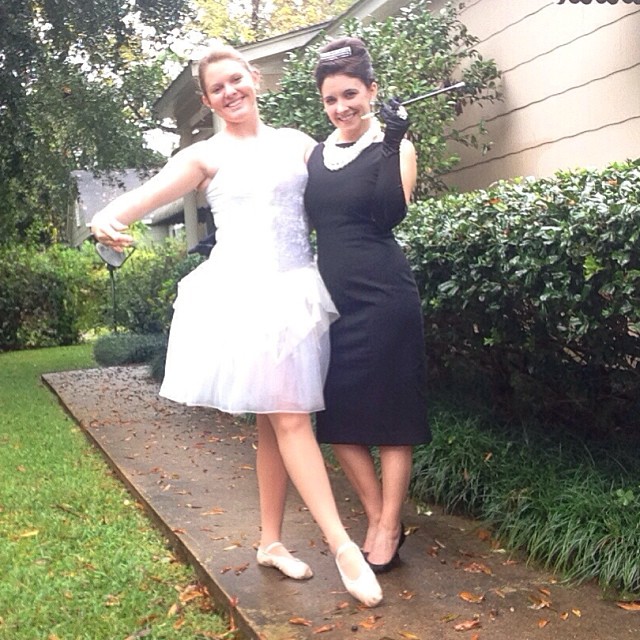
Audrey HepburnThis year’s Halloween plans were rather tame. However, I made sure to take full advantage of our Halloween event at Keller Williams. We had a potluck lunch and costume contest at the office, coupled with a baby shower for two of our agents.My first instinct was to go as a mermaid, but I decided on Audrey Hepburn as Holly Golightly in Breakfast at Tiffany’s…it would be much easier to work in after the party. Do you know anyone who has their hair professionally done for a Halloween costume? Yeah…probably not.

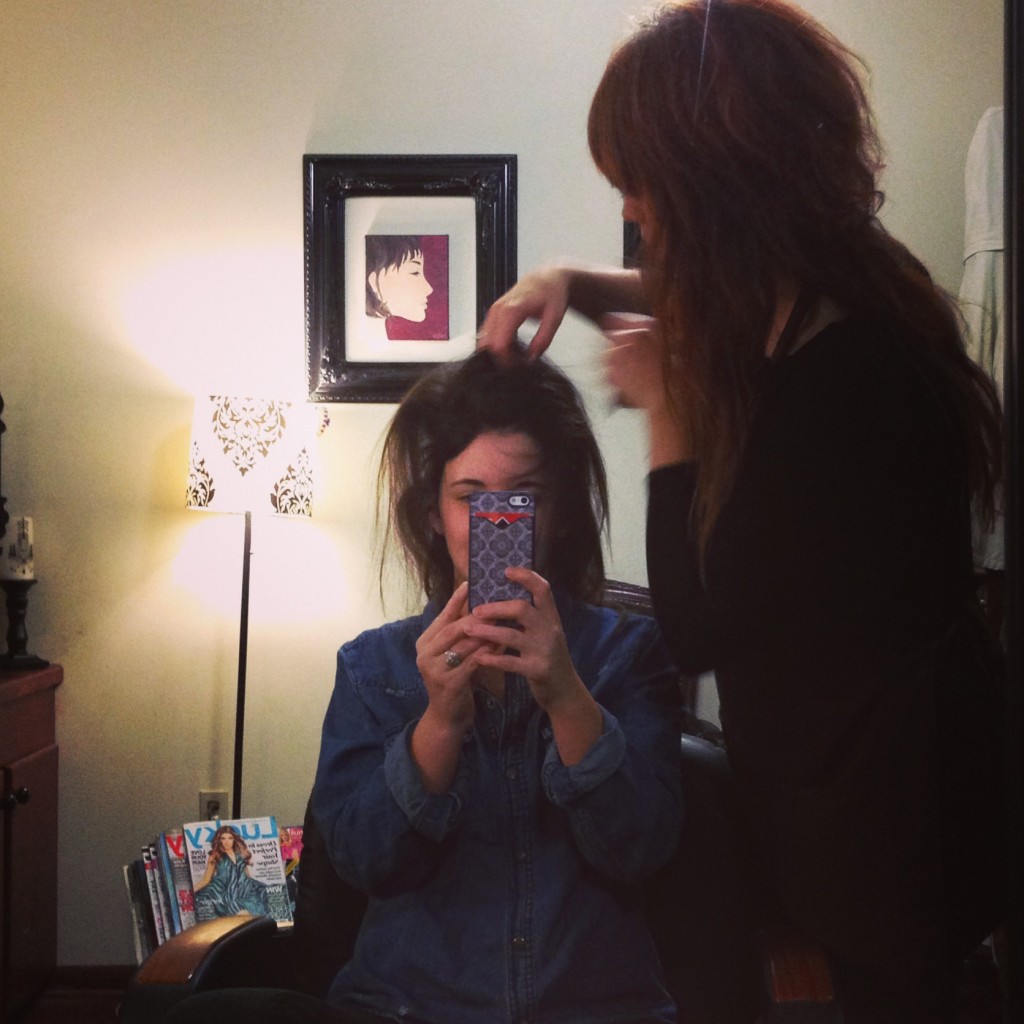
Halloween HairI should point out that it was literally FLOODING  on Halloween morning. Of course it would be, considering I had a legit hair appointment for this costume. I had my hair done first thing that morning which means I wore a shower cap and sweat pants to take my mom to treatments. It was a lovely sight! Then, I rushed home and changed. It was tough not to look like a drowned rat by the time I made it to the party, but somehow I pulled it off!

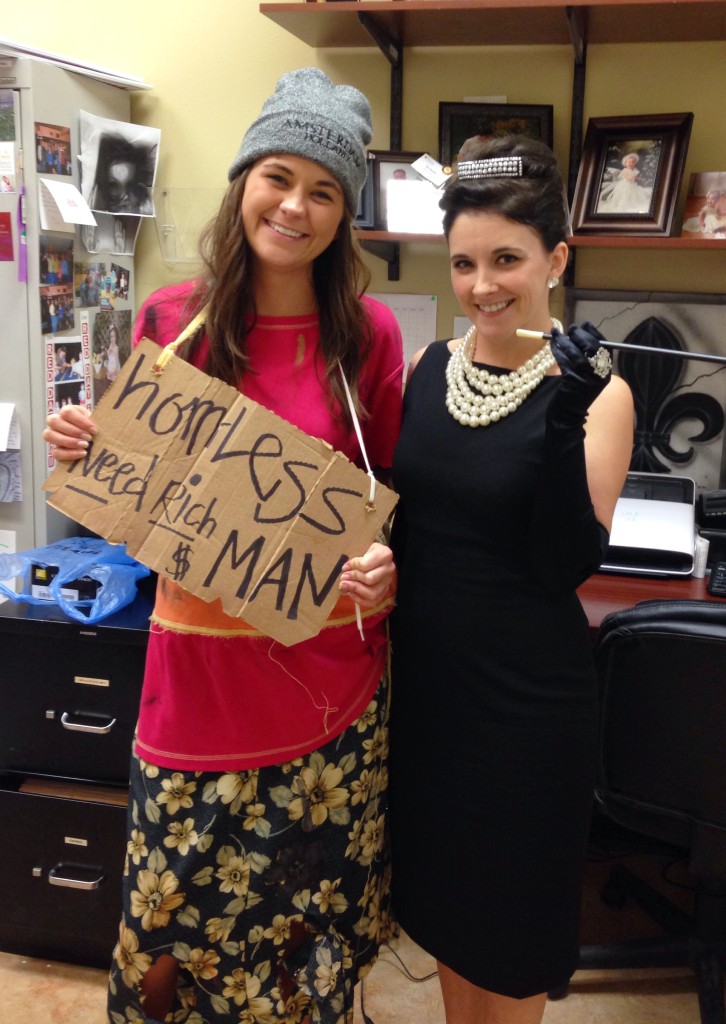
Audrey Hepburn and a BallerinaMy new assistant started her first real day on the job, so she joined us as a pretty ballerina. Doesn’t everyone wear a tutu to their first day at the office?? There were witches, a banana, a pirate, Captain America…you name it! Courtney made the most adorable homeless person…her sign really made the costume. It read, “Homeless. Need rich husband.” What a fantastic solution!
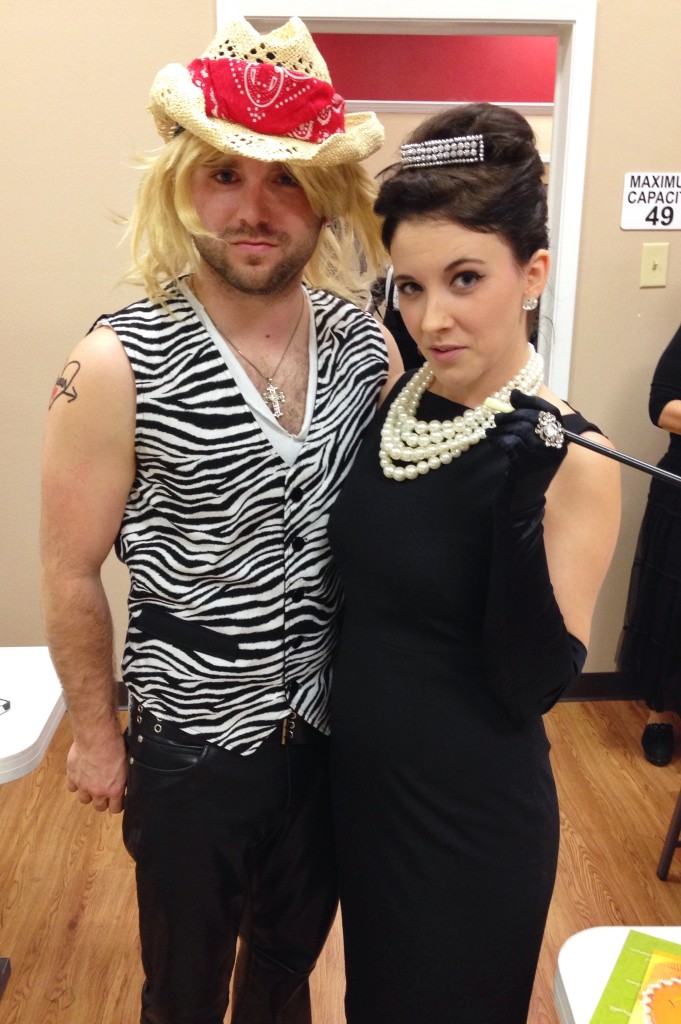
Audrey Hepburn helps the HomelessAudrey Hepburn and Brett MichaelsBrett Michaels even made a star-studded appearance! I should mention that his vest and leather pants were from my garage sale stuff. No joke. My Mom made that zebra vest for my senior prom date to match my dress. Again, not joking. This was before zebra print was everywhere…I was making a statement!I think my most significant accomplishment this Halloween was mastering cat eyes with liquid eyeliner! Makeup is not really my thing, and I was terrified of that liquid liner. Now I think I might rock it everyday! For inspiration on Audrey Hepburn make up, this 12 minute video was pretty detailed! You can also try the scotch tape trick, but I failed at this one…I taped my eye shut!

If you want to see what Audrey Hepburn looks like in the morning, click here!

Audrey HepburnSo, how do you think I did?? I simply love dressing up!

DIY Fall Wreath

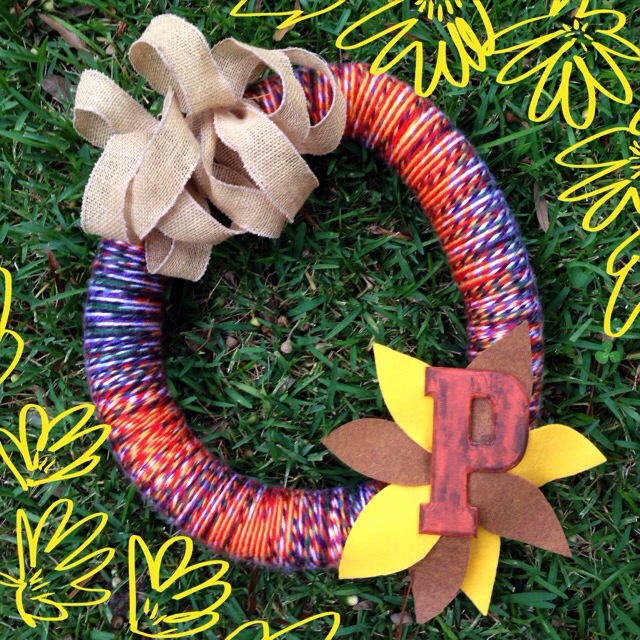
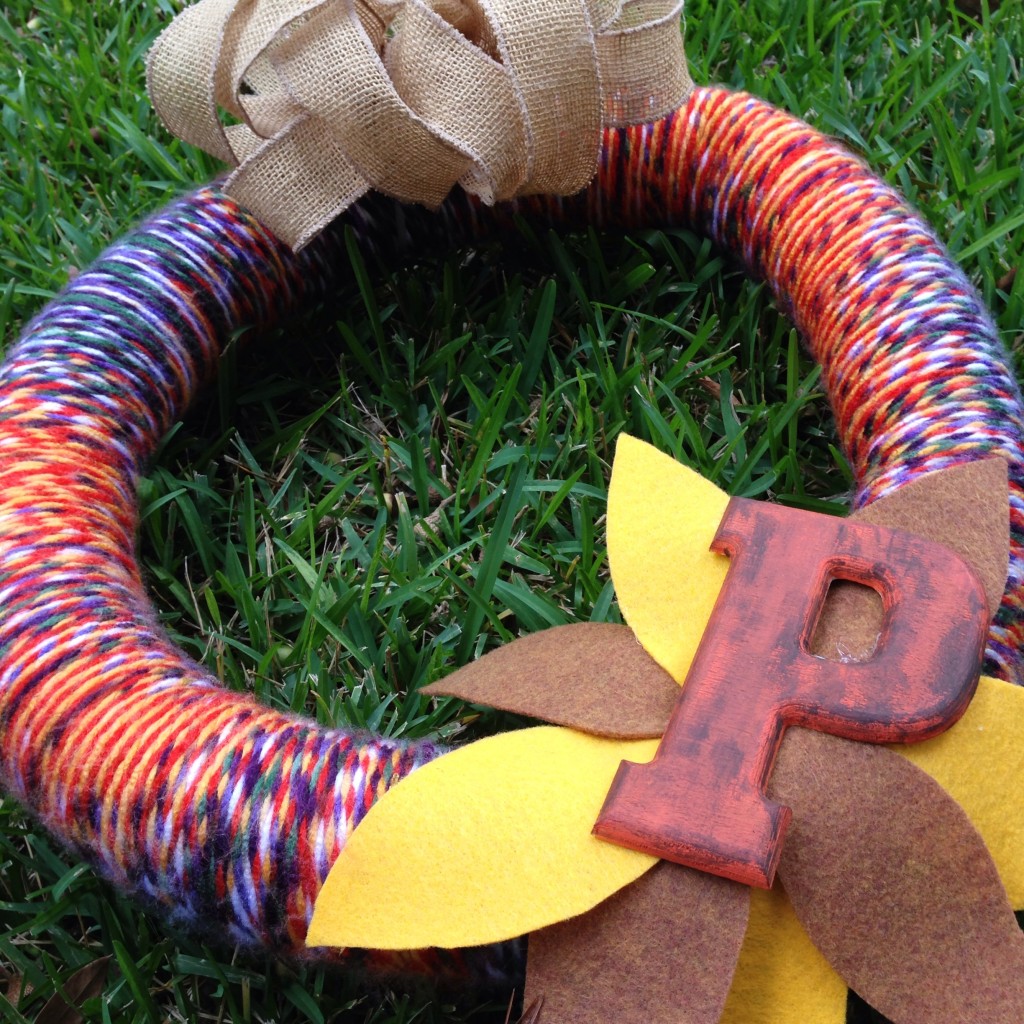
DIY fall wreathI’m working on building a wreath collection for our home. This fall, I had several different wreath ideas that I wanted to try and finally decided on combining a few ideas I collected on my Pinterest.

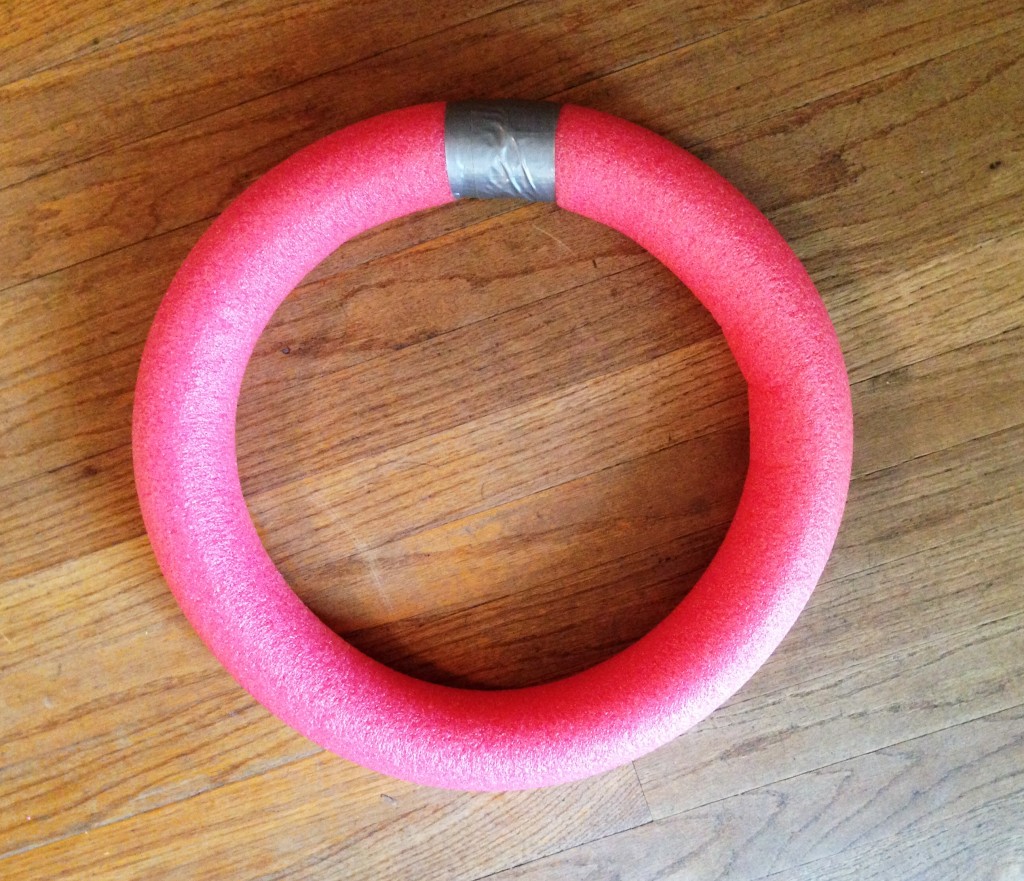
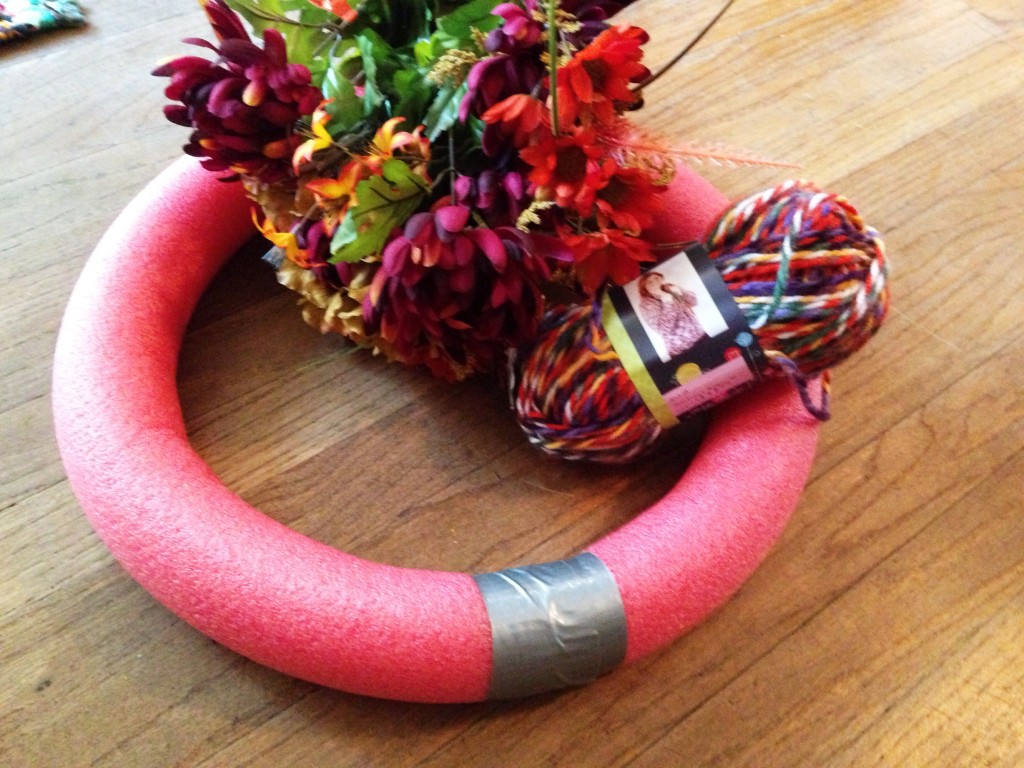
One of the main things I’ve been wanting to try is making a wreath from a pool noodle. I saw this idea somewhere on Pinterest (Sorry, I didn’t pin the link!) and thought it was genius! I picked up this pool noodle from the Dollar Tree (You guessed it, just $1.) and couldn’t wait to try the technique. To be completely honest, I bought this back in June with the intention of making a 4th of July wreath, but that never happened. Don’t judge.

DIY fall wreathDIY fall wreathSo, since I still had this pool noodle on hand, I chose a fall wreath plan that could use these supplies. You begin by using duct tape to attach the two ends of the noodle, creating your round wreath shape. Note: it’s very important to make several rounds with the tape, taping approximately 4-5 inches or more on either side of the connecting point. (The photo above is NOT enough tape.) You don’t want to come back to your wreath to find that it’s popped apart. I’m not speaking from experience here. Ok, maybe I am.

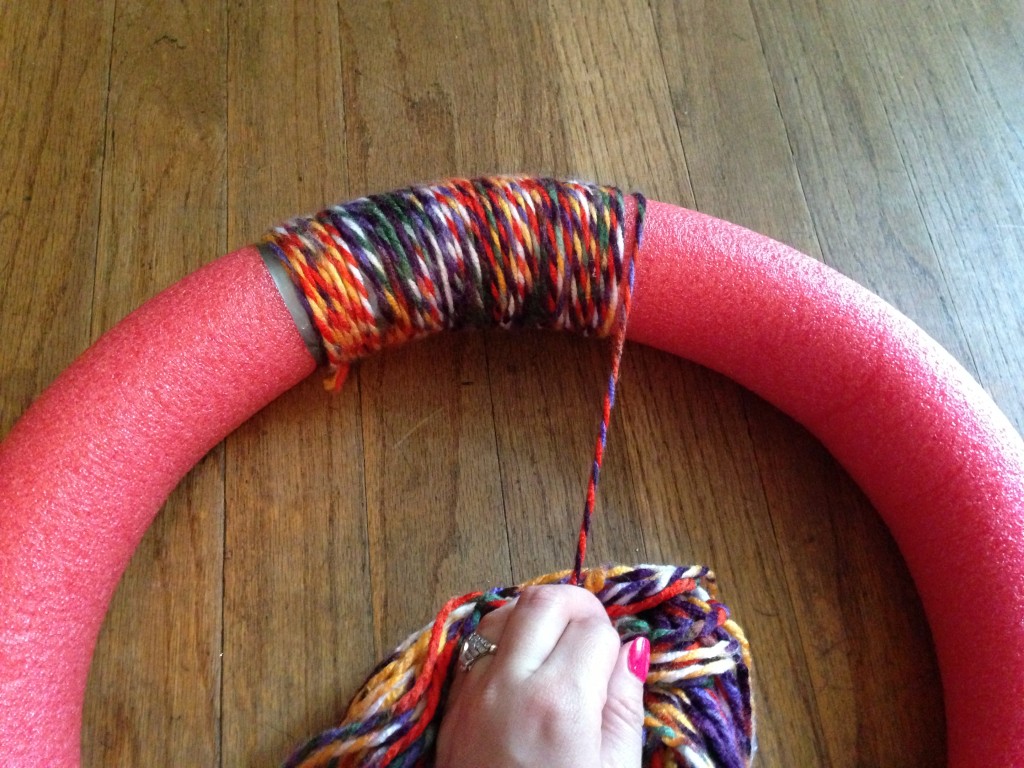
DIY fall wreathAfter I created my wreath, I chose to wrap the whole thing in fall colored yarn. Word to the wise: this process took a lot longer than I anticipated. I also ended up tangling the yarn more than a time or two. Nonetheless, I pressed on and didn’t set the whole project on fire like I may have wanted to at some points.

The day before I started working on my wreath, I saw Rachel’s fall wreath and thought it was adorable! I really liked the felt leaves so I decided to try to work those in. My original plan was to use fall-colored, silk flowers around the initial, but I thought the felt leaves would compliment the yarn I used. This project took on a few different looks before I actually completed it, as you can see from my supplies photo above. Those flowers didn’t make the cut.

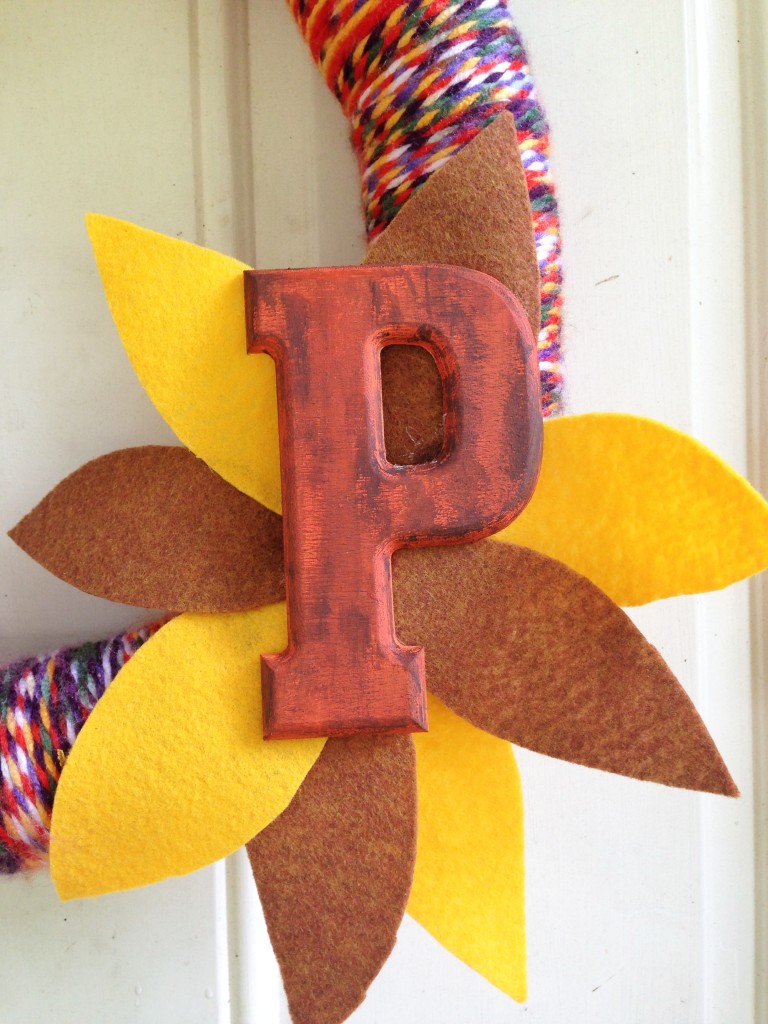
DIY fall wreathI couldn’t make her leaf layout look quite right with the initial, so I opted for creating a flower of sorts behind our “P” instead. I painted the letter orange, distressed it a little with some brown craft paint, and adhered all of the pieces with hot glue. I also added a burlap bow, which if you notice was on my last wreath. It was also on the one before that AND on one of my Christmas trees last year. Talk about versatility!

DIY fall wreathWhat do you think? Seen any fabulous fall wreaths this year? Share a link! Cool wreaths are my fav!

DIY Cupcake Flags

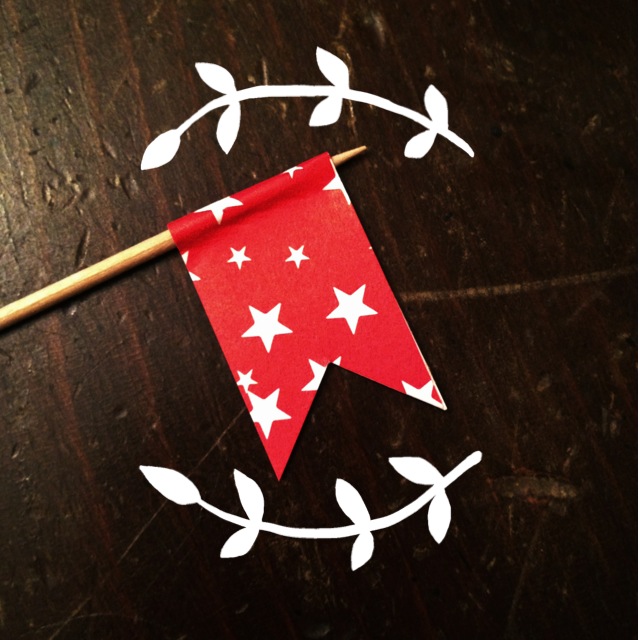
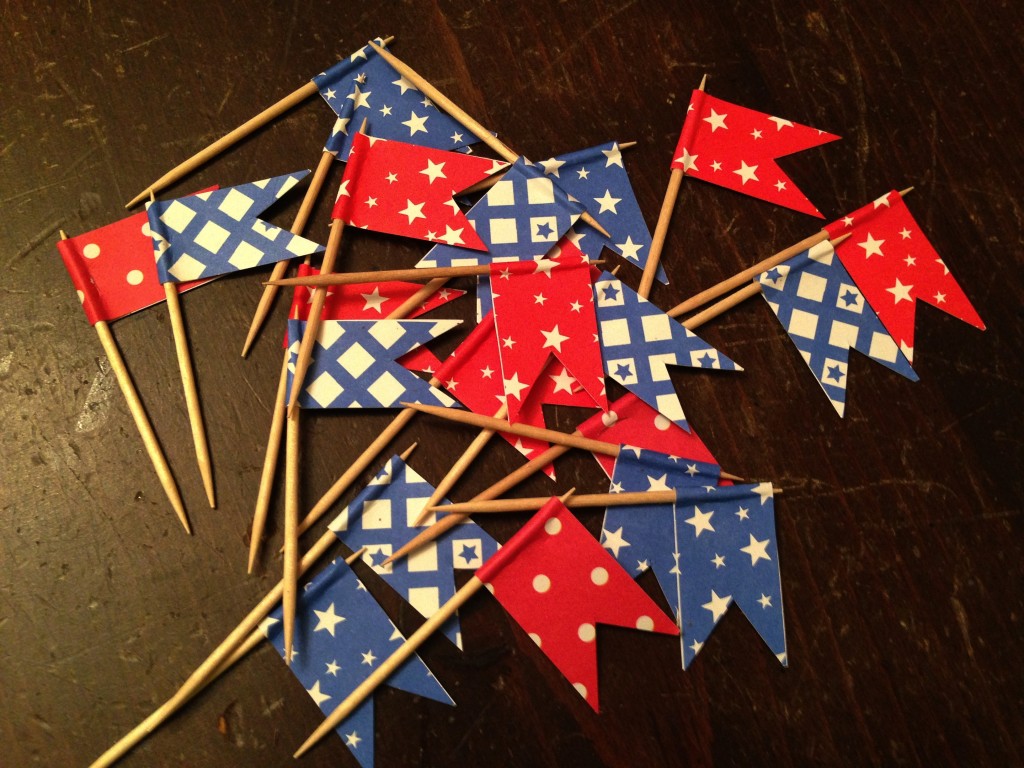
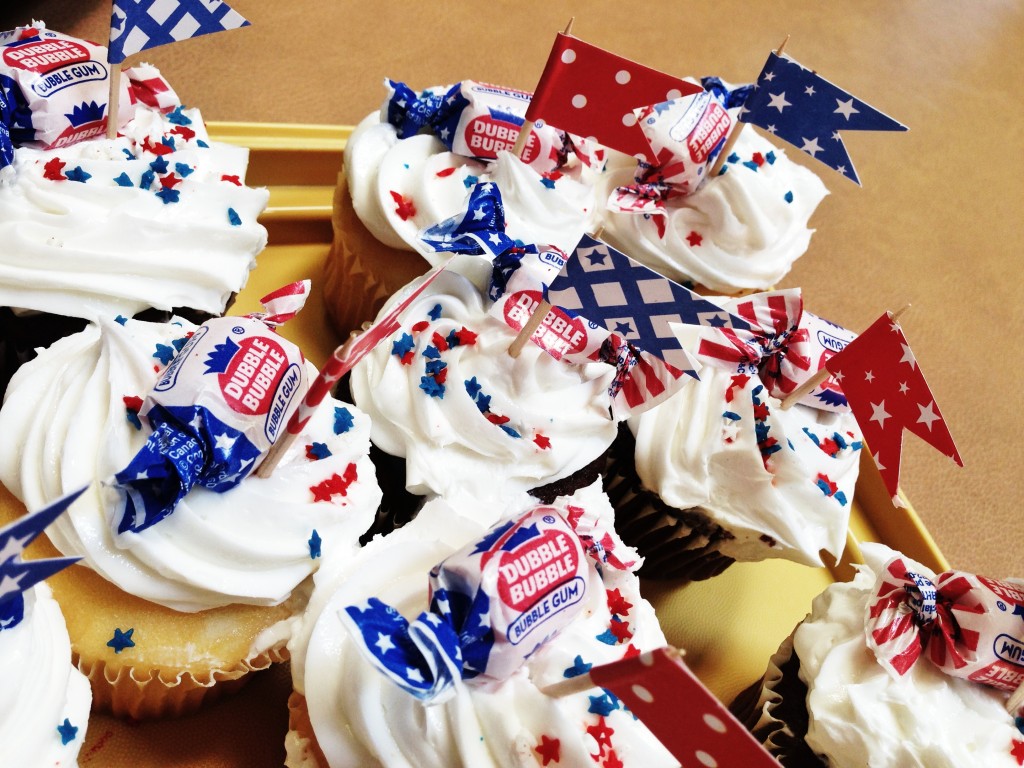
4th of July flagI made cupcakes for Matthew’s family reunion 4th of July weekend. I had about thirty minutes to spare before time to head out, so I decided to make my cupcakes a little more festive.

I saw a post about making drink embellishments on one of my favorite blogs, so I decided to try a variation of their tutorial to use for cupcakes. This is such an easy DIY that I probably don’t even need to spell out the directions, but I will…just in case.

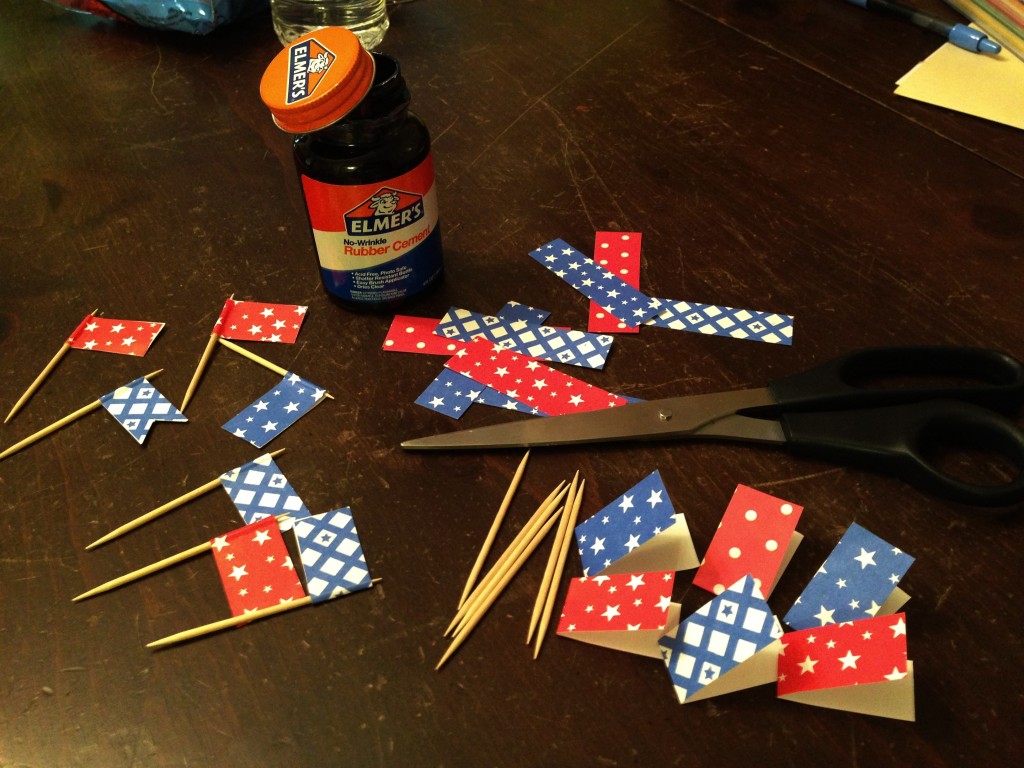
4th of July pick suppliesHere are the supplies I used:
Red, white, and blue printed scrapbook paper
Toothpicks
Rubber cement
Scissors

This project doesn’t use much paper, so you could easily use scraps of paper from another project.

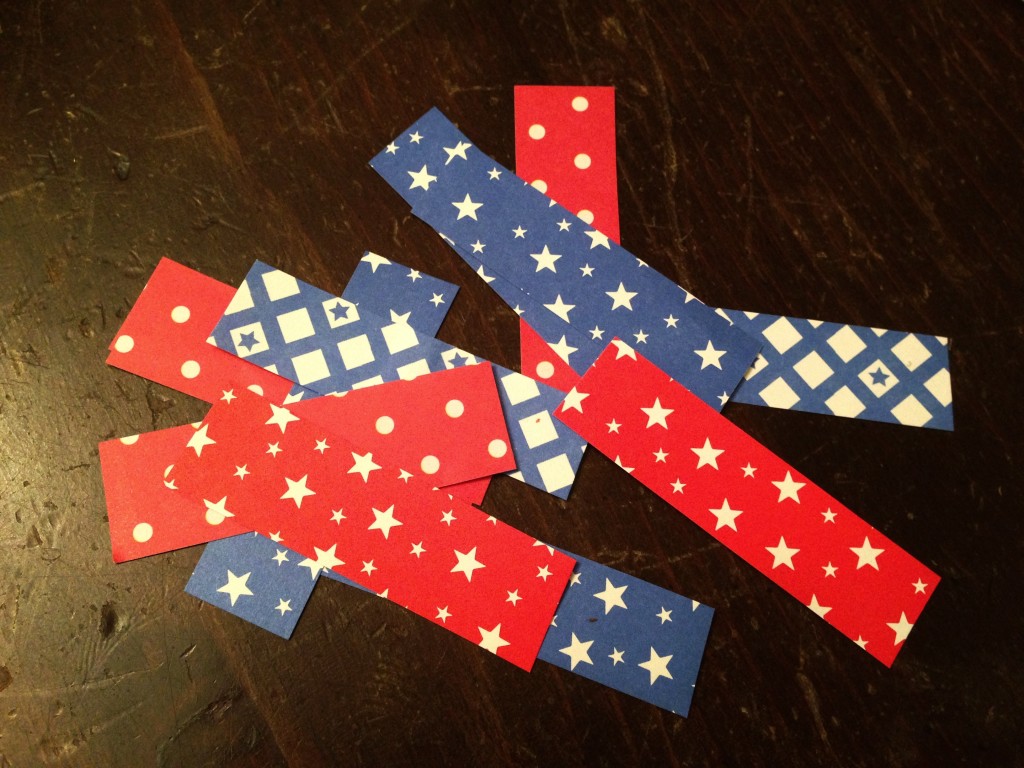
Festive strips1. Cut strips of paper approximately 1 inch wide and 2.5 inches long. These don’t have to be perfect, so I didn’t measure them. I just cut them all approximately the same size.

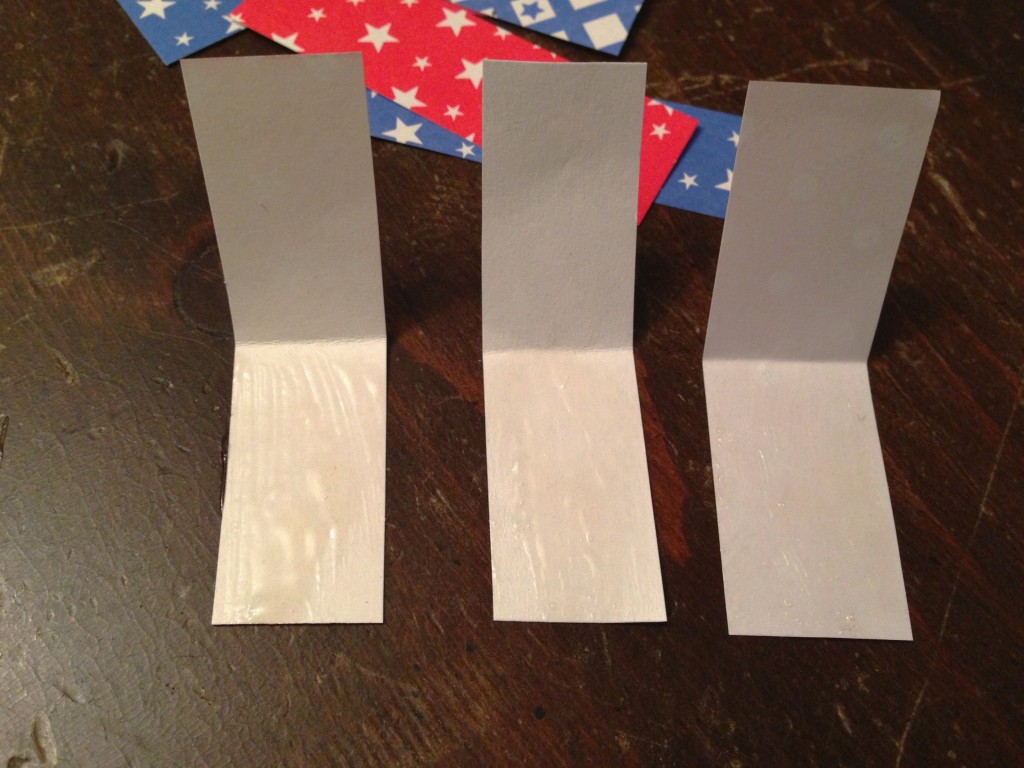
2. Fold 3 or 4 strips in half. This will help with toothpick placement, and make it quicker to assemble them by doing multiple at once. Folding them in half helps you to move faster so the glue doesn’t dry on you.

strips with glue3. Spread glue on one half of the folded piece of paper. Again, I did 3 or 4 at a time to make the process quicker.

4. Place a toothpick in the crease of the paper. I used regular sized toothpicks, so I only left a small portion sticking from the top so that I had plenty of room to insert the pick into the cupcake.

5. Line the ends of the paper up, and press the pick firmly into the crease. You’ll want to be sure the paper is glued tightly together around the toothpick. Otherwise, the flag will slide down the pick once it’s upright.

4th of July picks6. Once the flags are dry, you can snip a little “v” into the flag to give it a more finished look. Again, I didn’t measure these…I just tried to cut them evenly.

This post should end with a photo of my festively decorated cupcakes, but the said photo doesn’t exist. For some wild reason, our oven decided to heat to 450 instead of 350, so my red velvet cupcakes were burned to a crisp! Can you imagine my frustration when I realized I made 24+ handmade flags for cupcakes that I couldn’t even take to the party?! Instead, we stopped at Walmart and purchased some cupcakes from the bakery. I still used my flags, but it seems a little strange to put handmade decorations into store bought cupcakes!

I was also going to use my fancy cupcakes for my #summerfood challenge for the Phone Photography Project. Another bummer.

4th of July cupcakesThe beauty of this project is that is can be adjusted to fit any holiday or occasion, just by altering the paper. I envision making these flags for several projects, but hopefully I’ll have a dessert to stick them in next time!

A Quick & Easy Spring Wreath

It was past time for a new, spring wreath, so I finally reserved some time to throw something together. I snagged this green, berry wreath at Hobby Lobby after Christmas for less than $10. (It was $60 regular price.) Even though it was a holiday wreath, I immediately thought of spring when I saw it.

Green berry wreath

floral fabricI decided to tie on some springy, floral fabric to spruce it up a bit. To do so, I cut a small 1″ slit and then pulled both ends of the fabric to tear long strips. I could have cut the strips, but I wanted it to look tattered and irregular. Then, I just cut 4-5″ pieces from the long strips to tie to my wreath.

tearing fabric into stripsstrips of fabricfabric for wreath I also added a burlap bow and ribbon. I used a zip tie to attach the bow, because I like to be able to take bits and pieces off and reuse them for other projects. (This bow came from my January/February wreath.) To add the ribbon through the wreath, I tied one end of the ribbon to the back side and hid the knot behind the bow. After weaving it through the wreath, I tied the other end on the other side of bow and tucked it away. After securing the bow and ribbon, I tied the strips of fabric on in alternating colors to fill the empty spaces around the ribbon. Finally, I tied a piece of spare fabric for a hanger.

zip tie for bowtying ribbon to wreathfloral fabric on wreathhidden wreath hanger

New Spring Wreath!And there you have it! After hanging it on the door, I think it might look a little too much like an Easter wreath. I’ll give it a week or so of hanging there while I decide if I it needs to be reworked or not. What do you think??

Homemade Laundry Detergent: Take 2

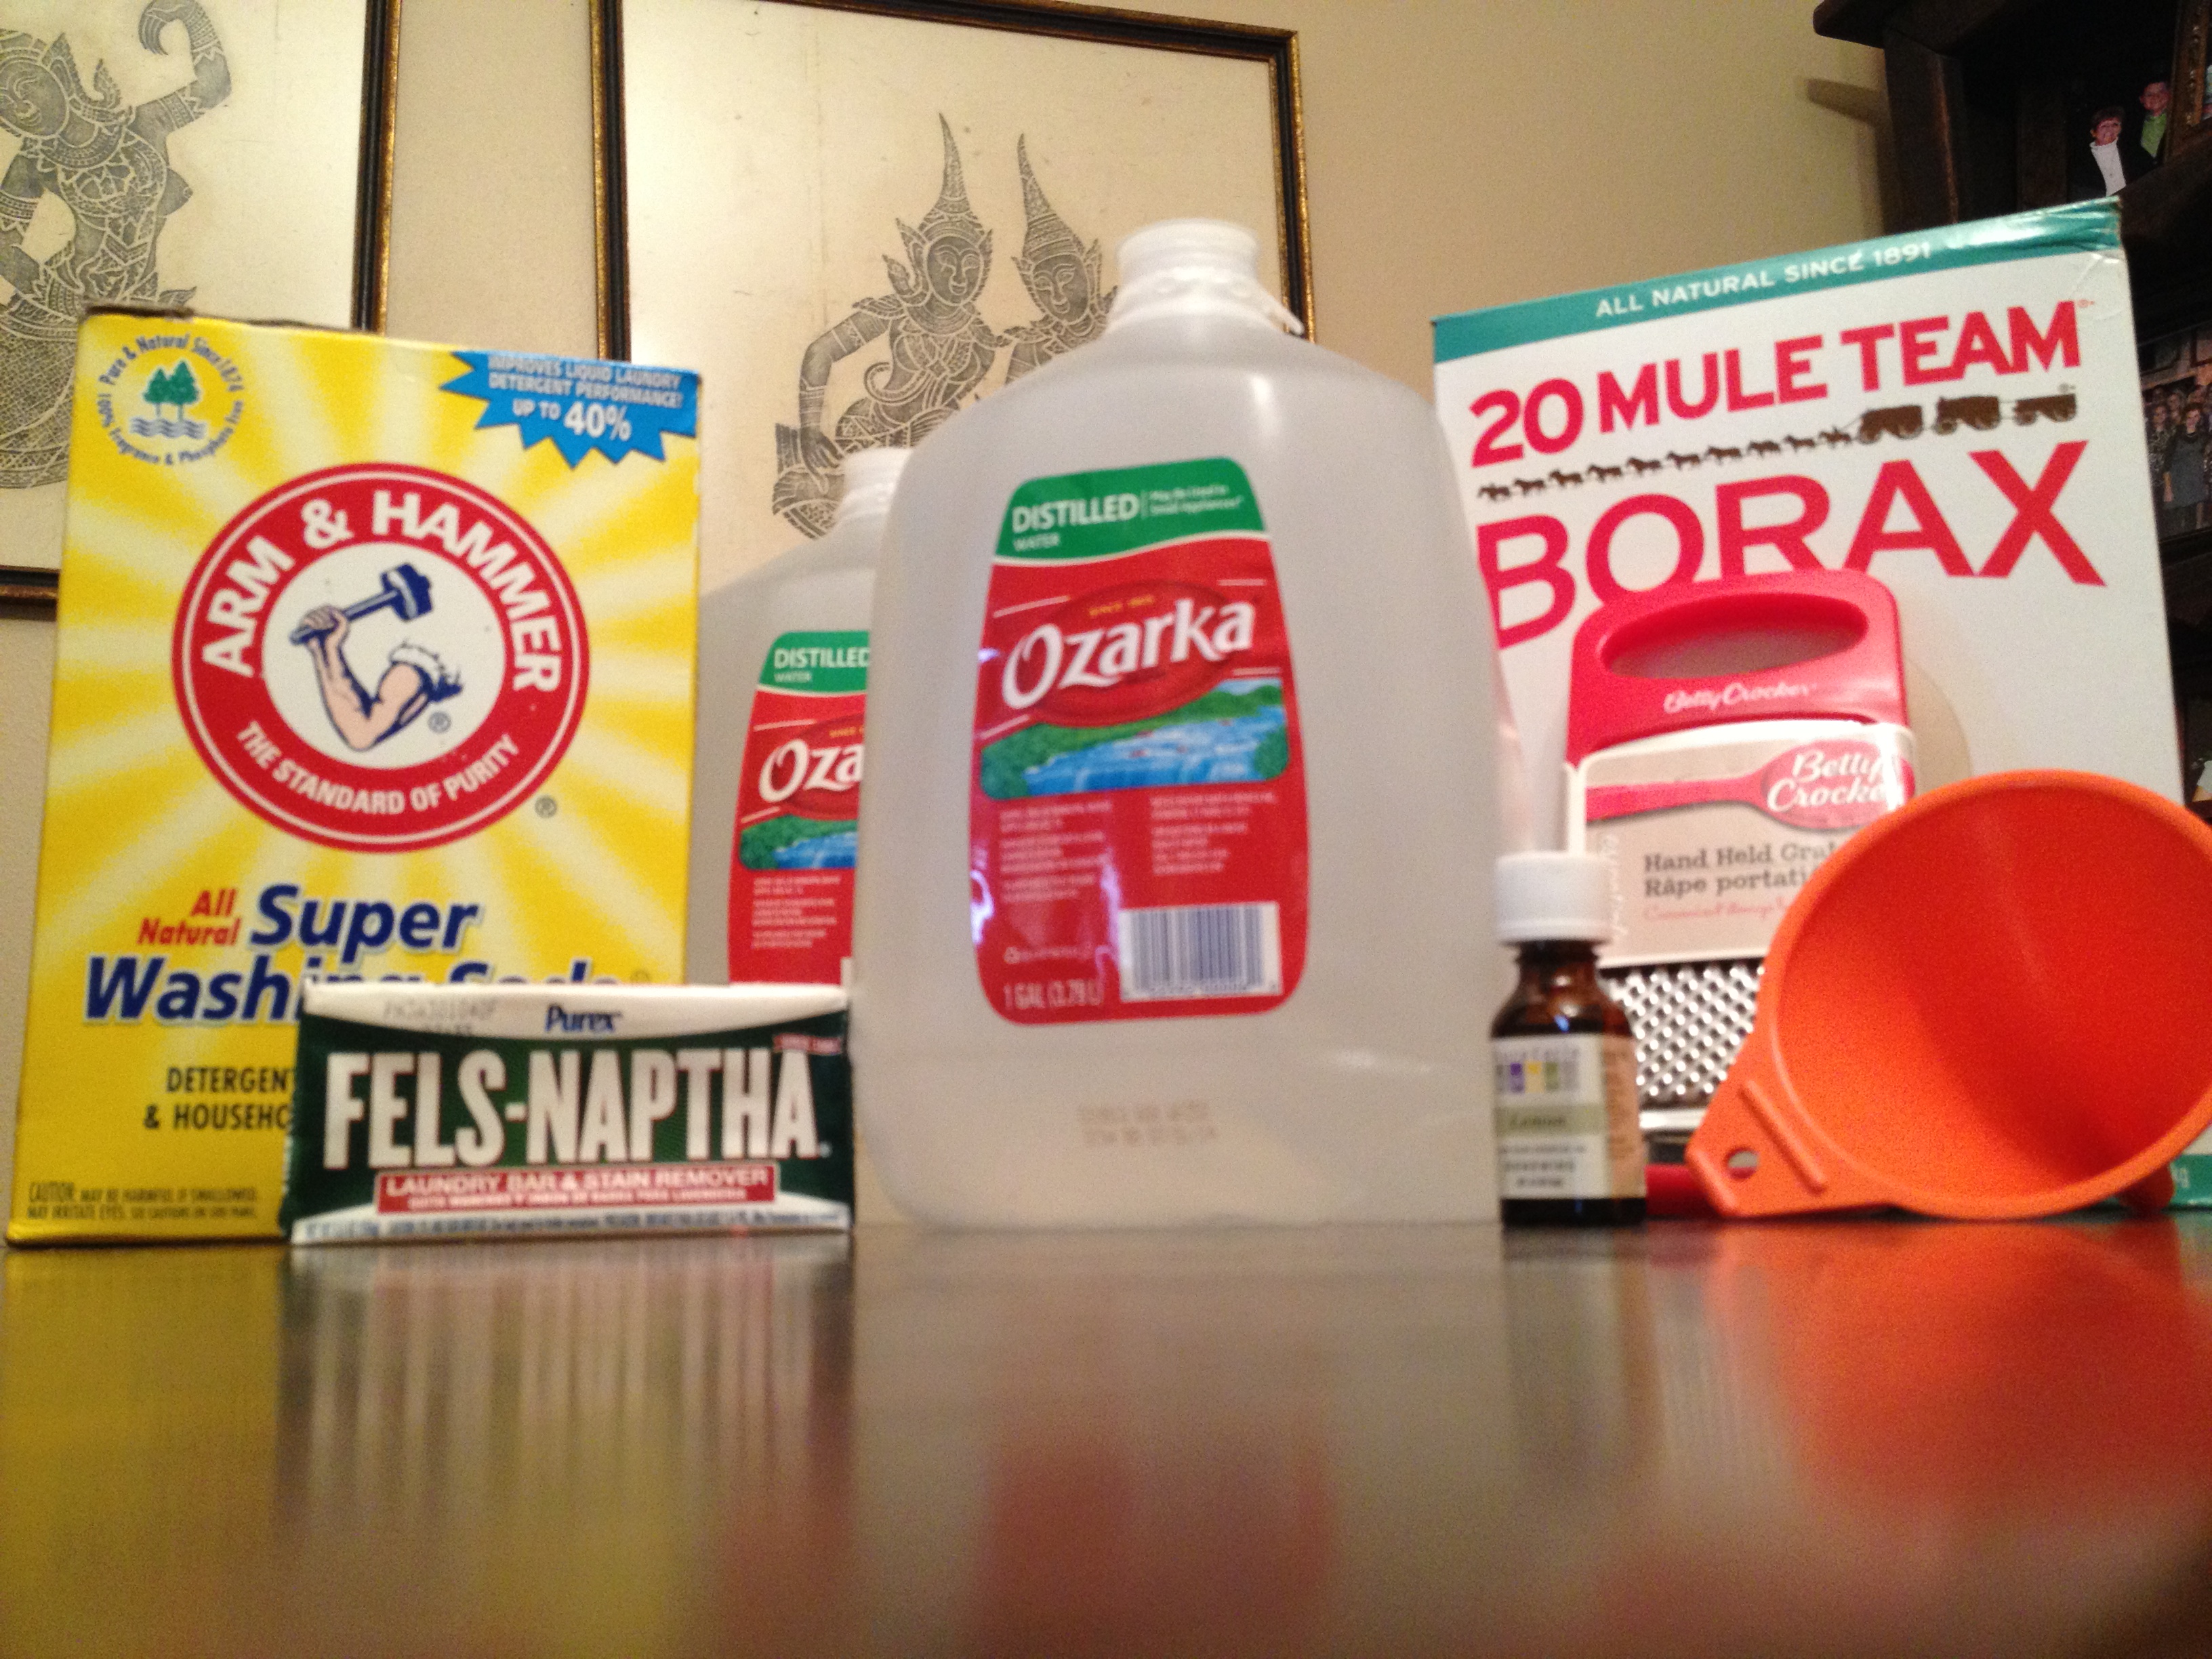
Detergent Supplies

I’ve made a few batches of this laundry soap and decided I just wasn’t crazy about it. I liked that there wasn’t any grating or cooking involved, but I just felt like it wasn’t cleaning quite enough, and it didn’t have a prominent enough smell.

I have a few version of detergent recipes pinned (Don’t we all?), so I thought I’d give another one a shot. I sort of combined this recipe with this one to create my own version. I liked the first one because it included essential oils, which I figured would make it smell good, but I didn’t want to make such a huge batch without trying it first. So, I used the second recipe and combined the Fels-naptha soap and essential oil from the first. Lets hope that was a good idea!

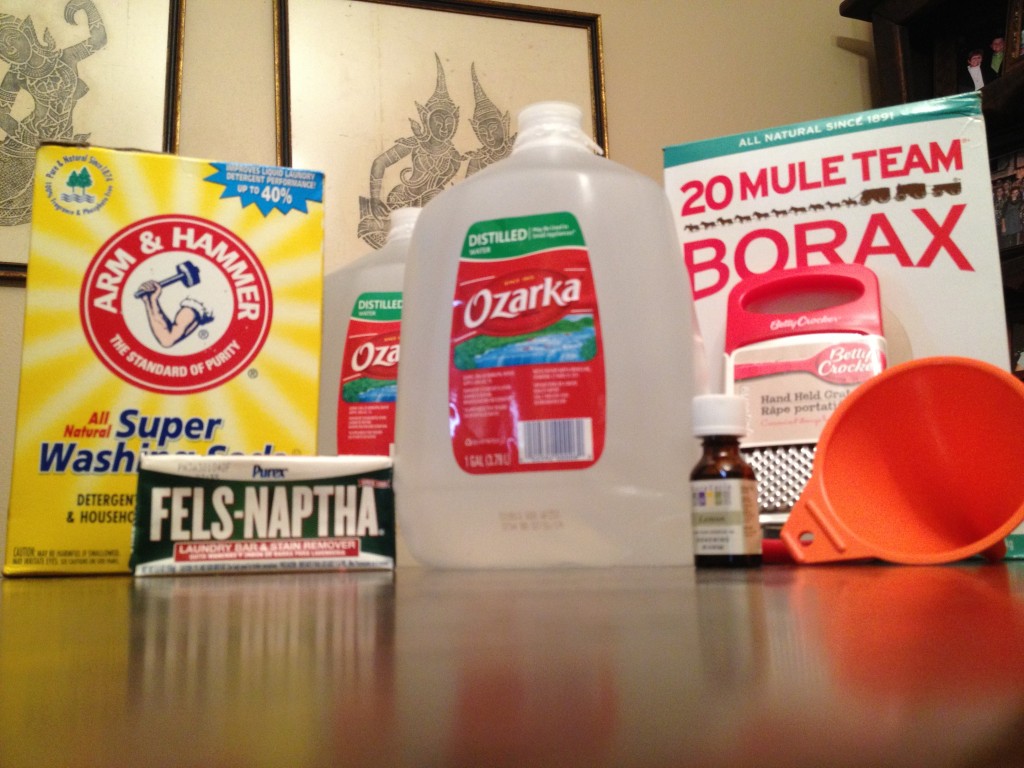
Here’s what I used:
3/4 bar Fels-naptha soap
1 cup Arm & Hammer washing soda
1 cup Borax
Lemon Essential oil
2 gallons water

Detergent SuppliesHere’s what I did:
Obviously, you start by gathering supplies. Sometimes people have a little trouble finding the borax. TP Outdoors carries it (and the Fels-naptha) if you’re in the area. The essential oils were equally tough to find. I finally found mine at Fiesta Nutrition. Some article suggest to not use supplies from your kitchen, so I dug a pot and grated spoon from the garage sale pile.

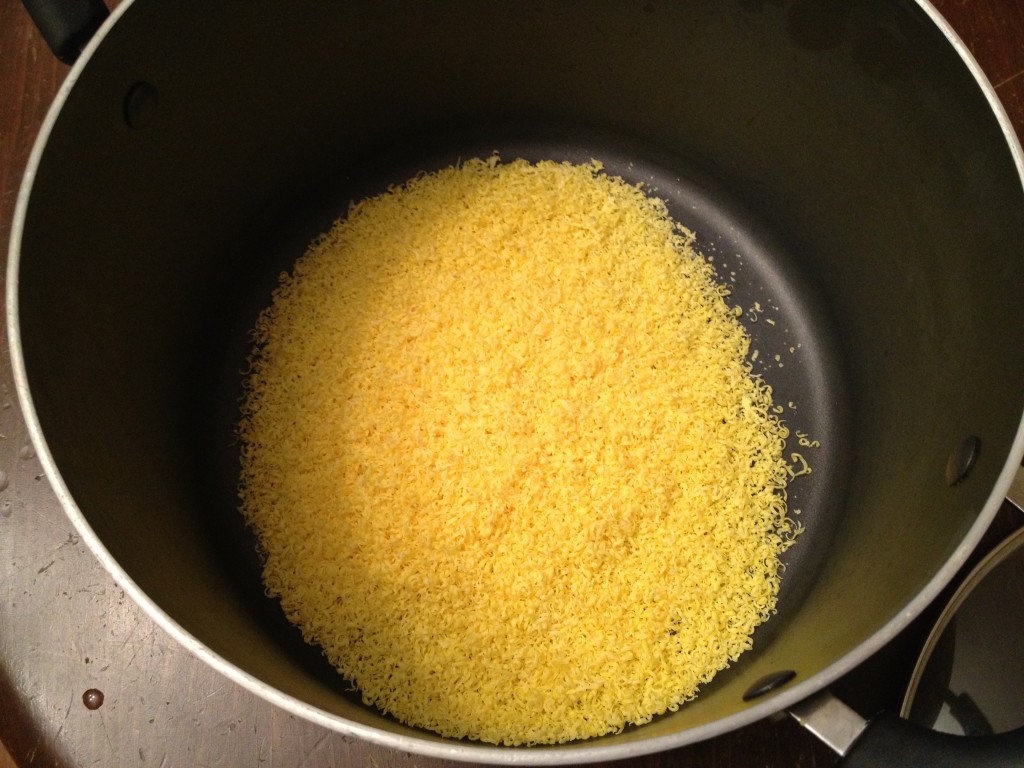
Grated SoapYou begin by grating your soap. I bought the Betty Crocker grater from the Dollar Tree, specifically to make this soap, but it grated the soap too finely so it was taking FOREVER! I ended up pulling my hand grater from the kitchen and using it instead. One of the recipes suggested using just half of the bar of soap, so the detergent wouldn’t be too thick. I wasn’t sure, so I went the middle of the road and used 3/4 of the bar. However, the detergent ended up being too thick for me, so I’d suggest only using 1/2 of the Fels-naptha.

Cooking soapAfter grating the soap, you add it to the pot with one gallon of water. I also read somewhere that you have better results from using distilled water, so I purchased two gallons from TP Outdoors, as well. (Turns out that distilled water makes it thicker…that may be another reason mine was too thick.)

Heat the soap and water until the soap melts. I cooked mine over medium heat. Warning: this process took much longer than I expected…approximately 10-15 minutes.

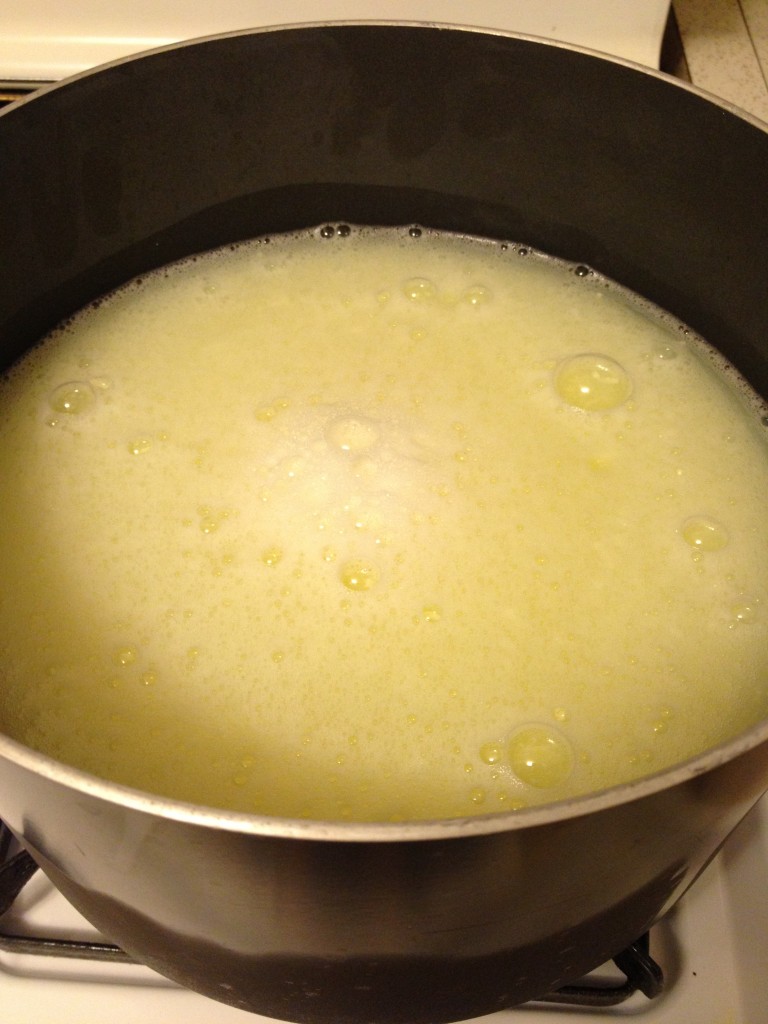
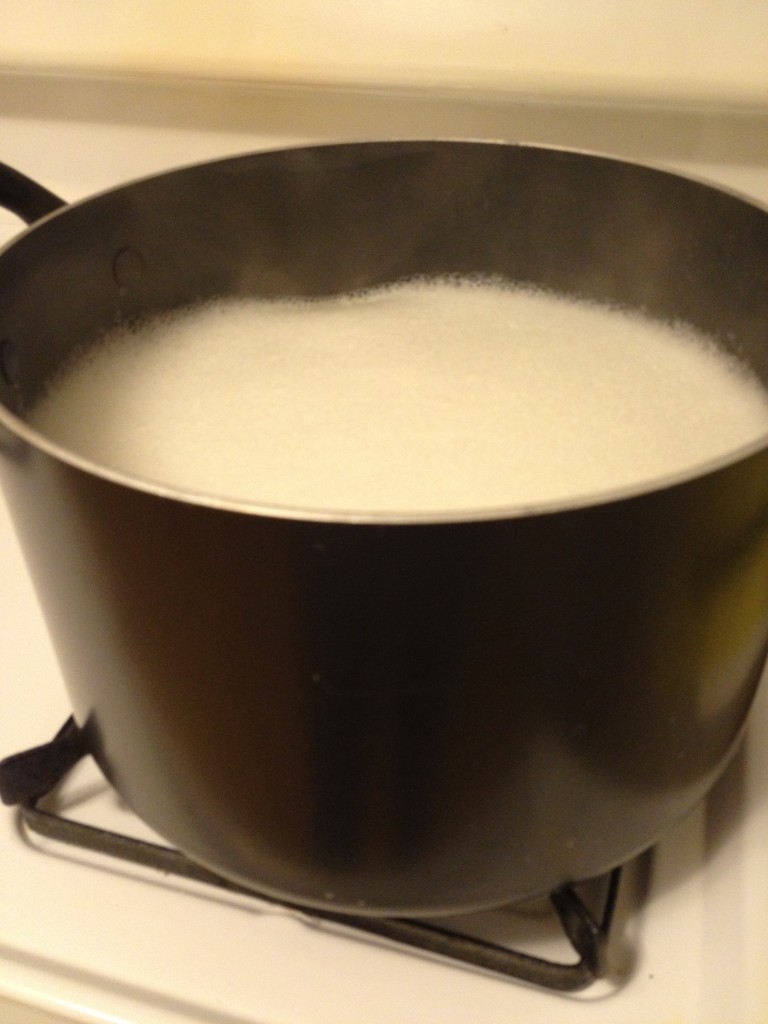
Once the soap is melted, you add in 1 cup of washing soda and 1 cup of borax. I also added 4-5 drops of lemon essential oil. (I chose lemon because I like the smell, and because they say lemon kills bacteria, etc.) Mix these ingredients together and bring to a boil. This process took much longer than I expected too. However, when it started boiling, it almost immediately started to boil over, so I’d keep a close eye on it.

Boiling laundry detergentOnce the mixture starts to boil, remove from heat and add the other gallon of cold water. (I put the second gallon in the fridge to chill earlier that morning.)

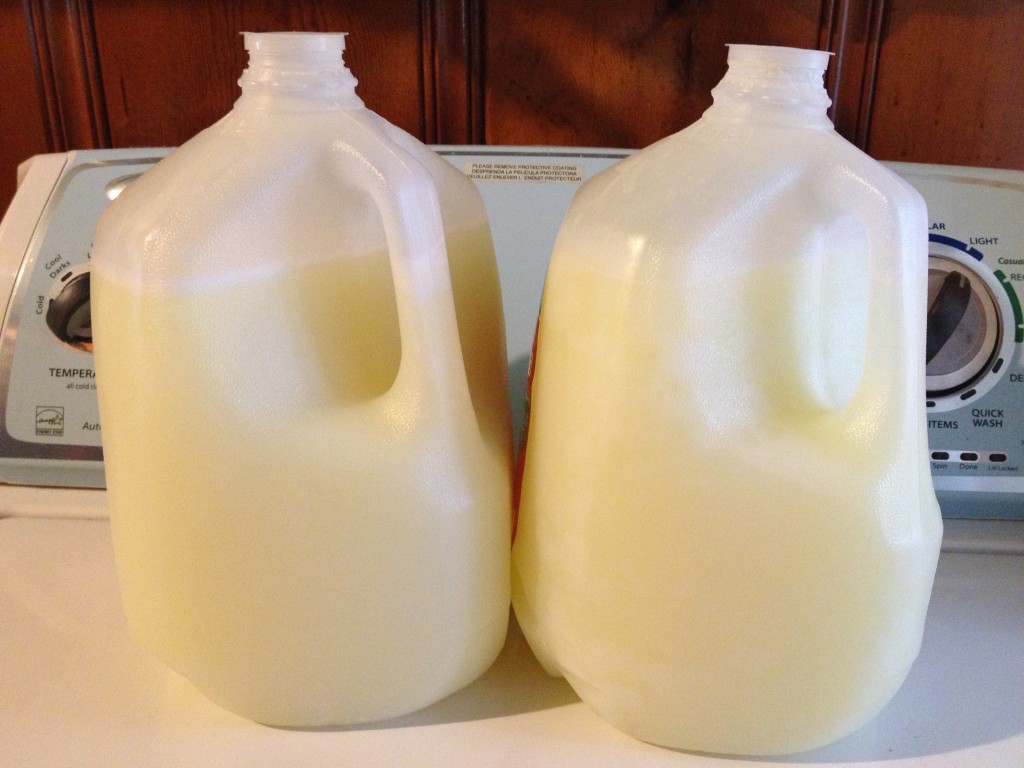
Ideally, your pot should be able to hold the 2 gallons of water so you can stir them together comfortably. Mine only held approximately 1 1/2 gallons, so I split the remaining water between the gallon jugs, stirred the mixture in my pot, poured it into the jugs, and shook vigorously to mix in the remaining water.

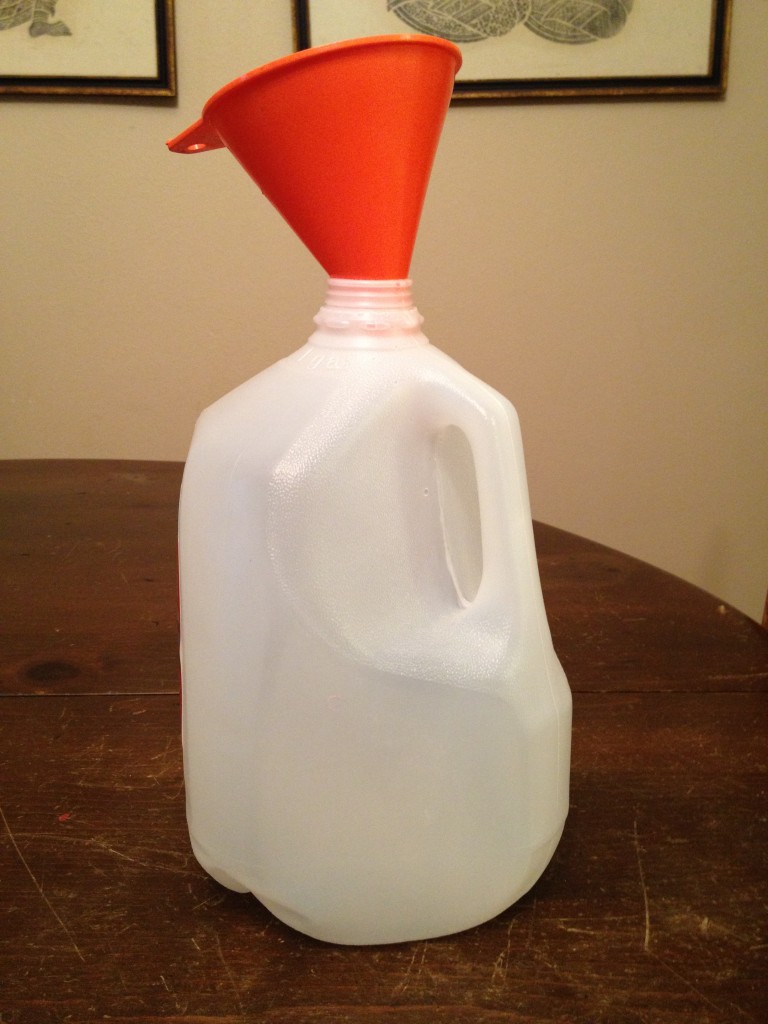
pamelapetrus (4)I saved the gallon jugs, so I used a funnel to pour the mixture back in to the jugs. You’ll want to do this over the sink. I made a huge mess and wasted a good bit! Had my pot not been so full, it would have been easier to pour.

Homemade laundry detergentSo there you have it! The process was less intensive than what I imagined, with grating the soap being the hardest part. You use 1/2 cup per load of this recipe. I am doing laundry today, so I’ll hopefully have an update soon on how well this recipe works. I really like the idea of making my own detergent, so I hope to find a recipe that I like.

If anyone has a recipe that they love, please share. Furthermore, if you try this recipe and love it or hate it, please let me know how it goes!

Easter Goodies.

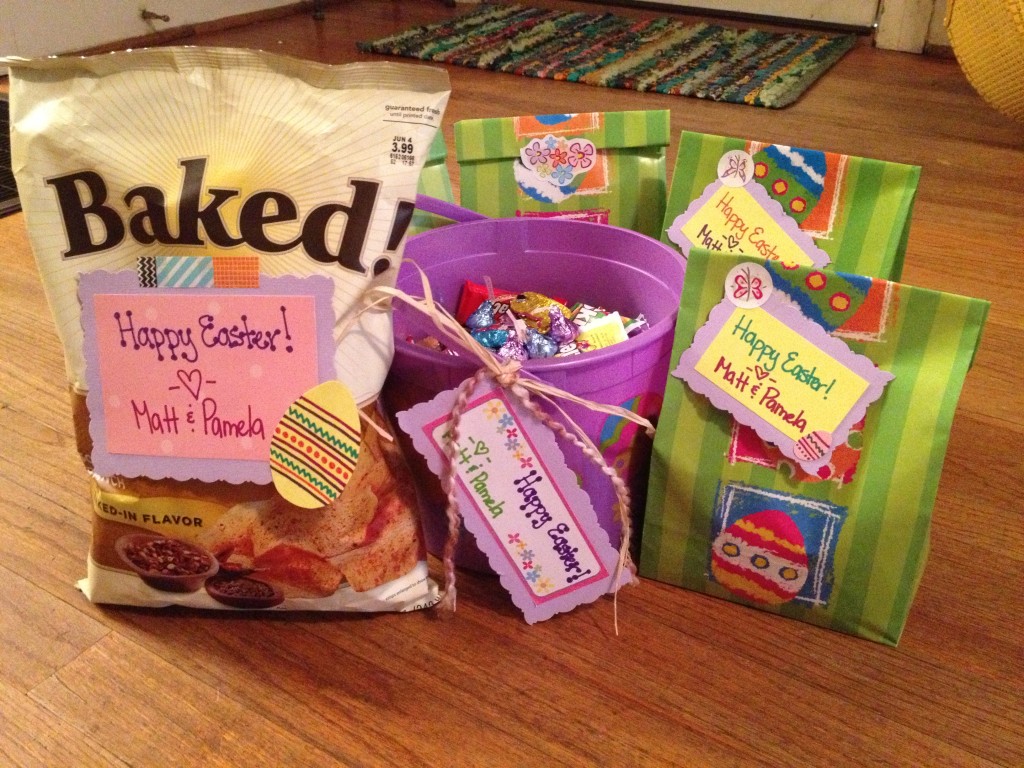
Rather than folding and putting away laundry, which was on the to-do list for yesterday afternoon, I decided to make some Easter goodies! Matt wanted to take Easter candy to the front desk folks at TP Outdoors, and I wanted to make some goody bags for our girls at Salt & Pepper.

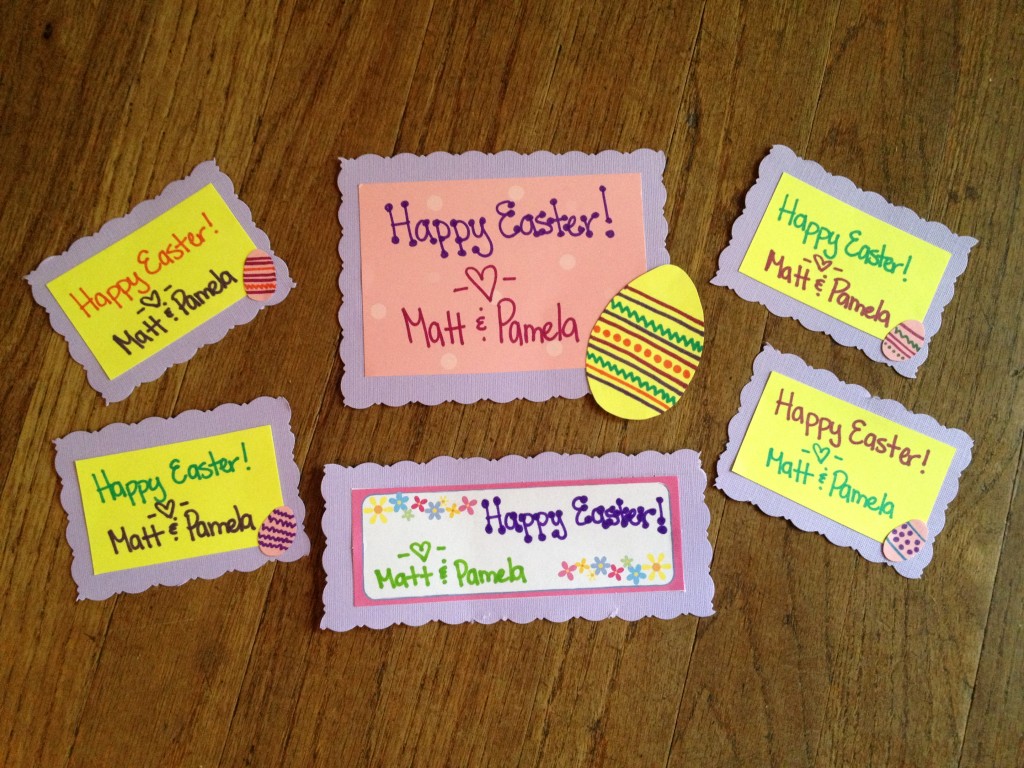
Easter CandyI had an Easter pail, bags, and grass already, so I just ran and picked up some candy. Then, I pulled out some old scrapbook supplies and made tags. I took it a step further by making little eggs for each of the tags. I used butterfly stickers to attach the tags and flower stickers to close the bags. (I’ll admit that I got a little carried away…it’s what I do.)

Easter tagsEaster GoodiesSometimes you just gotta blow that to-do list and do something else that strikes your fancy. Today, I fancied making Easter goodies for people we love. I think it’s worth it, especially to put a smile on someone’s face. I’ll get to that laundry next week. I hope you all have a happy Easter!

Much love!
Matt & Pamela

Spring Market 2013: The Purse Fence & My Big Mistake

Building the purse fence for Spring Market 2013 brought its share of challenges, so I thought I’d share the process. There’s a pretty funny story here, so be sure to read to the end.

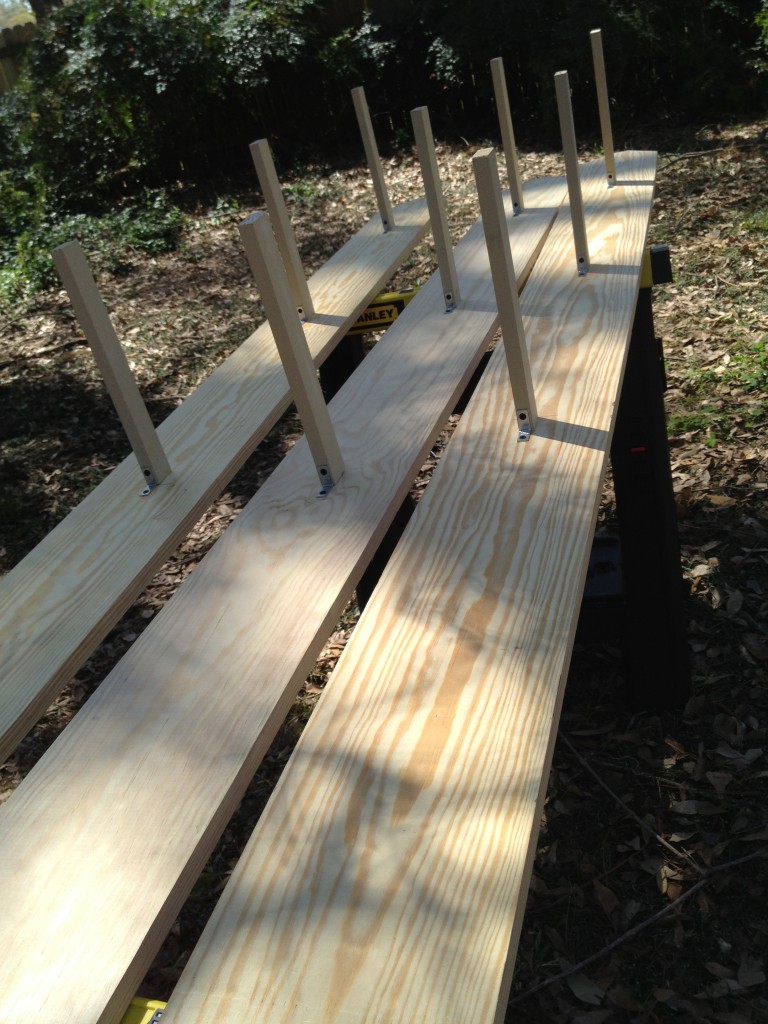
As I mentioned in my earlier post, the hubby had a great idea of building the purse wall into a fence to fit with the outdoor theme I was going with. We purchased 1×8’s at 10′ long to be tall enough to fill most of the wall space in our booth. I was going to use pipe pegs as we’ve used throughout our store, but we decided to cut pegs from 1×2’s instead so it wouldn’t be so heavy.

Supply list:
9 1×8’s at 10′ long
4 1×4’s at 10′ long (to connect the fence)
27′ of 1×2’s to create 27 pegs at 12″ long
54 L brackets
Screws
Drill
1/2 gallon paint
Brushes

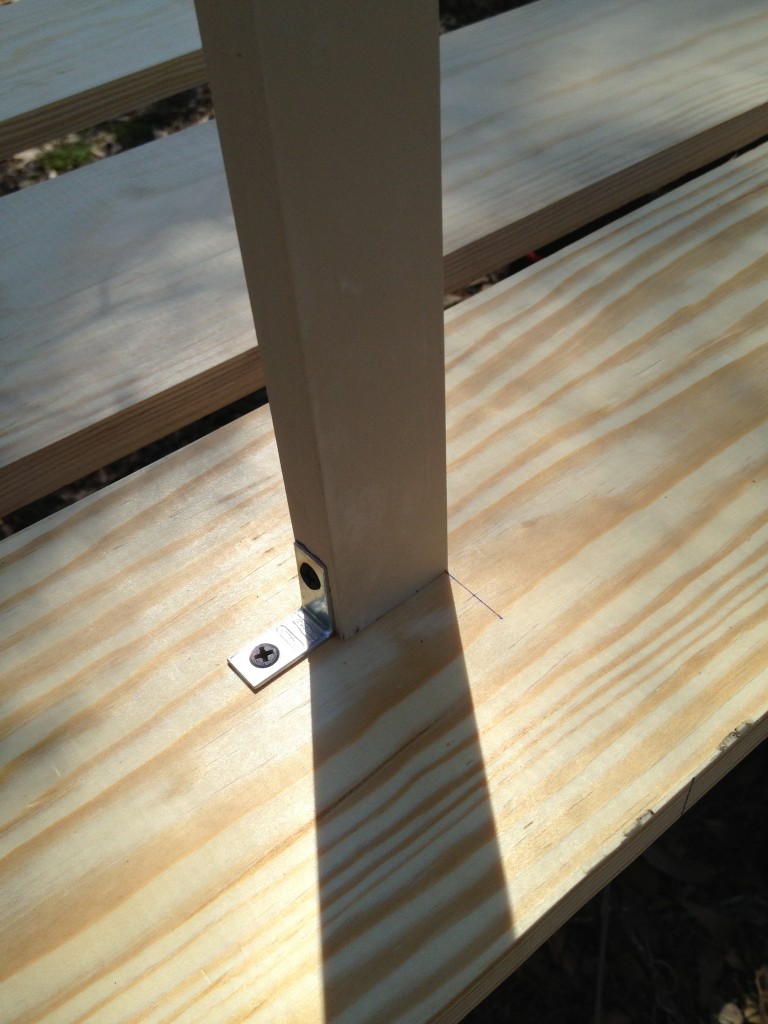
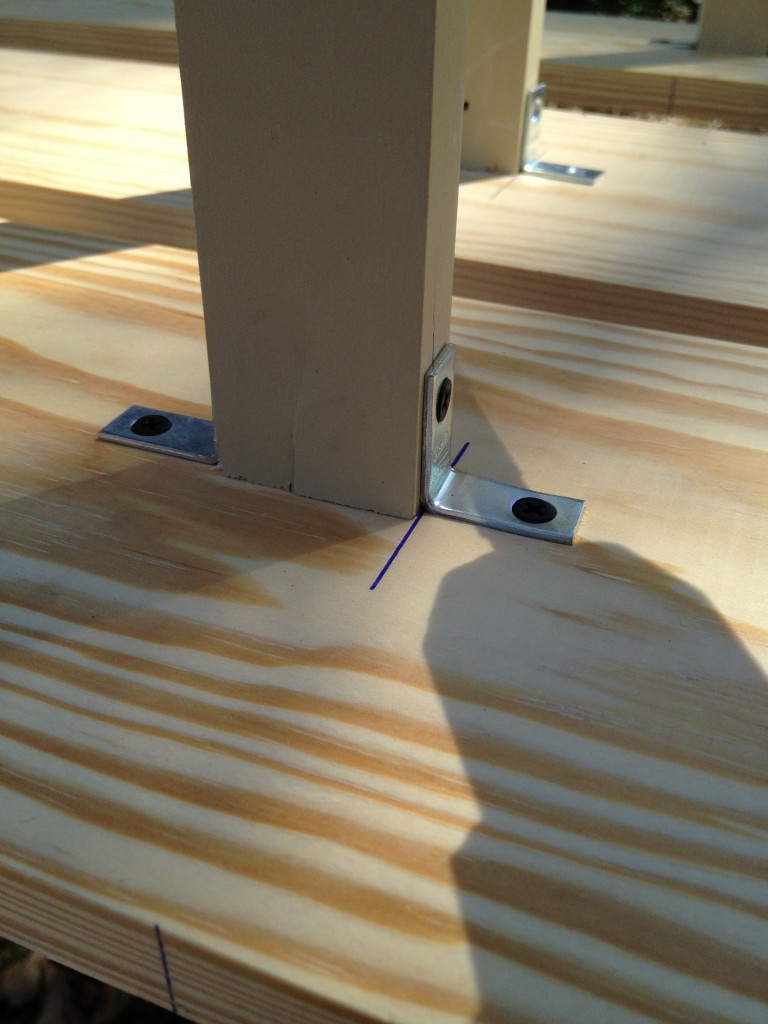
Fence postsPegs with bracketsMatt put the individual slats together while I was at work. As you can see, he cut the corners of the tops of the 1×8’s to look like fence posts. Then, he cut the 1×2 into 12″ pegs and measured how far apart they needed to be in order to hang purses. He screwed the pegs in from the back of the 1×8 and added an L bracket for extra support. We decided the pegs needed a bracket on the top as well, so I added them later.

Adding two brackets

My first injury of the day.

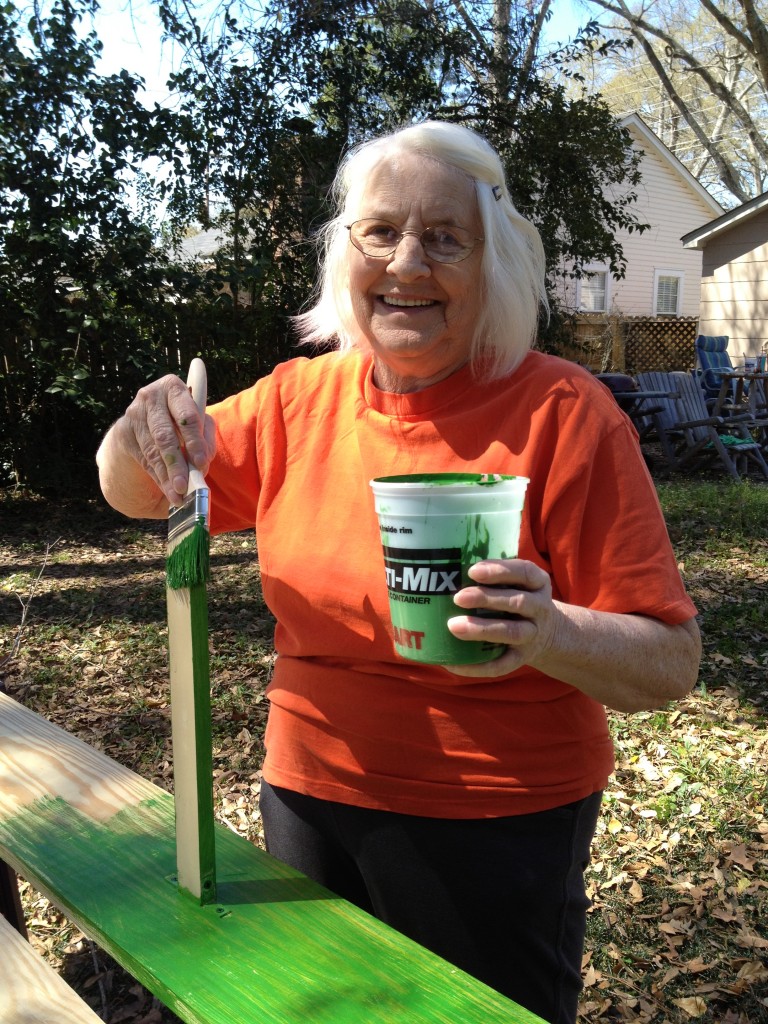
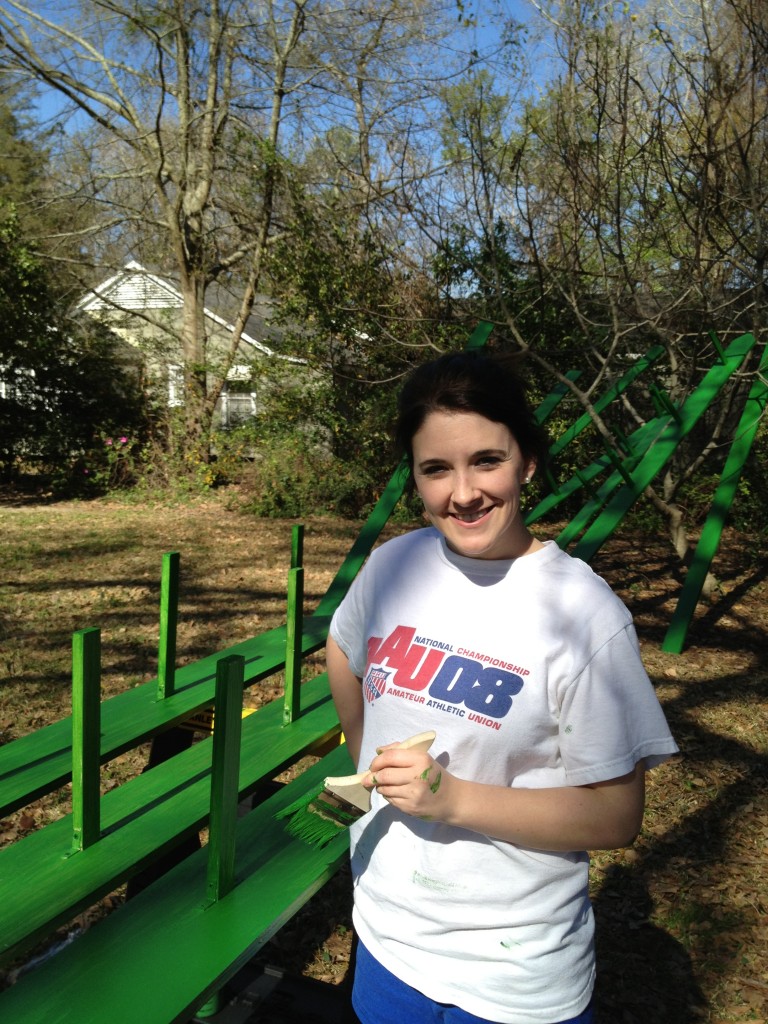
For some reason, we were both seeing green when we talked about the fence, so we went with this great green color. My mom came down on a Saturday to help me get everything painted. She was sick of seeing green by the end of the day!

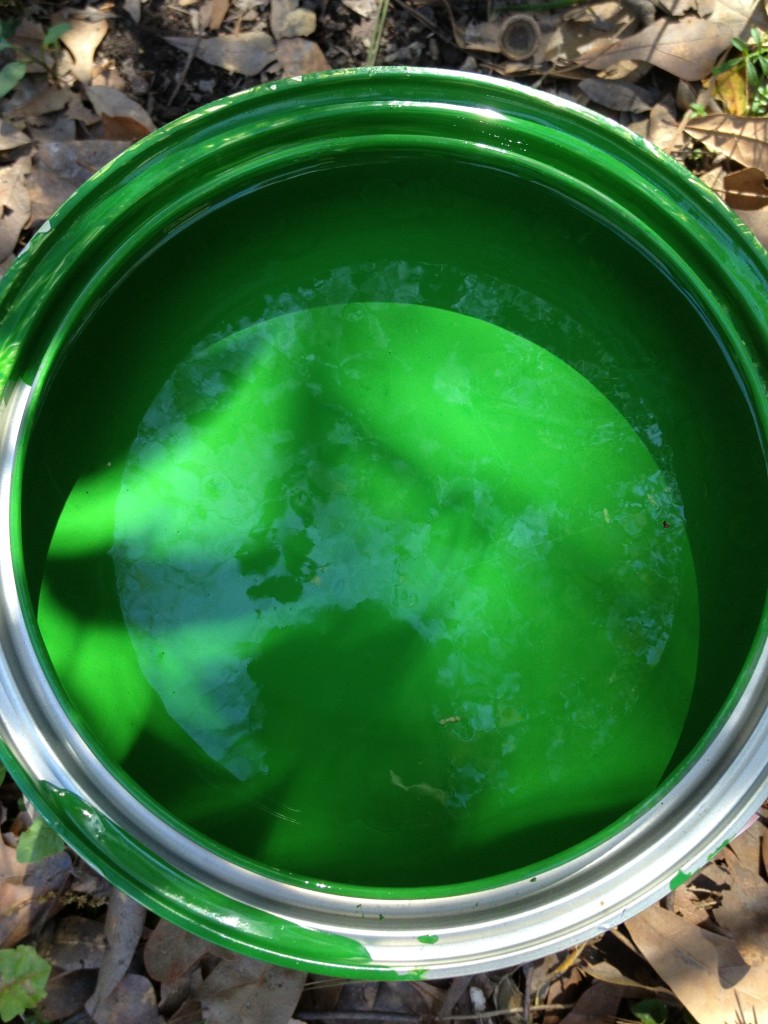
Green paint.

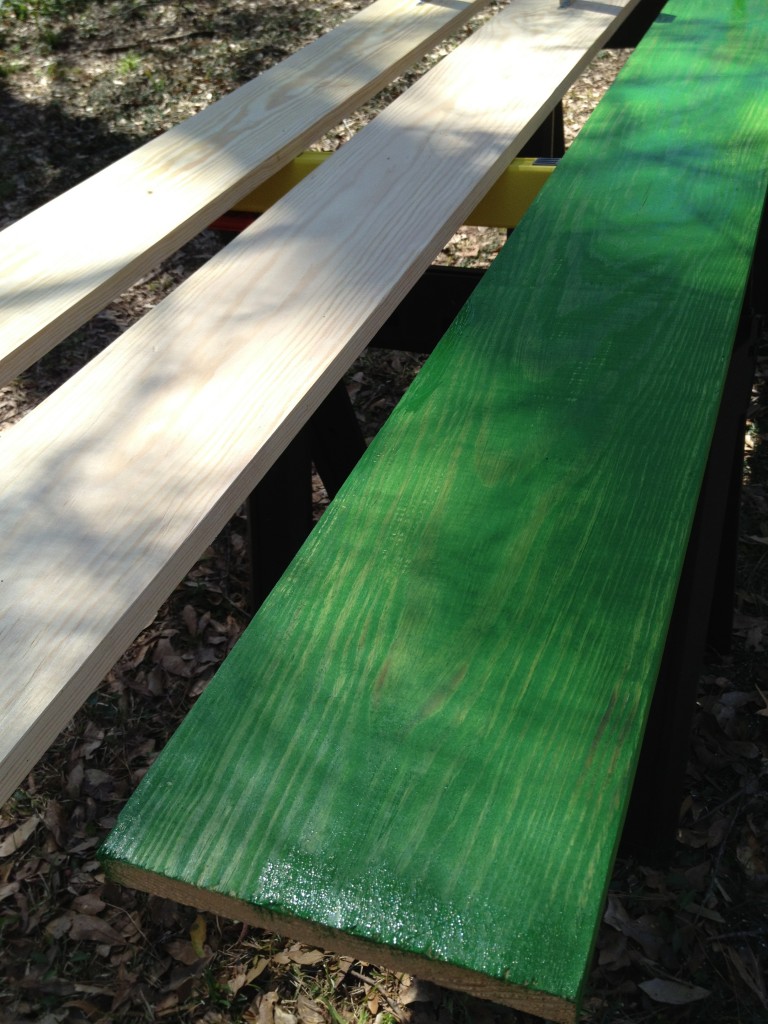
The transformation begins...

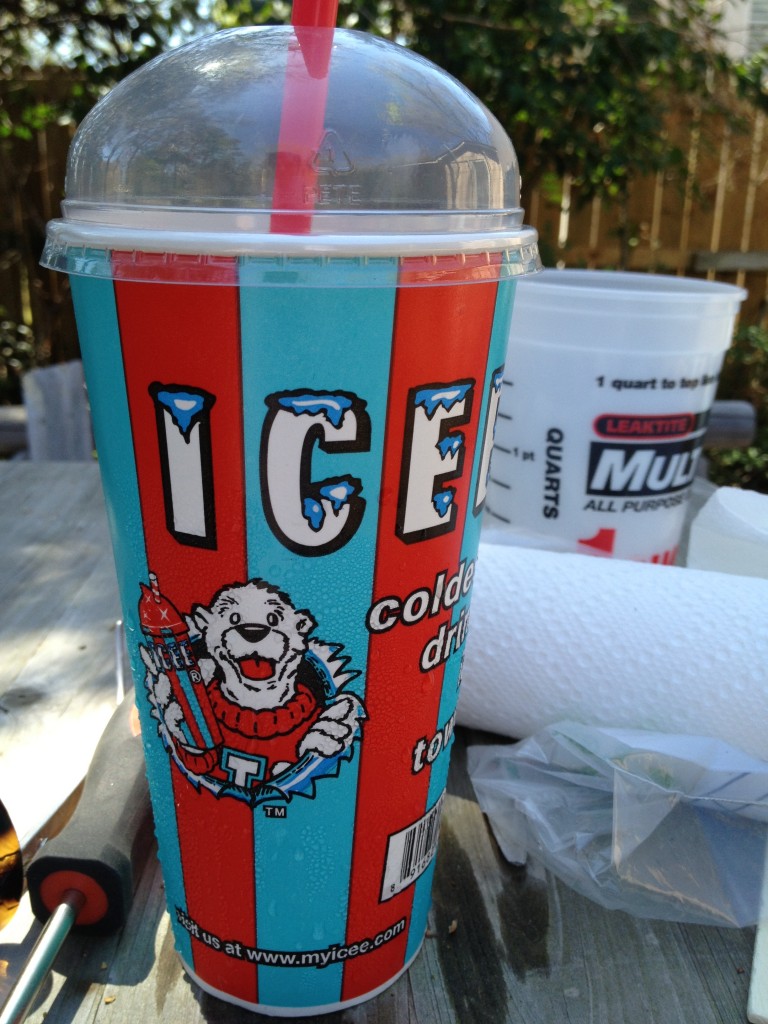
Icee...yum!
The most important tool on the list!
Mom painting.
Mom hard at work….she’s going to kill me. Seriously.

Me painting.

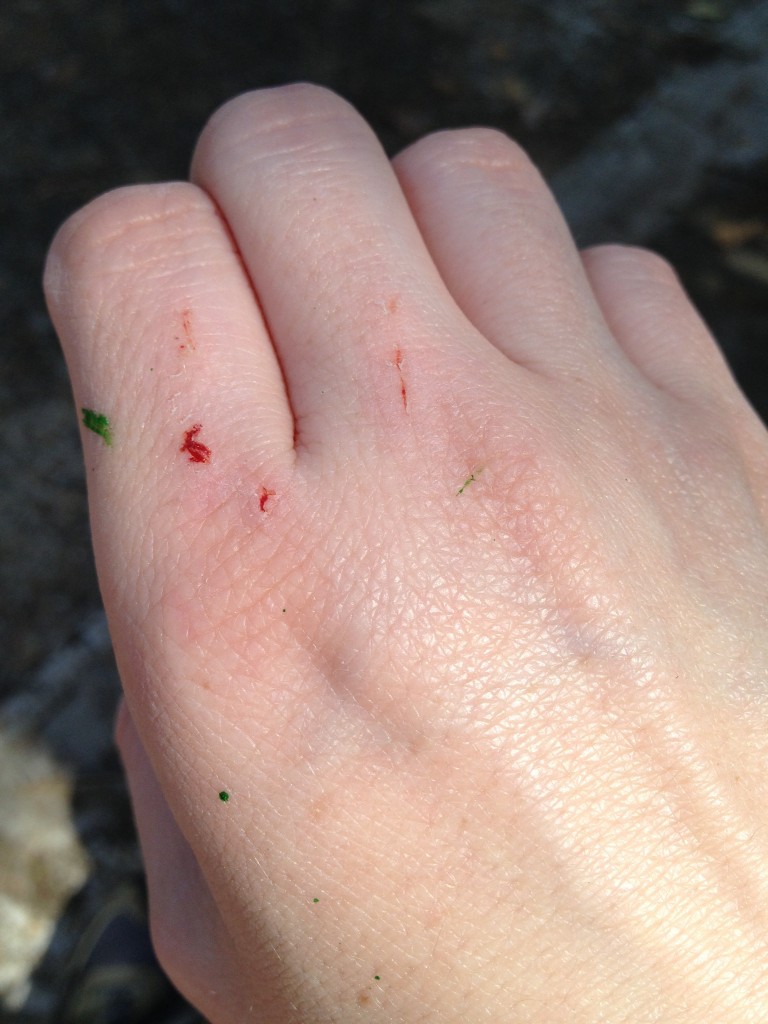
My green hand

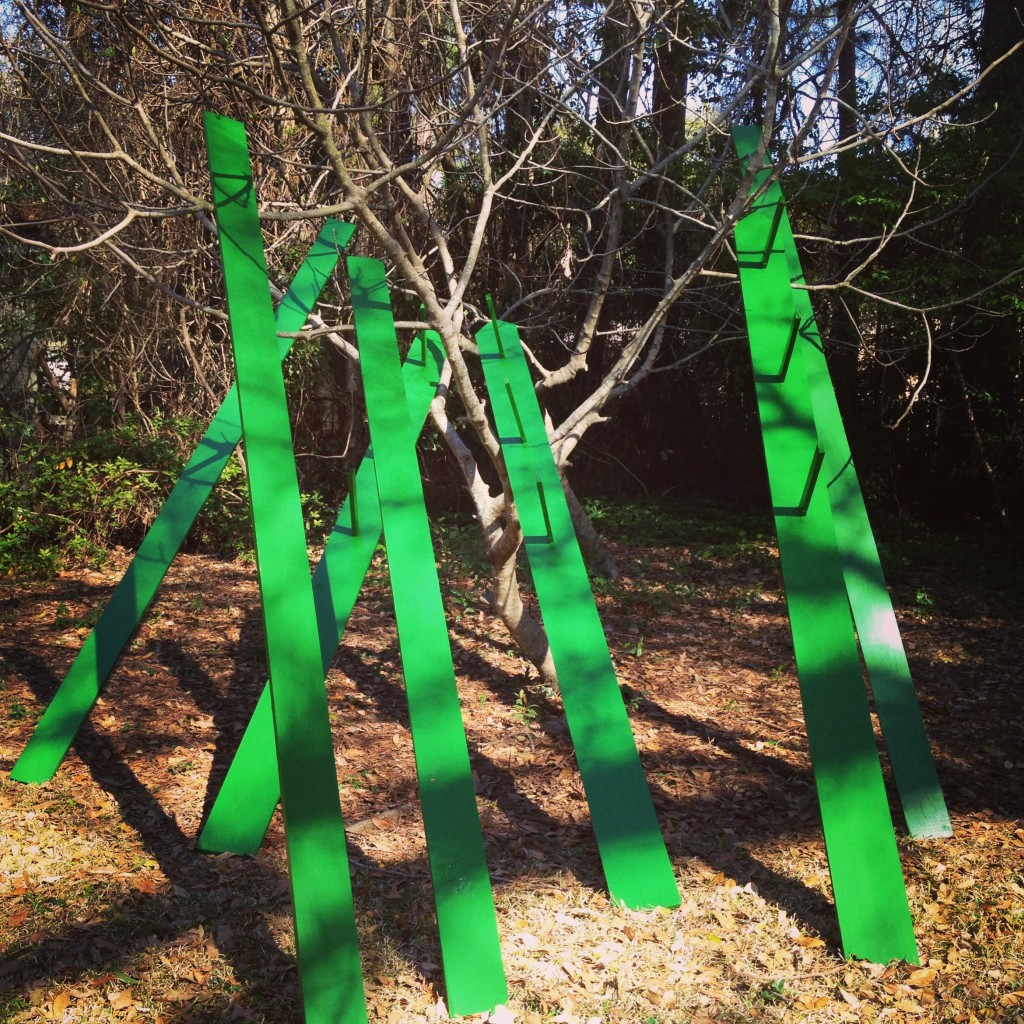
Fence posts in the tree.And here’s the finished project! (See the full Spring Market post here.)

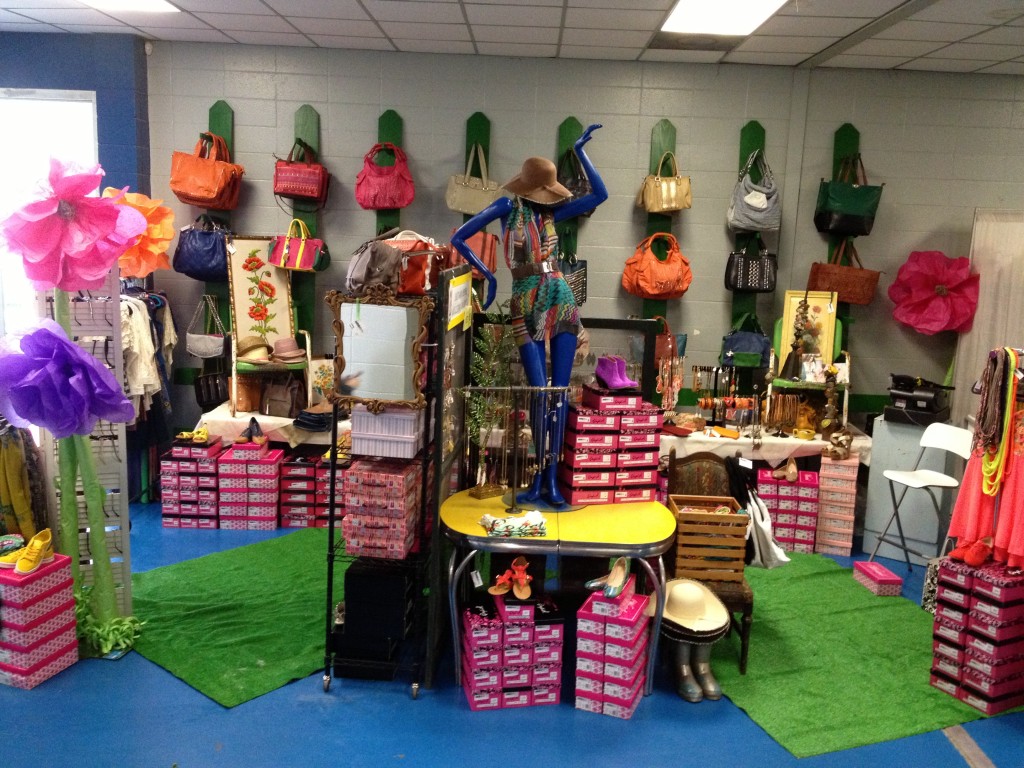
Spring Market 2013
I was pretty shaken up by the events of the day (see below), so I ended up putting the connecting boards in the wrong place. Ideally, there would have been boards going horizontally across the top so that it actually looked like a fence. Instead, I put them on the bottom, behind the tables, where you can’t see them. Sorry honey!!

Spring Market 2013So…as I mentioned earlier, there would be a funny story at the end.  Well, I said that we made 9 fence posts, but if you notice in the picture of the booth, there’s only 8. What happened to the other one?? Well, what had happened was…. (Isn’t that how all of the good stories start?) …my nephew and I came to my house to load up the fence boards and got distracted by gathering supplies, unloading lawnmowers, etc. So…we ended up leaving the house without closing the door to the cargo trailer. Yep, you read that right…I drove from my house to TP Outdoors (approximately 2.5 miles) with the door to the trailer down. Luckily, the trailer wasn’t damaged along the way, but we did lose one of the fence posts. Oops! If you happened to see a random 10′ long green thing in the middle of the road somewhere along Park Ave./Riverside Dr. or on the Louisville Bridge….that was mine.

(Disclaimer: I swear that I don’t usually do such air-headed things. I’m going to blame this one on exhaustion and the madness of Spring Market.)

Anyone else ever done something this utterly stupid? Please share if you have so that I don’t feel so dumb!