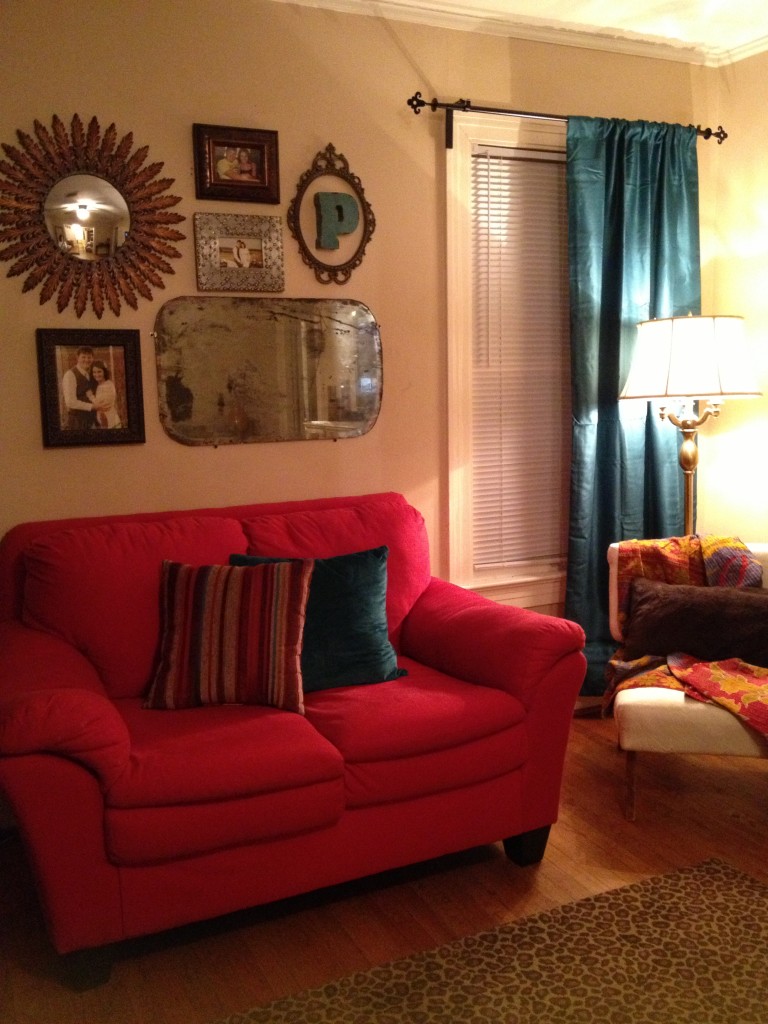
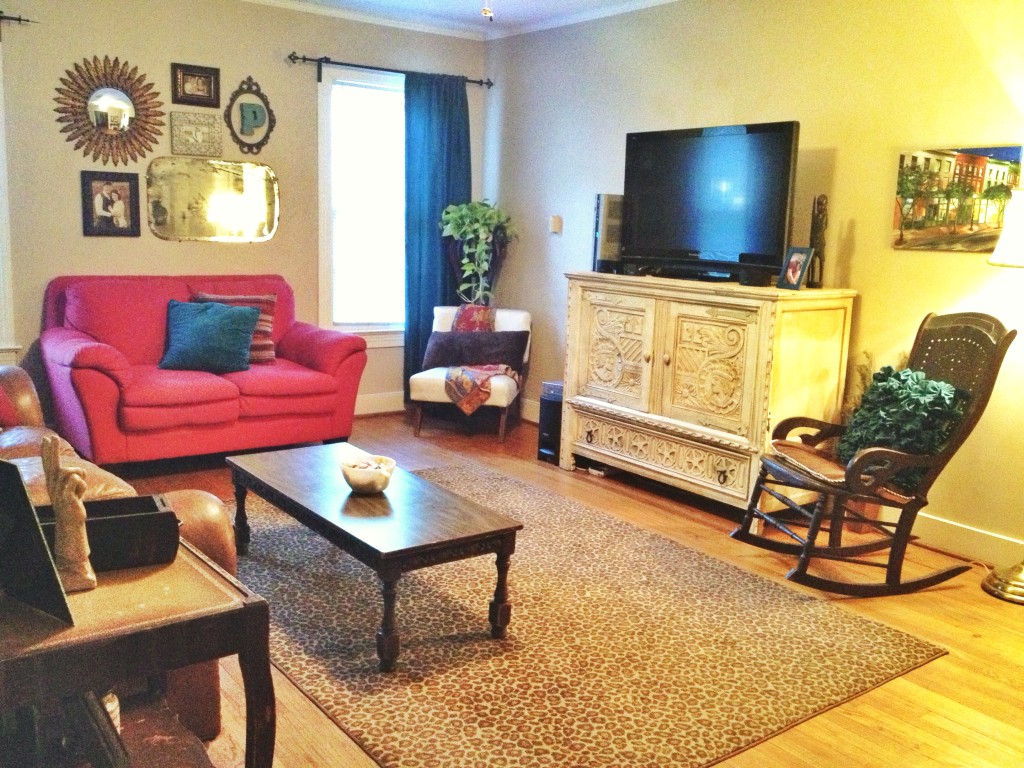
 Only July 31 we moved out of our very first house together…our sweet little rent house. In preparing to move and talking so much about the new house, I realized that I never shared a tour of our rental. I shared bits and pieces here and there, but I never shared any full room tours.
Check the archives for our antique mirror gallery wall, bathroom makeover, and living room sneak peek.
In thinking back on it, I didn’t share any tours because I never felt like things were “finished.” I had ideas for making things even better, so I’d wait to share the space until all of those little projects were done. Well, a lot of those projects never happened. I’d be too busy or it wouldn’t turn out like I hoped, so I never shared the spaces. 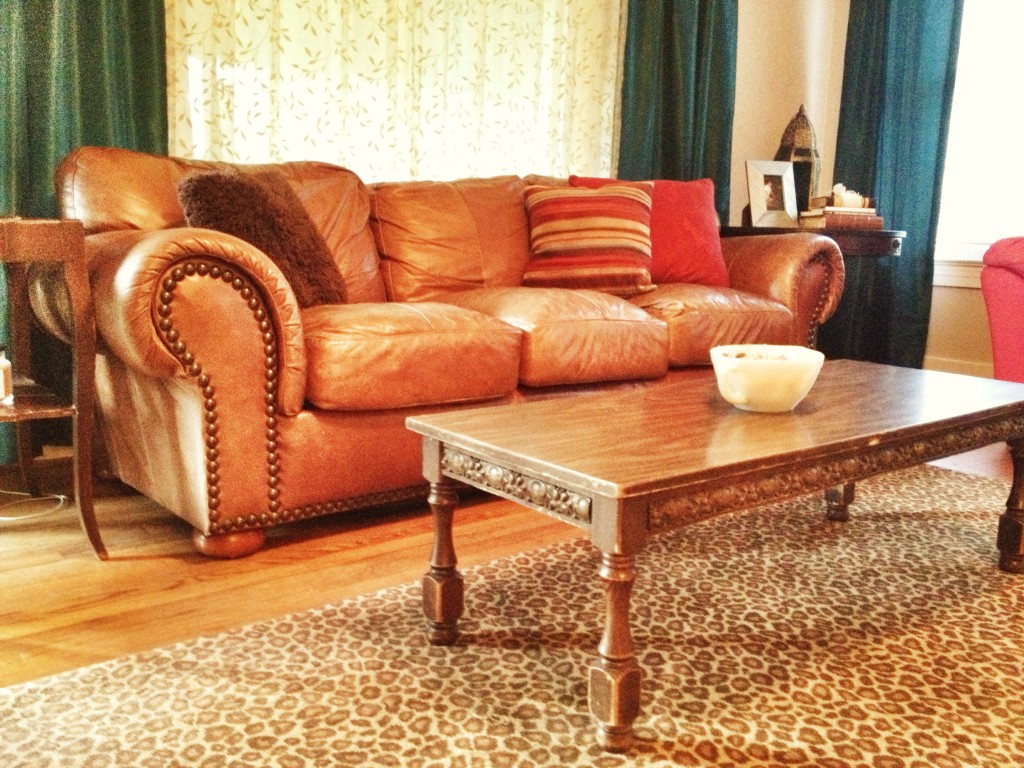
I’ve recently stumbled upon this blog, and her mantra is that things don’t have to be perfect to be beautiful. This approach really struck a cord with me because I’ve waited on perfection to share my home on the blog or invite people over. However, perfection isn’t really my goal, and I don’t actually ever want to feel “finished.” Instead, I hope to make things beautiful (per mine and Matthew’s standards), not perfect. My goal with the new house is not to wait until everything is perfect and finished and instead celebrate the beauty in imperfections and progress along the way. 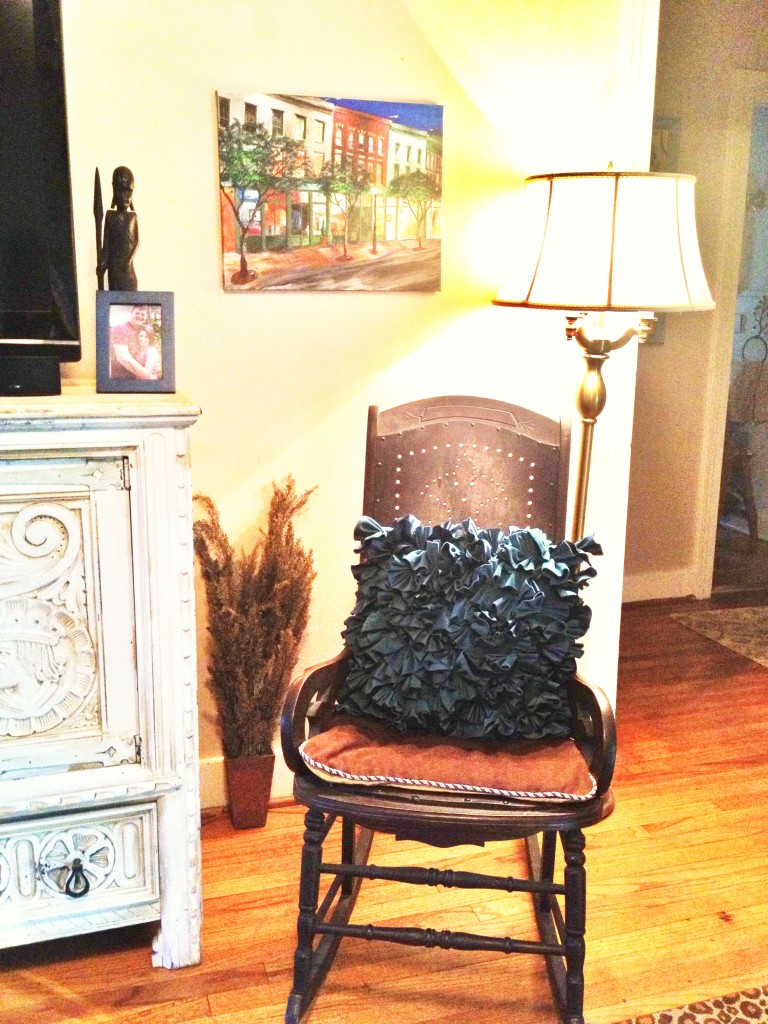
Since I never shared a full home tour in the rent house, I’ll share a few highlights today. In these pictures, you’ll see what one version on my living room looked like. My favorite piece of furniture is that white piece that held the TV…absolutely love it! The gun rack hanging over the entry table was my Dad’s. I loved using it for something other than it’s intended purpose. I think it may end up going in my closet room in the new house. 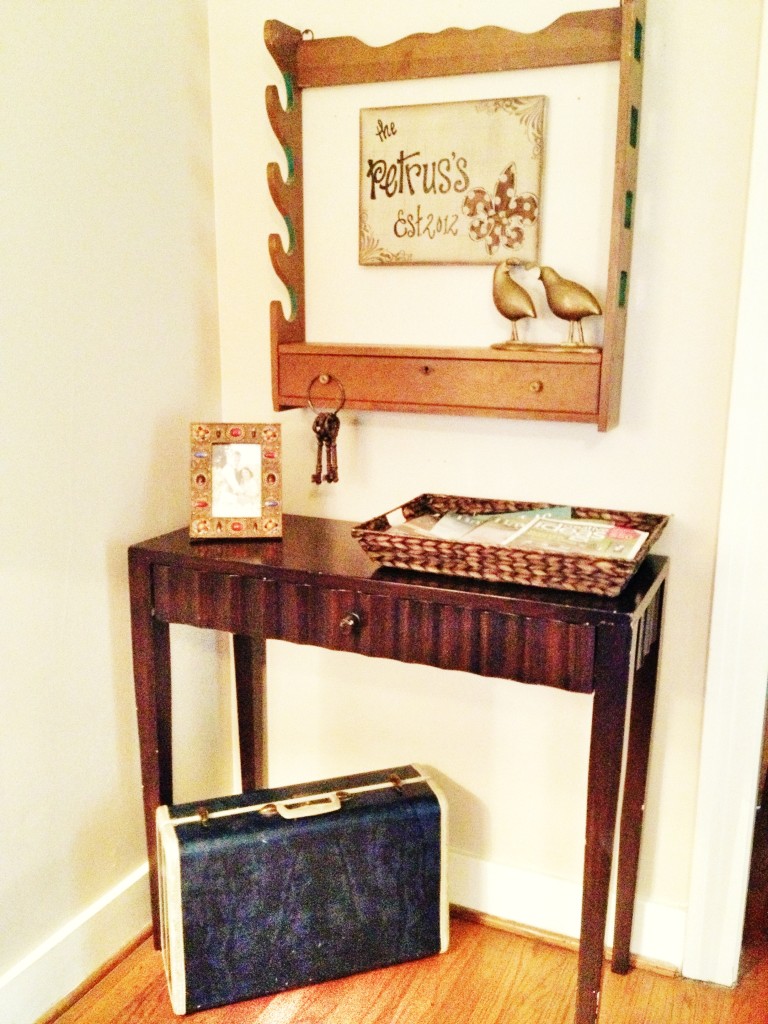
In looking back on these photos, I regret not sharing our space simply because things weren’t finished. I can’t wait to decorate the new house and will definitely make a better effort to embrace the in-progress stages. I may need your help reminding me that “it doesn’t have to be perfect to be beautiful.”
By the way, that leopard rug doesn’t have a home in the new house. It’s up for grabs if anyone needs it! It’s great at hiding puzzles. 🙂
Tag Archives: home decor
Antique Mirror Gallery Wall
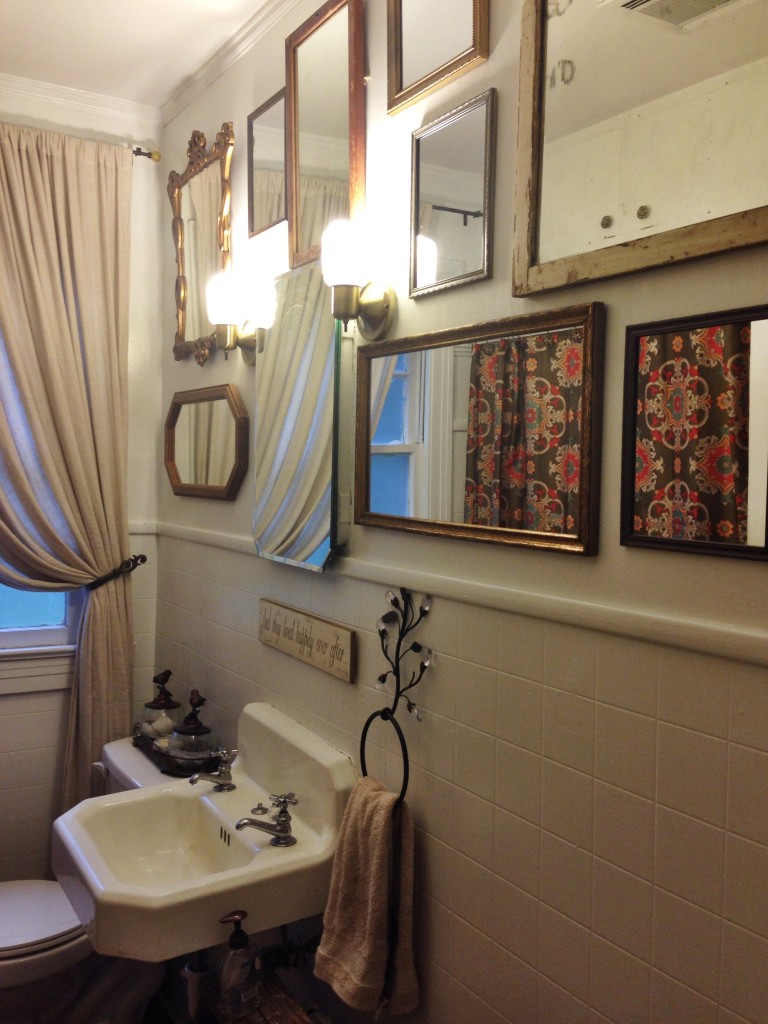 When we did our original bathroom update, I knew that I wanted a gallery wall on the top half of that wall. However, after painting and putting up the new shower curtain, I didn’t particularly care for the items that I’d collected to put there. I hung the two old sconces there in the meantime, and it took me several months to come up with a better idea.
Finally, one day it dawned on me. I should do a gallery wall of antique mirrors in there! After all, there’s little that I love more than gallery walls and antique mirrors…why not combine the two?? It took me a few weeks to gather enough mirrors that would work in the space, but I finally collected enough and had some spare time to work on the project.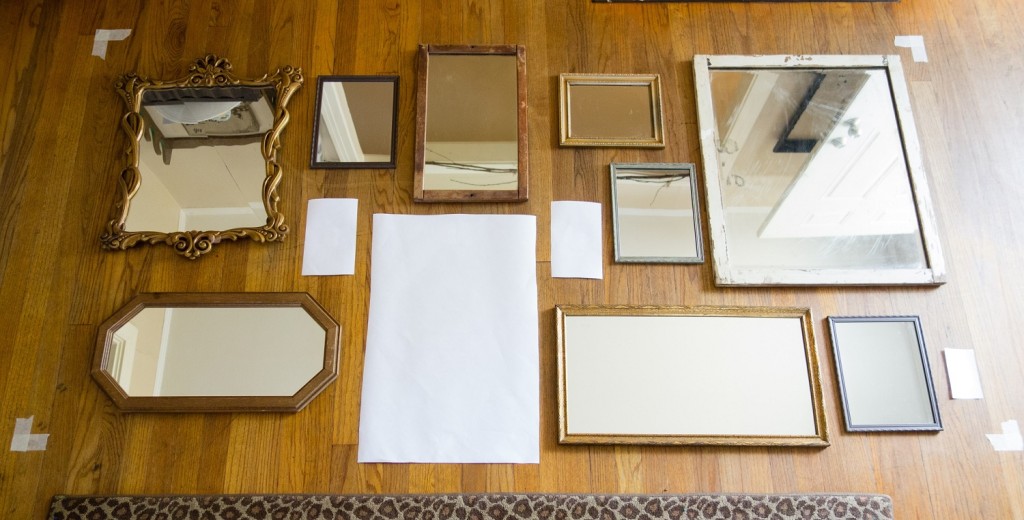
When planning out a gallery wall, it’s very important to play around with your layout before you start hanging things on the wall. Otherwise, you’ll likely end up with a bunch of excess nail holes and something that’s hung just a little off. I measured the size of the wall and marked the corners on my floor with masking tape. I cut slips of paper the size of the existing mirror, lights, and light switch and taped them on the floor according to their location on the wall. Then, I spread my mirrors out and moved them around until I was satisfied with the layout.
My darling husband hung the mirrors for me, and to do so he used the toothpaste trick. At first he thought I was a little crazy when I mentioned it, but then he agreed that it was genius! Basically, you just dab a little bit of toothpaste on the hangers of whatever you’re hanging. Then, you press it against the wall where it’s going to go and voila – you have a temporary mark on the wall, exactly where your nail needs to go! With the mirrors already laid out and using the toothpaste trick, I think it took him about 30 minutes to get them all hung. Aside from collecting the mirrors, the whole project took roughly 1-1 1/2 hours.
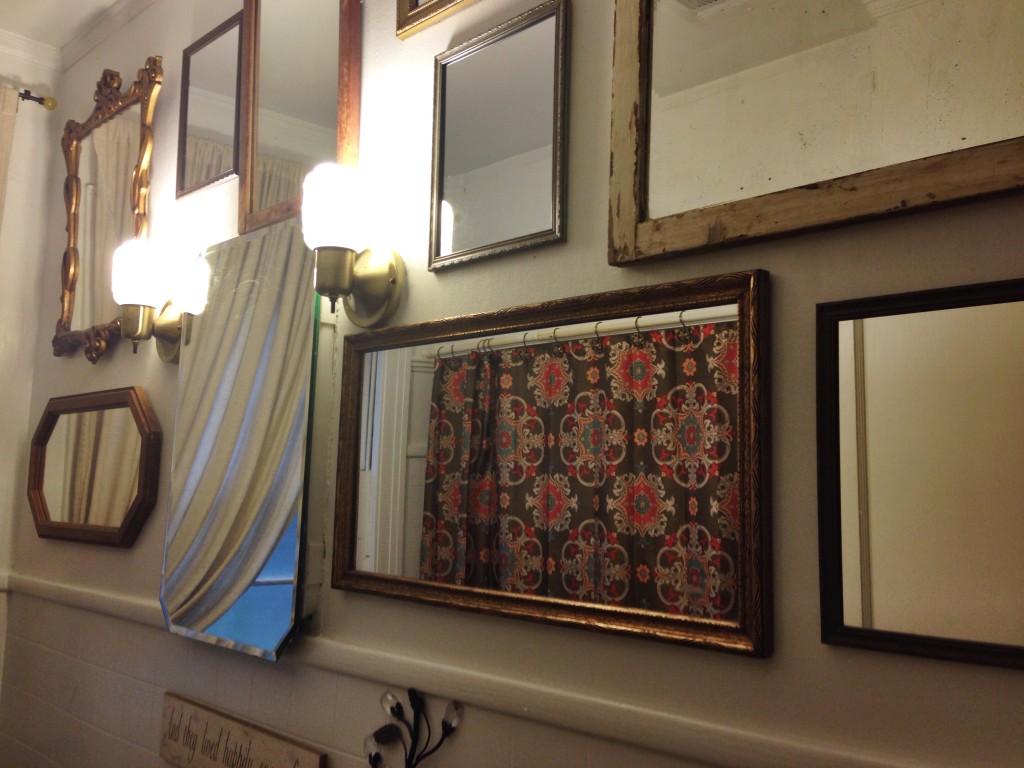
I have to say that this is likely one of my favorite projects to date. I simply love how it turned out, and I enjoy getting to look at my collection of mirrors on a regular basis. Plus, it made our tiny bathroom feel a little bigger. Most of the mirrors I used are vintage from various sources, but the 8×10 filler mirrors are actually from the Dollar Tree! That’s right…I only paid $1 for those!
What do you think about the finished product? Think it looks better or worse than before? If you like gallery walls as much as I do, be sure to check out my first one from the living room.
DIY Fall Wreath
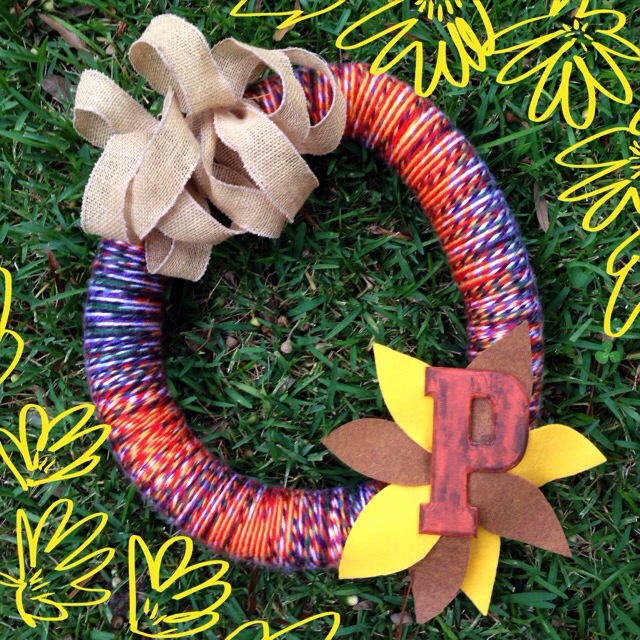 I’m working on building a wreath collection for our home. This fall, I had several different wreath ideas that I wanted to try and finally decided on combining a few ideas I collected on my Pinterest.
One of the main things I’ve been wanting to try is making a wreath from a pool noodle. I saw this idea somewhere on Pinterest (Sorry, I didn’t pin the link!) and thought it was genius! I picked up this pool noodle from the Dollar Tree (You guessed it, just $1.) and couldn’t wait to try the technique. To be completely honest, I bought this back in June with the intention of making a 4th of July wreath, but that never happened. Don’t judge.
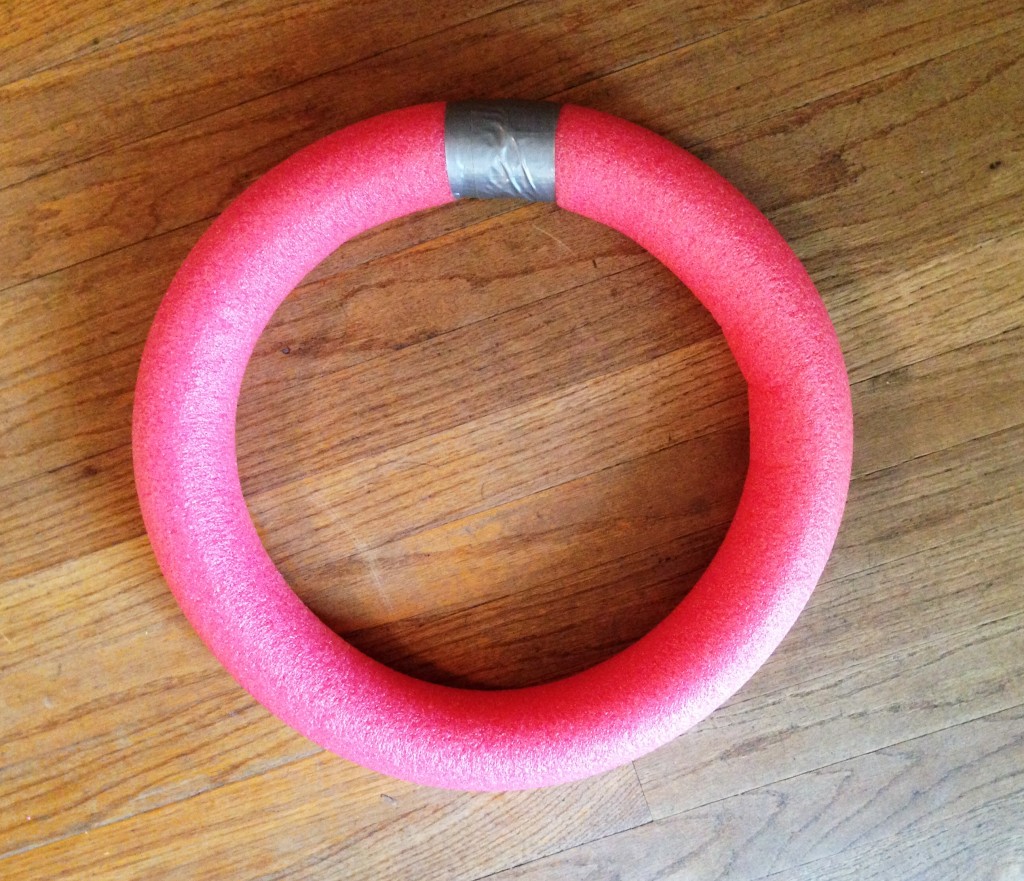
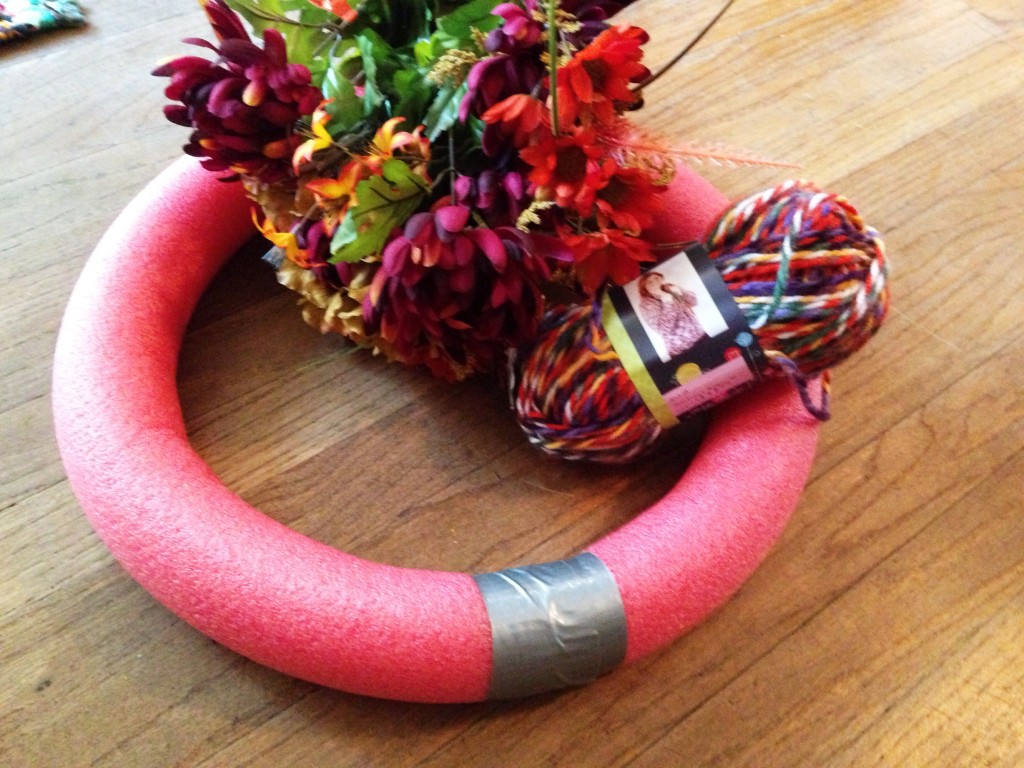 So, since I still had this pool noodle on hand, I chose a fall wreath plan that could use these supplies. You begin by using duct tape to attach the two ends of the noodle, creating your round wreath shape. Note: it’s very important to make several rounds with the tape, taping approximately 4-5 inches or more on either side of the connecting point. (The photo above is NOT enough tape.) You don’t want to come back to your wreath to find that it’s popped apart. I’m not speaking from experience here. Ok, maybe I am.
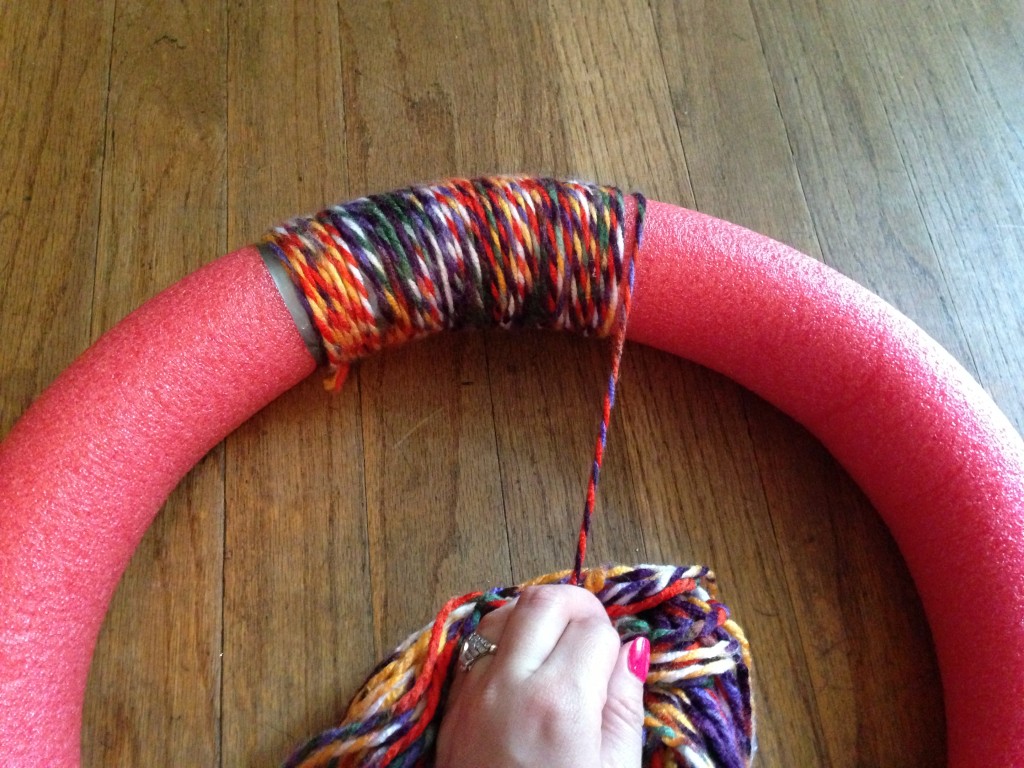 After I created my wreath, I chose to wrap the whole thing in fall colored yarn. Word to the wise: this process took a lot longer than I anticipated. I also ended up tangling the yarn more than a time or two. Nonetheless, I pressed on and didn’t set the whole project on fire like I may have wanted to at some points.
The day before I started working on my wreath, I saw Rachel’s fall wreath and thought it was adorable! I really liked the felt leaves so I decided to try to work those in. My original plan was to use fall-colored, silk flowers around the initial, but I thought the felt leaves would compliment the yarn I used. This project took on a few different looks before I actually completed it, as you can see from my supplies photo above. Those flowers didn’t make the cut.
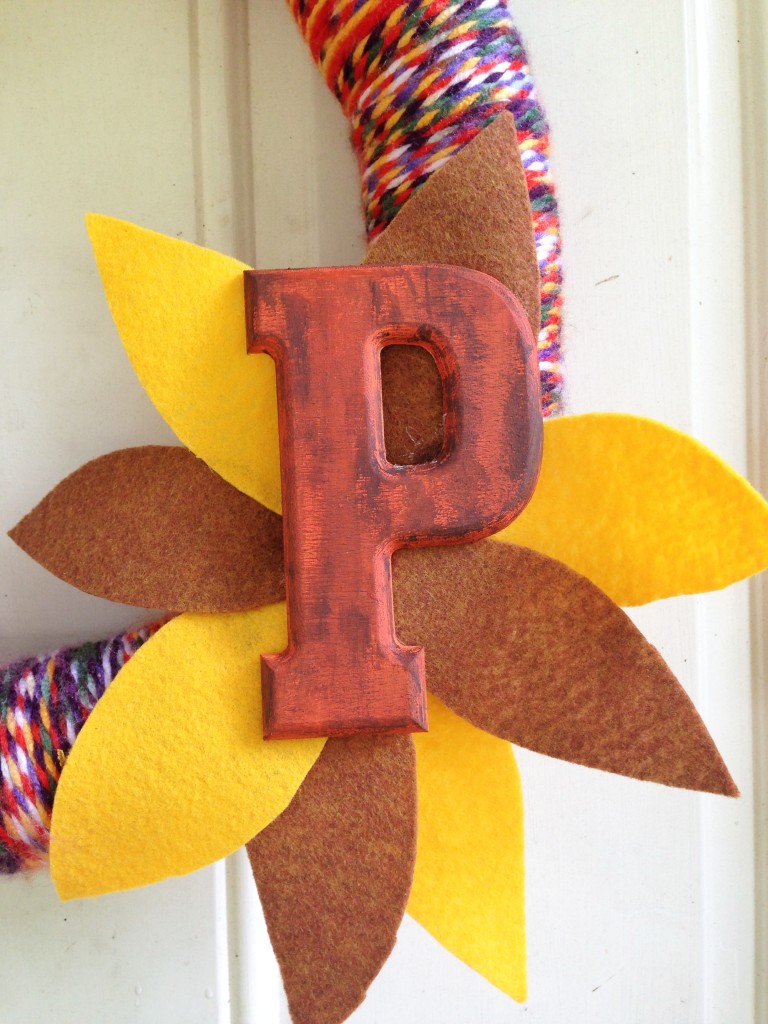 I couldn’t make her leaf layout look quite right with the initial, so I opted for creating a flower of sorts behind our “P” instead. I painted the letter orange, distressed it a little with some brown craft paint, and adhered all of the pieces with hot glue. I also added a burlap bow, which if you notice was on my last wreath. It was also on the one before that AND on one of my Christmas trees last year. Talk about versatility!
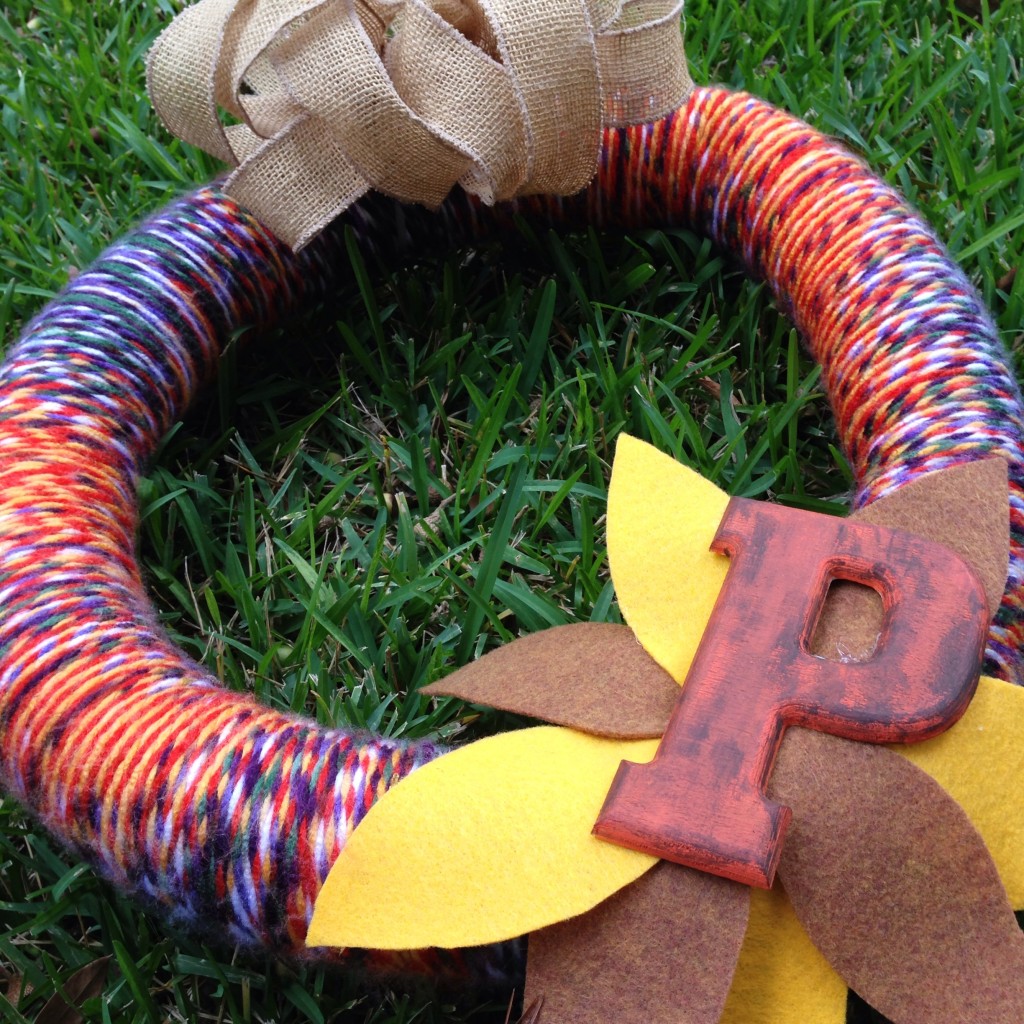 What do you think? Seen any fabulous fall wreaths this year? Share a link! Cool wreaths are my fav!
Living Room Sneak Peek
I plan to do tours of our home soon, but I’m still working on getting things squared away the way I like it. For now, here’s a peek into our living room.
(Photo frames: Hobby Lobby, TJ Max, and Ross. Star burst mirror: Paul Michael Company. Turquoise “P”: Hobby Lobby. Old mirror: vintage, gift. Empty oval frame: vintage from Salt & Pepper.)
This gallery wall is possibly one of my favorite parts of our home. I love random collections of things! For this one, I really like the mix of old and new.
This was my first gallery wall to do, and I must say it’s a lot tougher than it seems. Mr. Petrus and I spent well over an hour sorting through things and deciding what looked best where. (In reality, Matt gave up after about 15 minutes and came back when I said I figured in out. Haha.) Once I picked a layout, we laid down some sheets of large white paper, kind of like butcher paper on a huge roll. We traced out where the items went, and then taped the paper to the wall. We also made marks on the paper where the hangers were, so it was much easier to know where to put the nails. (I saw that trick on Pinterest.) I definitely suggest laying everything out on the floor and playing with it a bit before deciding where each piece will go. Plus, you’ll want to do something to mark where they’ll go on the wall to keep from ending up with unnecessary holes.
We installed this gallery wall before our Halloween party in October. (Of course…when else would a Halloween party be??) After several months, I’m still in love with it, so that’s a good sign!
What do you think? Do you like gallery walls?

