Tag Archives: 2015

#the100dayproject

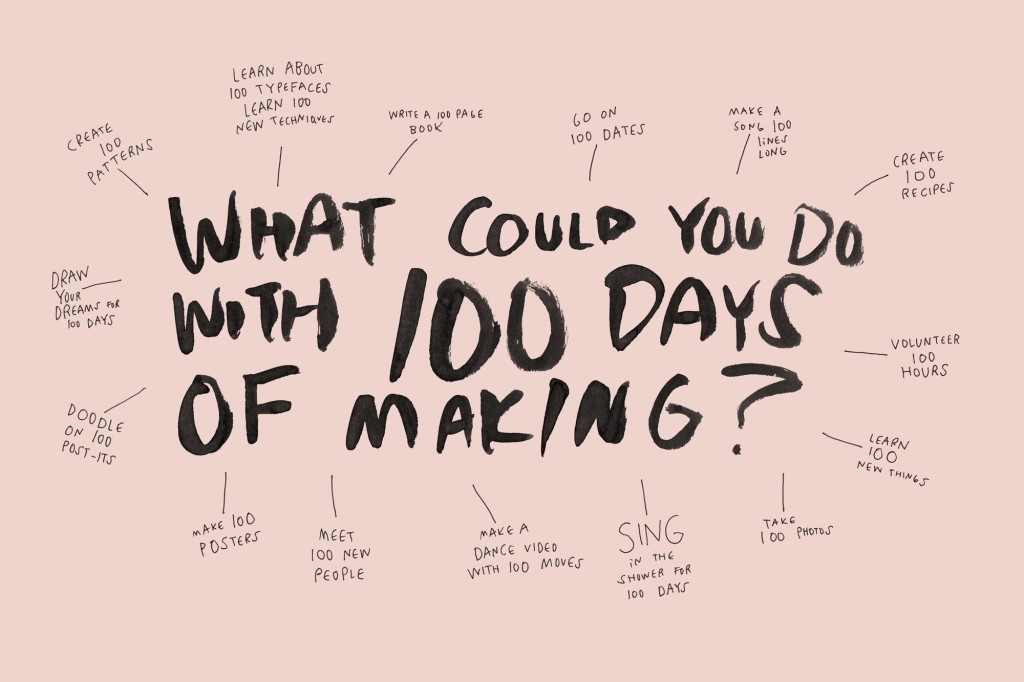
100 Days of Making

(photo via The Great Discontent)

When I saw details for #the100dayproject  (via EliseJoy),  I knew I had to participate! I’m always the first to get behind any sort of daily challenge. (I’m also probably the first to fall behind half way through…no judging!)

The premise behind this project is that you make something daily for 100 days. Can you just imagine what all you could get done by making something every day for 100 days?? I wasn’t sure if I wanted to make something or do something…I just knew I wanted to participate somehow.
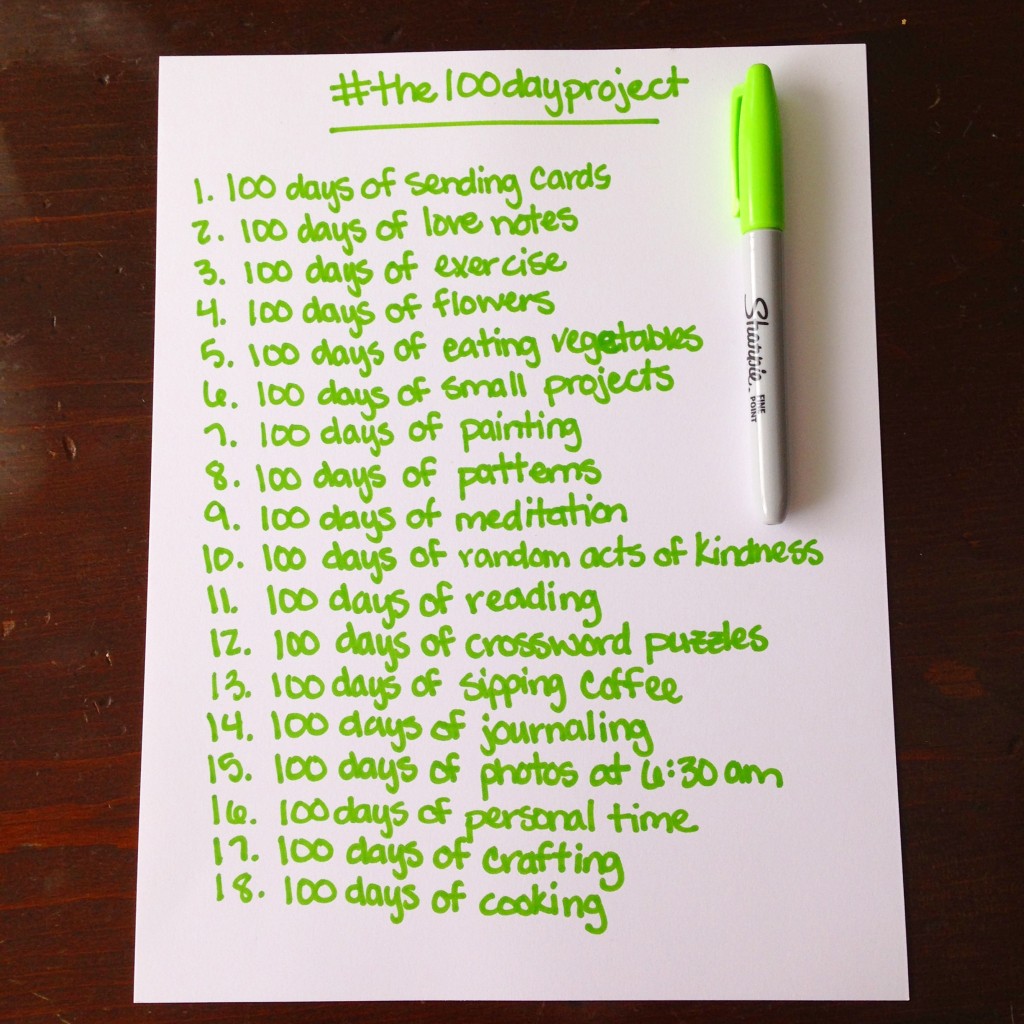
#100DayProjectI actually had quite a bit of trouble deciding which project I wanted to tackle. I made a rather lengthy list and then deliberated for hours on what to do. By deliberated, I mean practically stressed over it and sent waaay too many text messages to Amanda for her opinion.

Nonetheless, I finally made a decision! I decided to go with 100 days of crafty things! I wanted something that had a bit of flexibility, so I left my topic a bit open ended. (I didn’t want to have to work on the same type of project every day.) As of right now, I envision my daily tasks being a variety of things. Some days I’ll paint. Some days I might finish decorating an area of my home, make something new, or learn a new, crafty skill.

Regardless of what actual task I complete each day, my focus is to actually do something fulfilling each day. Most days I am completely exhausted by the time I get home from work, and I tend to put off all of the fun projects I’d like to do. By participating in the 100 days project, I’m hoping to reserve a bit of time each day for creating/doing something fun.
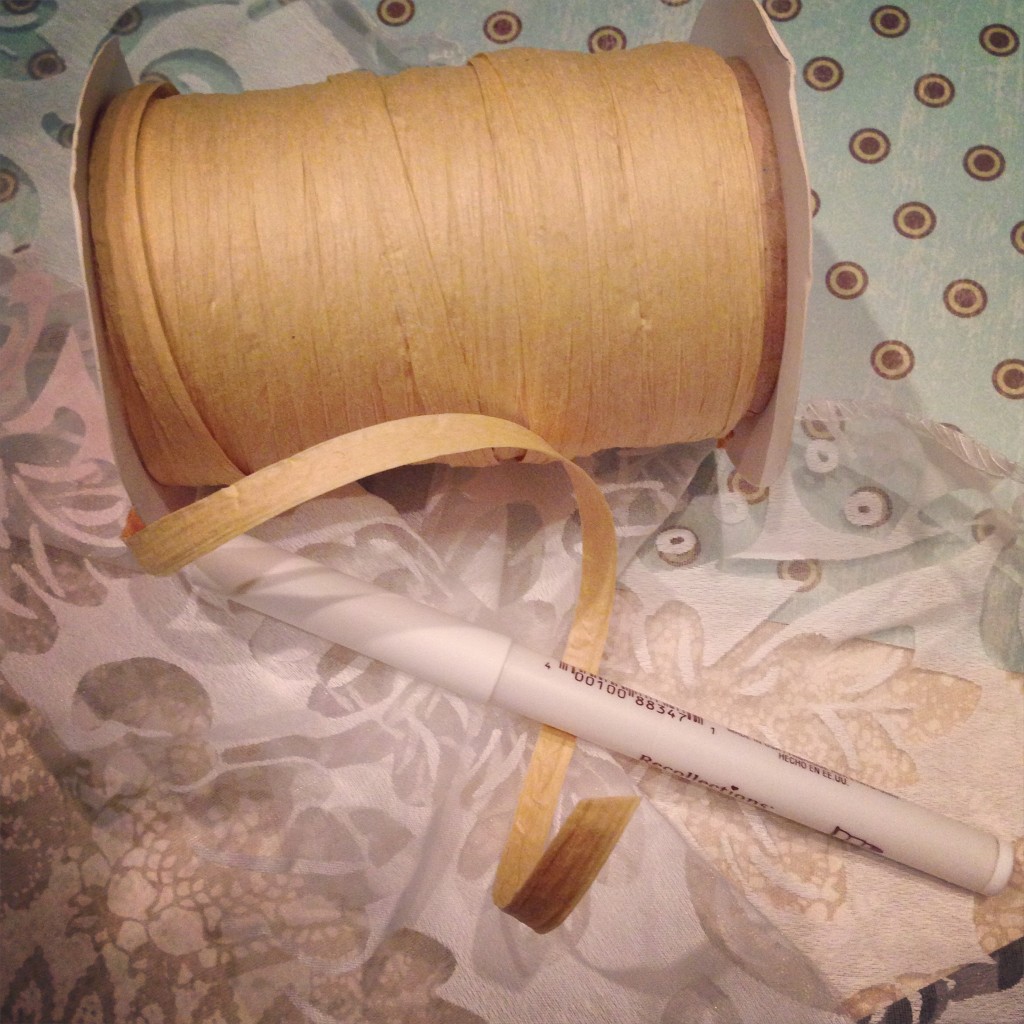
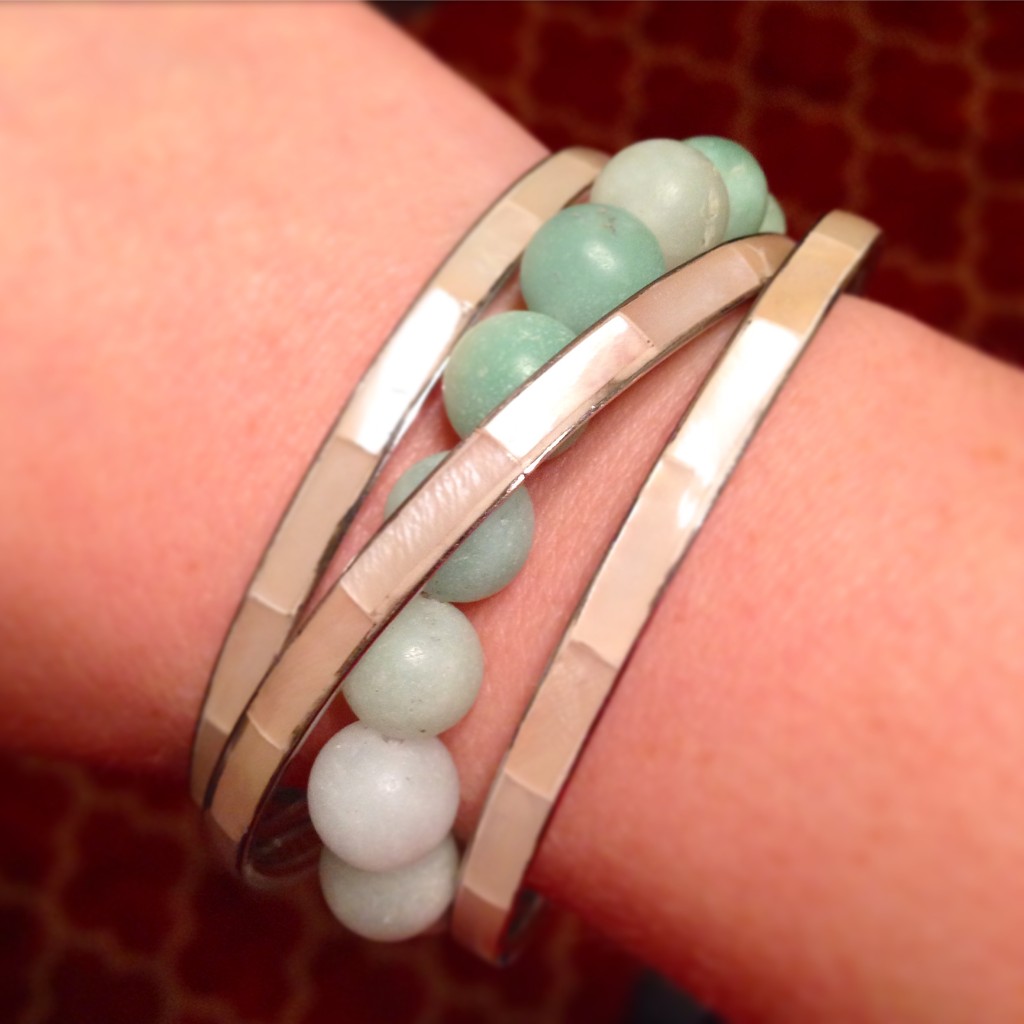
gift wrappinghandmade braceletCinderella quoteWhat have I done so far?
Day 1: wrapped a wedding present and made a gift tag for it
Day 2: made a bracelet
Day 3: doodled a quote from Cinderella for my mirror
Day 4: I’m planning to work on some crafty Lovely Lady Letters!

Think you might like to participate? It’s not too late! Go to the site and register. The project continues until July 14, 2015. You can play catch up if you’d like, skip a few of the first days, or continue on past July 14….whatever your heart desires! If you do decide to participate, let me know! I’d love to follow along.

If you’d like to keep up with what I’ll be doing through this project, you can follow #100daysofcraftythings on IG (@pamelapetrus). Happy crafting!

Sherman’s – Greenville, MS

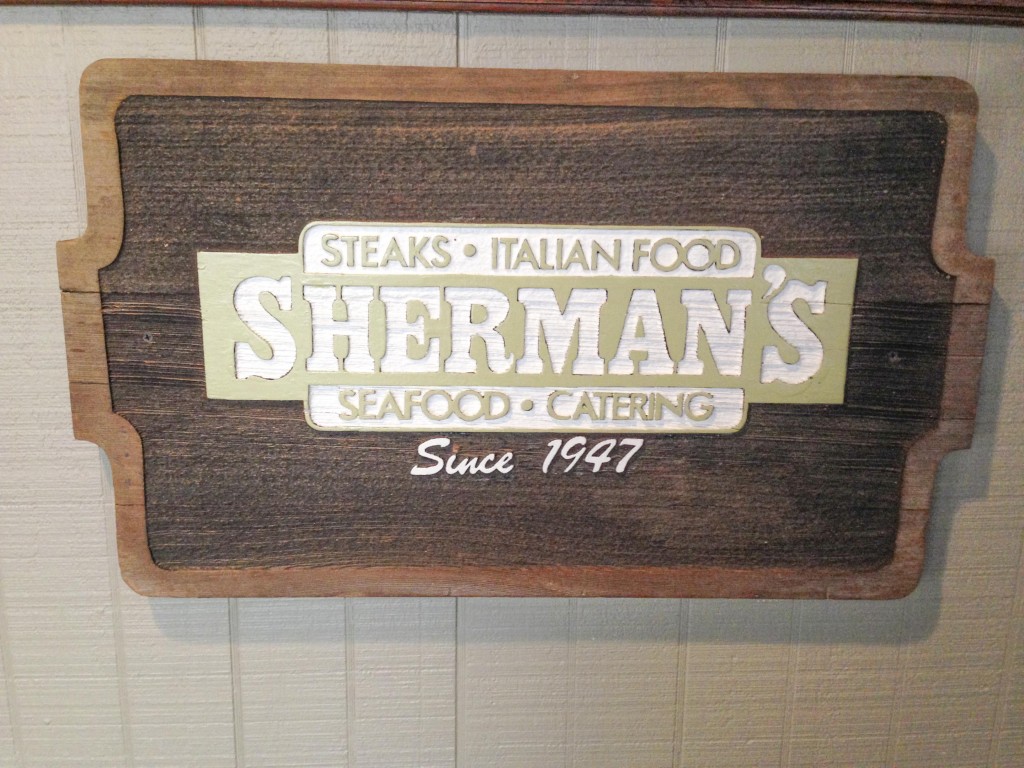
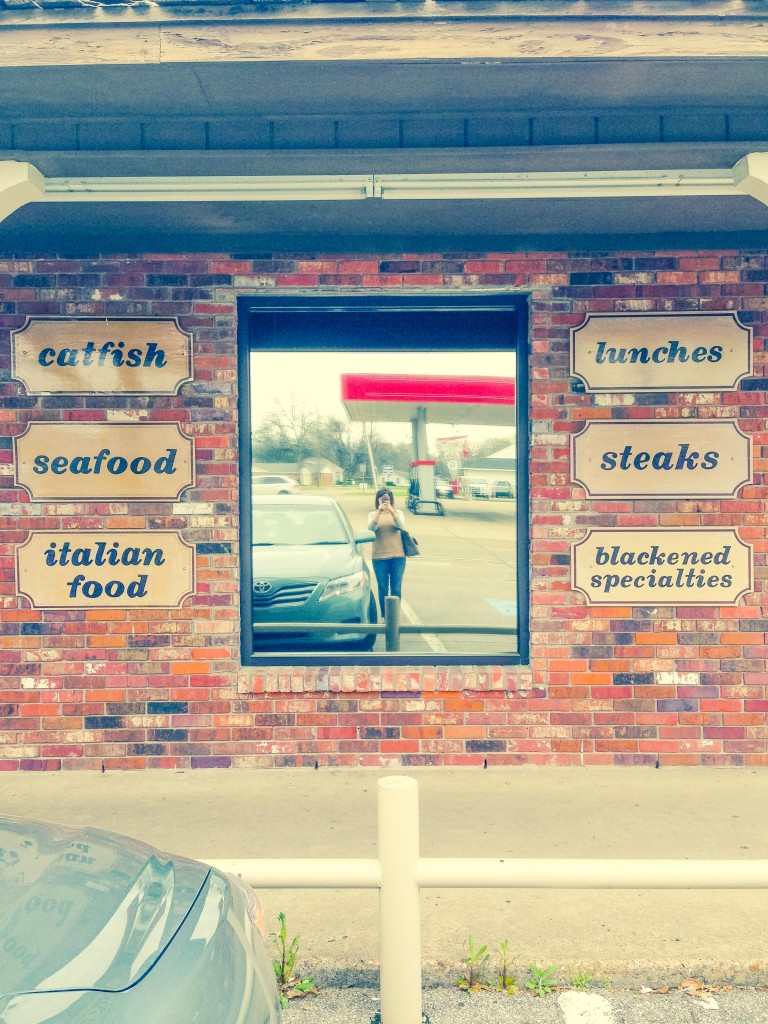
Sherman's (7)Matthew and I headed out on a spontaneous weekend trip to Nashville and decided to take the Memphis route instead of our usual trek through Birmingham. We ended up in Greenville, MS around lunch and stumbled upon Sherman’s. When we saw the full parking lot, we knew we must be on to something. From the outside, we expected a mom-and-pop-type lunch place, full of local working folks and a limited menu. Not quite.

Sherman's (5)

(That’s totally not my car.)

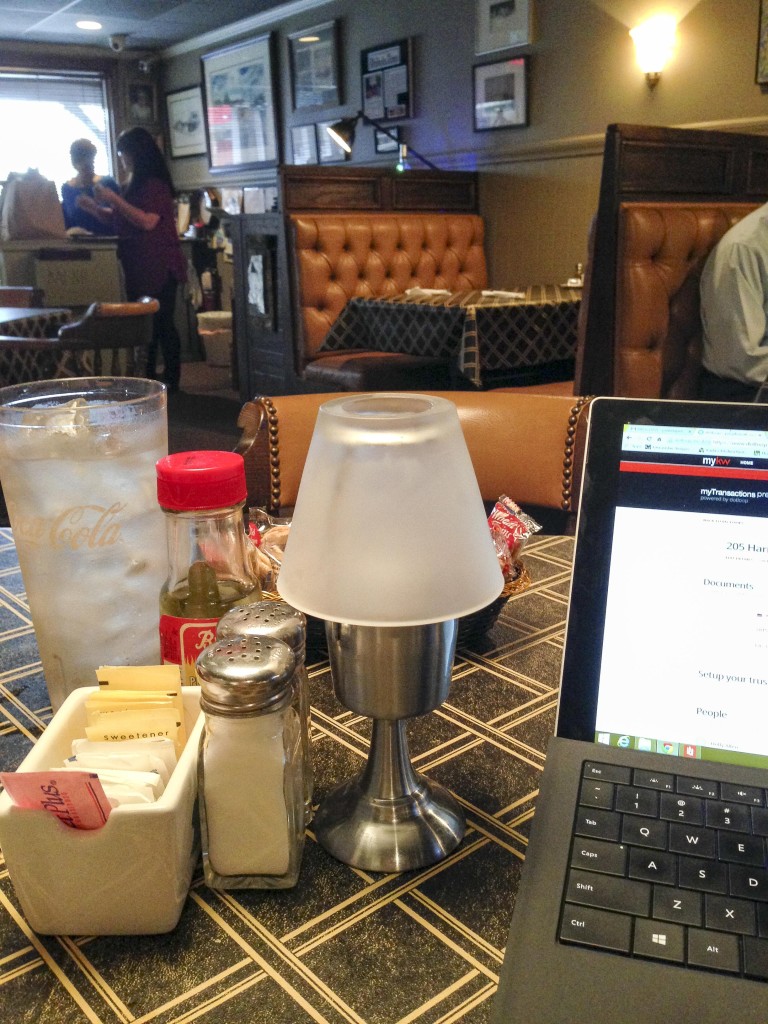
When we walked in, we were immediately taken back by how large the place was. I expected 20 tables covered in plastic gingham tablecloths. Instead, it was much larger and had more of an Italian dinner restaurant vibe. The menu was rather large, and they offered several daily lunch specials to chose from. I opted for a grilled pork chop, mashed potatoes and gravy, green beans, and a salad. Matthew had the crab cake, green beans, baked squash, and cabbage.

Sherman's (2)The most impressive thing about this place was the fact that EVERYTHING was delicious. Usually at a place like this, you’ll get one awesome item and the rest will be so-so. Typically, most of the menu is edible but nothing to write home about. Not at Sherman’s. With each item we tasted, we were amazed at the amount of flavor. I was most impressed with the green beans and meat sauce. Yep…you read that right. I had never before heard of green beans with meat sauce, but they were surprisingly yummy! Matthew described them as green beans with spaghetti sauce, whereas I thought they had more of a salsa taste. Either way, I’ve never seen anything like it and would definitely recommend you try them.

Sherman's (1)

(I also took this opportunity to make an offer on a house!)

After stuffing ourselves with a main dish, three sides, and rolls/cornbread, they surprised us with a piece of coconut cake. I say surprised because we were unaware that it was part of the daily special. For the record, if you ever want to surprise me with cake, I’m totally down with that. Even though neither of us particularly care for coconut cake, this piece was great! I am literally amazed and the fact that Matthew and I liked every single thing that we were served. That’s impressive!

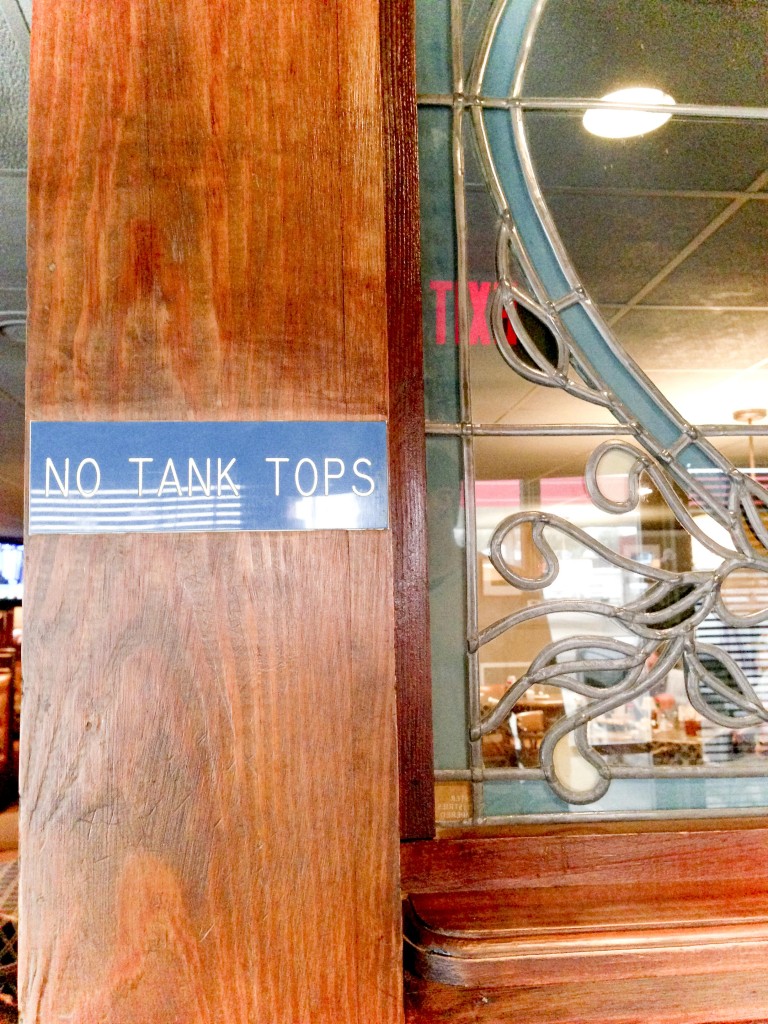
Sherman's (4)(By the way, how many tank top problems do you think they had before having to have a special sign made??)

Sherman's (6)
If you’re ever passing through Greenville, I’d recommend a stop at Sherman’s. Greenville is also the home of the famous Doe’s Eat Place. We now have a Doe’s in Monroe, so we opted to find something new to try. It looks like Greenville might be the home to some great, local restaurants…my fav!

Speaking of local restaurants, I plan to launch a new series here on the blog highlighting some local favorites around our hometown of Monroe, LA. I’ll mainly show our favorite local restaurants, but I might also include some of my favorite shopping spots and local attractions. Any requests??

Lovely Lady Letters

Lovely Lady LettersSomething happens as little girls grow into women. Somewhere during the transition into womanhood they lose that confidence and security they once had. I’m hoping to make a difference in that. Every month for the rest of the year, I’m going to send one fantastic lady a card highlighting just ten of the reasons why she’s so rad. I’m calling this project Lovely Lady Letters, and I want you to join me.

10 months

10 ladies

10 compliments

My hope is that these 10 ladies will also send out 10 letters and that we can spread this initiative around a bit. Just think, if you received a letter in the mail highlighting ten reasons why someone admires you, wouldn’t that make you feel amazing?? We all deserve this feeling, so let’s send some letters!

Lovely Lady LettersHere’s how to get started:
1. Select a group of 10 ladies that you’d like to elevate. (Or start with one and pick your recipients each month as you go.)

2. Pick a card. Don’t stress too much over this. You can even write your ten things on a piece of scrap paper. I guarantee you that the recipient won’t care what it’s written on. The important thing here is to just send it.

3. Download the insert. Just print and cut the inserts from the link below to stick in with your letters. This will encourage your friends to mail their friends and show them just how to do it. (I printed mine on cardstock but paper is fine too. Again, the important part is getting it sent.)

Download the insert here!

4. Mail the letter! For just 49 cents you will undoubtedly make someone’s day. Actually, they may never forget your thoughtfulness. How powerful!

That’s it! Something that costs less than $1 and takes you a matter of seconds, can create such an impact. If we each make a point to remind the ladies in our lives how special they are, hundreds of women can be touched. If you decide to join me in this initiative, please let me know! I’d love to keep a tally of how many women are receiving these Lovely Lady Letters. Let’s spread some love!

Lovely Lady Letters

If you send or receive a Lovely Lady Letter and share it on social media, use the hashtag #lovelyladyletters so we can all see!

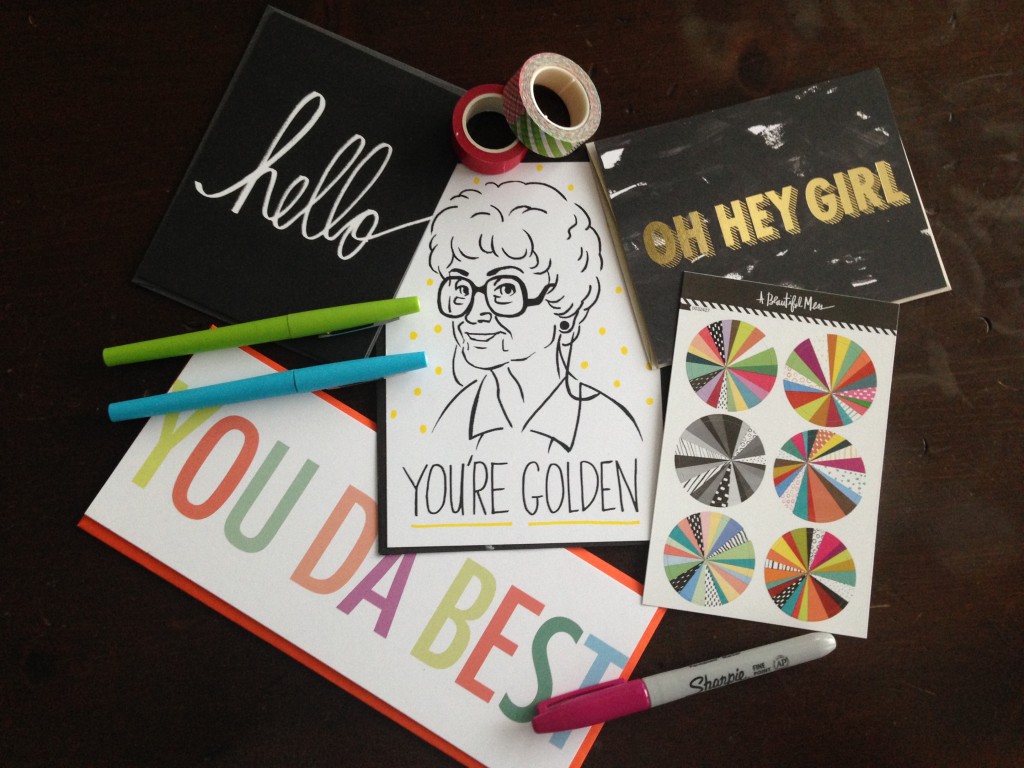
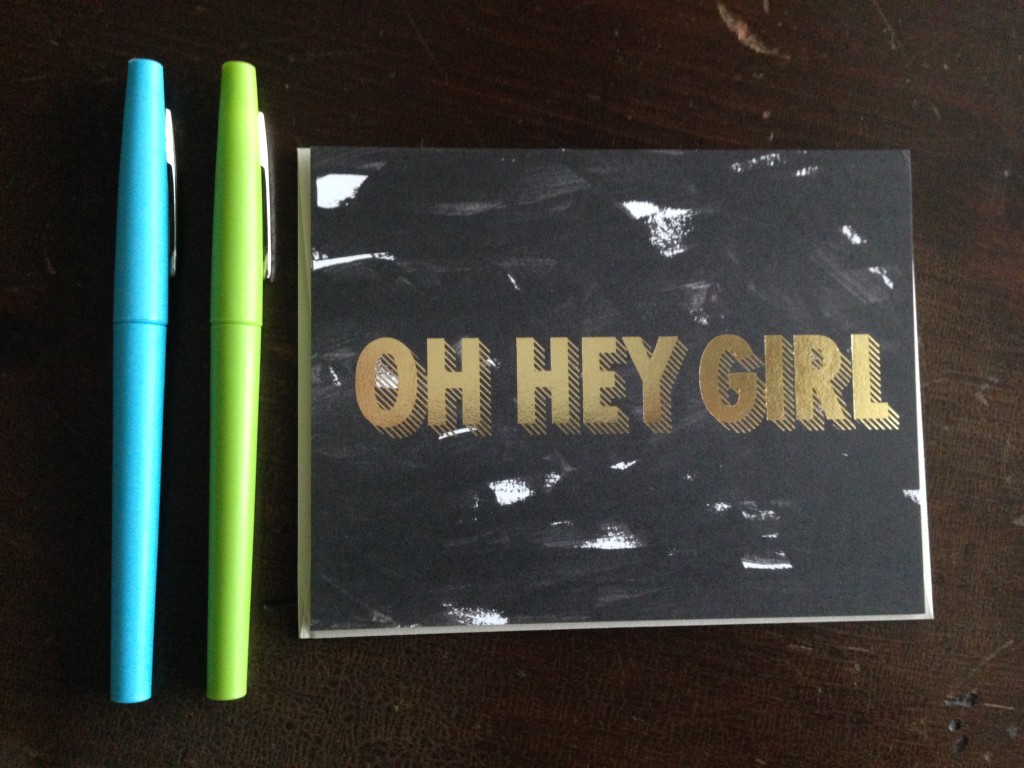
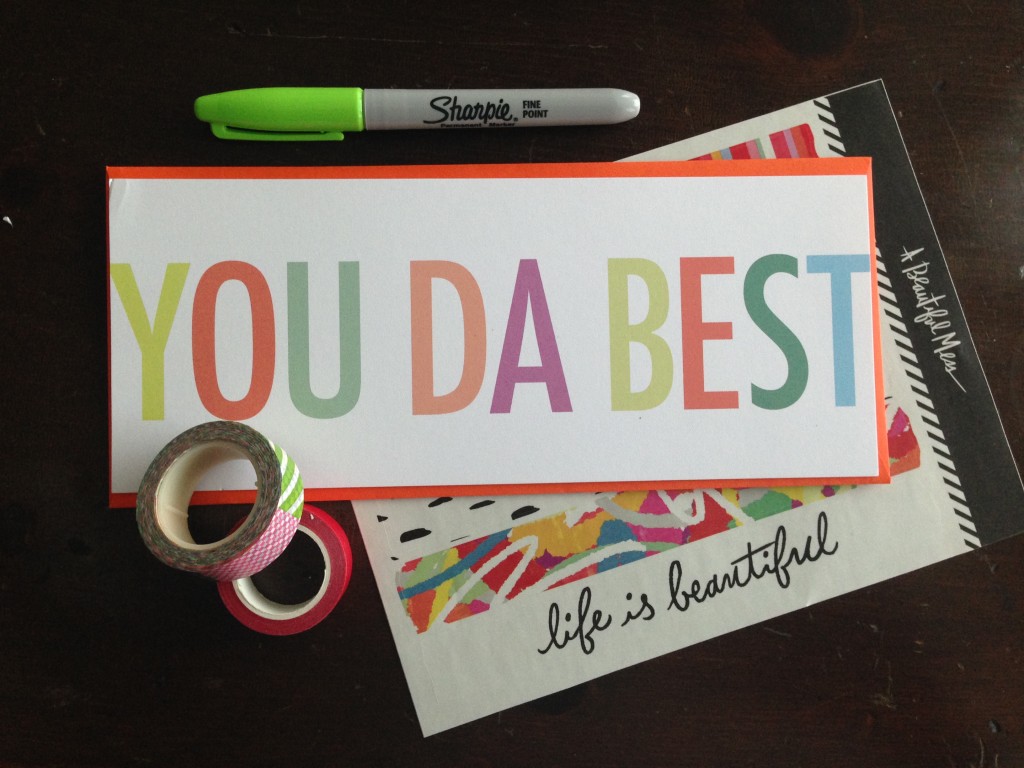
P.S. I’m using my Happy Mail items for most of my letters, so if you haven’t signed up yet, you definitely should!

*Special thanks to the lovely and immensely talented, Amanda Quimby, for designing this adorable download for us to use!*

Free to Be

Free to Be MeIt’s 3:36 am and I’m wide awake. Not that kind of awake where you realize that you have hours left to sleep, cozy back up under your warm but cool blanket, and go back to sleep for what feels like the rest of your life. Those are the best kinds of awake. It’s also not that awake where your mind races with things to do. Believe me, I’ve had that kind of awake for more times than I care to mention.

Instead, this was just awake…just simply awake. I knew instantly that I wouldn’t be able to fall back to sleep. However, my mind didn’t start racing with things I could/would/should do. Instead, I laid there in the darkness thinking about things I’d like to do. I decided that I most certainly wouldn’t fall back asleep even if I kept laying there very still and very quiet.

I could browse pinterest. I could read another chapter of Bossypants. I could get up and paint something. I could switch my winter shoes out for my spring ones. (I have a ton of shoes, remember?)  I could make some headway in a few work projects I hadn’t had time to complete yet. After all, I tend to be most creative and productive during these crazy morning hours when I’m awake and the rest of the world is quiet and sleeping. I could also get a head start on my massive and rather daunting work list for this Monday.

Finally, I decided that I’d get out of bed. My tossing and turning would soon wake my husband, and I couldn’t use any of my devices without disturbing the darkness of our room. Normally in this scenario I would have already made a mental list. I would have prioritized things by importance/desire and ranked 100+ tasks by what I would tackle first, second, and so forth. This is how my brain works, you see. I make lots of impossibly long lists and usually end up disappointed because time only allows for the first few items to be completed.

Not today though. I had some ideas but no list. No goal in mind. No tasks that must be completed by sunrise to prevent my disappointment. Instead, I decided that I’d just do some things. I’d start with this or that and then move on to whatever I felt like doing next. It would be ok if I didn’t paint five new paintings, perfect a thousand work tasks, or organize the entire house before daybreak. Instead, I’d just do some things…whatever I felt compelled to do in the moment…no end result in mind.

Giving myself this freedom and release might be one of the most freeing experiences I’ve had recently. There was no guilt. No interruptions. No schedule to follow. It was just me, sitting in complete silence, doing whatever I felt like doing in that moment. I seldom know this feeling, and I seldom give myself this freedom.

First, I jotted down my work to-do list for the day. I wanted to get these things out of my head so that I could do what I wanted this morning without my mind being clogged with what I had to do. (See how I use a notebook to manage my daily tasks.) My list spilled over on to two pages, but that’s ok. There was a whole day ahead of me to conquer those items. This time was free time. Next, I ordered new sheets. After all, we’ve been needing new sheets for months. I finally made a decision and took the time to actually order them. Then, I read this. And this.

Both of these were stories about appreciating yourself. One was about letting go of the negativity and self-guilt. One was about appreciating time as it passes. Both reminded me of how I want my life to be. I don’t want to run myself ragged. I don’t want to constantly punish myself from my own unrealistic expectations.

These stories reminded me that it’s ok to make time for exercise and hobbies. They reminded me that I deserve free time. Most importantly, they reminded me of how easily daily life can take over the big picture. It’s so easy to get caught up in meetings and bill paying and appointments, and unintentionally miss out on your life. I do this often. I’m much better at controlling my story today than I was 5 years ago, but I still want to be even better.

I want to take time to read these long stories and write my own. I want to schedule time for myself to do and explore and just be me. I want to craft a story with my life that one day I’ll love to tell to everyone around me. This story began 29 years ago, and if I’m lucky I’ll add many more years to it. But when you sit and think about it, 29 years is a long time. 39 years is a long time. Even one year is a long time. With each passing day and each passing hour, we’re writing our own stories. It’s up to us, solely, whether it’ll be a story worth telling.

Today’s story will be a good one. I’ll face this Monday with enthusiasm (and coffee), and I’ll do so knowing that I gave myself some time to just be. I’ll conquer my massive to-do list, while simultaneously giving myself time to be me. I’ll stop finding a million excuses for why I’m too busy to go out of town with my husband for the weekend. Instead, I’ll work harder than ever for three days and then I’ll play even harder for a few. I’m in charge of my story, you see. And I want it to be an exciting one.

No Clutter!

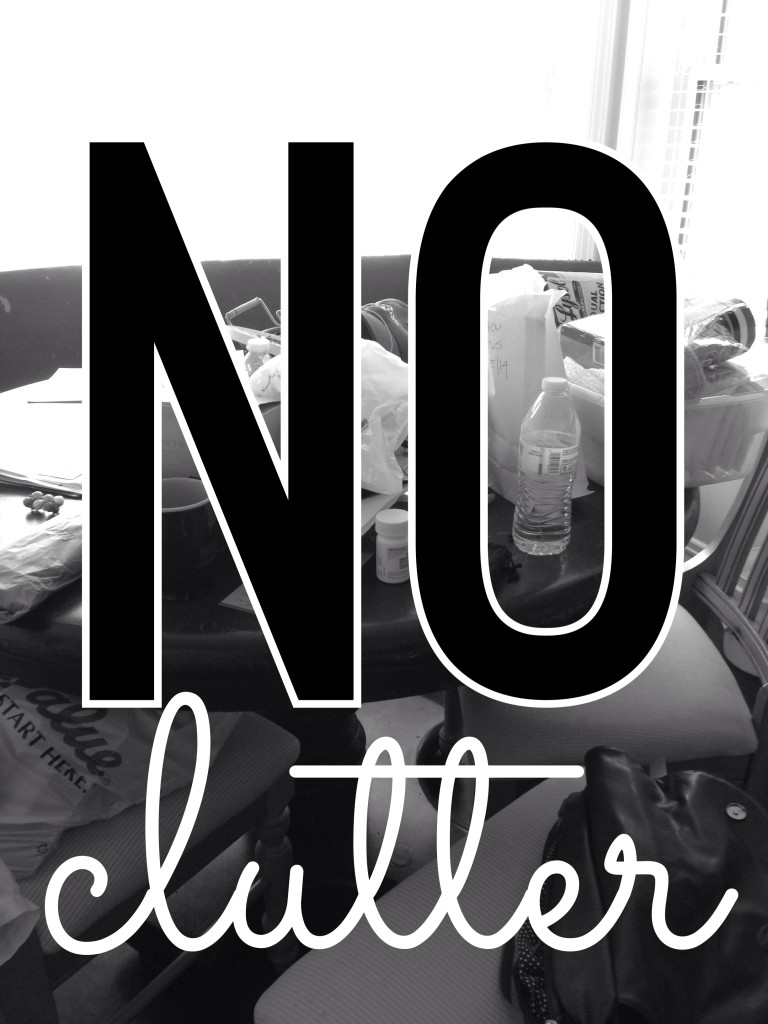
no clutterI’ve posted a lot about goals on the blog lately. Yearly goals, monthly goals and just miscellaneous goals in general. While sitting on the couch one Sunday, completely exhausted from working on our house for days like a mad woman, I realized that my biggest goal for this place is to get to a point where I don’t have to work on it.

I want to be in a position where things feel ok. I want to be in a place where Matthew and I can take spontaneous weekend trips or spend the afternoons biking or sitting on the patio. I want to go sit and chat at Starbucks or explore our neighborhood. I don’t want to always feel like I have to work on this house nonstop.

I’m sure these feelings are common for people moving in to a new home, but I remember feeling them until the day we moved from our rent house. I never finished that house. I never felt like things made sense, and I never felt like I could sit and take a breather there.

Today, I’m happy to finally put this unspoken goal into words. I’m not hoping to have a perfect home that’s always clean and wonderfully decorated. (Although, I do hope to get my head wrapped around the decor soon.) I understand that nothing will ever be perfect, and I actually hope that our home will always continue to evolve as we find new things that we love or make this place work better for us. However, I do expect to end up with a home that’s free of clutter. I want emptied boxes and closets that aren’t crammed to the brim. I want to be able to easily replace and remove items from their drawers, and I want everything to have a place to go. Basically, I don’t want any excess.

For many years, I’ve kept extra things around as a false sense of security. I found comfort in having things and I attached sentimental value to the silliest of items. When moving into this house, I decided that it was time to part ways with some of the stuff. Parting with the extra things, will make my daily life so much easier, less stressful, and more rewarding. Having a home to come to that’s a reflection of myself (extra clutter is not a reflection of who I am), will make such a huge difference in my overall well-being and feelings about myself and my home.

I’ve read lots of blogs on clutter-free living and creating spaces that work for you and your lifestyle instead of just housing your junk. Since Matthew and I have been married, I’ve done so much better at not holding on to so much stuff. Part of my problem is that I attach sentimental value to practically everything. The other part is that I hate to get rid of something that I’ve spent my hard-earned money on and that I’m afraid I might need/want later. Nonetheless, something can be said for learning to part with the extra stuff…only keeping that things you love and need.

I’m right on the brink of reaching this goal. Honestly, just the progress that I’ve made recently feels so rewarding. Knowing that I’m on the brink of feeling better about my world is such an invigorating feeling. I feel encouraged and inspired, and I know that I’ll feel even more amazing once the last item has found a home.

Now that this goal is out in the open, I have no choice but to make it happen. I’m determined to make this dream a reality. I’m determined to get to a point where our home is a place of relaxation, not of work. Need to declutter your home and let go of some extra baggage? Join me! I’d love to talk about our progress and ideas along the way. How do you feel about clutter? Do you tend to keep extra items or is it easy for you to part with things?

Friday’s Feelings

sipping coffeeI’ve spent a lot of time lately talking and thinking about personal development. I’ve gone through SO much lately. By “gone through,” I don’t necessarily mean trials and problems. I sort of mean development and self realization. Sometimes those processes are hard. Sometimes you realize things that are frightening or complicated or that tug on your heart strings a bit. In my experience, it causes a roller coaster of emotions. I’ve even wrote about how I can’t actually write about or explain the feelings.

One Sunday I watched this video, (via Elise Blaha) and I realized something. In the video, I felt like she captured so much of the subjects’ individual personalities, just by videoing them on the swings. I thought that was so special. Then, I realized that I need to let my own personality show more often. I realized that I hide so much of who I truly am. I do this for various reasons…to not hurt or offend someone. To not “put myself out there.” To not appear flighty or foolish. To appear in control. In doing this for so many years, I’ve stifled so much of my own happiness. I wondered, what would I look like on this swing. I realized that I wouldn’t really like what I’d look like right now. I’d probably appear timid and a little sad. Those aren’t the feelings I want to portray. I don’t want to stifle my own joy.

While thinking through this a bit, I resized that in my own journey/struggle of self discovery, I’ve likely alienated some of the people close to me. I know that there have been times when I’ve put a lot of pressure on my husband to fill voids that weren’t actually his to fill. I’ve expected him to create emotions within me that are actually my own to create. I’ve searched for someone to “make me laugh,” rather than creating my own joy from within. Man, this personal development stuff is tough. Sometimes, I think it’s likely easier to stay stagnant rather than grow. Figuring out who you really are and who you want to become is not an easy or simple process.

Nonetheless, I think of life as a journey. In this journey, I want to end up as a well-rounded, self-aware individual. I want to tell stories of hardships and how I overcame them. I want to laugh at the silliness of immaturity and terrible decisions I’ve made. Better yet, I want to tell all of the jokes. I want to make everyone laugh at my own shortcomings, silly mistakes, and funny experiences. I want to laugh everyday for the rest of my life. And as I laugh, I want to make others laugh.

I’ve thought before about what I hope people will say about me after I’m gone. This is it – “She was full of energy, always ready to conquer the world. She knew how to make a crowd laugh and told the best stories. There was never a dull moment around her. She cared about others and she always did whatever she could to help. She didn’t fret over the small stuff, because she knew the big picture was all that mattered. She was the life of the party and one of the funniest people I knew. I’ll never forget how she made me feel.”

I may not encapsulate all of that description now, but I hope that I do someday. For now, I’m going to focus on laughing. They say it’s contagious.

5 Tips for Turning Bad Days Into Good Ones

5 Tips for Turning Bad Days Into Good Ones
Let’s face it. We all have those days. The days I’m talking about are those days when your mood is just foul. You don’t want to get off the couch. You don’t want to see or talk to anyone. And most likely you’re not exactly a joy to be around.

Well, I just recently had one of those days. Usually writing for this blog can cure most of my bad days, but for some reason, this day was just unfixable. I didn’t even want to write! Gasp! I didn’t want to work on any of my fun projects or do any of the things I usually want to do. Eventually I started to snap out of it, but it made me think about what sorts of things I usually do to kick those sorts of days to the curb.

I’m not one for wallowing or whining. (Things that I say to my husband absolutely do not count in regards to that statement. I can wallow and whine to him all day long….sorry, honey!) I’m a firm believer that you control your own life, which translates into you having complete control over how every single one of your days transpire. So, when I notice that I’m having a crummy and unproductive day, I try my best to remedy it immediately.

Here are a few tips for turning those days around quickly and easily:

1. Treat yourself.

This can be a large or small treat, depending upon your budget. My treats are usually simple like Starbucks or ice cream. However, it can also be something personal like getting your nails done or a new shirt. If your budget doesn’t allow for something big, that’s fine. Take a few moments to enjoy your favorite candy bar. Giving yourself a small treat (and the time to really enjoy it) can often turn a bad day around fairly quickly.

2. Stop what you’re doing and do something you really enjoy.

Sometimes a bad day can be triggered by stress or frustration with whatever we’re dealing with at the time. I’ve found that stopping what I’m doing and coming back to it later helps turn those frustrations around and can actually give you a new perspective. If you sense a bad day coming, put that project to the side and do something that makes you happy. Usually, I take time to sit and write for this blog or go for a bike ride. It could be knitting or browsing the internet. No matter what it is, doing something that makes you happy can often salvage what’s left of that day and you can return to what you were doing with a fresh look. (I wrote more about this here.)

3. Go for a walk.

I cannot explain how beneficial being outdoors is to your health. Going for a walk when you need a boost can have a dramatic impact on your outlook. Physical activity has both mental and physical benefits. Plus, being in the sunshine is known to help fight depression. In addition to these obvious benefits, going for a walk outside will often open your eyes to things that give you a new perspective on the day.

4. Browse Pinterest.

If you need to decompress or need inspiration to turn your day around, Pinterest is often the place to go. (Be sure to set yourself a timer or you could be lost there for hours!) It’s important that you only browse new pins…not things that you’ve pinned in the past. Looking through your old boards can often remind you of things you haven’t had the time to do yet and that will only add to your frustration. Spend a few minutes browsing through your favorite Pinterest categories and you will often feel inspired to have a better day. When I need a pick-me-up I often pin new things to my Decorating Ideas board…go take a look!

5. Say three nice things about yourself or the topic that’s bringing you down.

I’ve been trying a simple technique with a few folks lately to help them see the more positive side of things. When you say something negative about a person or thing, you should follow that with three positive statements about that same thing. If your bad day is a result of being hard on yourself…say three nice things about yourself. If you’re really hating your job today…say three positive things about your job. If you’re bad day started because you’re flaming mad at your husband (Sorry, babe…it does happen sometimes.)…then say three nice things about your husband. The important part here is to actually say them out loud. Saying them to yourself in your head just doesn’t give you the same result. It also helps to look at yourself in the mirror if that’s a possibility. However you do it, forcing yourself to think positively about whatever is bringing you down, can absolutely help turn your day around.

I wish I could conclude this post by saying that one of these five tricks helps me avoid bad days/moods every single time. Unfortunately, some days just suck. However, you can control them no matter how hard it seems. And if one of these tricks helps you to make a bad day even a tiny bit better, then I’ll be stoked. After all, I love all of you and want each and every one of you to have the best life possible!

What do you do when you have a bad day? I’m up for trying new things and I’d love to hear your suggestions.


MAP Does Dallas

MAP Dallas (13)One of my goals for the month was to make a weekend trip over to Dallas and spend a bit of time with the husband. Done! What started as a trip to IKEA, ended up being an excuse to get away and celebrate Matthew’s graduation.

Most of our trips revolve around food. Picking a cool restaurant is of utmost importance. Here’s where we ate on this trip:

MAP Dallas (14)MAP Dallas (15)The Dairy Palace (Canton, Tx):
This is one of my favorite burger joints of all time. We stopped here on the way to Dallas and on the way back. The burgers are some of the best I’ve ever had. They’re world famous and open 24 hours. If you’re passing through Texas on I-20, make a plan to stop here.

MAP Dallas (3)MAP Dallas (2)MAP Dallas (16)MAP Dallas (1)Cane Rosso (Deep Ellum):
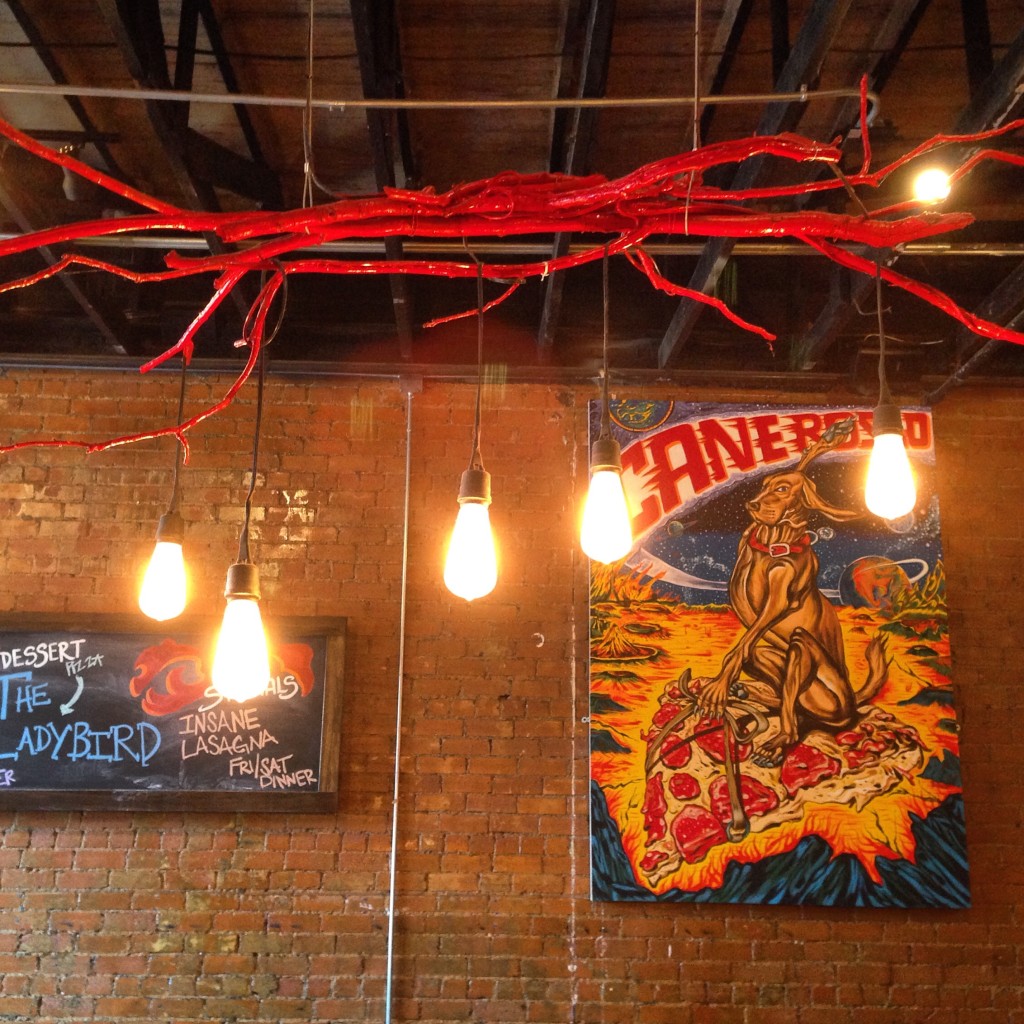
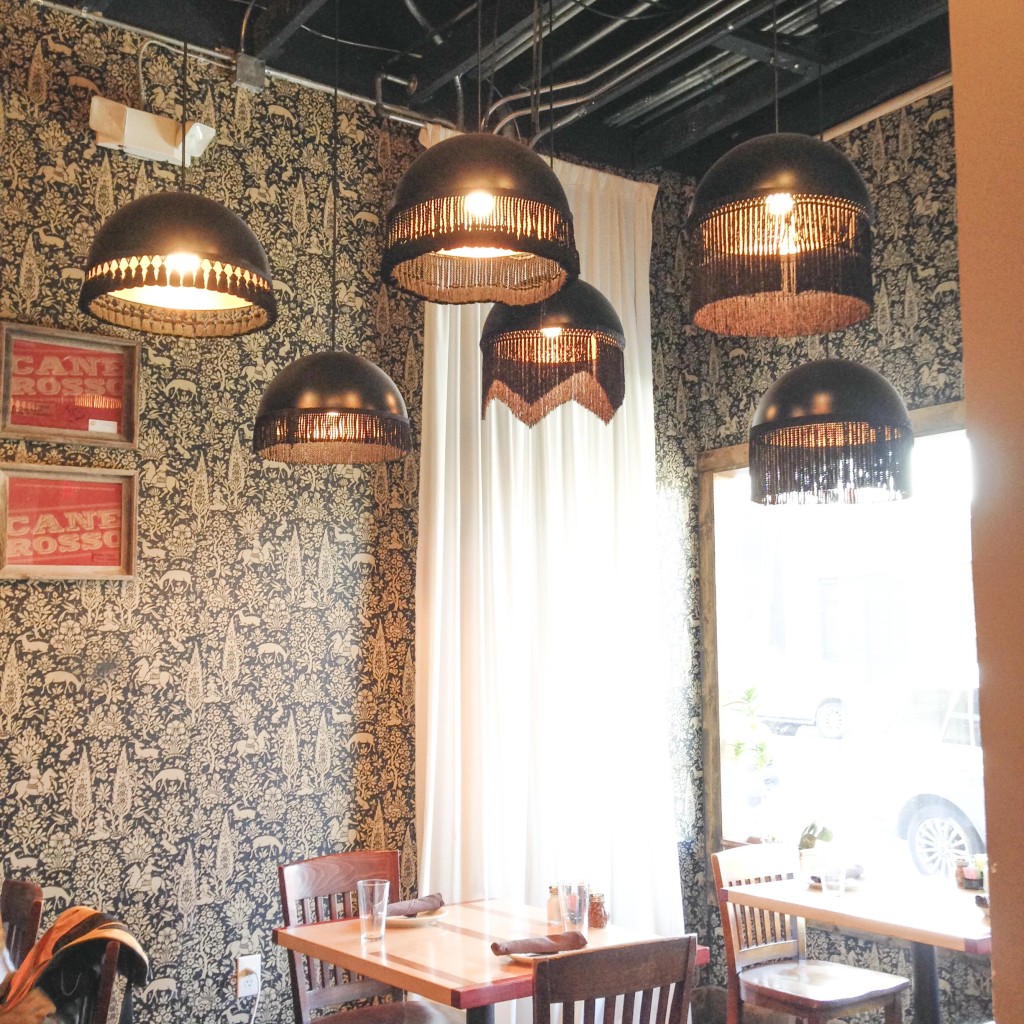
This was our first stop when we made it to Dallas, and it did not disappoint. The selection of brick oven pizzas is mouth-watering. No need to order an appetizer here because it only takes 75 seconds to cook a pizza! My favorite thing here was the decor. The restaurant was in an old building that had been very tastefully and eclectically redone. My favorite part was the fringe lights. You better believe that I’ll be purchasing one of these if I ever come across one!

Fluellen CupcakesSol Ilandes (Downtown):
This place was in walking distance from our hotel, which is half of the appeal. What started as just picking a convenient place to eat turned into a fantastic meal! They played old country music and the place was filled to the brim with happy folks and high energy. There was a patio with roll up windows on the side that would be a great place to enjoy in warmer weather. The food was pretty great too. The menu was diverse, and the food was flavorful…something that you don’t always find outside of Louisiana. It’s definitely a place I’d recommend to anyone in Downtown Dallas. After dinner, we walked around the corner to Fluellen Cupcakes. The carrot cake cupcake was amazing and my favorite thing about this place was that they’re open late!

MAP Dallas (9)MAP Dallas (11)MAP Dallas (10)Buzz Brews (Deep Ellum):
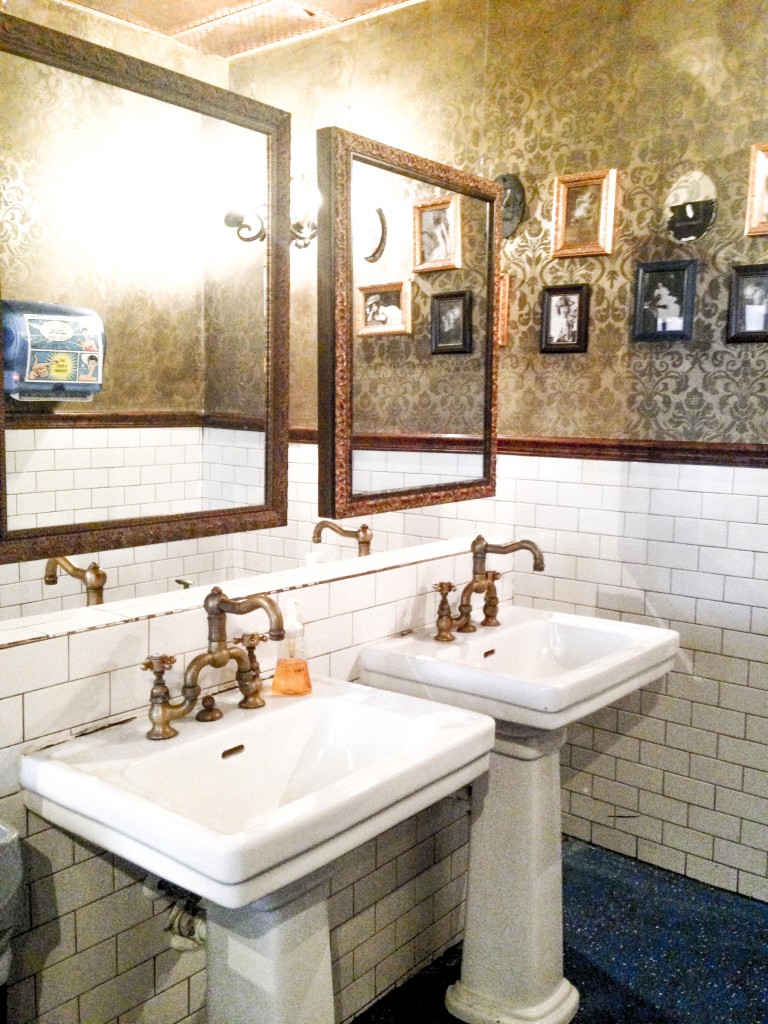
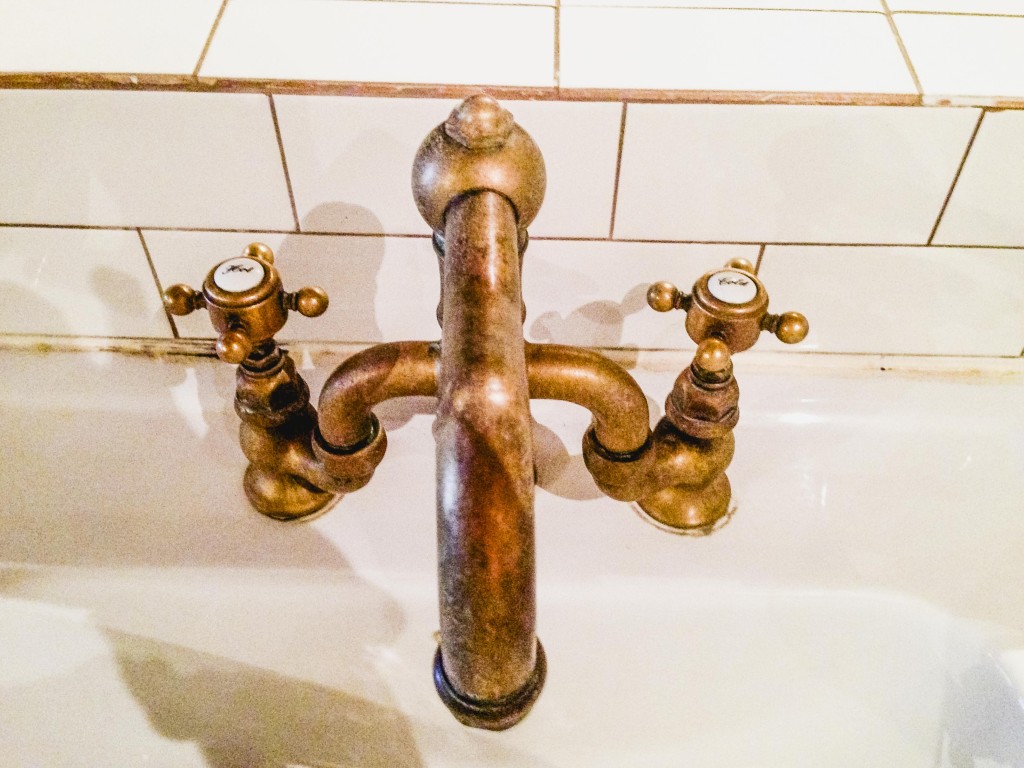
This might have been one of my favorite stops on the trip. It was across the street from Cane Rosso and had a very artsy vibe. It featured a self-serve coffee bar. (The peanut butter coffee was a crowd favorite…we even order a 1/2 pound to bring home!) We were also incredibly impressed by the food. My banana nut pancakes were off the charts! I was in love with the old faucets in the bathroom…so cool! The  bathroom itself is something to talk about. I heard a girl say, “It’s two doors, but don’t let that confuse you…its one bathroom.” I thought that meant you had to go through two doors to get in. Nope. It’s two doors (one for men and one for women), but they lead into the SAME bathroom. There were individual stalls/rooms on each side with the cool sinks in the middle of the room. I’d never seen anything quite like it!

MAP Dallas (12)MAP Dallas (6)MAP Dallas (7)MAP Dallas (5)One of the highlights of this trip was that I got to go ice skating for the first time! Matthew has quite a bit of experience, but I had never been on skates. I’m happy to report that I didn’t fall, not even once! They say that ice skating is a lot like rollerblading, which I can agree with…if you’re roller blading on baby oil!

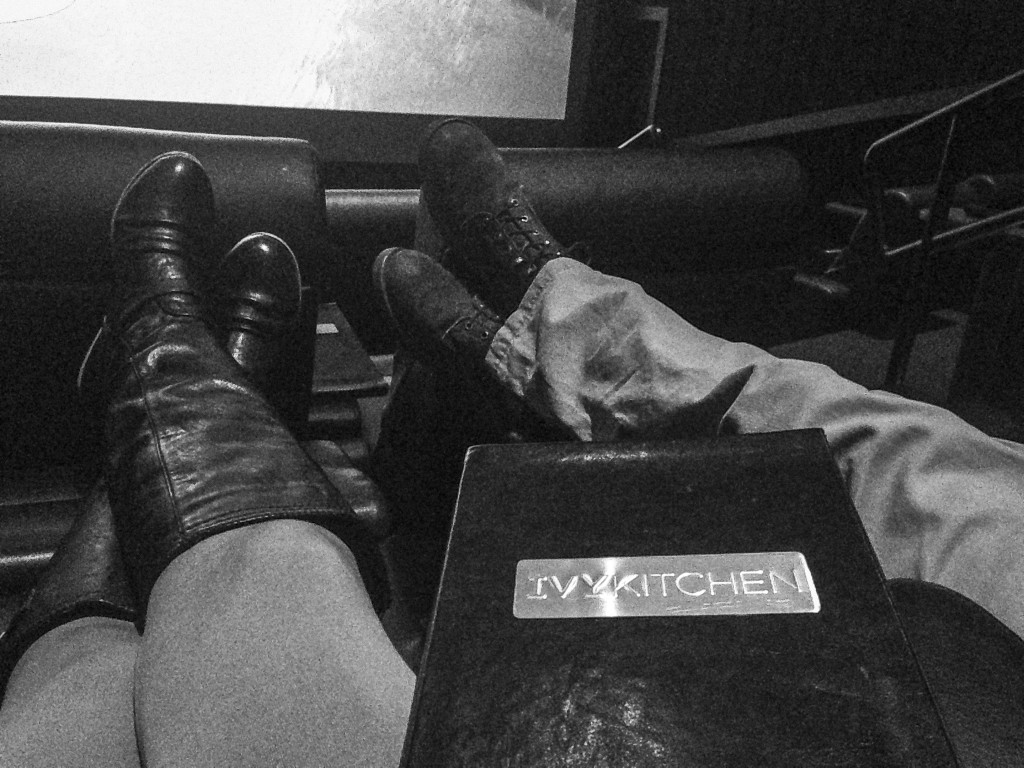
MAP Dallas (4)Another highlight was our visit to the Look Cinemas. This is one of those movie theaters that have recliners, serve food, etc. Actually, they offer four different experiences to chose from. (Check out their website…it’s pretty cool.) Matthew and I chose the Look & Dine experience. My favorite part of this theater was the chairs…they were grouped in sets of two, were incredibly comfortable, and reclined! That only thing missing from this experience was a cozy blanket!

The day we headed home, we spent 7+ hours at IKEA. My birthday present from Matthew was to finish out my closet room, so we ultimately went to get some storage solutions for that. We also bought shelves for my office, a new rug, and several other goodies that you’ll likely see around my house soon. As always, it was a fun (but exhausting) day of shopping. Never ben to IKEA? Go! There’s nothing else like it.

All in all, we had a fun trip. We met up with Amanda and her sister Rachel here and there and enjoyed lots of quality time together. I also got two houses under contract while on the road, which is seriously one of my favorite things about this career.

Want to read more about our travels? Check here! Where shall we go next??

DIY Painted Light Fixtures

Before and After

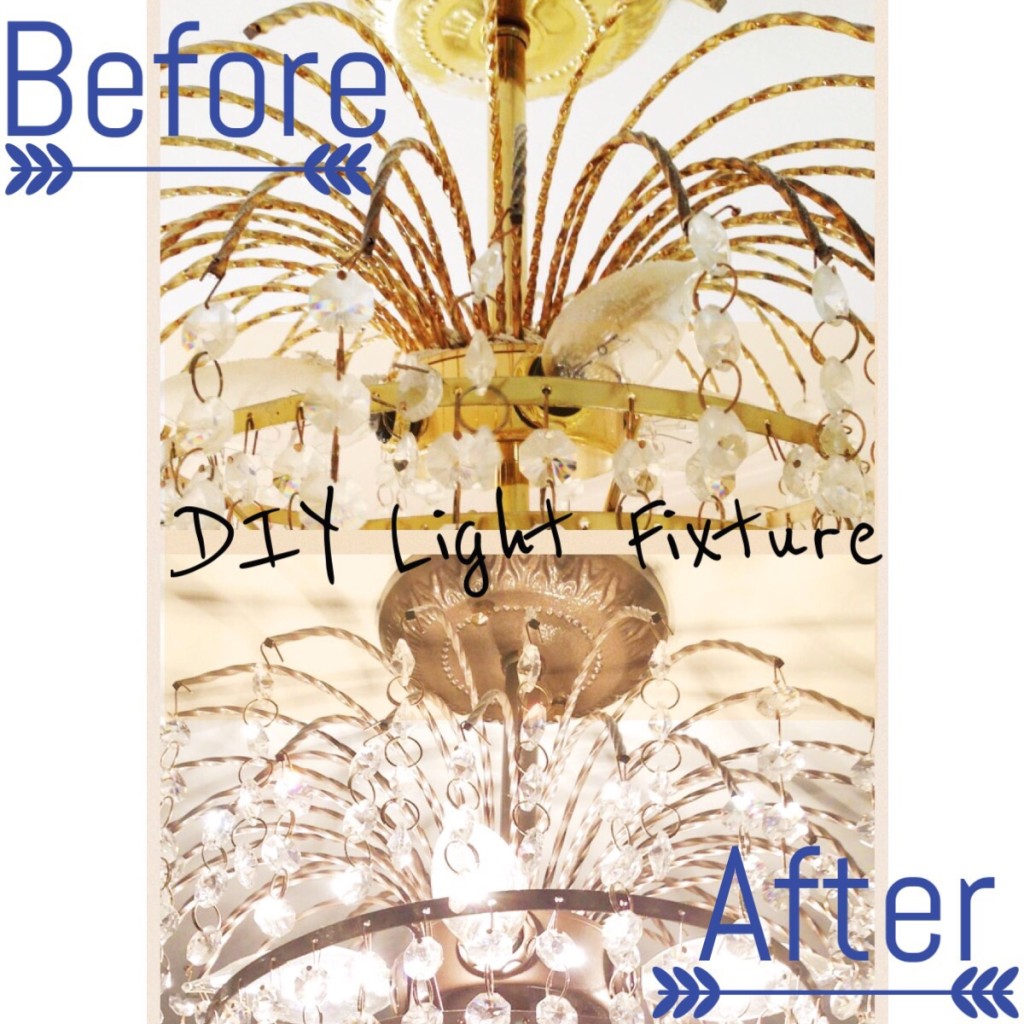
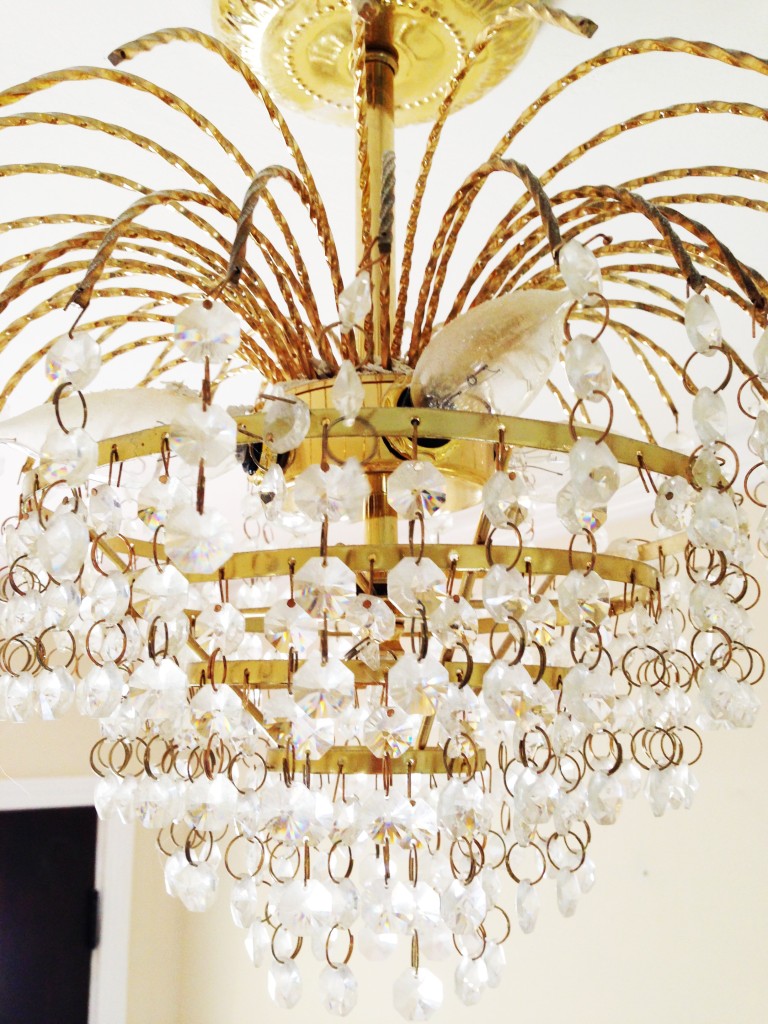
When Matthew and I purchased our current home, we had quite a hefty list of updates that we planned to do. (You can see some of the before photos here.) Some of the updates we envisioned were immediate, like painting and new floors. Others will come along later, like painting the exterior and bathroom overhauls. Light fixtures were one of the items that we knew we’d do rather quickly. However, I’ve had the hardest time finding decently priced lights that I like, so we’re still working on this one.DIY Light Fixture

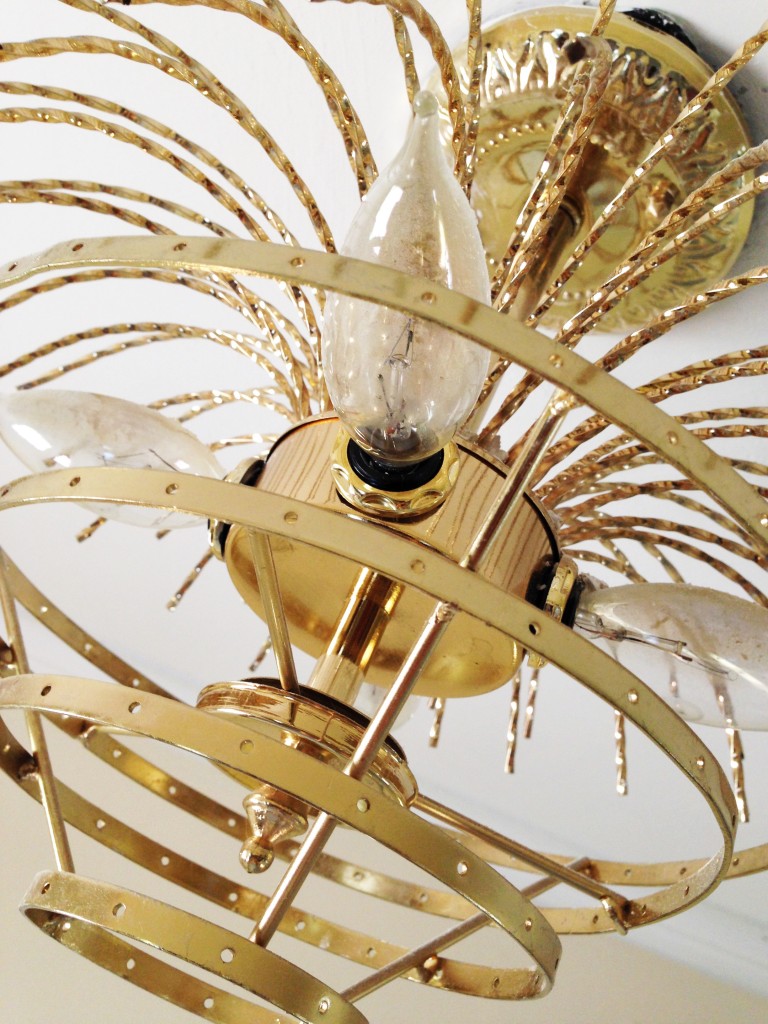
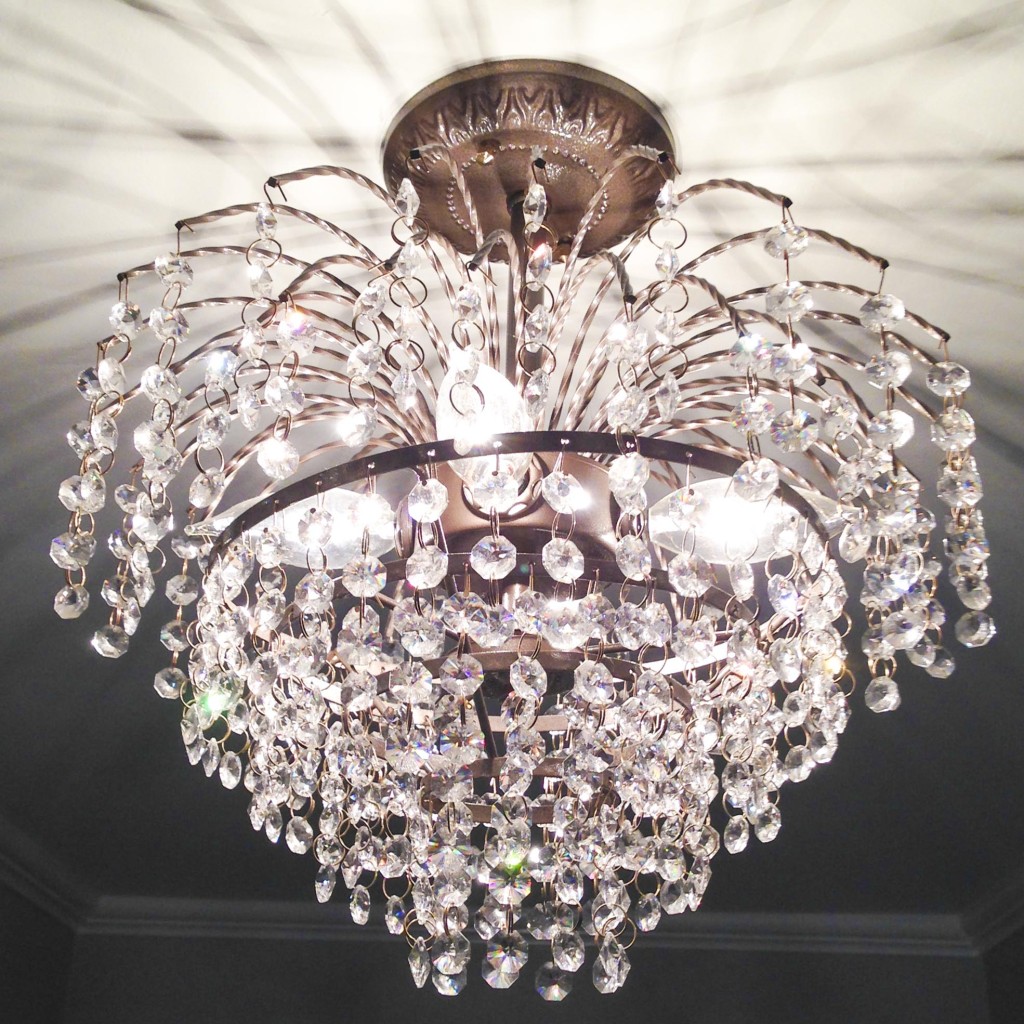
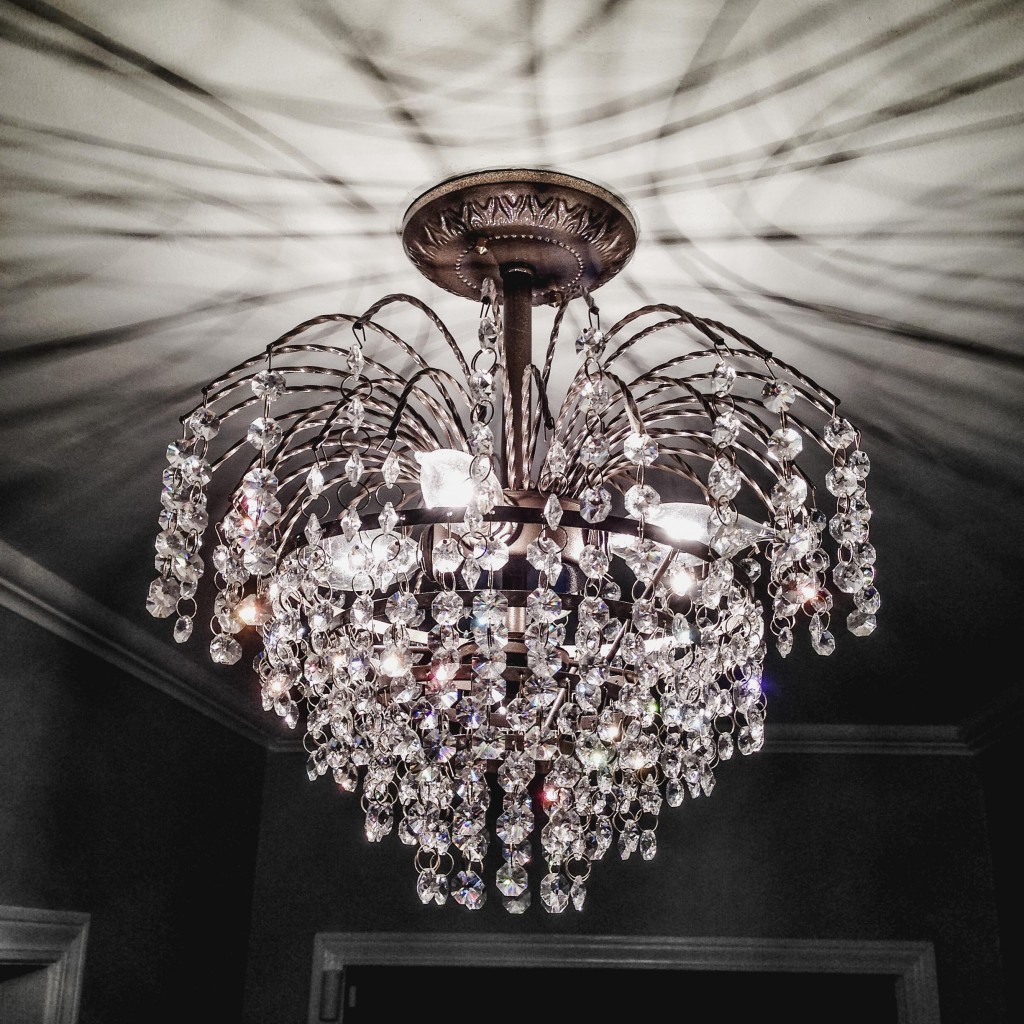
DIY Light FixtureWhen we bought the home, there were only two light fixtures in the house that I even remotely liked…the dining room chandelier and the entry way light. All of the others were very dated or not at all my style. (The leaf fan, for example, doesn’t fit my décor style.) Our bedroom fan is also leaves. The kitchen had a ceiling fan, which Matthew could only barely walk under without risking decapitation. The rest of the fixtures were classic 1990s brass. The two fixtures that I liked were also brass, but the bones were good. Rather than replacing these two, I decided to give them a little facelift.
DIY Light FixtureDIY Light FixtureI haven’t tackled the dining chandelier yet, but I worked on the entry light pretty soon after moving in. I used Rust-oleum Hammered spray paint, and the process was rather quick and easy. Here’s what I did:
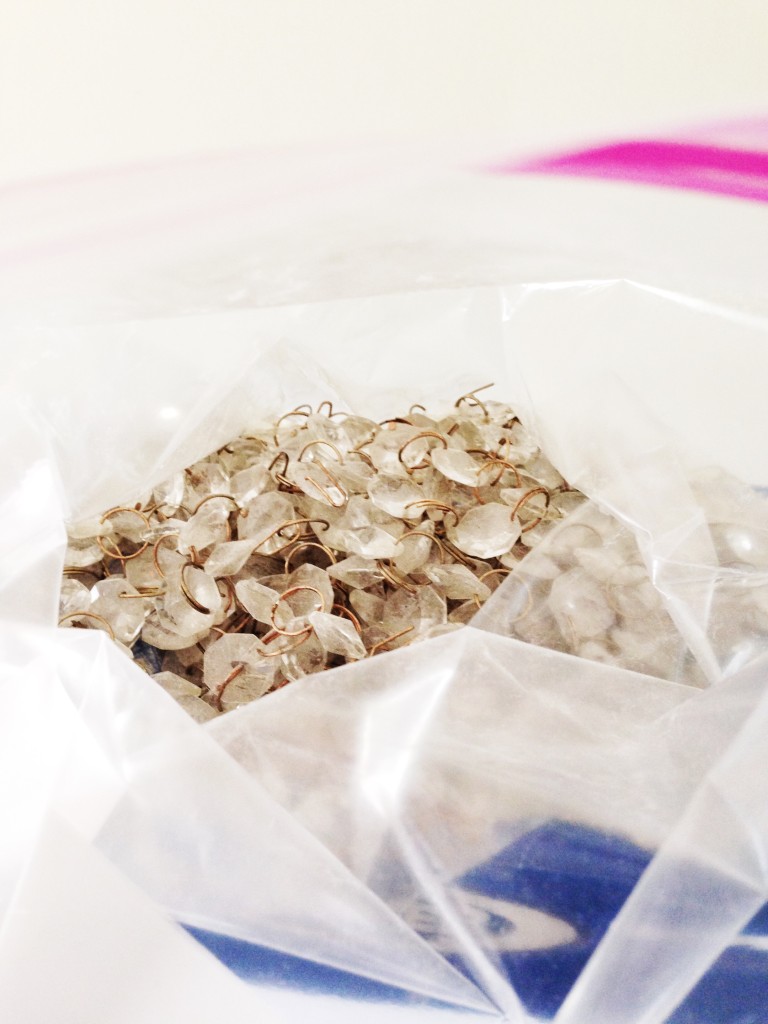
  1. Remove any crystals or globes. Luckily, the crystals on our entry light were attached with hooks instead of rings. I removed all of the crystals and cleaned them individually with a damp cloth. I didn’t want to submerge them in case it would cause a discoloration of the metal. Honestly, this was the most time consuming part of the process.
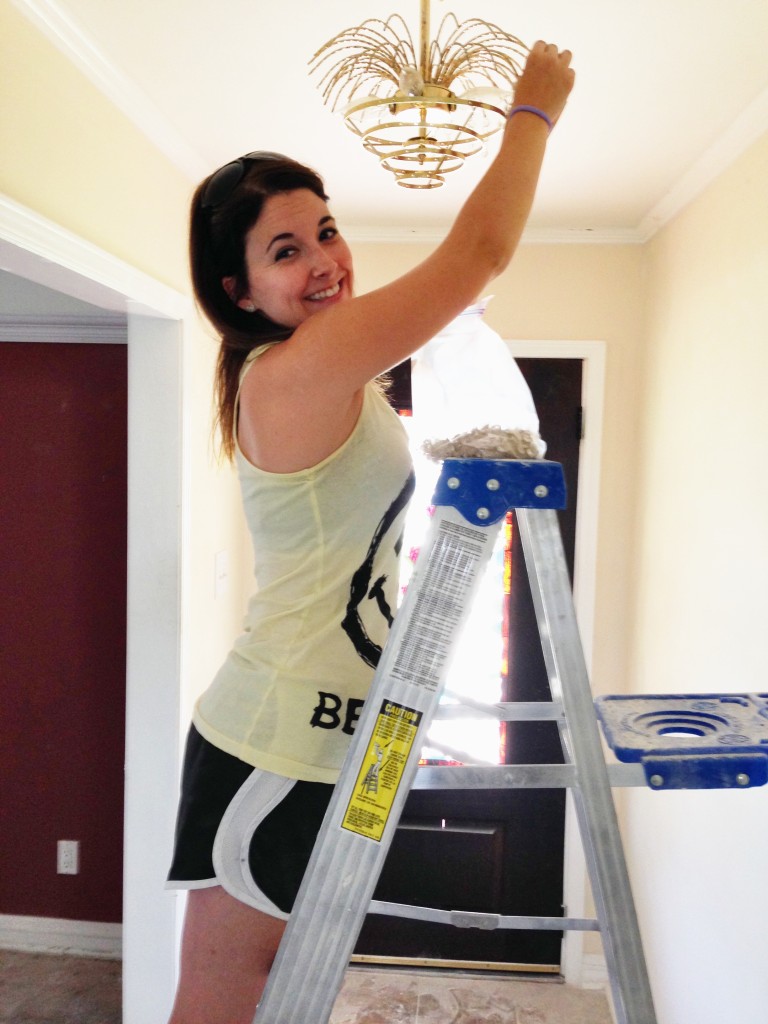
  2. Remove the fixture. Be sure to turn of the power before taking the fixture down!
  3. Clean the fixture well. You’ll want to be sure it’s free of dust and debris, especially if it’s an older fixture. Most of our lights (and every other square inch of the house) were covered in construction dust from having the ceilings scraped. Even after a professional cleaning, there was still quite a bit of dust in the crevices.
  4. Get to painting! I sprayed two coats of paint on our fixture, being sure to coat both the top and bottom of the fixture so that you didn’t see any traces of the old, brass color. Be sure to let it dry between coats. This was super quick and easy.
  5. Once the paint dries, hang the fixture back up and reattach any crystals or globes.

After Light FixturesSimple as that, you have a new fixture for less than $5. I’ve seen numerous tutorials online where people find dated fixtures at garage sales and thrift shops and paint them bright, fun colors. I went with a neutral color on our fixture because I wasn’t quite sure what décor I was going with yet. Whether you already have an old fixture or pick one up somewhere, using a little spray paint is a great, inexpensive way to update your lighting.

After Light FixturesNext up is the dining room chandelier. I have a bit of a different plan for it, but I’ll hopefully get to work on it soon. Have you ever used spray paint to update light fixtures in your home? I’d love to see your before and after pics!


DIY Paintings

imageIt’s been several months since we moved into our new home and even though I’ve made a conscious effort to get this place decorated quickly, there are still so many bare walls. This is partly because this house is a bit larger than our last, partly because we are trying to change our style up a bit, and partly because we have tall ceilings and huge, empty walls to fill.

I made a promise to share the progress of our home here on the blog. I have shared bits and pieces here and there,  but I haven’t really shared that much. The boxes are emptied, but if I were being honest, I’ve experienced quite a bit of frustration trying to get things pulled together. Decorating a new home from scratch while working full time and trying to have a social life is rather difficult, it turns out.

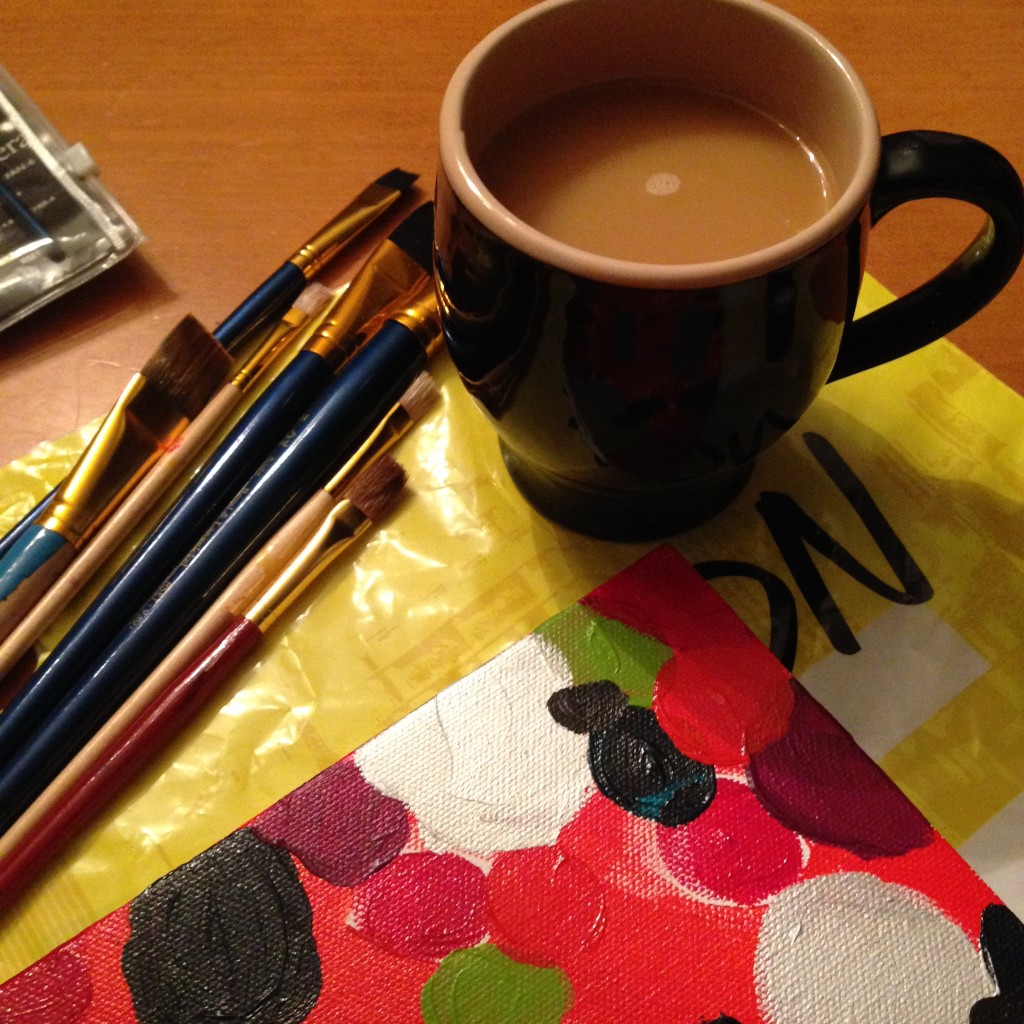
DIY PaintingWe need quite a bit of art to cover the big, bare walls here and finding enough pieces that are within our budget has proved to be impossible. Therefore, I decided it was time to do some DIY. I’ve done a little bit of panting in the past but I haven’t picked up a brush in a while. As a matter of a fact, I didn’t like the last few things I painted, so I decided to give it up. After a bit of a break, I realized that I just had to keep trying. (Listen to this two minute video if you need some encouragement in pushing through the ugly.) Once I got over this hump and picked up a brush, I actually loved the next thing I painted!

This post isn’t about teaching you to paint. Instead, it’s about encouraging you to just try. It’s about helping you to push through the ugly when you think you suck at something. Inevitably, you’re bound to eventually end up with something you like.

DIY PaintingFirst and foremost, I should say that I’m not a painter. Instead, I’m just a person that likes to paint. I’m someone who can splatter some paint on a canvas and call it good enough. I can fill my home with one-of-kind pieces that cover up empty walls. I’m not going to win any awards, but I can mark some items off of my to-do list.

My first painting that I did recently was the oblong circle painting. I took my inspiration from here, and ended up hating the result. I was getting ready to paint over it or add more circles, but Matthew insisted that we hang it as is. I’m still debating on whether it’ll stay or not.

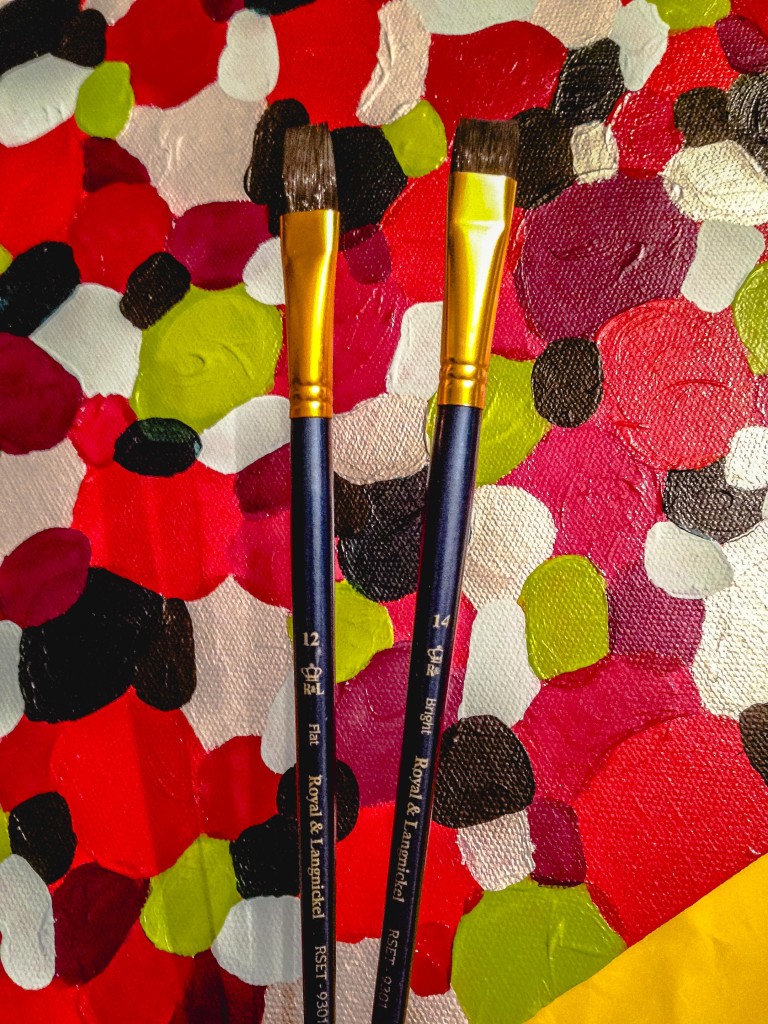
DIY PaintingNext, I began the dot painting. I started with something like this in mind, but it ended up being a little more symmetrical. At first, I wasn’t quite happy with how it was turning out, but when I decide to add the light blue color, I fell in love. That was a different paint so the texture was a bit different, but it was what I had on hand. I ended up loving the difference in color and feel of the paint. (Lesson: don’t give up on something because you don’t like it immediately. Your big idea might be right around the corner!)

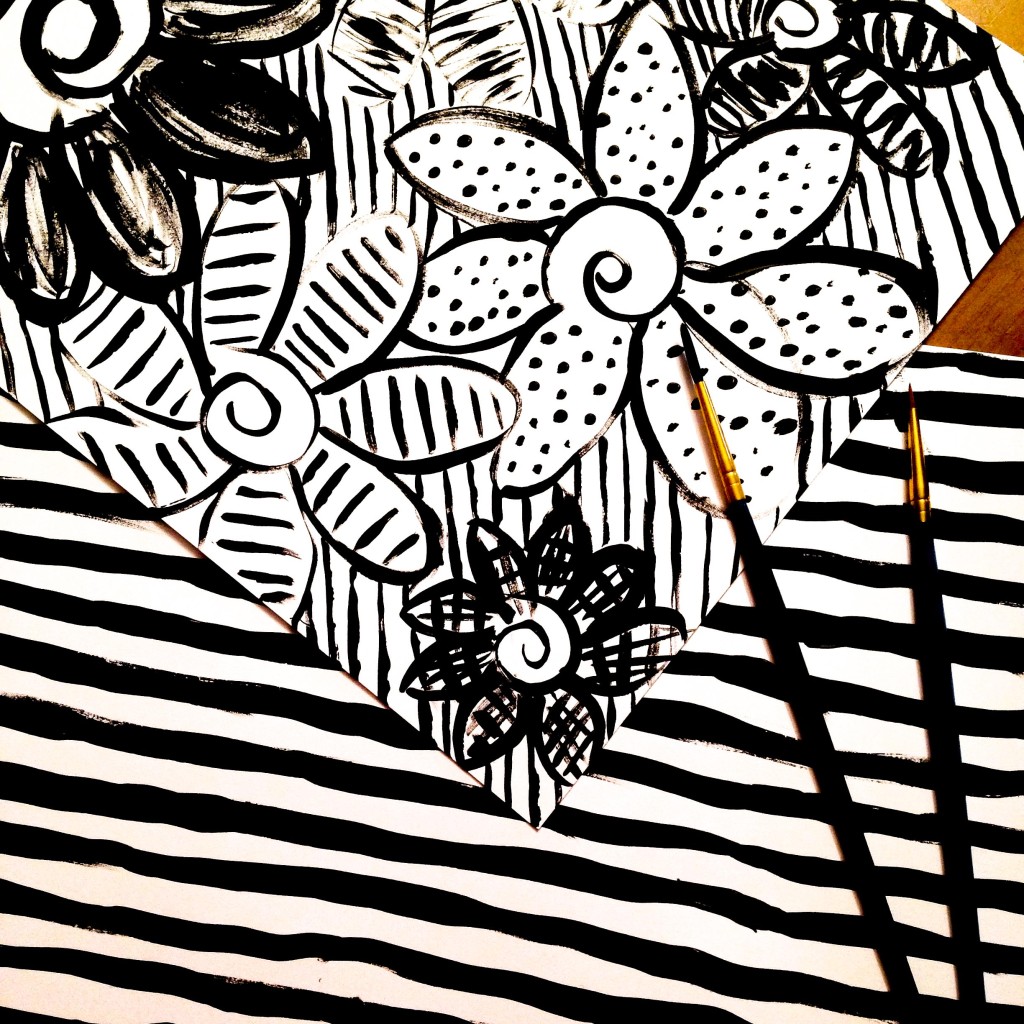
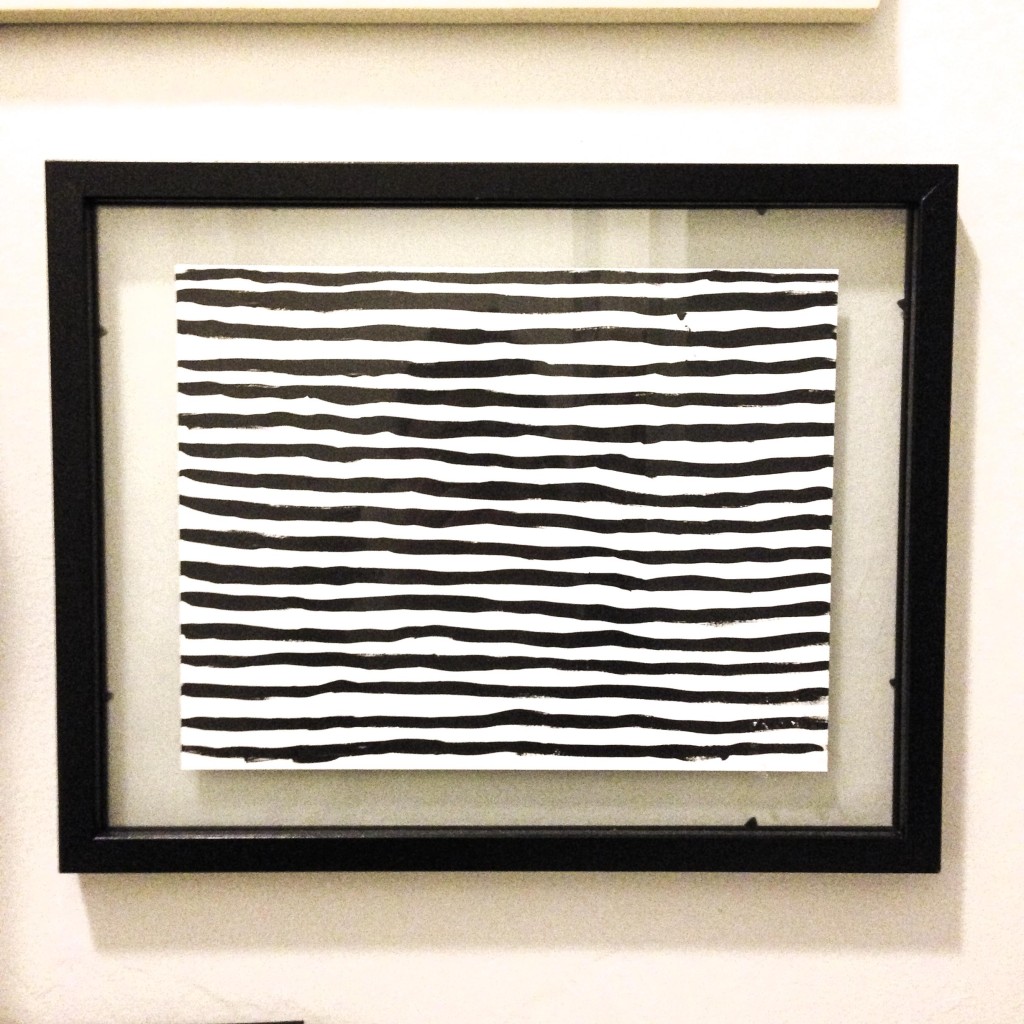
I was having so much fun with paint that day, that I decided to keep going. I didn’t have anymore canvases on hand, so I just pulled out some card-stock and made the black and white stripes and flowers. I didn’t really have anything in mind for these, but I ended up framing the striped one, and it’s one of my favorites!

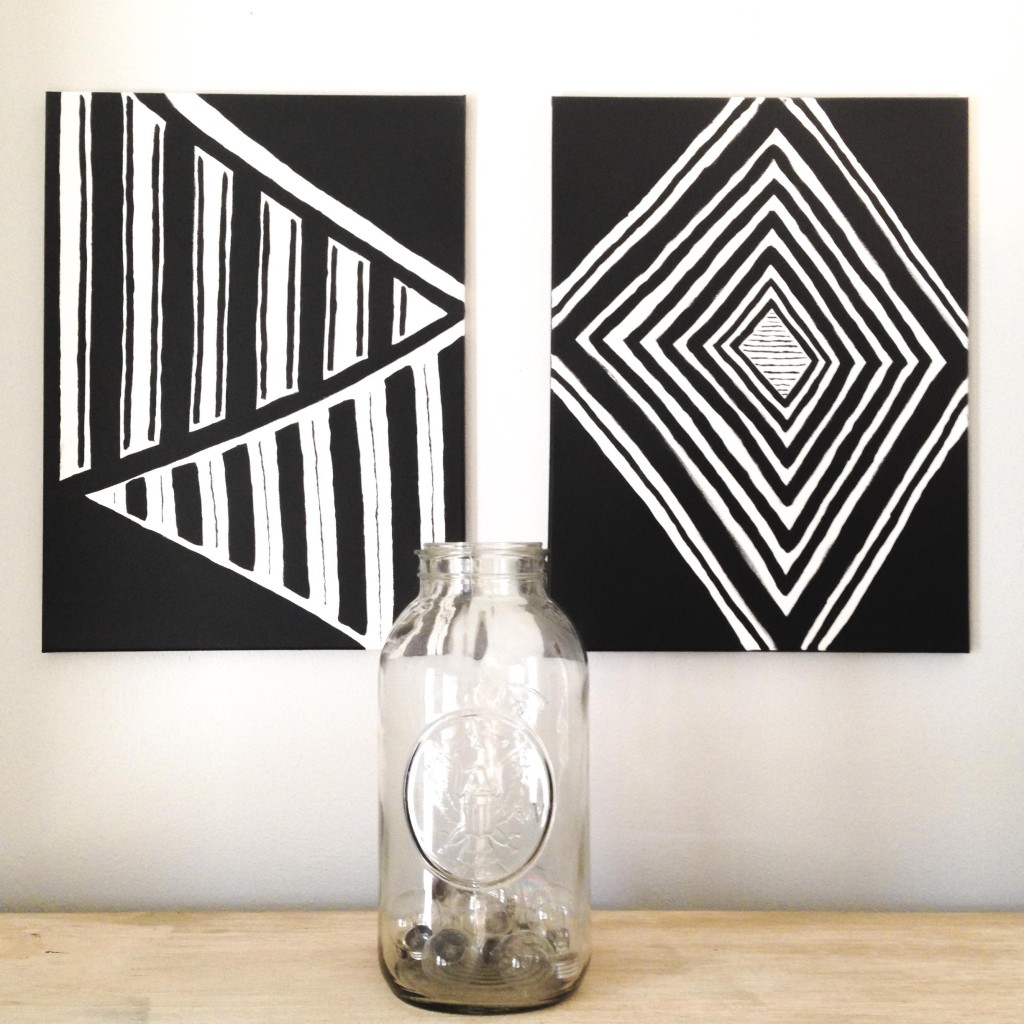
DIY PaintingA few weeks passed after painting these four things, and I decided to keep going. I picked up some more canvases and went to town! (To be honest, my in-laws were coming into town for Matthew’s pinning, and I needed to cover these bare walls fast!) I saw an awesome wall mural covered in various black and white designs and fell in love. I hoped to show it to you, but I can’t find the link! My default is almost always black and white these days, and I knew that I’d love to create something similar. When I started those two paintings, I was using straight, sleek lines. Then, when I “messed up” the first time, I realized that I liked the rough look much better. Again, none of these projects are perfect, but they do cover wall space that was otherwise empty and bland. Plus, those bland walls would have likely stayed that way for many more months until I could commit to purchasing something else.

DIY PaintingIf you have bare walls and a small budget, I highly recommend creating some of your own art. The first several pieces might be terrible, but you’ll eventually get something you love. Besides, it’s a great creative outlet. If you’d like some more DIY painting suggestions, look here! Elise has done some great, DIY pieces in the past. Happy painting!