Category Archives: Our First House

#mapfirsthouse – Closet Plans & Inspiration

flamingo printI had a closet room in our last rent house, but I never quite made it into the room of fabulousness that I had hoped for. In this house, I have pretty large plans to make this room a dressing room paradise. 

My overall inspiration for the room came from this nursery. I loved the black and white stripes with hot pink and orange accents. I even ordered this flamingo print from Elise!  (Once upon a time, I really hated pink. However, since this spring I’ve really kind of liked it.) 

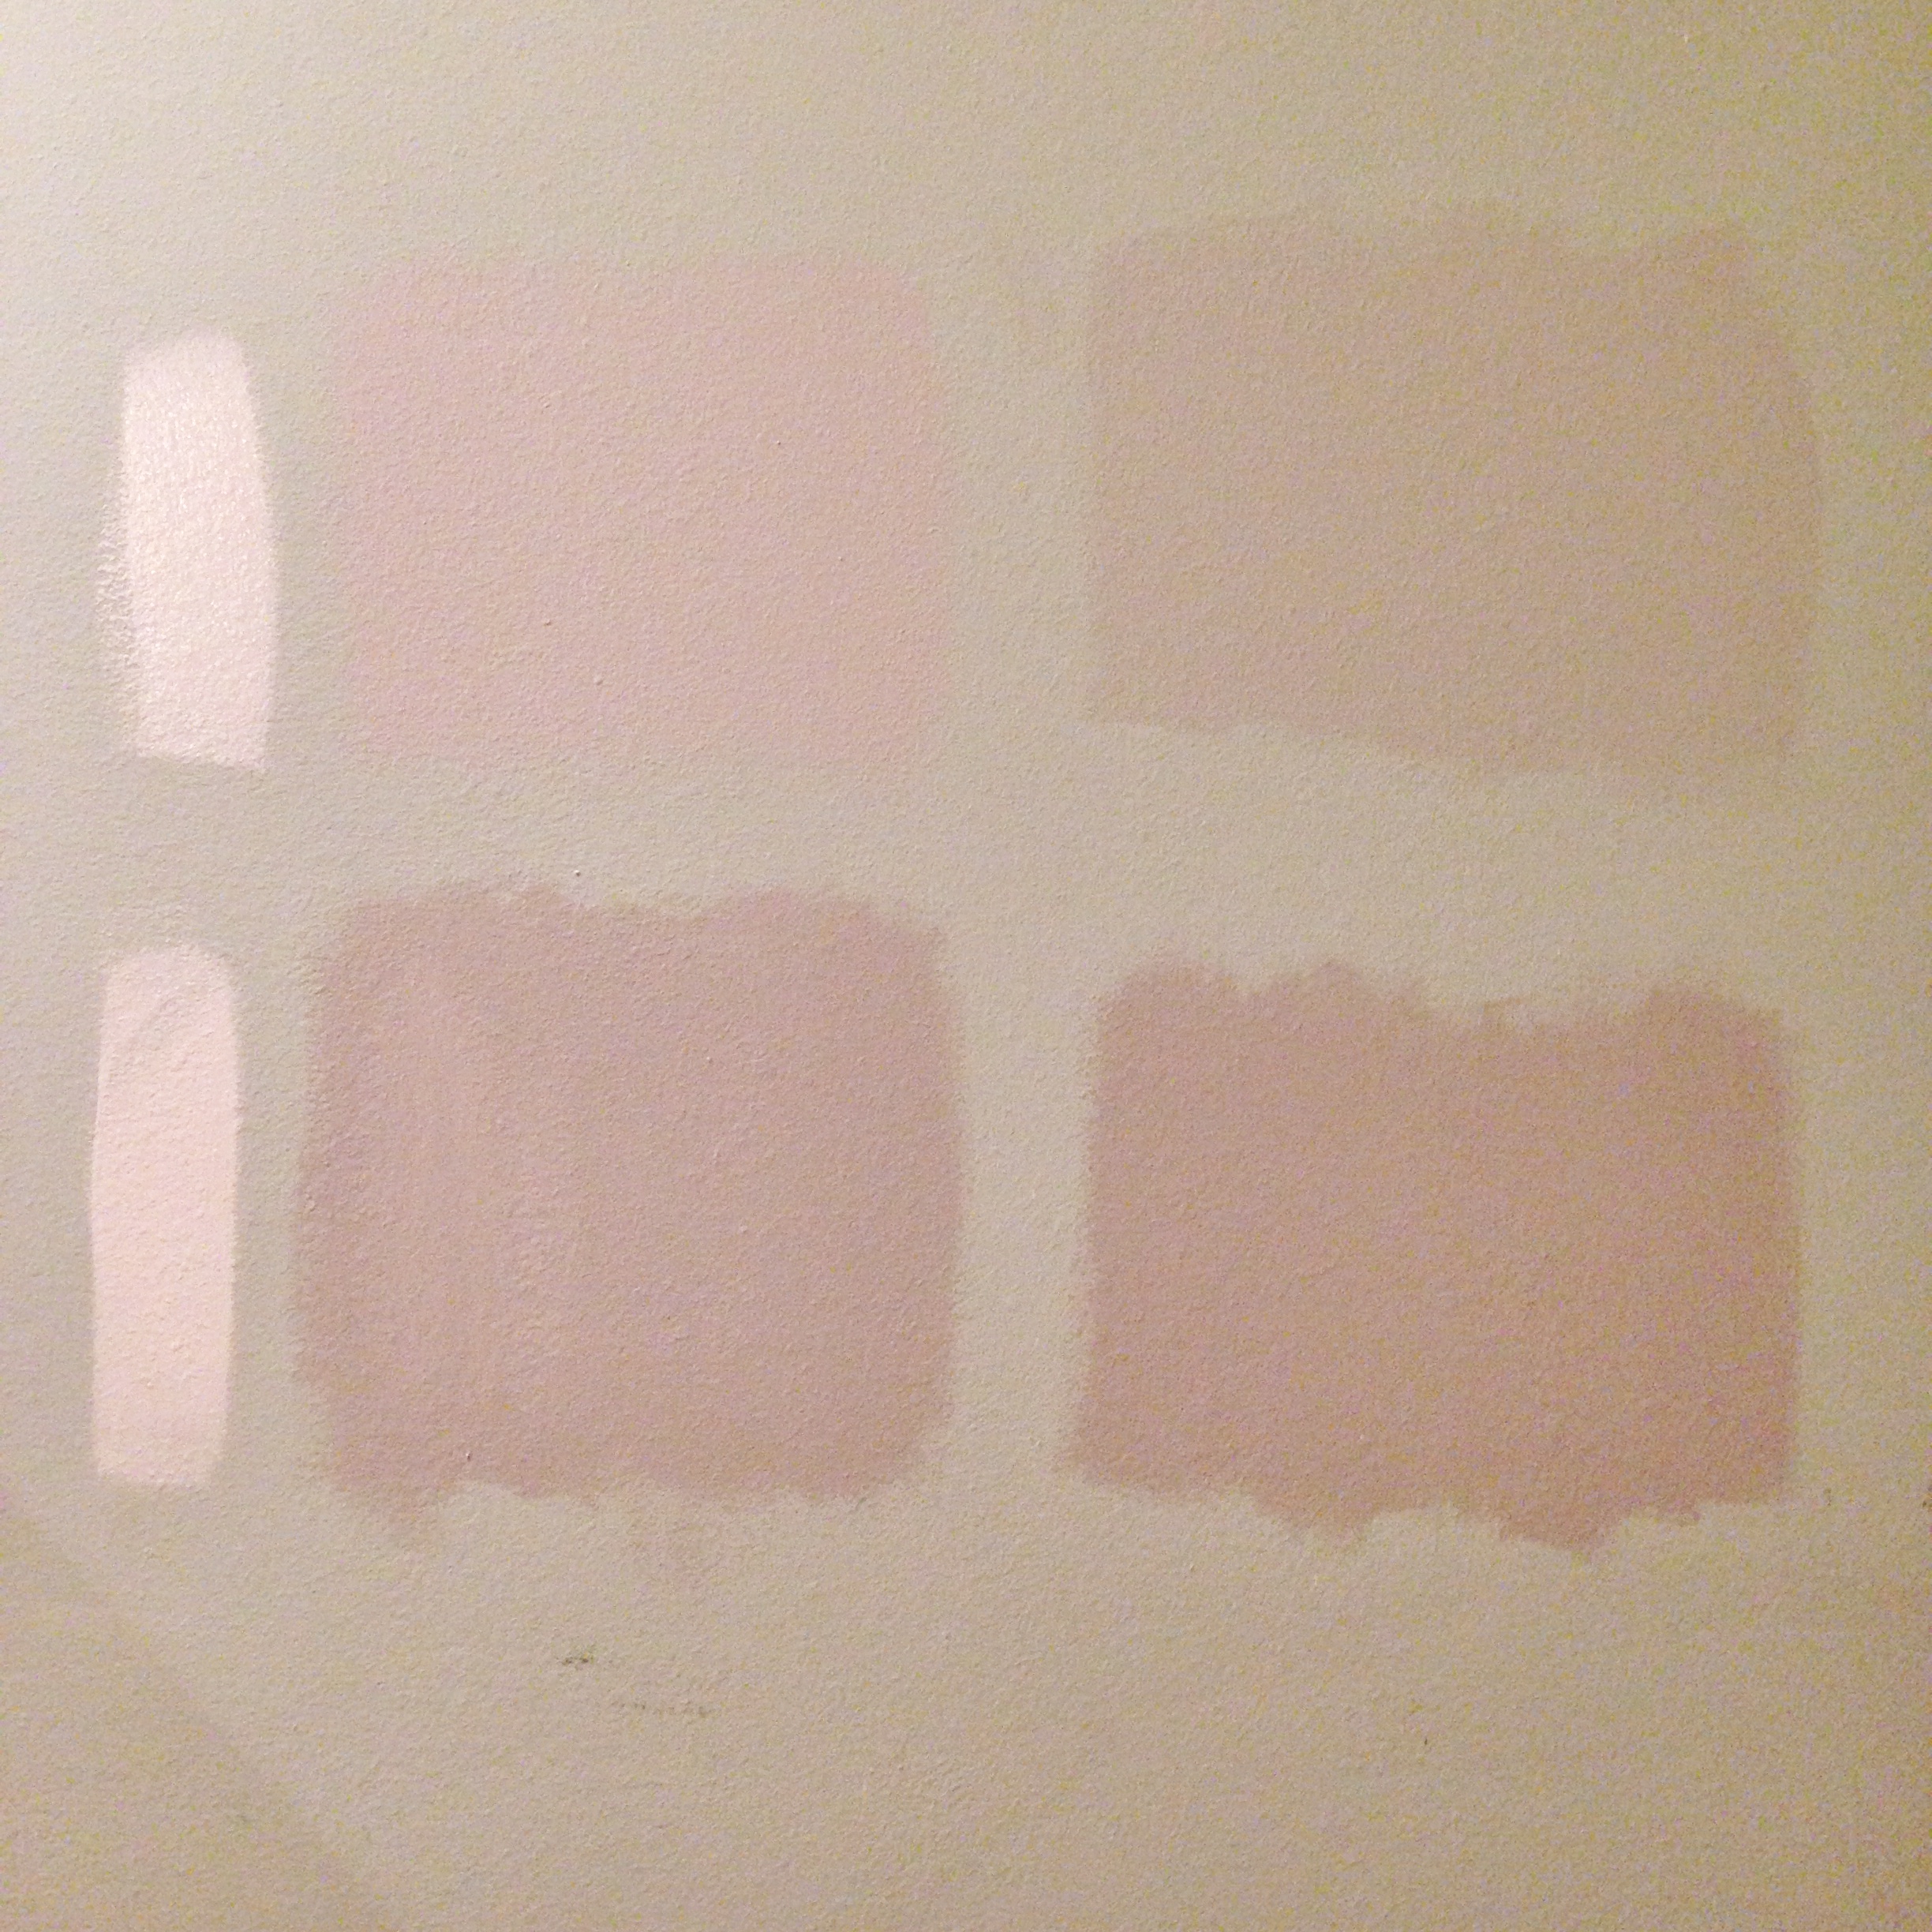
My original idea was to hang black and white striped curtains, but when reading this post by Myquillyn, I saw the striped wallpaper and fell in love! Striped wallpaper would make such a grander statement than just curtains, and I’m pretty excited about my new idea. (Also, I love the idea of those Style Saturdays by Lowe’s and would love for one to take place near me!)

Chandelier

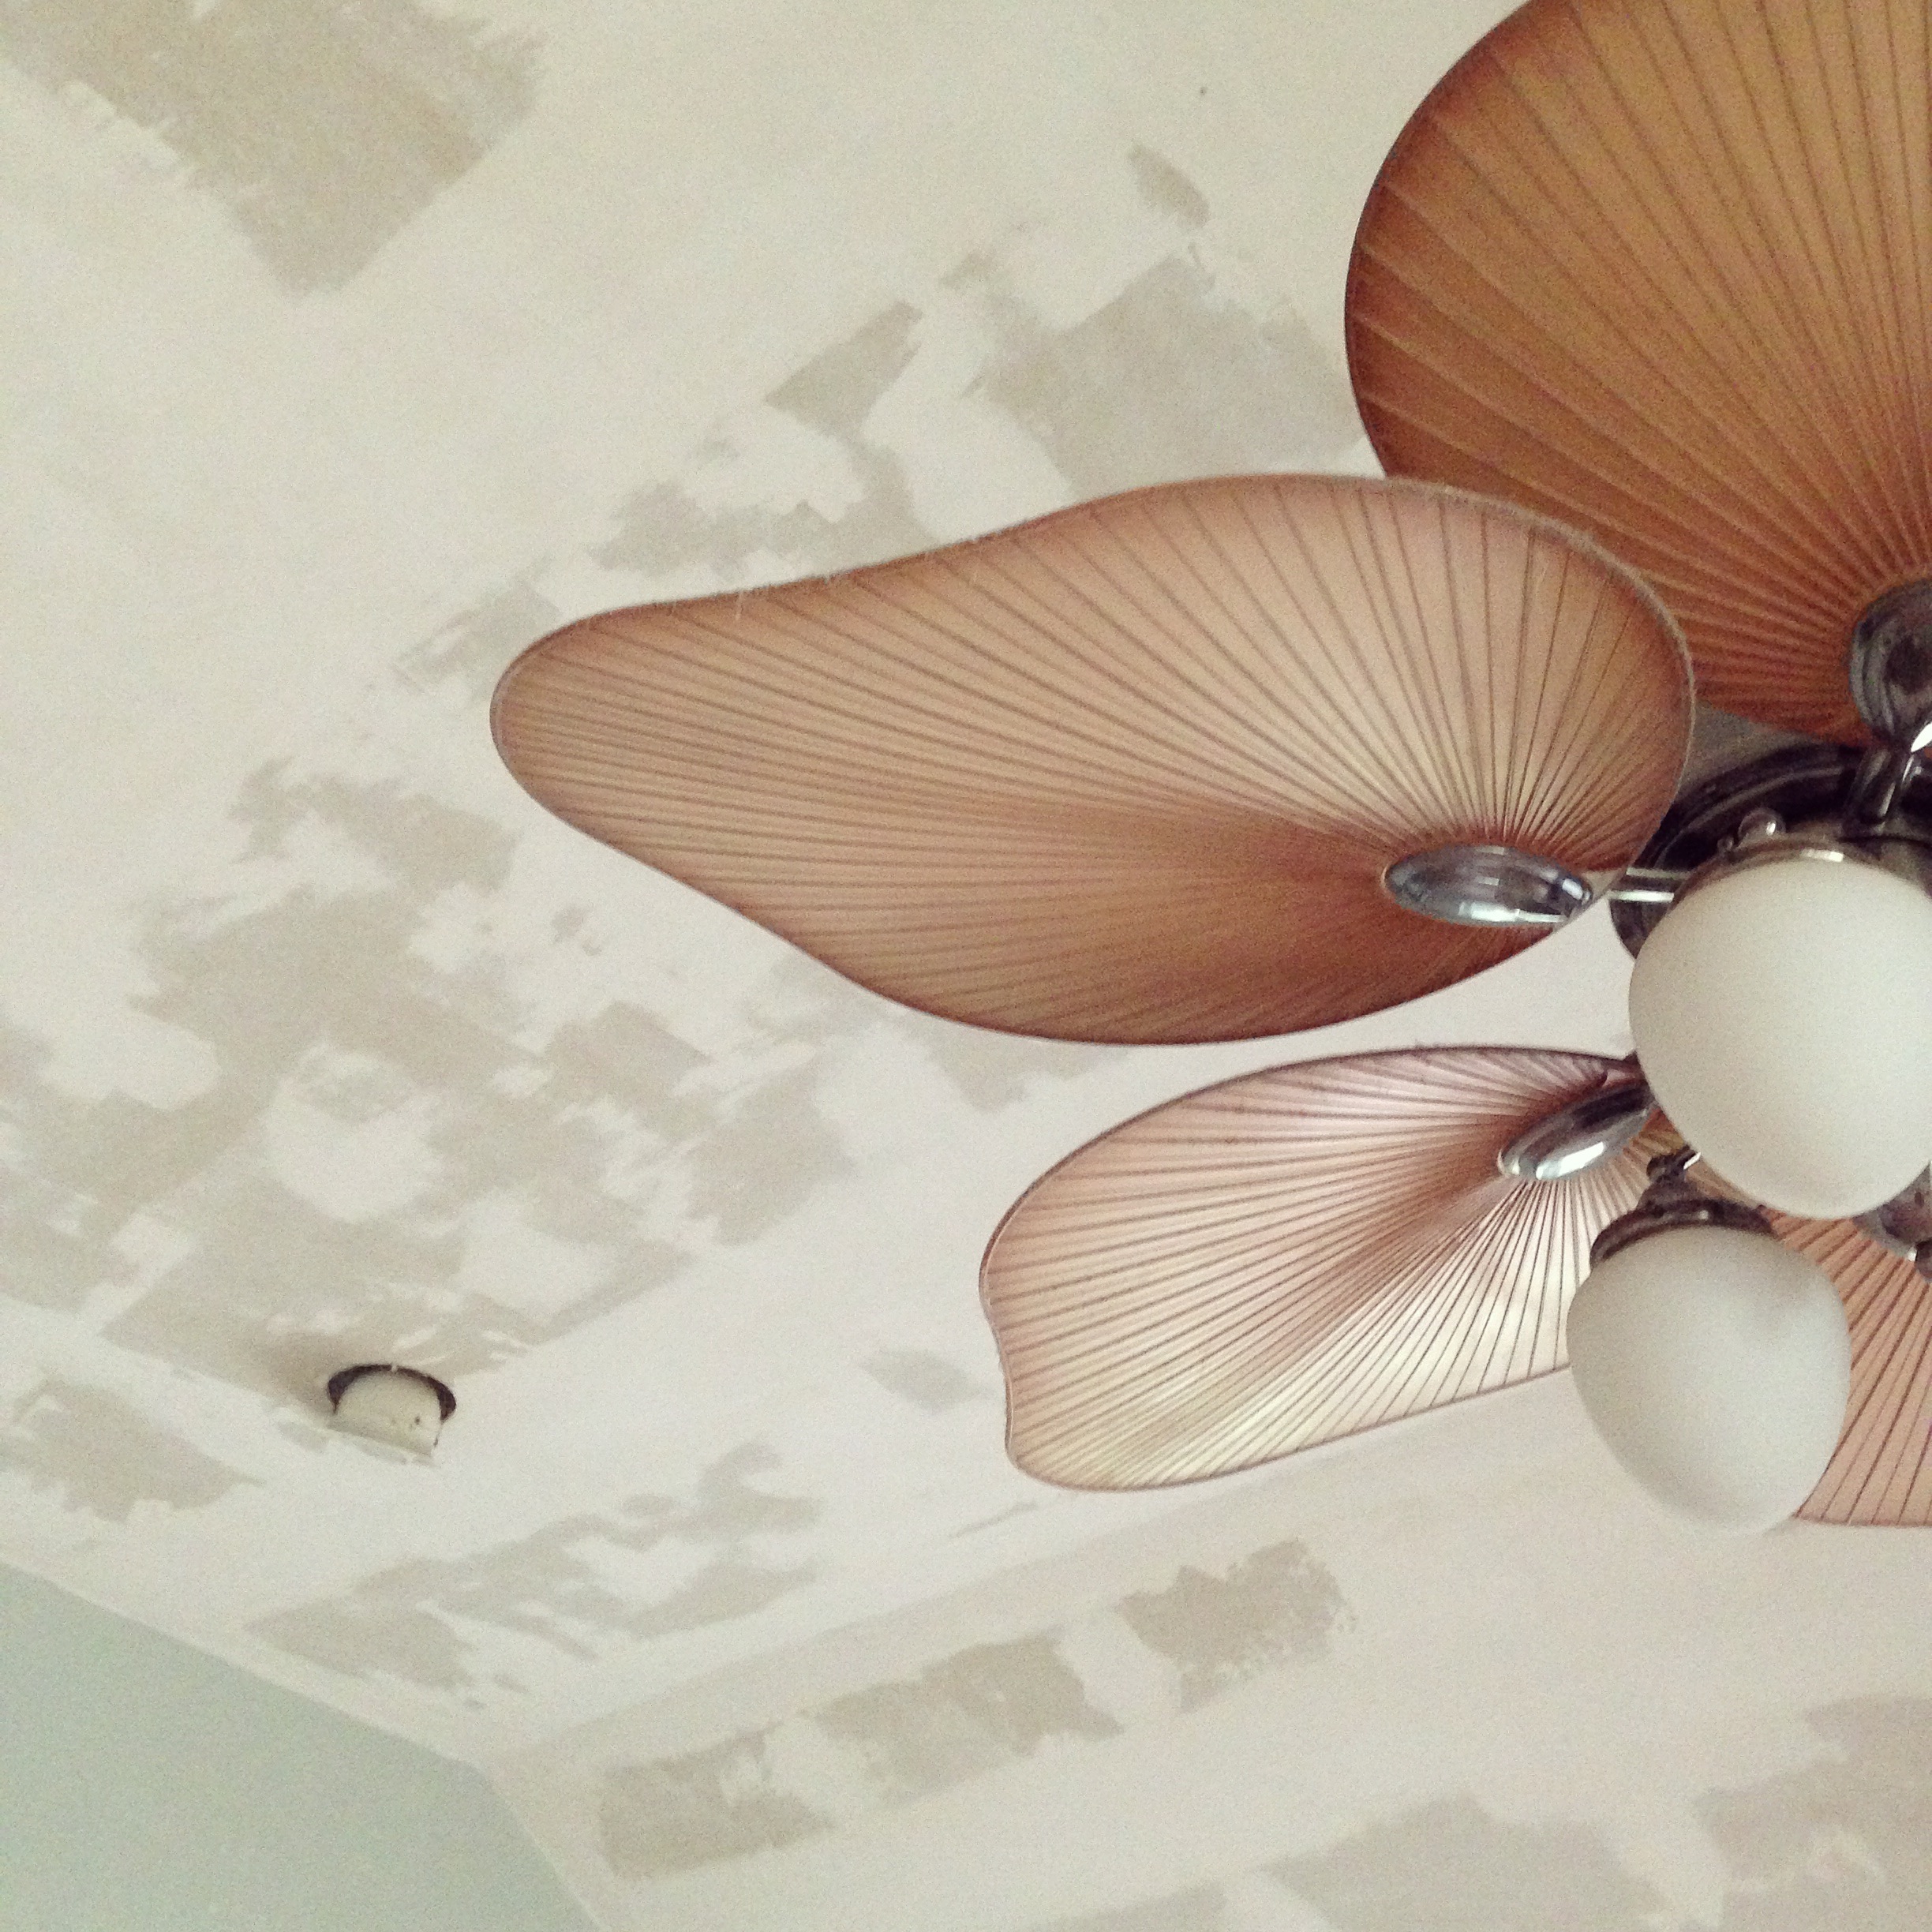
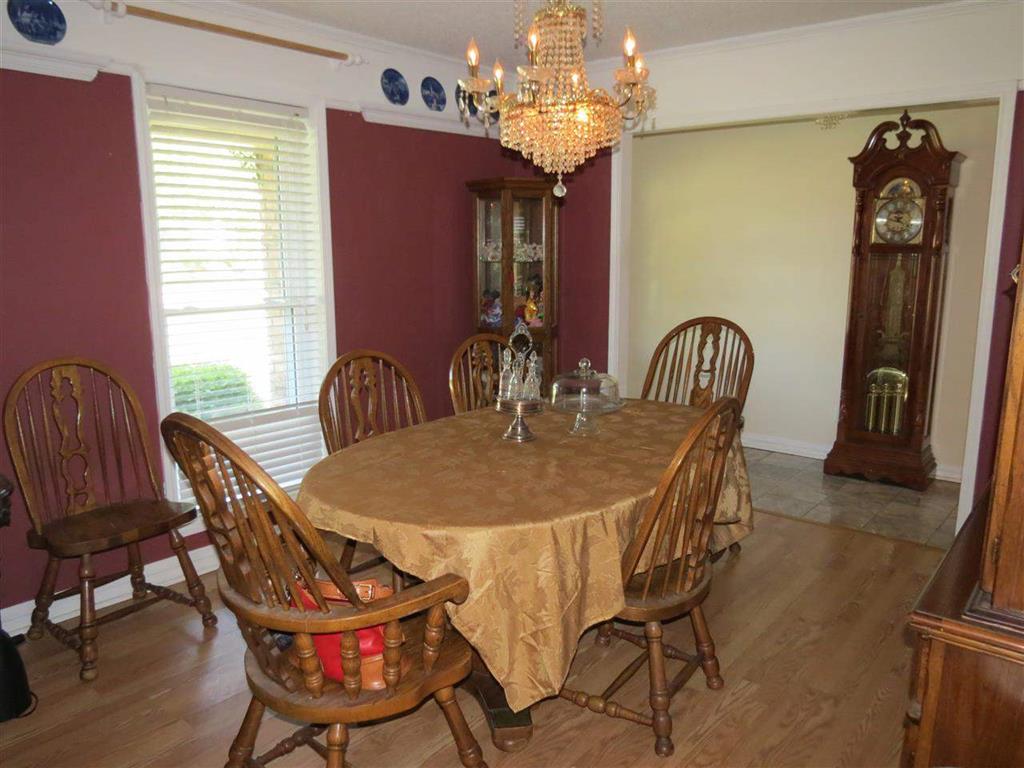
As for other inspiration, I plan to paint our current dining room chandelier and use it in the space. I’m also thinking I’ll spray paint/update my dear mannequin a copper color to pull from the orange. The yellow worked great at Salt & Pepper, but I think it’s time for an update. Have I mentioned that I’m loving copper these days?? I’d paint everything copper right now if it made sense. (P.S. That’s my wedding dress that she’s wearing.) 

Yellow Mannequin 
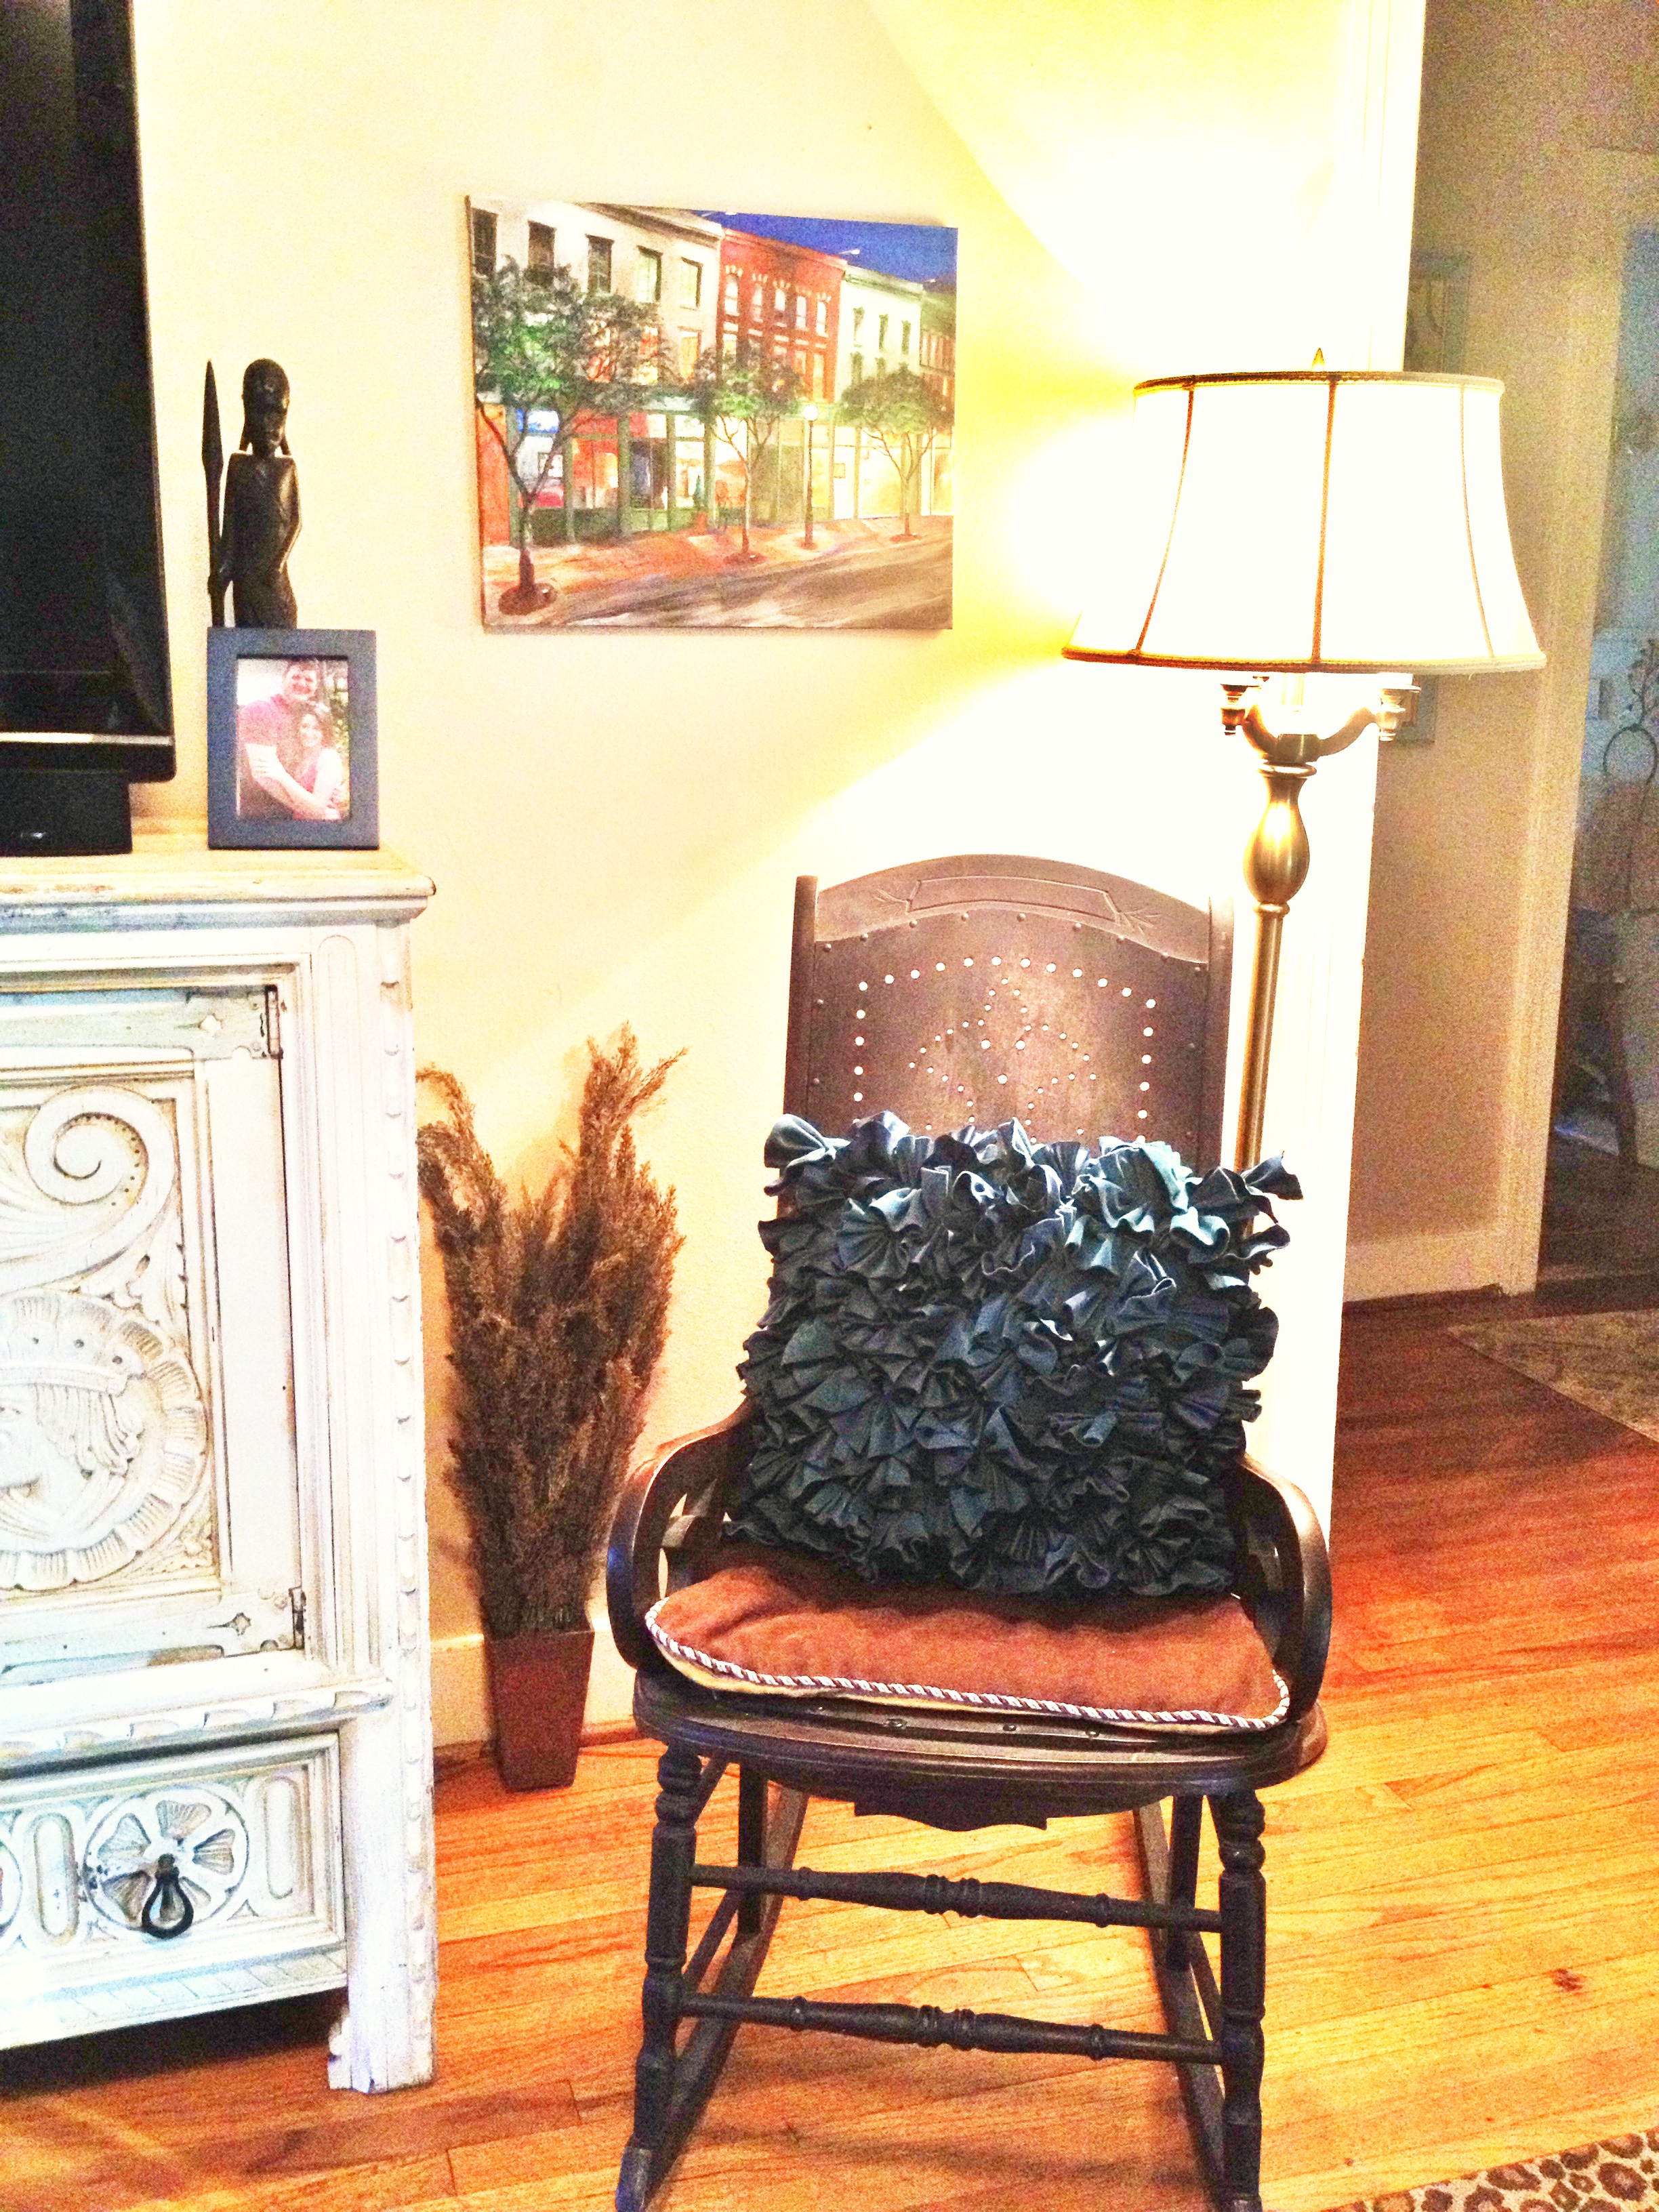
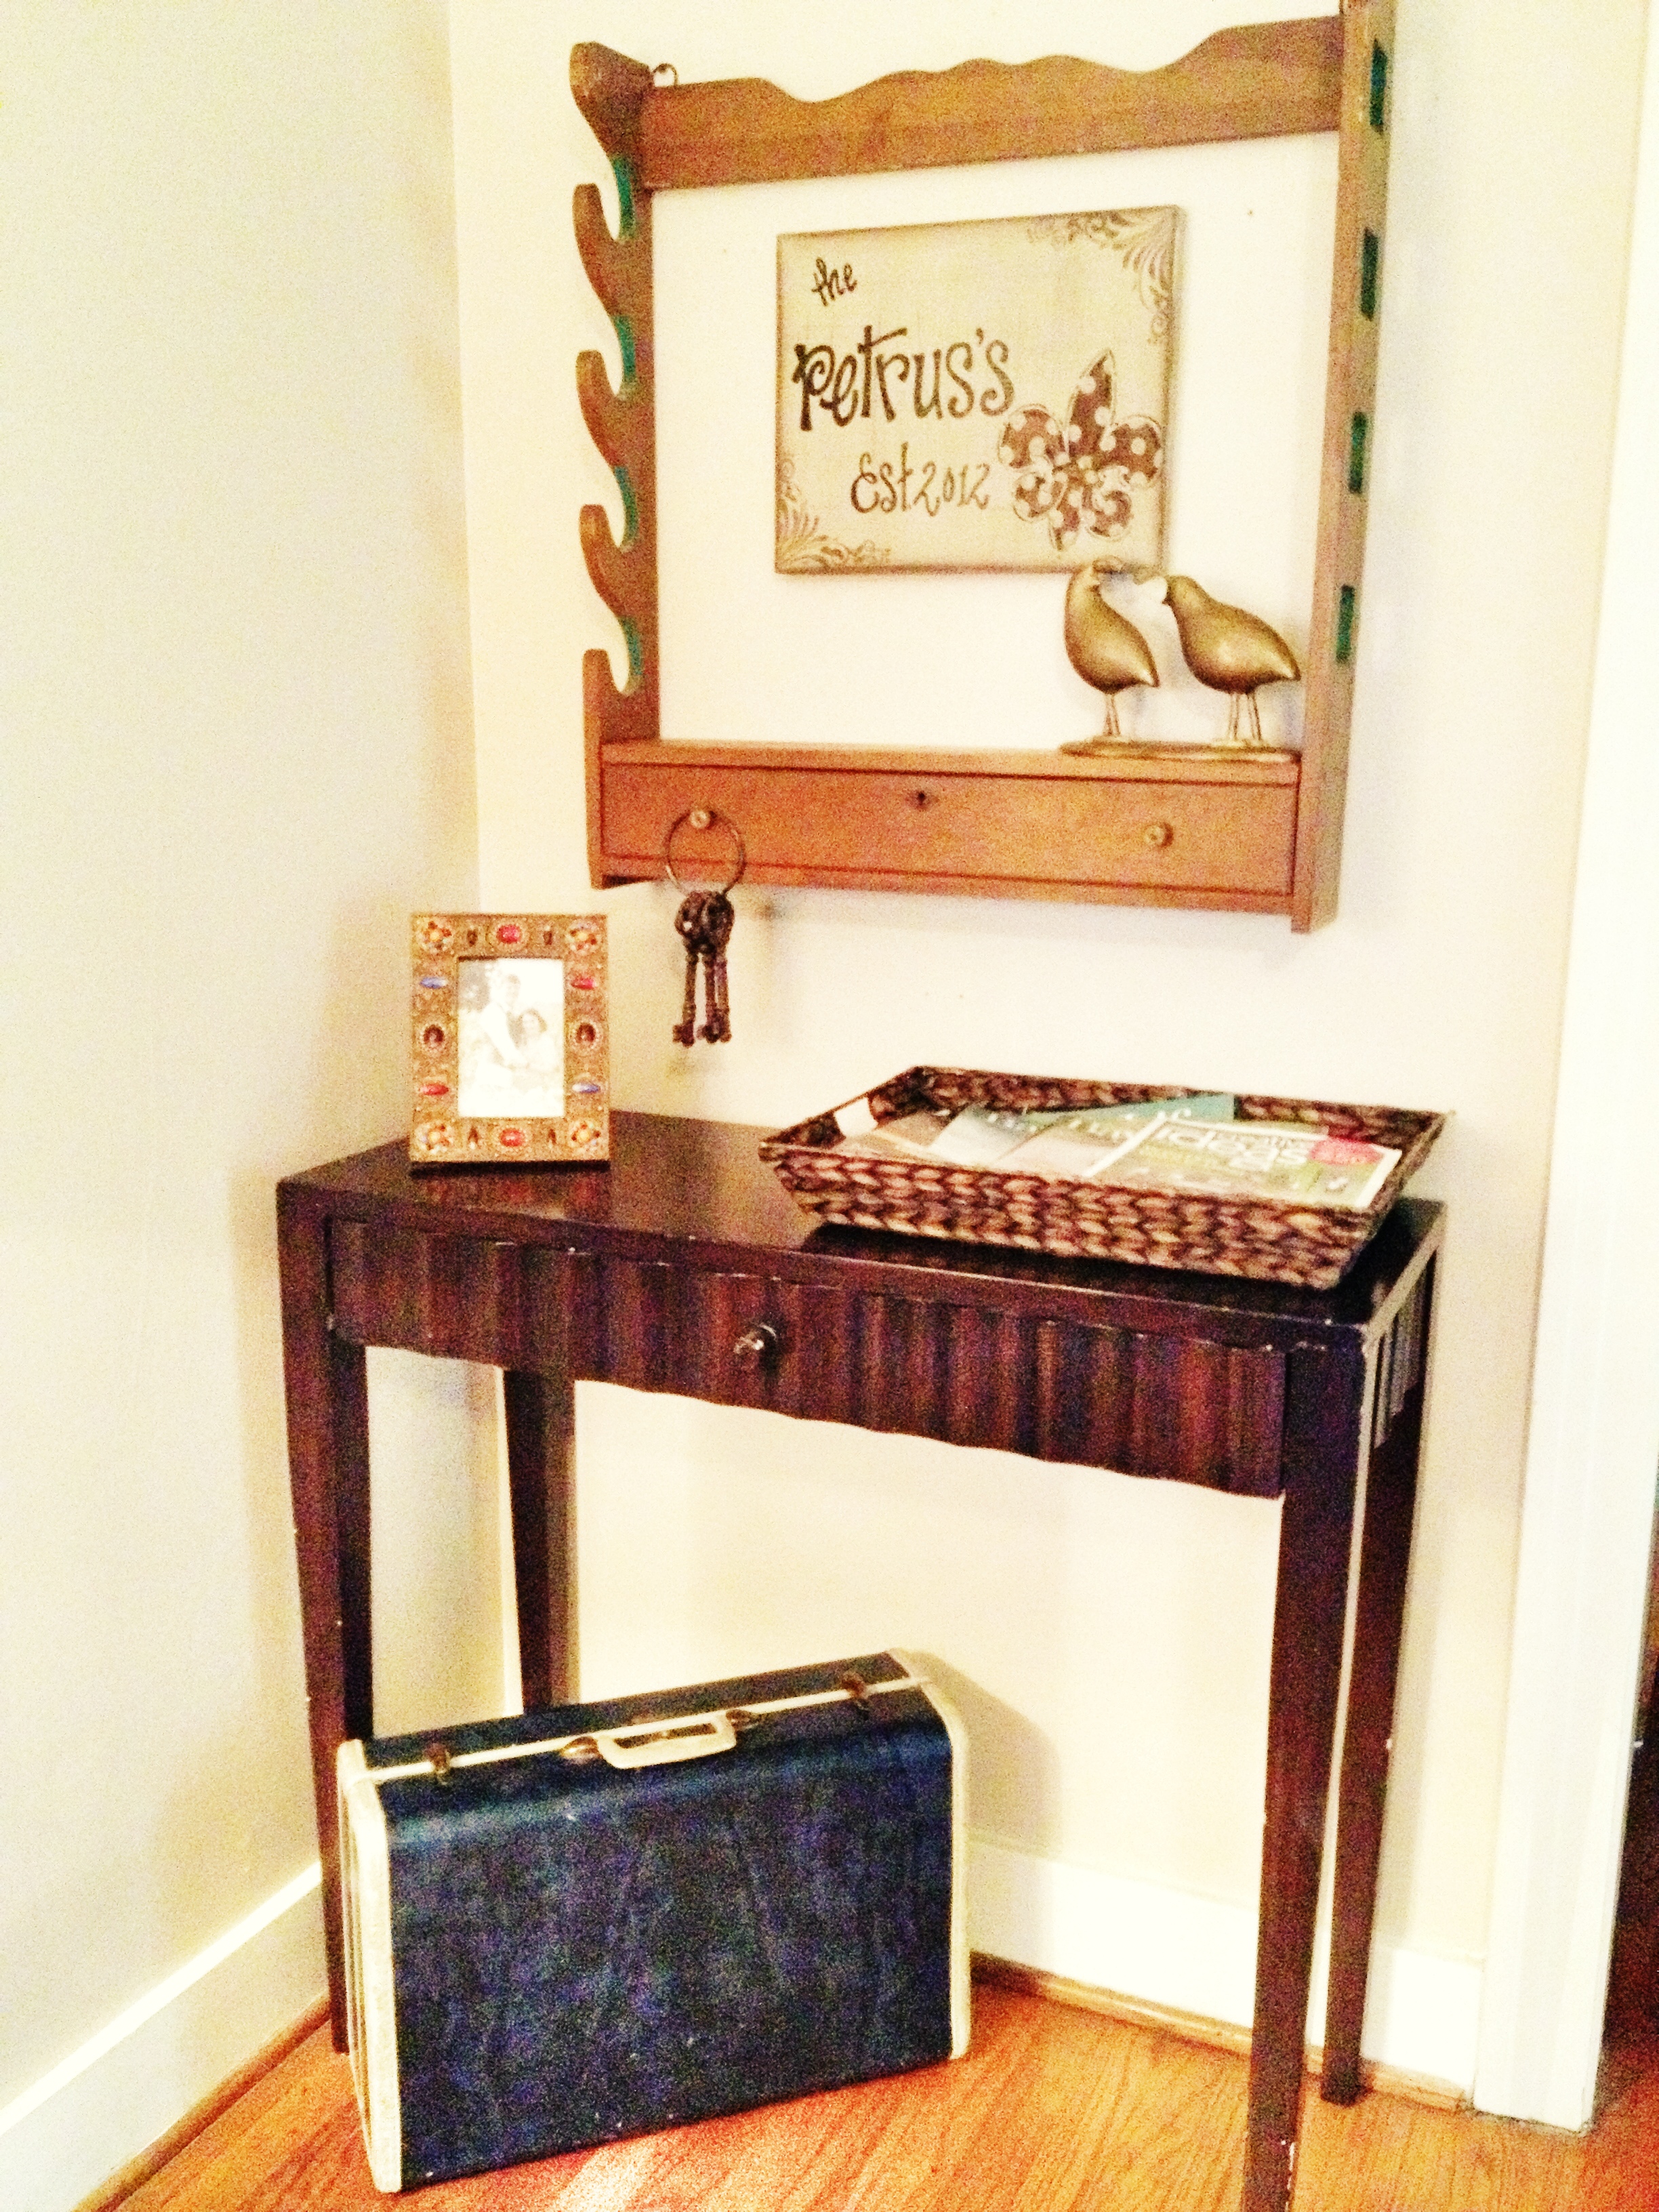
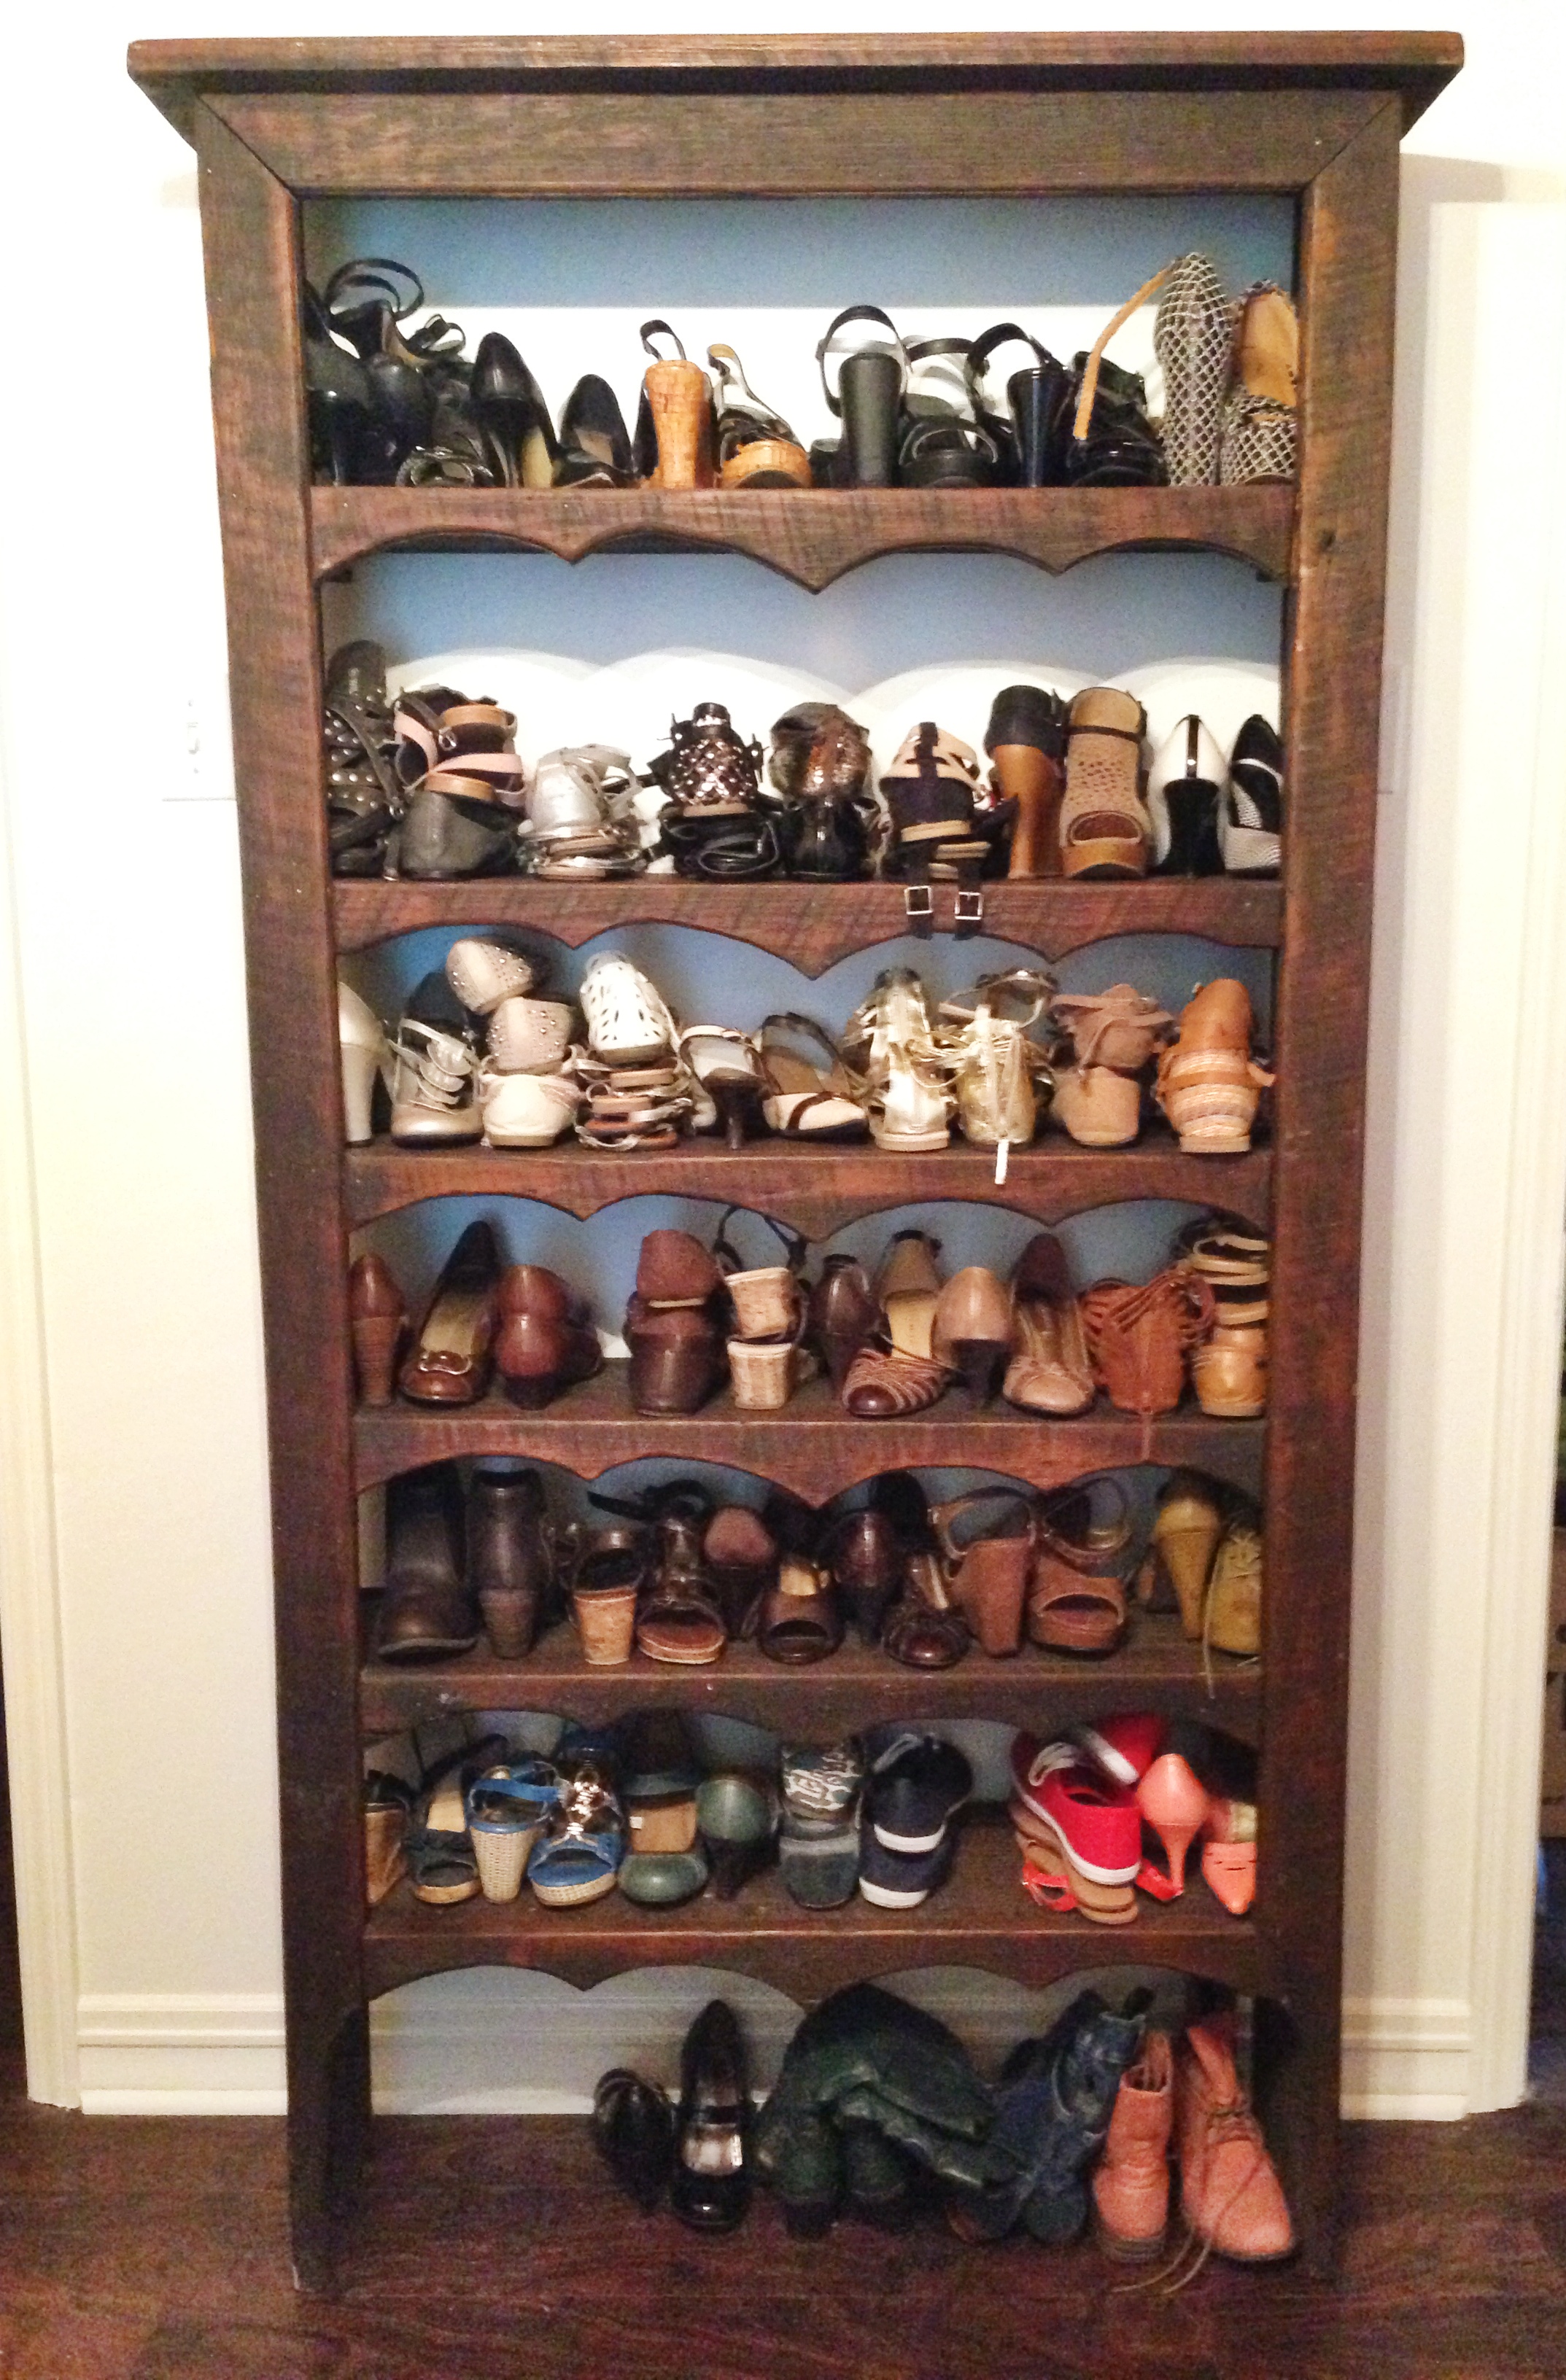
I certainly hated to take down my old shoe shelves, but I was excited to make a new plan for this closet. I brought in this shelf as a temporary solution for my shoes until I could decide exactly how I wanted things done. However, I think I might love this option! This shelf was built by my dad with 100 year old wood from our old barn. That’s amazing, right?? I’ve always used this shelf for picture frames and such because the shelves are too narrow for books and taller items. I never considered it as an option for shoes, but I’m thinking that I might be in love! 

Barnwood Shelf
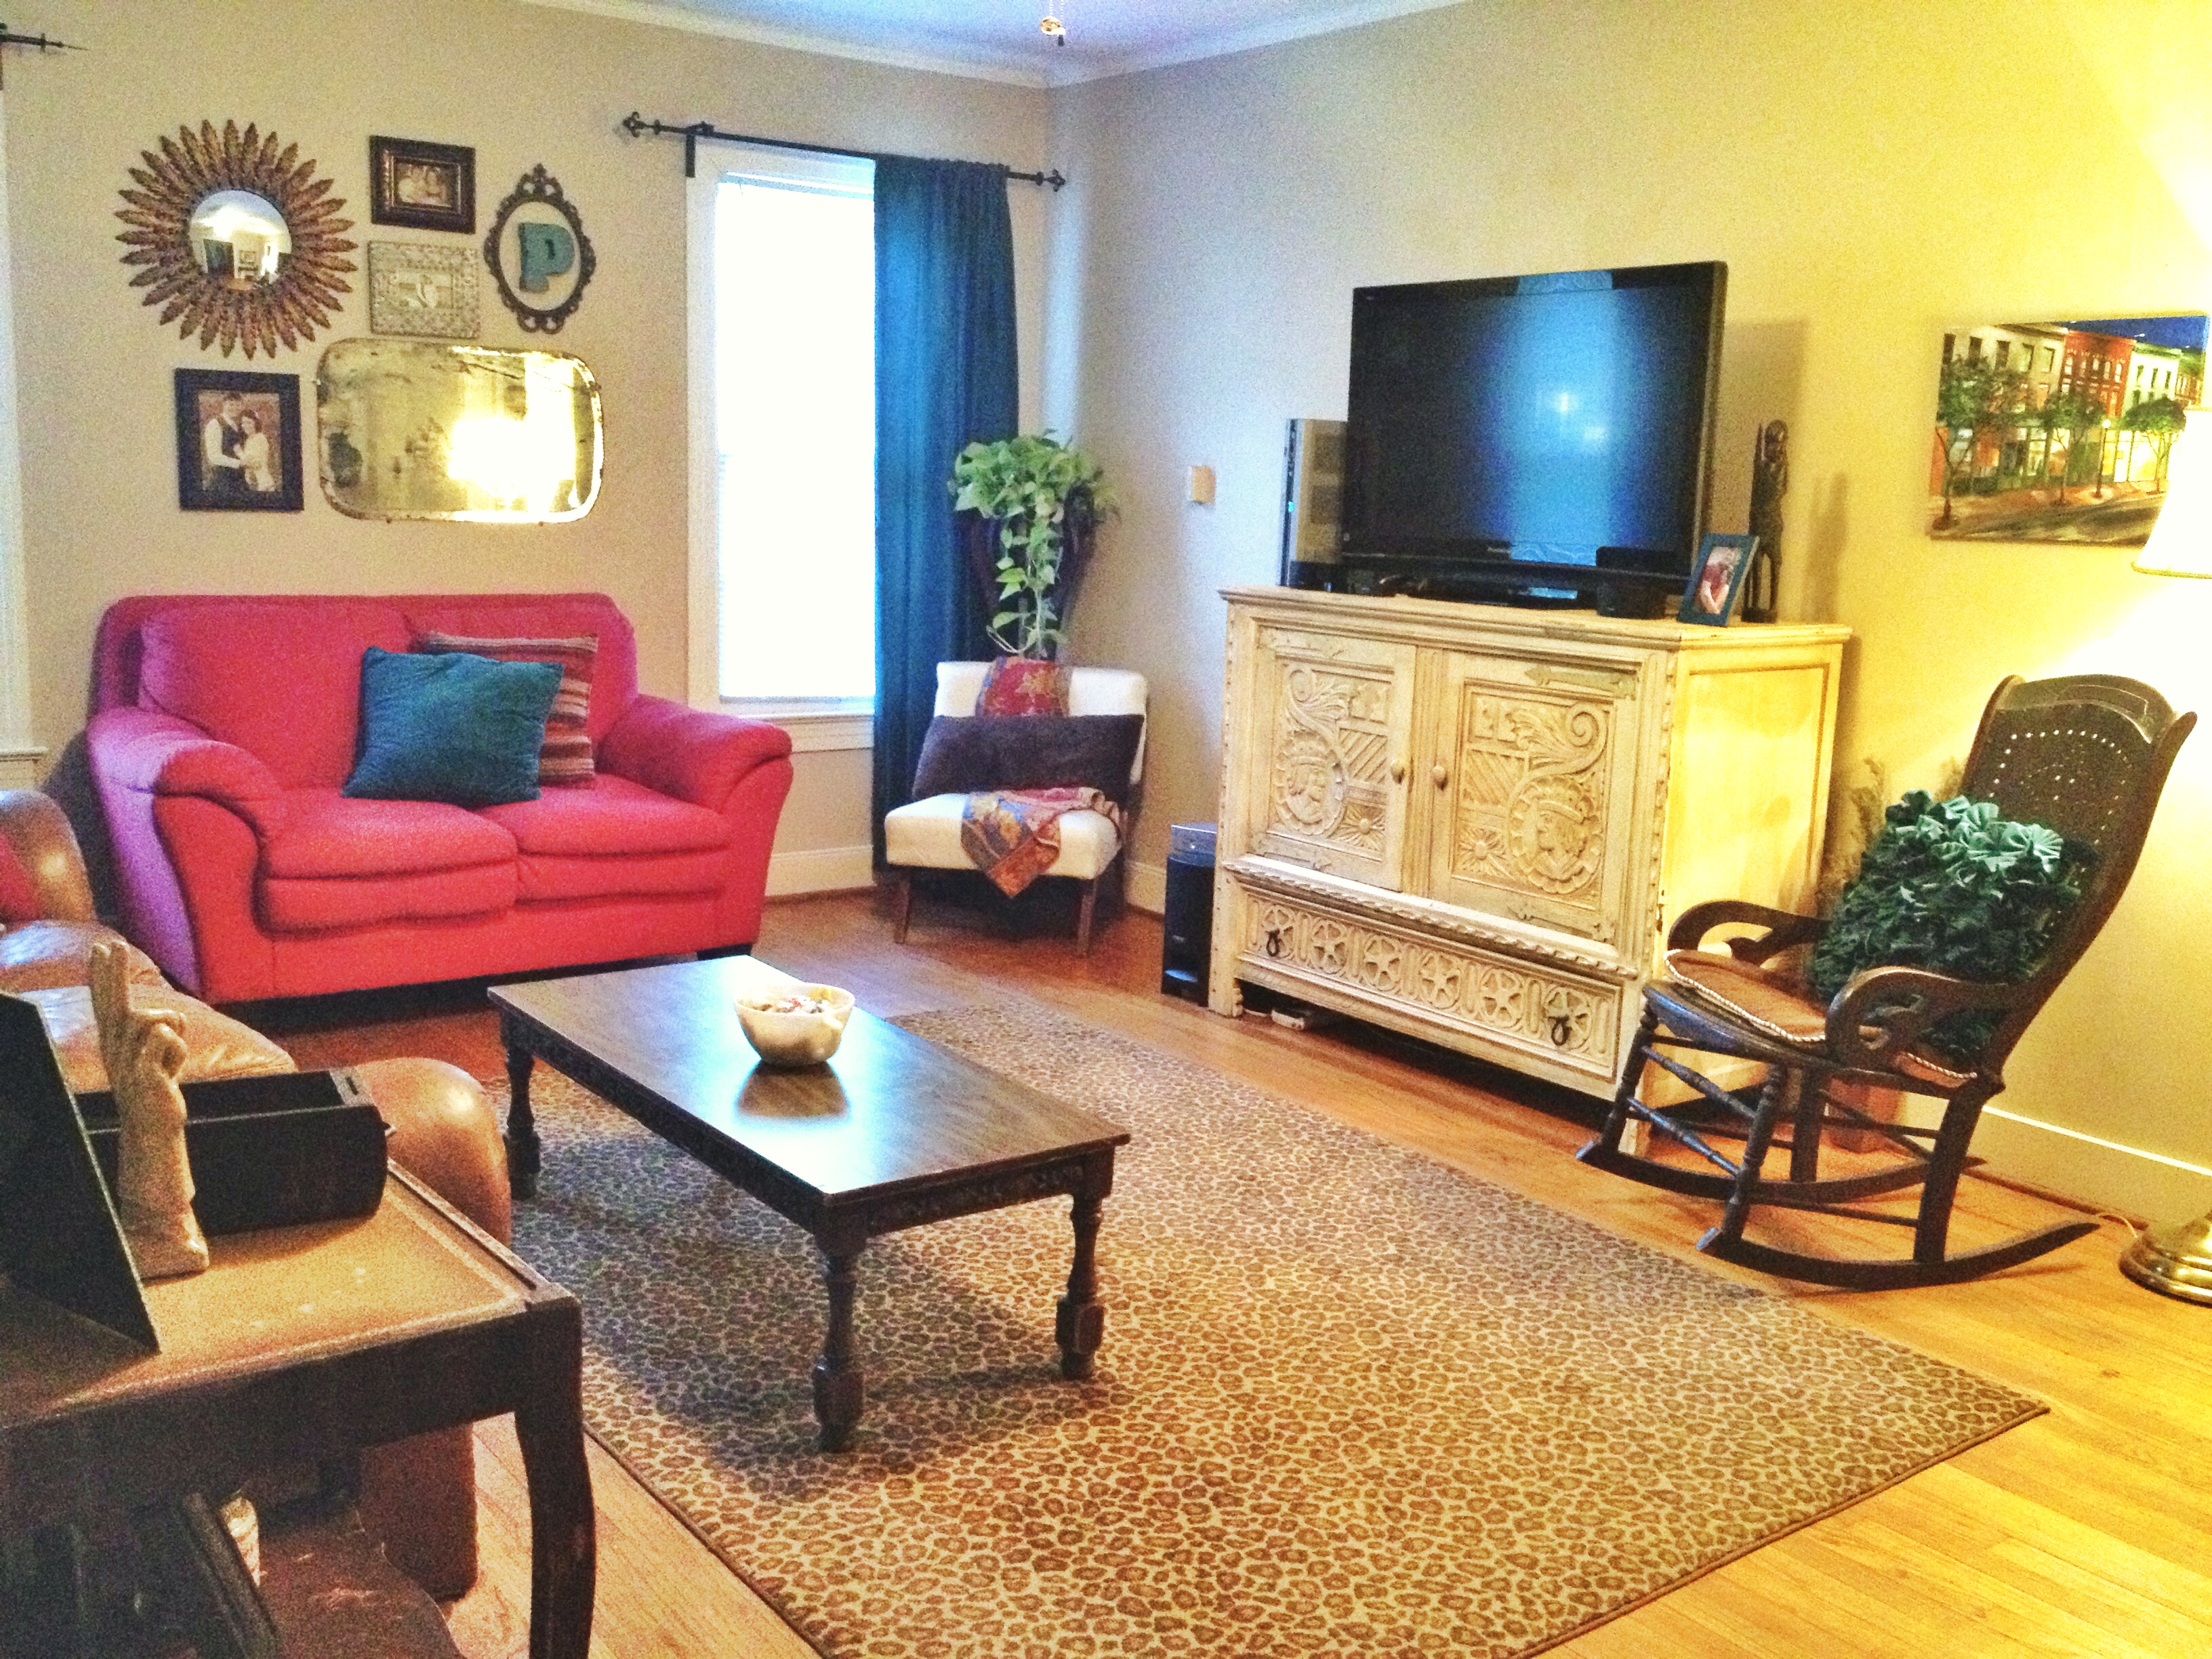
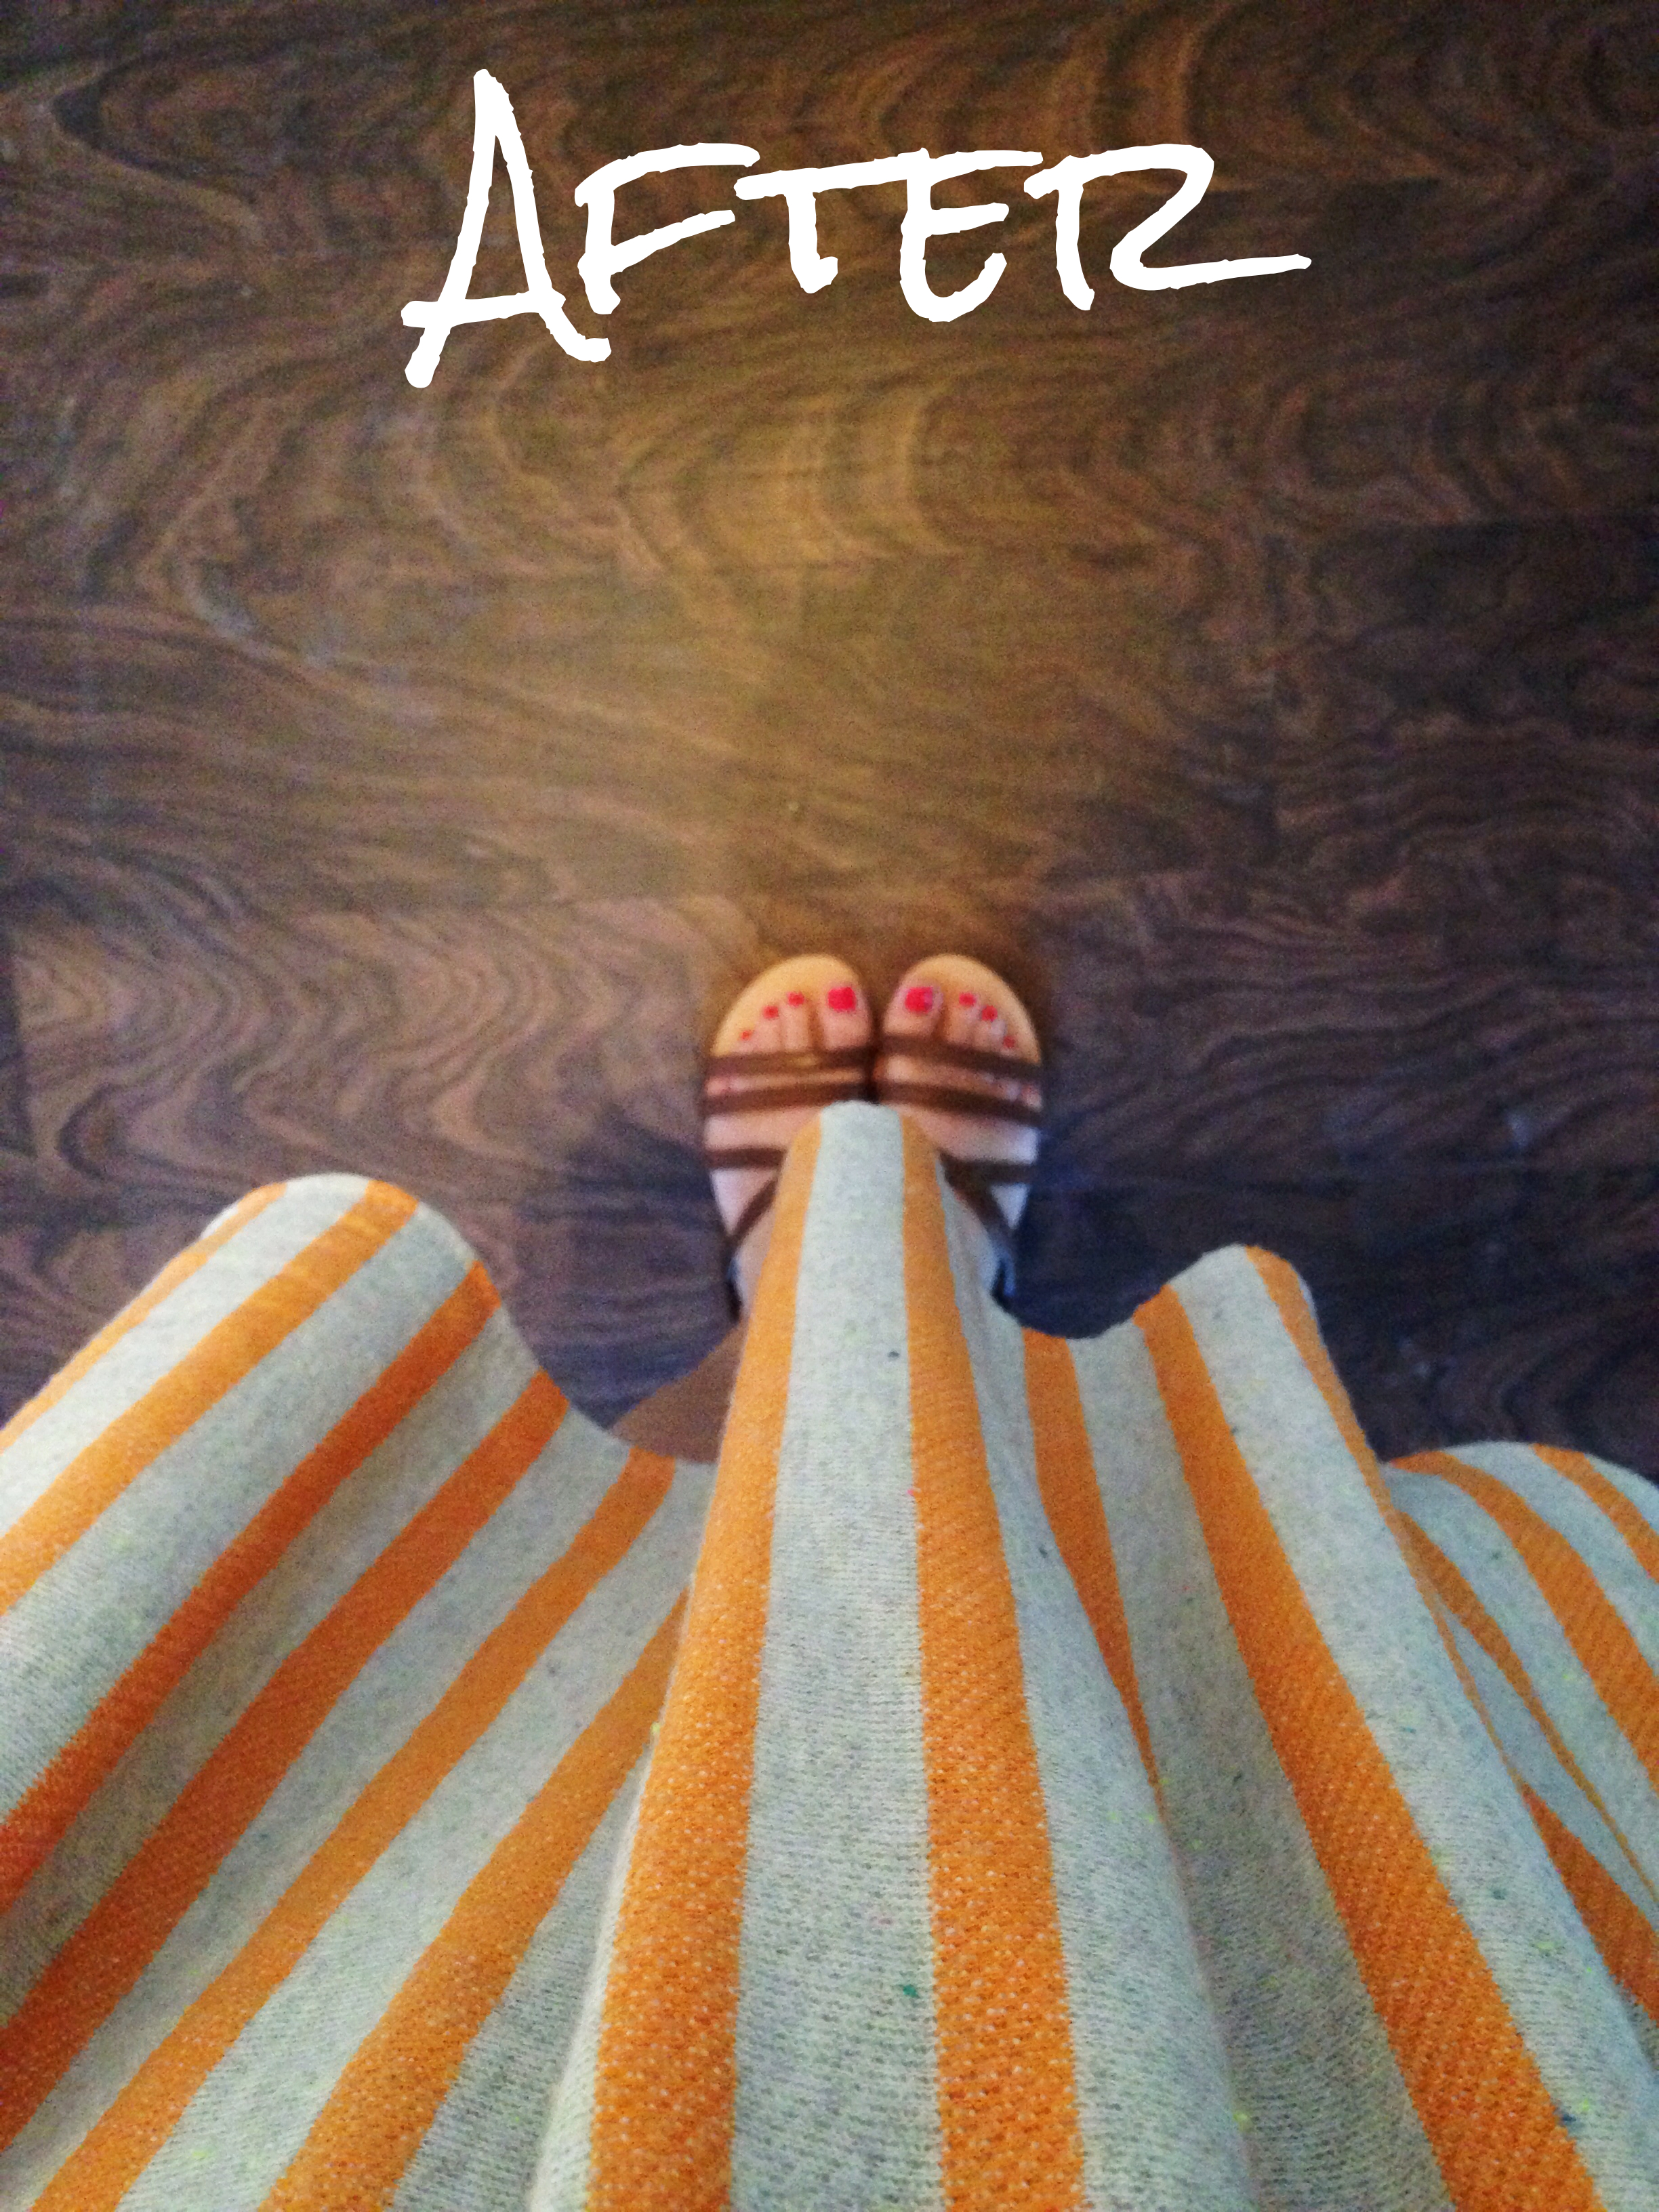
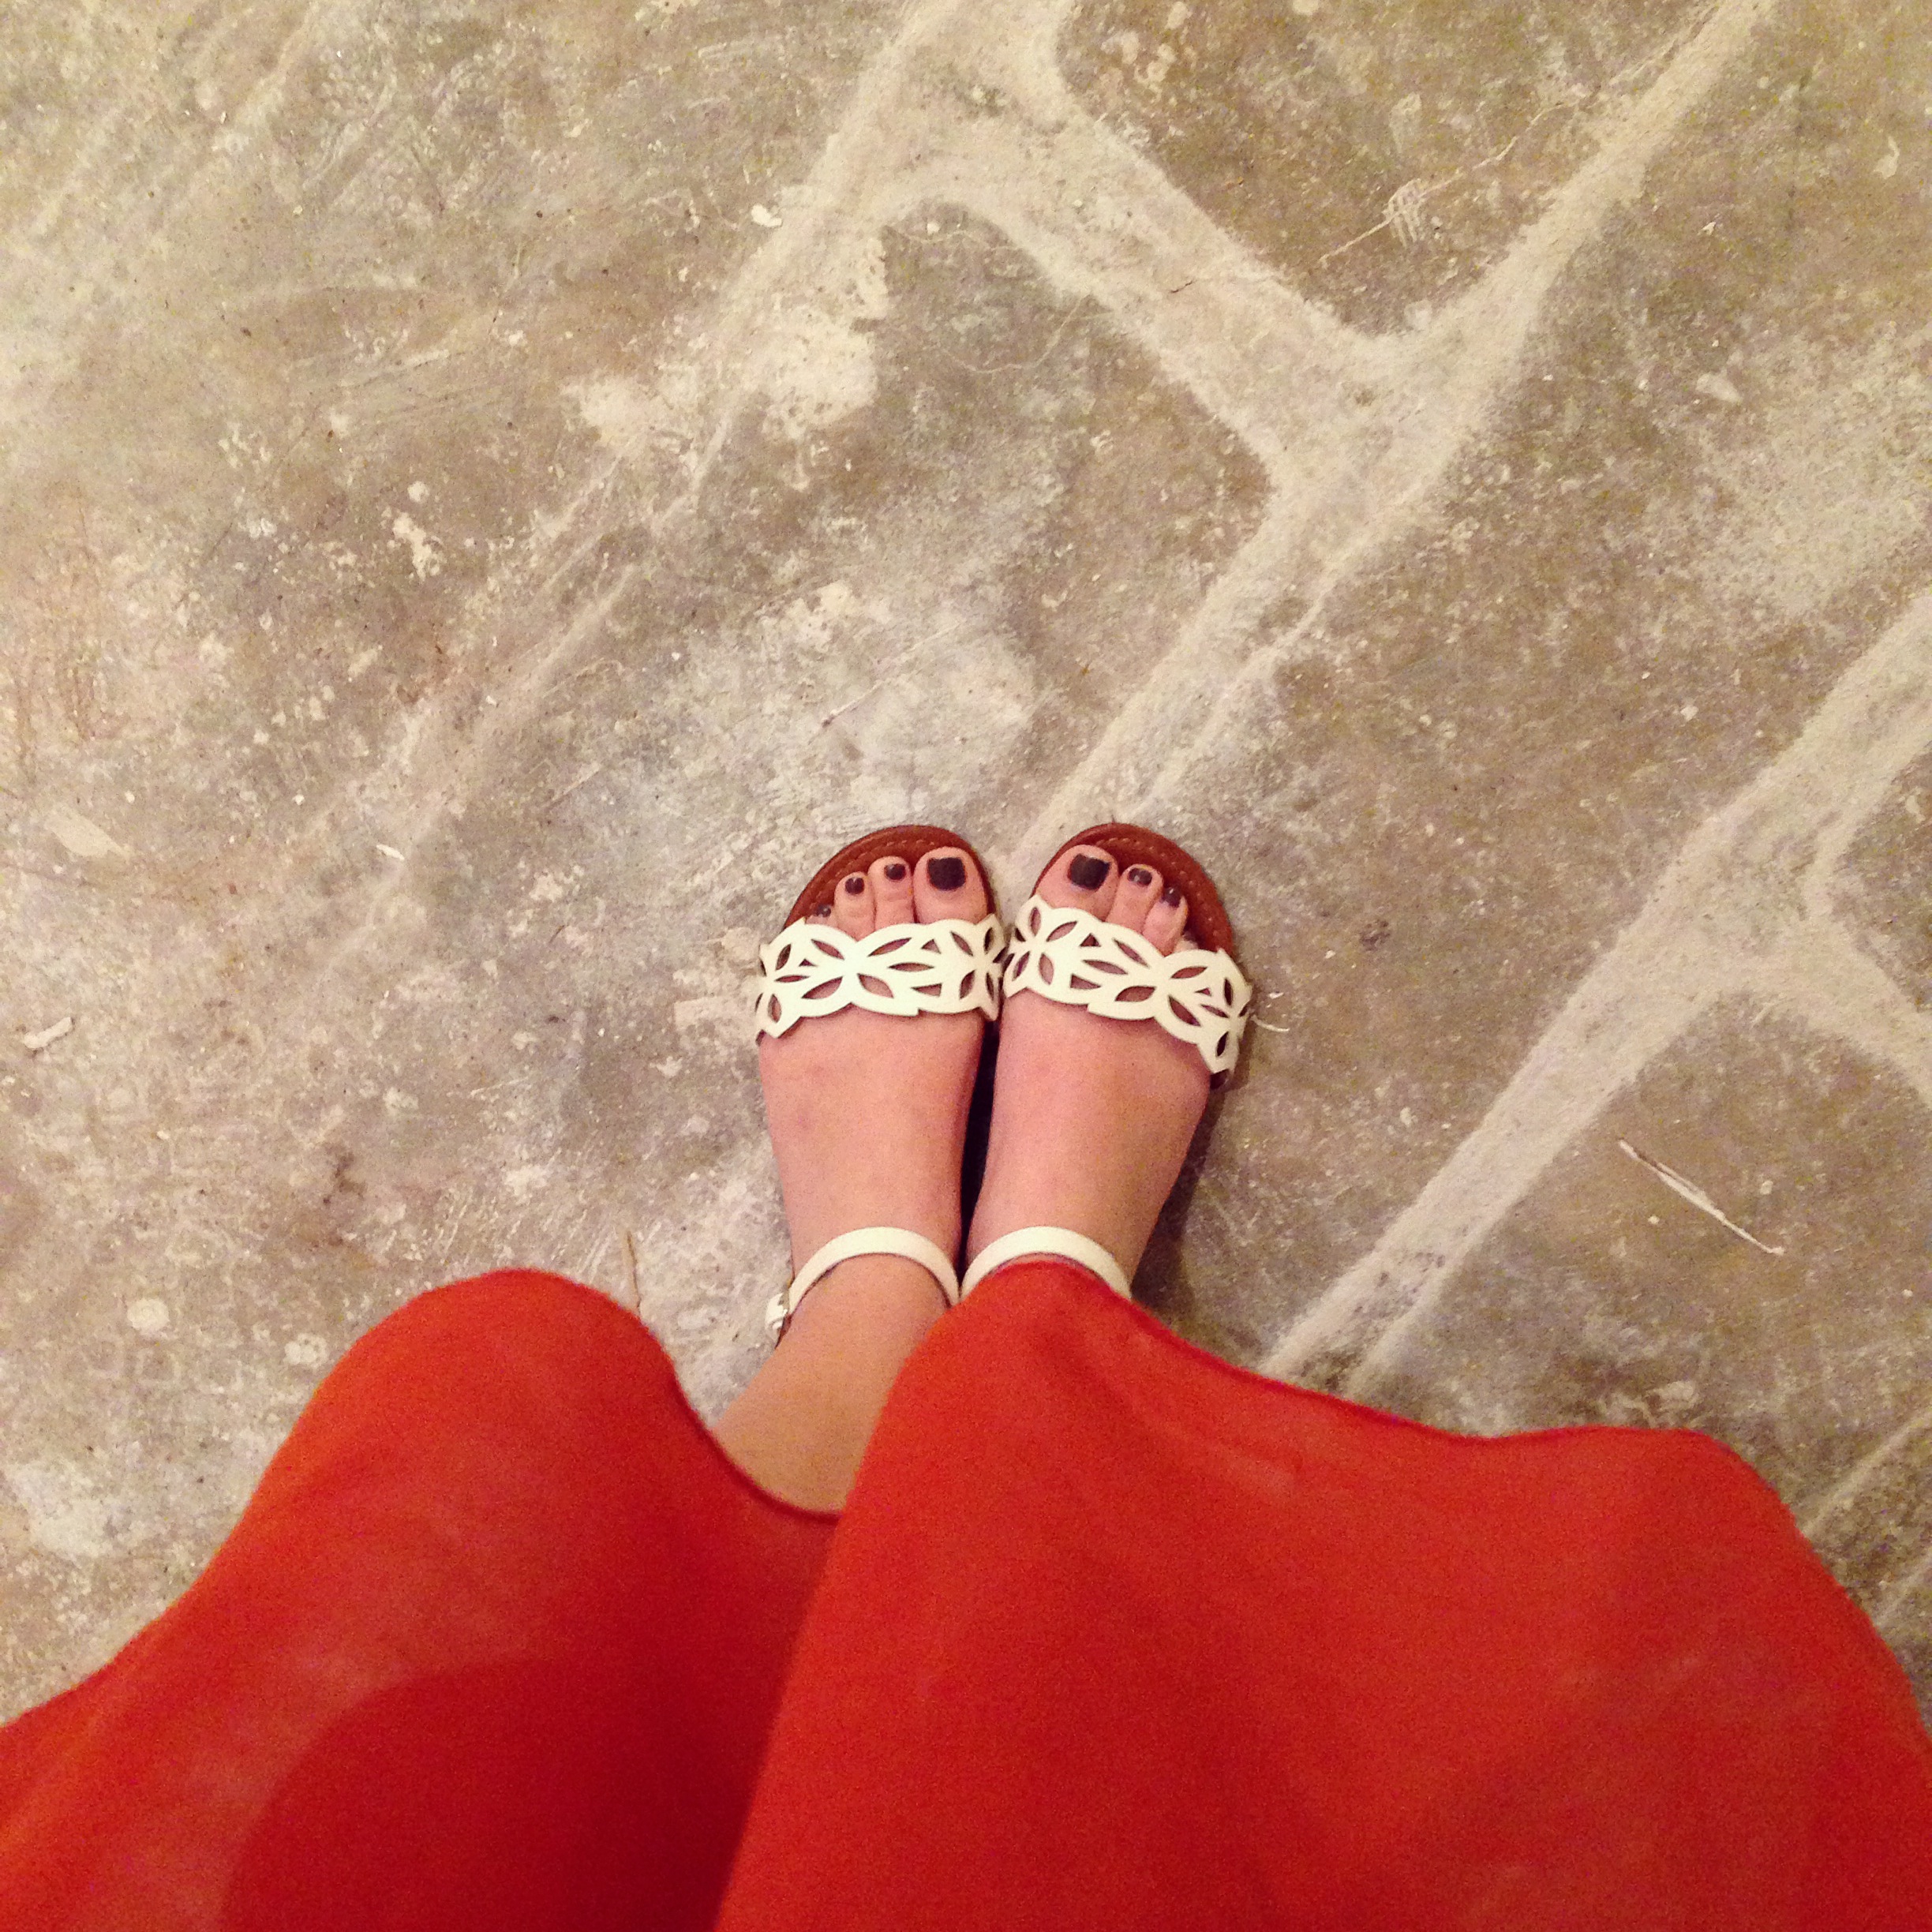
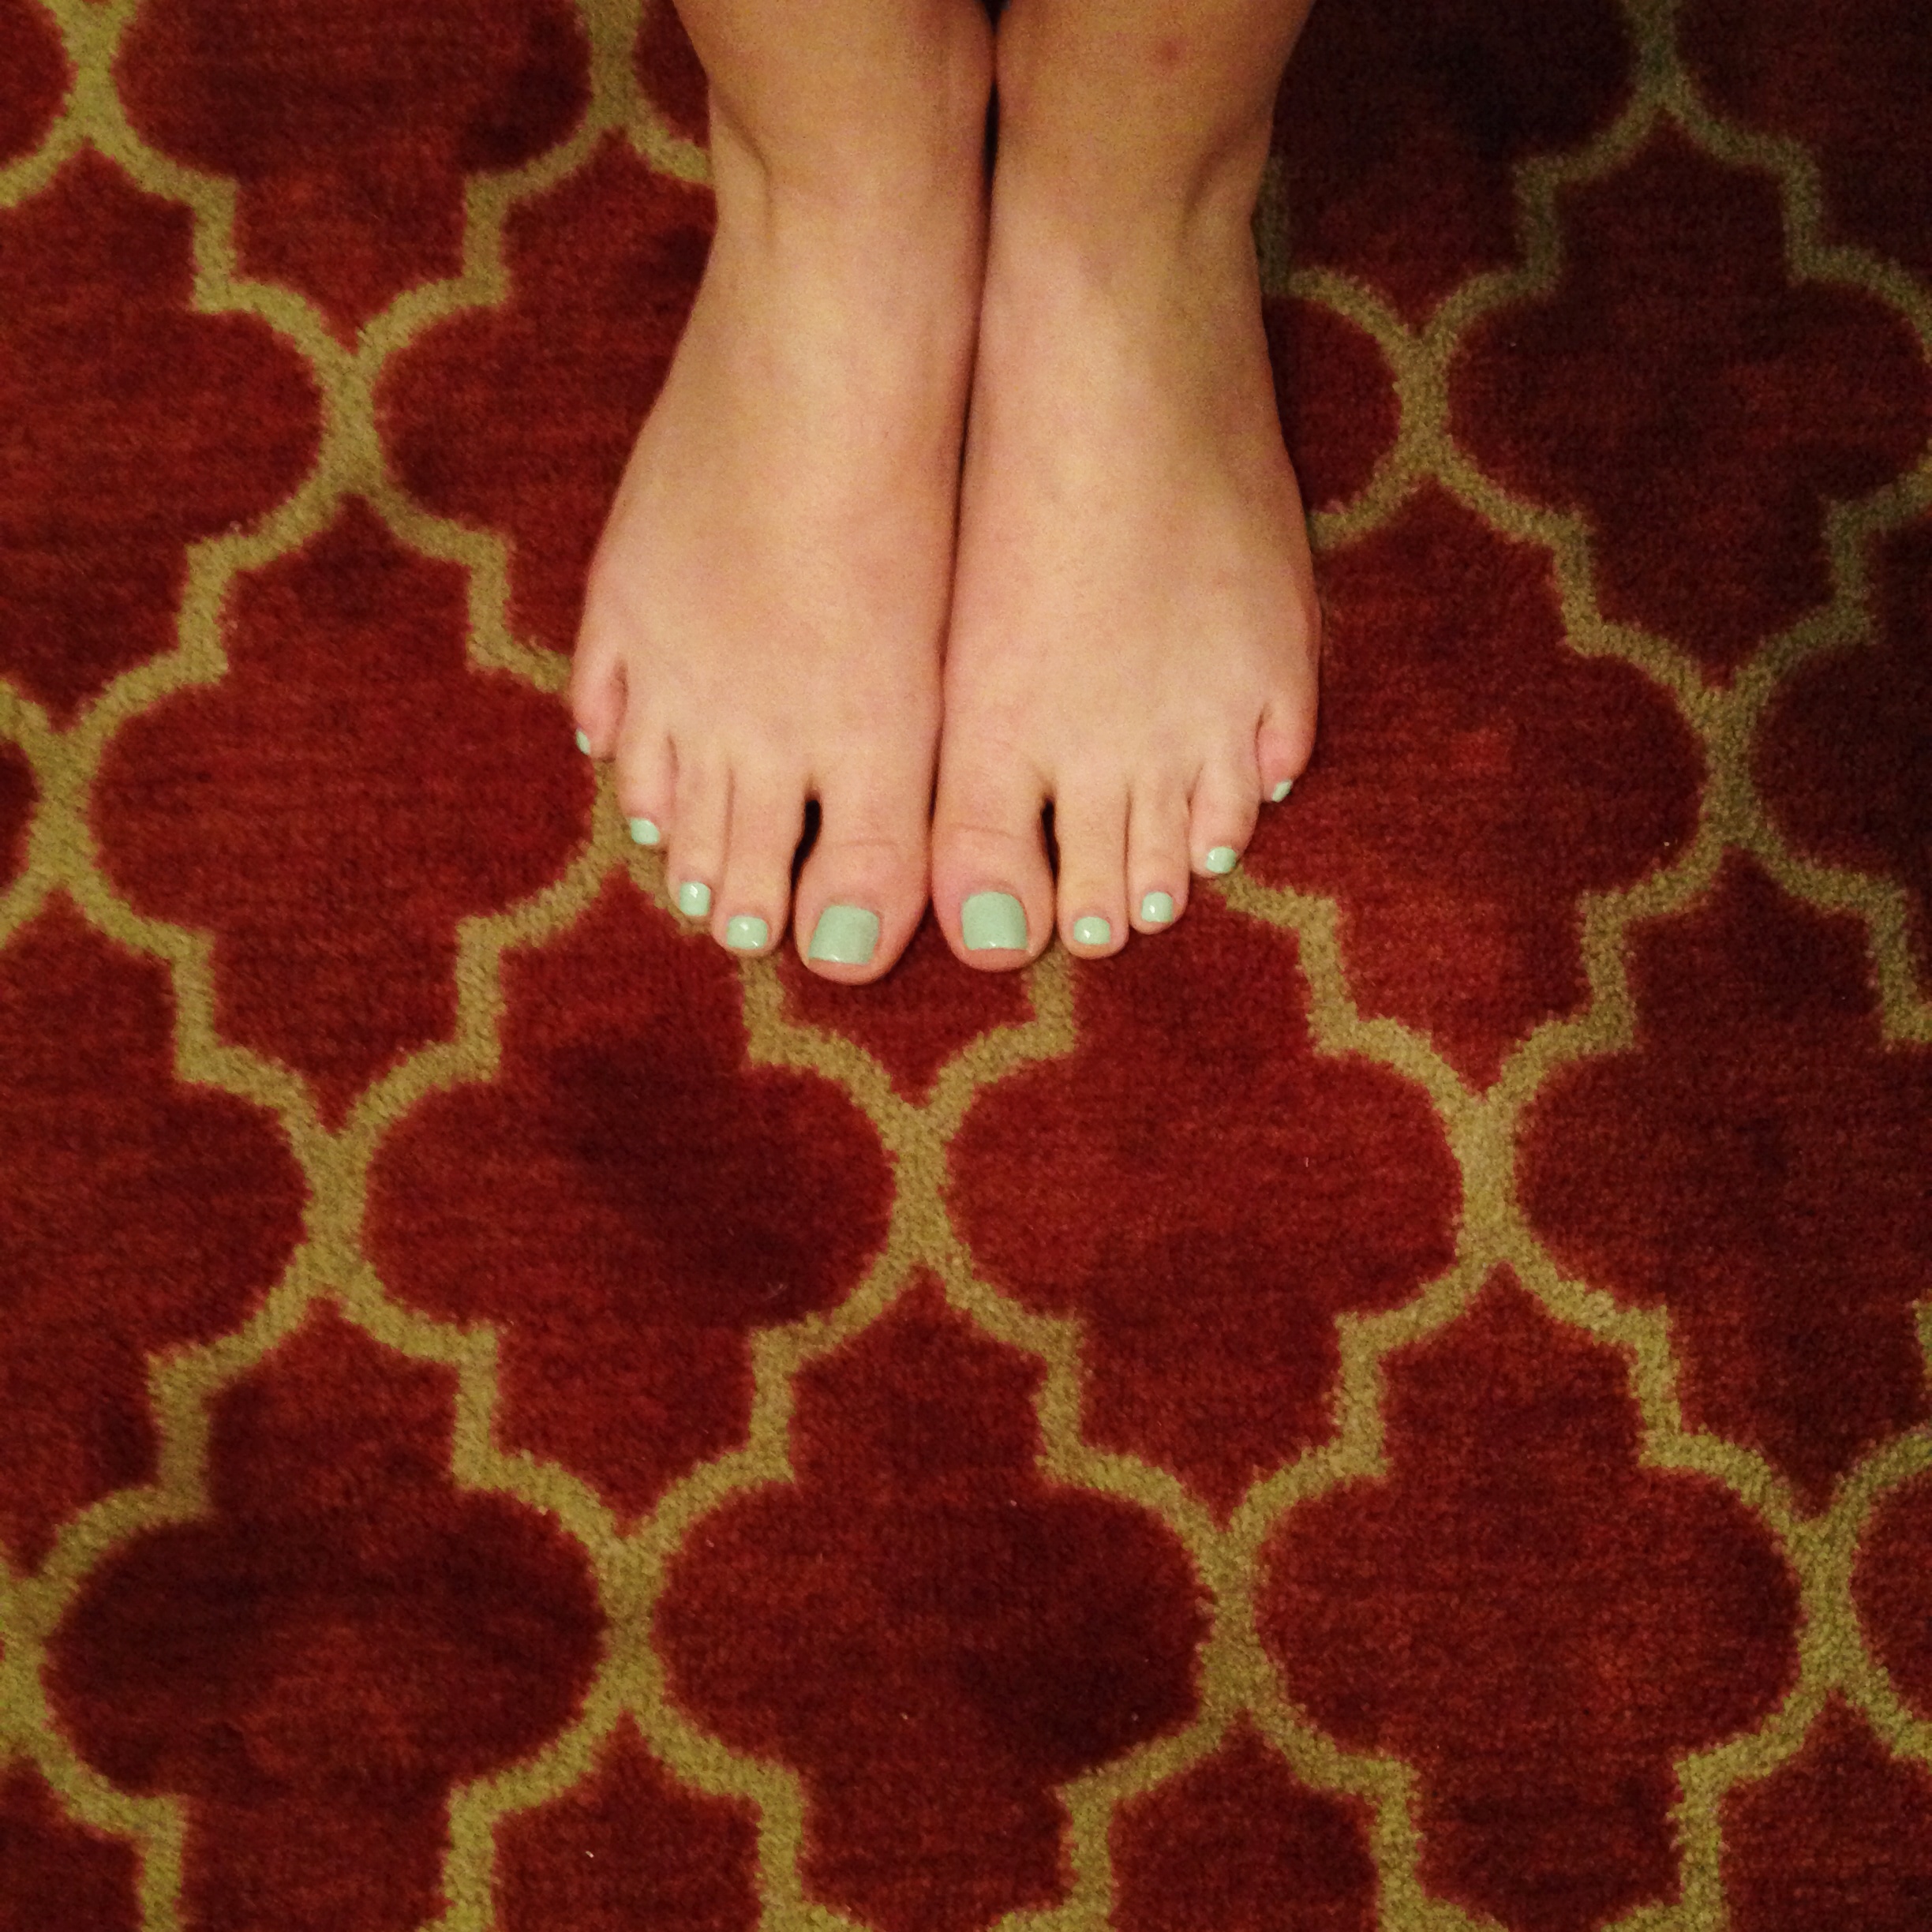
As of right now, I brought in the orange printed rug from my last closet. I’ll wait until more of the decor comes together before deciding if it stays, but I definitely love this rug. I’m thinking that I might end up with an ottoman in the center of the room, but I’m still thinking on that too. 

Orange RugMy next plan is to recover my grandmother’s cream vintage chair in this black and white printed fabric. I purchased this fabric from a clearance rack years ago with no plan for it. I’ve been waiting on the right project, and I think this is it! You might remember this chair from my old living room. I’ve used it since I was a little girl. Speaking of recovering chairs, if anyone has any tips for that project, I’m all ears! 

vintage chair
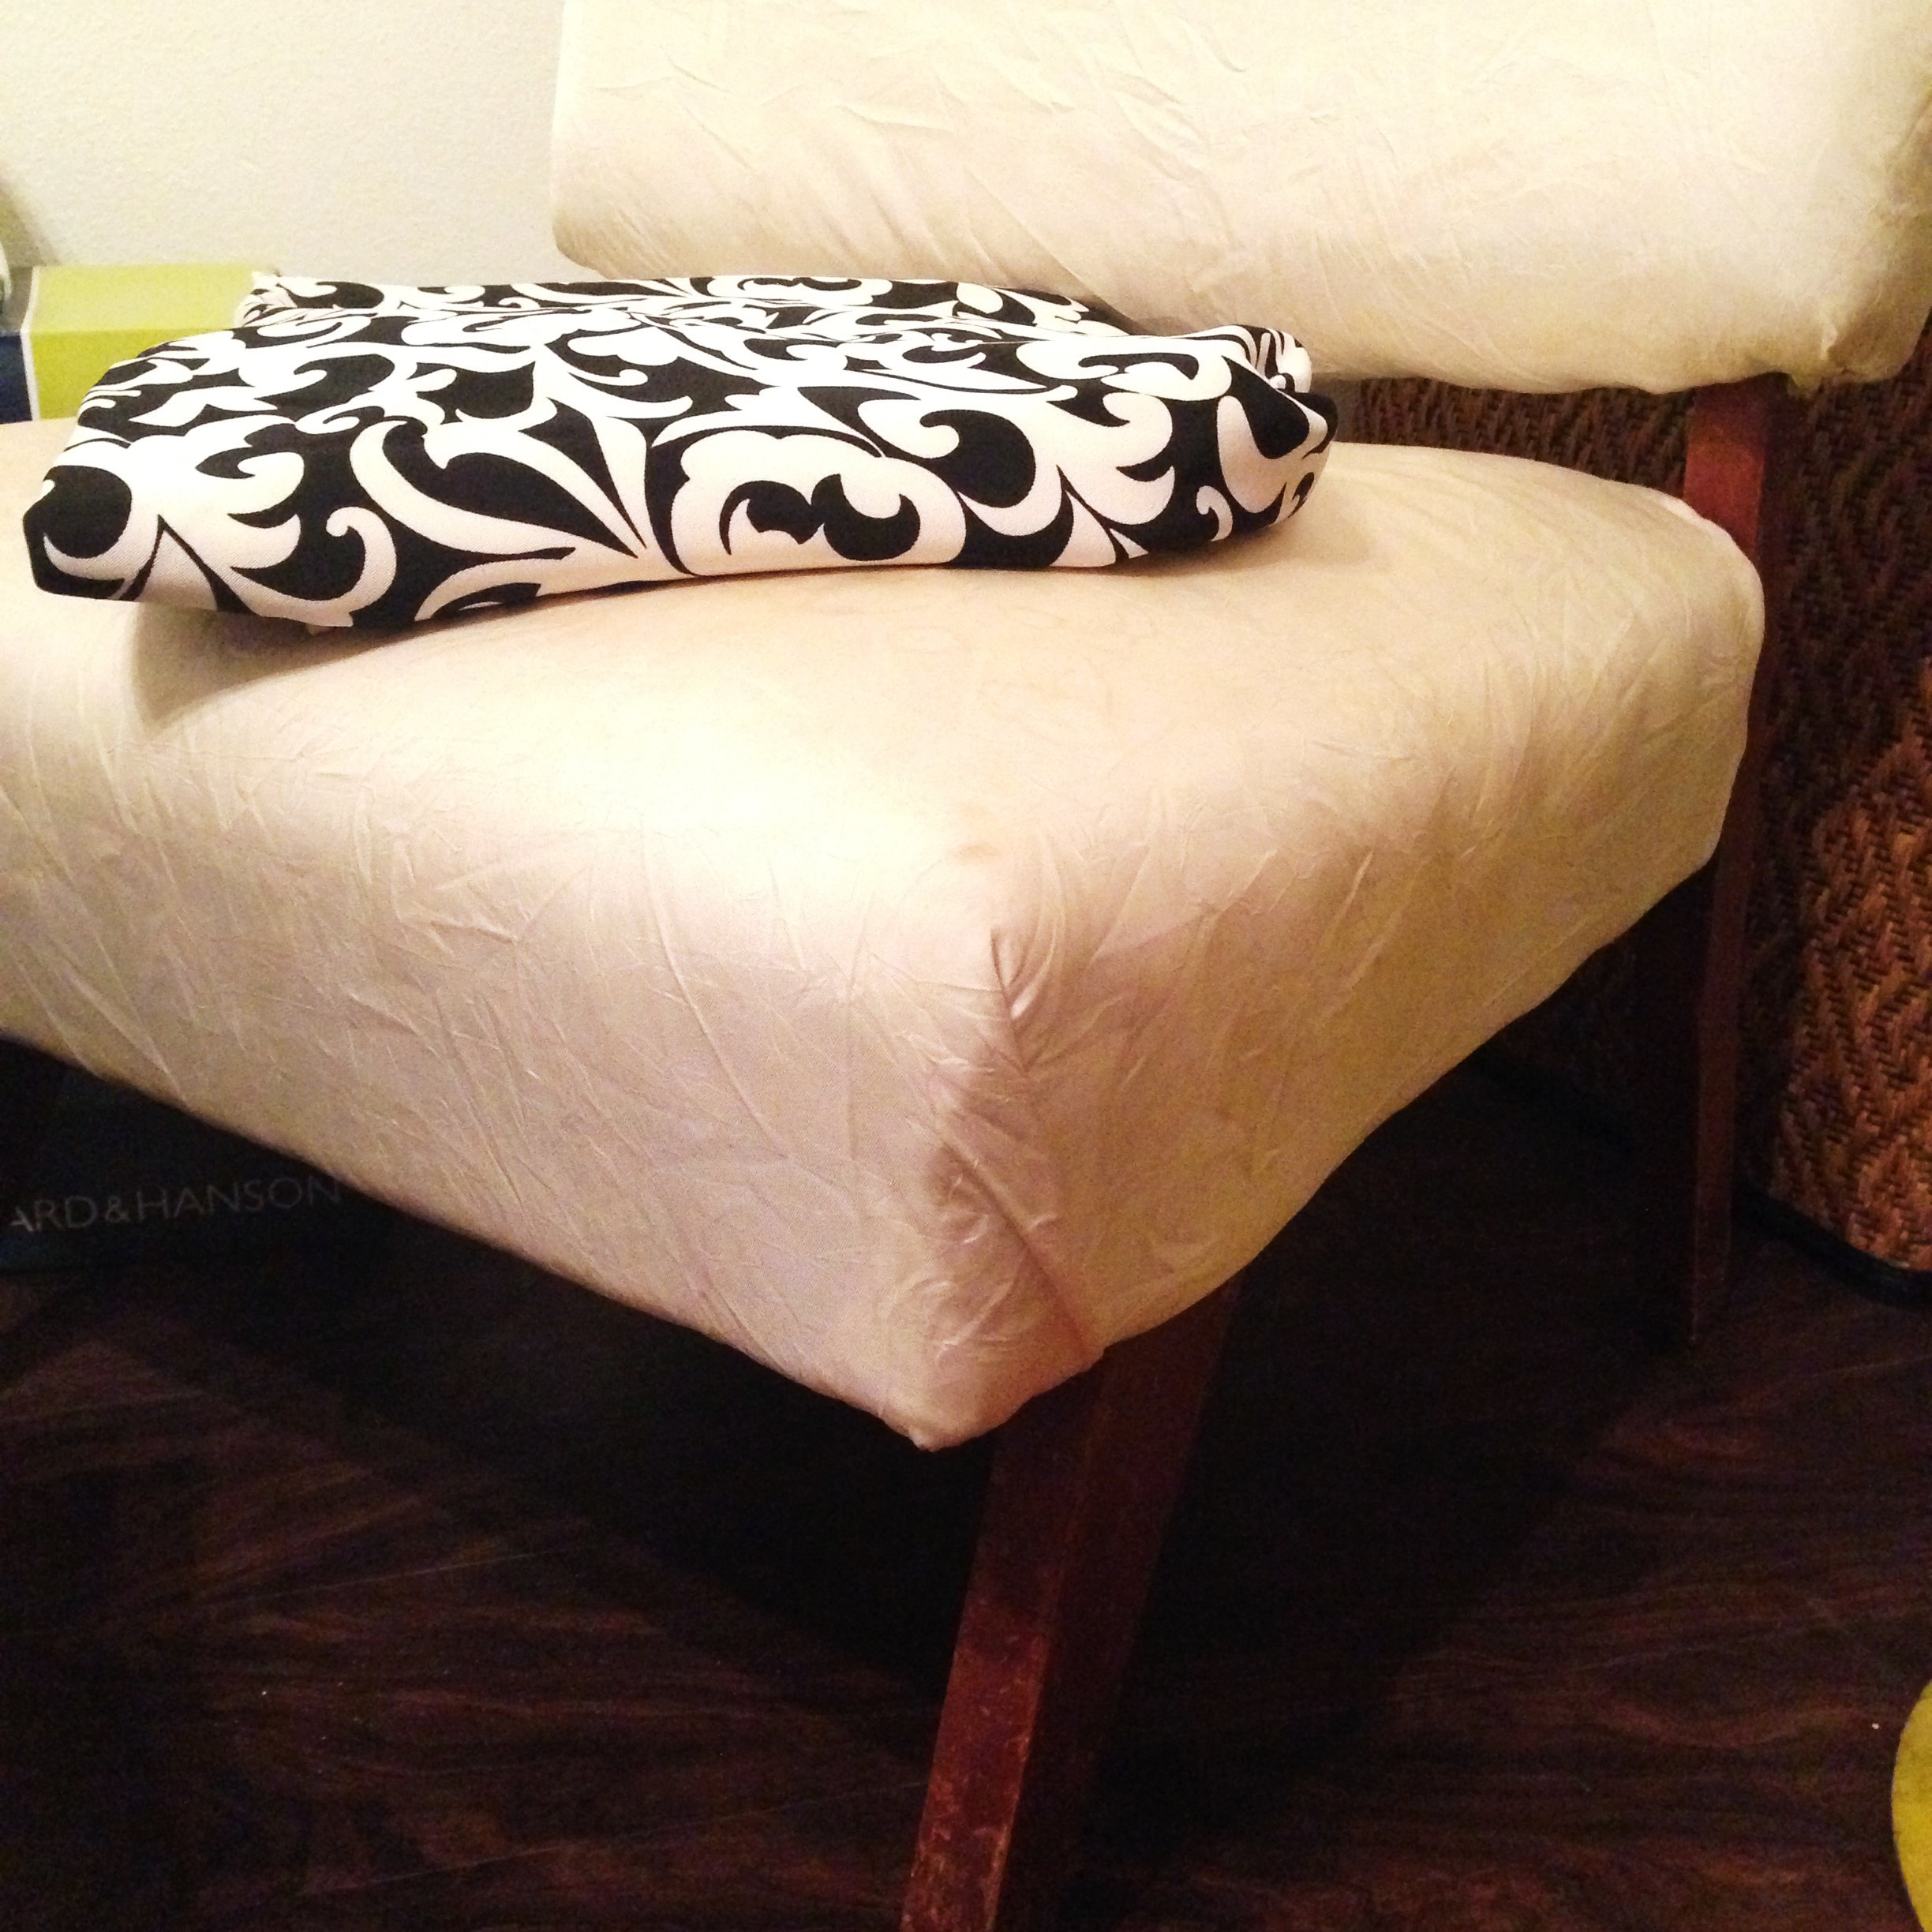
Things are definitely coming together around the house. Of course, it’s a slow and steady process, but I’m feeling good about what we’ve accomplished so far. I’ve enjoyed dreaming up plans for this closet space of mine, and I can’t wait to pull it all together. Have you seen any fabulous closet spaces lately? Send me a link! 

Hello, September.

Hello, SeptemberI think September is quite possibly my favorite month of the year. (Full disclosure: I will likely say that for other months too.) I think that I love September because I feel like fall is just around the corner. Temperatures start to cool off but it’s still warm (especially in Louisiana). I feel like it’s time to pull out all of my fall attire and start getting ready for the fall holidays. I want to wear boots and sweaters and oversized hoodies. 

This September, I’m thrilled to be in a new house. Even though I’m still unpacking and decorating, I can’t help but begin to think about Halloween decorations. I’m excited about decorating for the holidays that are ahead…so much so that I might just skip regular decorations and go straight for the holiday stuff! 

I’m excited to get the ball rolling on September, so I thought I’d share a few goals I have for this month:

  1. Work out my closet organization – yes, I still have a bedroom as a closet in this house. I’m a lucky girl.
  2. Get the kitchen unpacked and squared away.
  3. Unpack most of the major boxes.
  4. Host a garage sale (or make a gigantic donation to charity).
  5. Hang at least 5 things on the walls – I’m chomping at the bits on this one!
  6. Begin using our master bathroom instead of the hall bath.
  7. Settle on living room furniture placement.
  8. Purchase at least one new shower curtain – This has been tough….everything I’ve fallen in love with has been $60-$150. Like this one. And this one. Swoon.
  9. And decide if I’ll be “ready” enough to host a Halloween party.


From the looks of this list, I better get busy! September is going to be fantastic!

#mapfirsthouse: All the Small Things

If you didn’t burst out into a Blink 182 song when you read that title, you need a little fun in your life.

#mapfirsthouseNow that Matthew and I are actually living in our new home, I figured it was time for an update. We made a ton of progress the first weekend with squaring away furniture and unpacking boxes and such. Unfortunately, most of the progress was the small, not-so-fun-and-exciting things. You know, those things that have to be done but aren’t exactly glamorous. Here’s a list of some of the small things we’ve been working on lately:
 
1. Cabinet knobs and hinges: We had to replace most of the cabinet hardware. There were 7 different knobs in the kitchen alone! I’m still looking for the perfect knobs for some rooms.

2. Door knobs: We replaced all of the exterior and interior knobs in the house. While it’s a relatively easy update, it can certainly cost more than you might think. If you only have one or two to replace, you could always consider spray painting them. Since we replaced all of the knobs, we decide to go ahead and buy new ones. It cost us over $300 though, so be sure to budget accordingly!


Doorknobs3. Kitchen plumbing: We had to replace the plumbing under the sink and install a water valve for the refrigerator. Like I said, we’ve been working on the not-so-glamorous projects.


4. Hanging blinds: We kept the blinds that came with the house, but we had them taken down and cleaned. When the painters re-installed the brackets, they weren’t quite in the right spots, so Matthew had to go back and move them all. What we thought would be a quick and easy project ended up taking much longer. 


5. Installing new toilets: We weren’t originally planning to replace both toilets, but as our renovation progressed, we ended up needing to. My video of the soft-close lid cracks me up a little bit.

6. Closet rods and shelving: I totally underestimated how much it would cost to add shelves and new rods to most of our closets. It also took quite a bit more time than I expected. Again, these are simple updates when making a home your own, but you want to be sure to plan accordingly.


moving boxes7. Mopping and other cleaning: The amount of mopping that I’ve done in this house is simply mind-boggling (especially when I HATE to mop). I have never seen so much lingering dust in my entire life. I spent pretty much an entire day mopping, over and over again, and I still don’t feel like they’re clean. (By the way, I still stand by my statement that this is the best mop in the world. Hands down!)


8. Hauling off garbage: Matthew spent one morning hauling all of the leftover materials to the dump. We had molding, scrap pieces of Sheetrock and wood…you name it. I think he underestimated the amount of trash we’d accumulated so far. We had 0.4 TONS of stuff to drop off at the landfill…that’s almost 1,000 pounds!
 
9. Laundry repairs: We had to install new shut off valves for the washer because one of them had a slow leak. This was another one of those items that we weren’t planning to do. We also added a new dryer vent because the other one wasn’t sealing off properly. I can’t wait to show off my new dryer vent….said no one ever.
 
10. Cable outlets: We had to install new cable outlets because we are planning to put our TV and router in different places from where the previous owners had them. You should ask Matthew how much he enjoyed hanging out in our attic mid-August in Louisiana. Doesn’t that sound fun??
 
11. New shower heads: This one is something that you’re likely to not think about until you’re living in a new home. The shower heads in our new house looked fine. However, after taking our first showers, we quickly realized the current shower heads didn’t provide enough pressure. It took FOREVER to get the shampoo out of my hair! I absolutely love the new waterfall shower head that Matthew got at TP Outdoors

(By the way, if you’re local, you can order things from the True Value website and have them shipped to either the Monroe or West Monroe stores for free! We also got our door knobs (and practically every other supply) from there. This is a super easy and convenient way to shop local!)

brass doorknobsThis list is just a few of the things we’ve been working on since moving in. It’s important to keep these sorts of things in mind when you’re renovating because they’ll not only cost money, but they’ll also take up a lot of your time. I must say that I’m very thankful for such a handy husband. He’s done all of these projects himself and done a fantastic job…with my supervision of course. 
J

Now that we’re through with most of the small/boring things, we can move on to the fun parts! Like looking for new rugs. And hanging things on my freshly painted walls. I’m getting excited just thinking about it! I’m pinning quite a bit of inspiration on Pinterest lately. If you’re up for seeing all of my crazy ideas, go follow me!


Farewell First Home

First HomeOnly July 31 we moved out of our very first house together…our sweet little rent house. In preparing to move and talking so much about the new house, I realized that I never shared a tour of our rental. I shared bits and pieces here and there, but I never shared any full room tours. 

Check the archives for our antique mirror gallery wall, bathroom makeover, and living room sneak peek.  

In thinking back on it, I didn’t share any tours because I never felt like things were “finished.” I had ideas for making things even better, so I’d wait to share the space until all of those little projects were done. Well, a lot of those projects never happened. I’d be too busy or it wouldn’t turn out like I hoped, so I never shared the spaces. 
First Home
I’ve recently stumbled upon this blog, and her mantra is that things don’t have to be perfect to be beautiful. This approach really struck a cord with me because I’ve waited on perfection to share my home on the blog or invite people over. However, perfection isn’t really my goal, and I don’t actually ever want to feel “finished.” Instead, I hope to make things beautiful (per mine and Matthew’s standards), not perfect. My goal with the new house is not to wait until everything is perfect and finished and instead celebrate the beauty in imperfections and progress along the way. 
First Home
Since I never shared a full home tour in the rent house, I’ll share a few highlights today. In these pictures, you’ll see what one version on my living room looked like. My favorite piece of furniture is that white piece that held the TV…absolutely love it! The gun rack hanging over the entry table was my Dad’s. I loved using it for something other than it’s intended purpose. I think it may end up going in my closet room in the new house. 
First Home
In looking back on these photos, I regret not sharing our space simply because things weren’t finished. I can’t wait to decorate the new house and will definitely make a better effort to embrace the in-progress stages. I may need your help reminding me that “it doesn’t have to be perfect to be beautiful.” 

By the way, that leopard rug doesn’t have a home in the new house. It’s up for grabs if anyone needs it! It’s great at hiding puzzles. 🙂 

New Floors + Tips on Changing Flooring

New FloorsOur new floors throughout the entire house are finally done! We’re getting closer everyday to finally being able to move into our new home. Having the popcorn ceilings scraped made a huge difference in the look of the house, and the new floors make it feel more like home.

Removing Ceramic TileCeramic Tile RemovalOnce the demolition of the old floors began, I began to struggle seeing the light at the end of the tunnel. It was definitely a construction zone in there! At times I felt like we took an ok home and made it into a disaster area. These pics show a little bit of the process. (There’s also a short video of the process here.) Once all of the old glue was buffed from the slab, I finally saw the finished product coming together. Now we have new floors, and they look fantastic! 

Ceramic Tile RemovalBuffed FloorsNew FloorsWe didn’t do the floors ourselves, so this is not a DIY post. If you’re at least somewhat handy, you could likely handle this project yourself. However, with the amount of things we were hoping to accomplish before moving in and the timeline in which we were wanting them done (We have to be out of the rent house July 31.), Matthew and I knew that we better get help.

Instead of a DIY post, this is more of a “what to look for when you’re hiring someone to do floors” post. We talked to several different flooring folks and learned a lot along the way. Here are a few things to consider when you’re talking flooring.

  1. Flooring company vs. a person who does floors. You can probably save a tad of money by using an individual instead of a company. There’s certainly nothing wrong with that. However, be sure that the person is reputable and you’ve seen some of their work. (We heard tons of horror stories.) In the end, we chose a company because they provided a warranty for their work. That’s a pretty big deal if a few months from the installation you start having problems. The project could also be completed more quickly. Either way you go, do not pay for the entire project up front. A deposit (probably half) is usually required up front, but don’t pay the full balance until your project is complete. We used Custom Carpets in Monroe and were very pleased!
  2. Cost. When you’re shopping around at Lowe’s it’s easy to look at the cost per piece, multiple that by the number you need, and think you have your total. Be careful not to forget the installation and demolition costs if you have old floors to remove. The demo/installation costs can often be more that the cost of the new flooring and you’ll quickly blow your budget if you’re not careful. (For the record, any floors that have been glued down will cost more to remove.)
  3. Toilets. You’ll notice that you’re working with a reputable person/company if they bring up toilets. Most likely, your flooring person will remove the toilets to install the new floors. (If not, you should get a new person!) Since you’ll likely come home to a toilet sitting in your bathtub, you better have a plan for putting them back down!
  4. Quarter round and other molding. Any quarter round molding will need to be pulled up to put down new floors. (If not, the flooring job will probably not look good.) Keep in mind that any broken pieces will need to be replaced and be sure to know if putting the quarter round back down is included in your quote or not.
  5. Paint or floors first? There is much debate out there about which of these things should be done first. If you’re scraping your ceilings, DEFINITELY do that first. The amount of dust it creates is simply frightening. After scraping/painting the ceilings, we installed our floors. My main reason for this is that I didn’t want the demo of the old floors ruining a new paint job. Plus, I wanted the painters to be able to paint the quarter round after it had been put back down. (See above.) Otherwise, we’d have had to paint it twice.

Vinyl Plank FlooringAll in all, I’m so very glad that we decided to change the flooring in our new home. For the cost, it made a huge difference in both the look and value of our home. If you’re thinking about changing your flooring, take some time to do a little research and consider the cost vs. the benefit of all of your options. Also, remember that it will very likely get worse before it gets better, but you’ll have pretty, new floors in the end!

See the before photos here and the first stage of renovations here.
Also, keep up with the #mapfirsthouse on Instagram

Let’s talk about home renovations.

Popcorn ceilings removed!

When Matthew and I started looking for a house, we definitely wanted something “move in ready.” It was mandatory. We’re busy people…no time to work on a million projects at home. Welllllll….the house we ended up buying was not exactly move in ready for us. 

While the house was in good condition, it just wasn’t quite our style. It had popcorn ceilings with flooring and paint colors that weren’t quite “us.” However, the house was in a great neighborhood where we could easily ride our bikes and walk together like we enjoy. So, we went for it and decided to budget for some updates and changes instead of insisting on a fully updated home. Choosing Paint Colors!We have quite a bit of plans for our new house, and I’ll likely share my inspiration/plans for each area as we go along. For now, we’re working on having the popcorn ceilings scraped and everything painted. We’re also hoping to have the current floors demoed and replaced before moving our things in. Here’s some of the bigger plans we have for our new home.

  • Ceilings scraped, leveled and painted
  • Entire house painted (walls, cabinets, closets, trim….the whole house!)
  • New flooring throughout
  • All new light fixtures (except for 2)
  • Painting the exterior brick
  • Installing wood beams and shutters out front
  • Renovating both bathrooms

Most of these are immediate things that’ll be done rather quickly. Some of them (plus a lot more) will be done as we go along. Just changing the flooring and paint before moving in will make a huge difference in making this home feel more like Matthew and I. Even though we have several projects up our sleeves, we’re very excited about our new place to call home. We’re looking forward to making lots of wonderful memories here (hopefully they don’t involve construction mishaps), and we know that this home has amazing potential. It’ll still be a couple of weeks before we can move in, but we’re shooting to be in there the last week of July. 
All the floors have been ripped up!
We’ve gotten so many sweet comments from you all! Thanks so much for sharing in our excitement. You can keep up with the daily progress by following the #mapfirsthouse on Instagram. (That stands for Matthew and Pamela’s first house, by the way.) 

Here’s to new homes filled with lots of projects! (See the before pics here.

Our First House – Before

Our First HomeYesterday Matthew and I closed on our very first house together! It’s such an exciting time, but we have a bit of work to go before we make this house into our home. As a matter of a fact, it’ll be several weeks before we even move into the house, which is sort of sad.

Nonetheless, we are very excited to have a new place to call our own that we will make into a home that we love. I wanted to go ahead and share these before photos, so everyone could see what we’re starting with. These are the photos from the MLS listing (taken by my sweet friend, Anna Kay), so you can see the home just as Matthew and I saw it when we made the decision to purchase this home.Before KitchenBefore Breakfast Nook

We have several big ideas in mind for this home, so you’ll have to stay tuned for the final product (if there’s actually such a thing as a “final” product). My biggest goal for this home is to create a place that we love to come home to. We’ve thought a lot about what that means, and I plan to be very intentional about every decision that’s made for this home. The ultimate goal is to create a space that reflects our personalities, is free of clutter and excess, and full things that we love. I’ll certainly be sharing our journey here, and I’d love to hear your thoughts. Now I’m off to choose more paint colors!

Before Dining RoomBefore Living RoomBefore Master Bedroom

Photo credit: Anna Kay Springer, Realtor