 I’ve posted a lot about goals on the blog lately. Yearly goals, monthly goals and just miscellaneous goals in general. While sitting on the couch one Sunday, completely exhausted from working on our house for days like a mad woman, I realized that my biggest goal for this place is to get to a point where I don’t have to work on it.
I want to be in a position where things feel ok. I want to be in a place where Matthew and I can take spontaneous weekend trips or spend the afternoons biking or sitting on the patio. I want to go sit and chat at Starbucks or explore our neighborhood. I don’t want to always feel like I have to work on this house nonstop.
I’m sure these feelings are common for people moving in to a new home, but I remember feeling them until the day we moved from our rent house. I never finished that house. I never felt like things made sense, and I never felt like I could sit and take a breather there.
Today, I’m happy to finally put this unspoken goal into words. I’m not hoping to have a perfect home that’s always clean and wonderfully decorated. (Although, I do hope to get my head wrapped around the decor soon.) I understand that nothing will ever be perfect, and I actually hope that our home will always continue to evolve as we find new things that we love or make this place work better for us. However, I do expect to end up with a home that’s free of clutter. I want emptied boxes and closets that aren’t crammed to the brim. I want to be able to easily replace and remove items from their drawers, and I want everything to have a place to go. Basically, I don’t want any excess.
For many years, I’ve kept extra things around as a false sense of security. I found comfort in having things and I attached sentimental value to the silliest of items. When moving into this house, I decided that it was time to part ways with some of the stuff. Parting with the extra things, will make my daily life so much easier, less stressful, and more rewarding. Having a home to come to that’s a reflection of myself (extra clutter is not a reflection of who I am), will make such a huge difference in my overall well-being and feelings about myself and my home.
I’ve read lots of blogs on clutter-free living and creating spaces that work for you and your lifestyle instead of just housing your junk. Since Matthew and I have been married, I’ve done so much better at not holding on to so much stuff. Part of my problem is that I attach sentimental value to practically everything. The other part is that I hate to get rid of something that I’ve spent my hard-earned money on and that I’m afraid I might need/want later. Nonetheless, something can be said for learning to part with the extra stuff…only keeping that things you love and need.
I’m right on the brink of reaching this goal. Honestly, just the progress that I’ve made recently feels so rewarding. Knowing that I’m on the brink of feeling better about my world is such an invigorating feeling. I feel encouraged and inspired, and I know that I’ll feel even more amazing once the last item has found a home.
Now that this goal is out in the open, I have no choice but to make it happen. I’m determined to make this dream a reality. I’m determined to get to a point where our home is a place of relaxation, not of work. Need to declutter your home and let go of some extra baggage? Join me! I’d love to talk about our progress and ideas along the way. How do you feel about clutter? Do you tend to keep extra items or is it easy for you to part with things?
DIY Painted Light Fixtures
When Matthew and I purchased our current home, we had quite a hefty list of updates that we planned to do. (You can see some of the before photos here.) Some of the updates we envisioned were immediate, like painting and new floors. Others will come along later, like painting the exterior and bathroom overhauls. Light fixtures were one of the items that we knew we’d do rather quickly. However, I’ve had the hardest time finding decently priced lights that I like, so we’re still working on this one.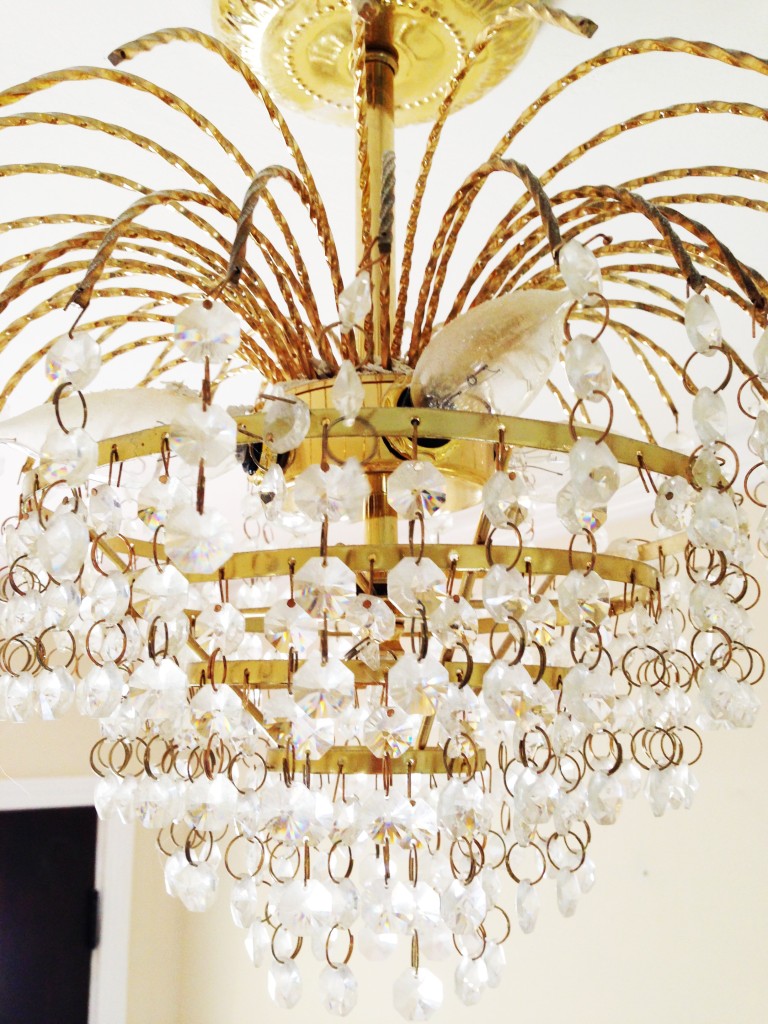
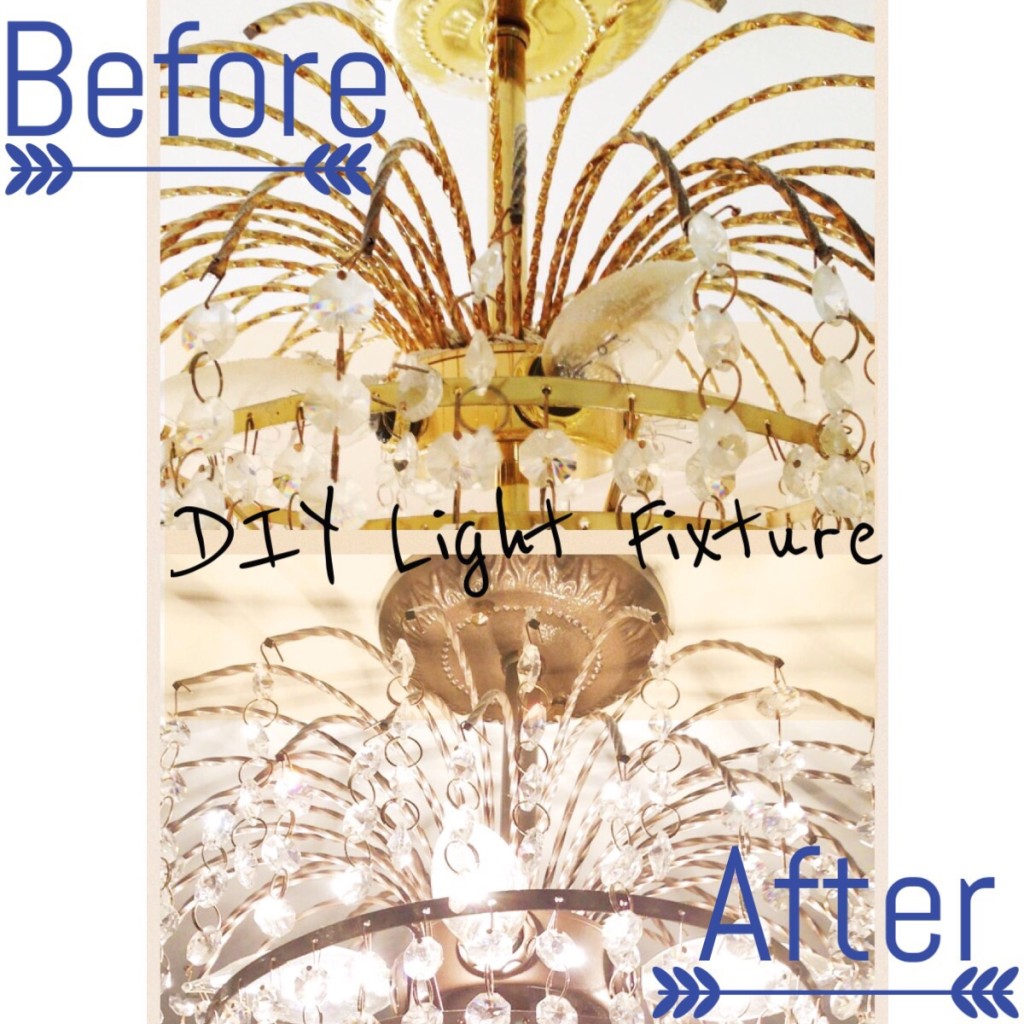
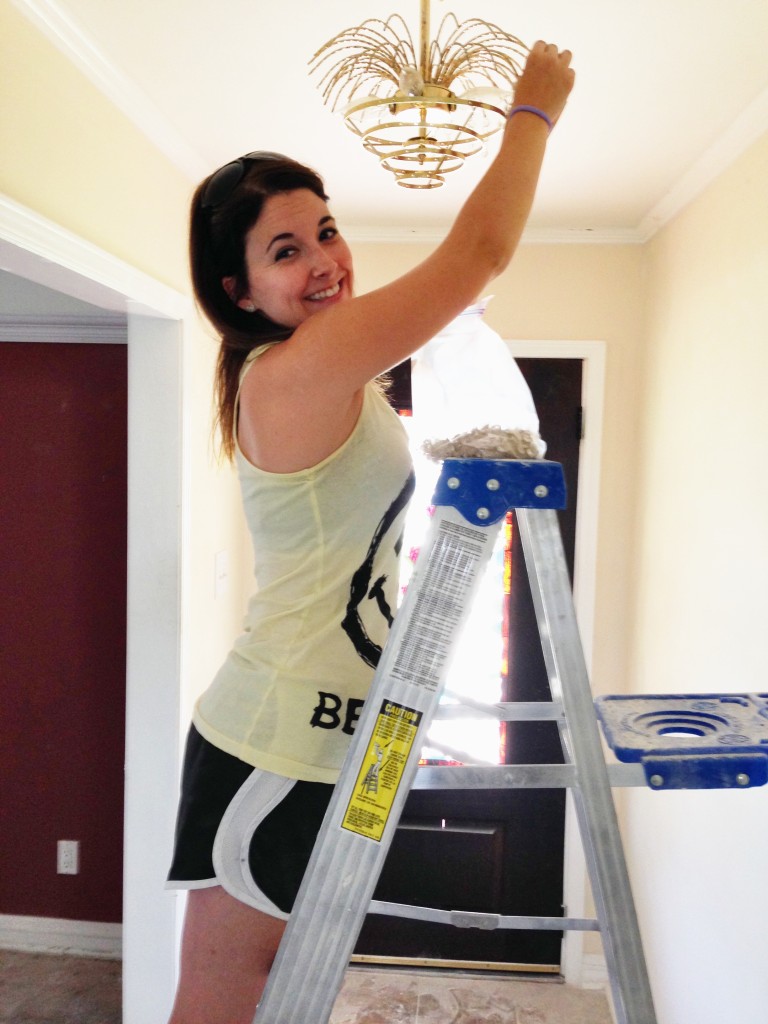 When we bought the home, there were only two light fixtures in the house that I even remotely liked…the dining room chandelier and the entry way light. All of the others were very dated or not at all my style. (The leaf fan, for example, doesn’t fit my décor style.) Our bedroom fan is also leaves. The kitchen had a ceiling fan, which Matthew could only barely walk under without risking decapitation. The rest of the fixtures were classic 1990s brass. The two fixtures that I liked were also brass, but the bones were good. Rather than replacing these two, I decided to give them a little facelift.
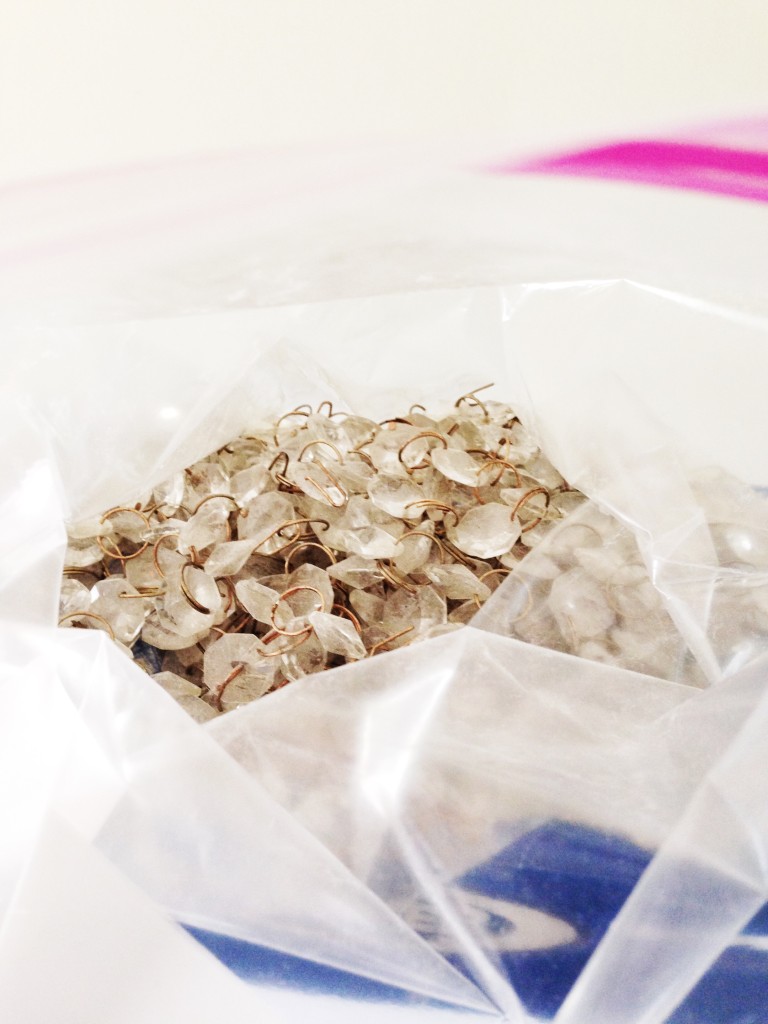
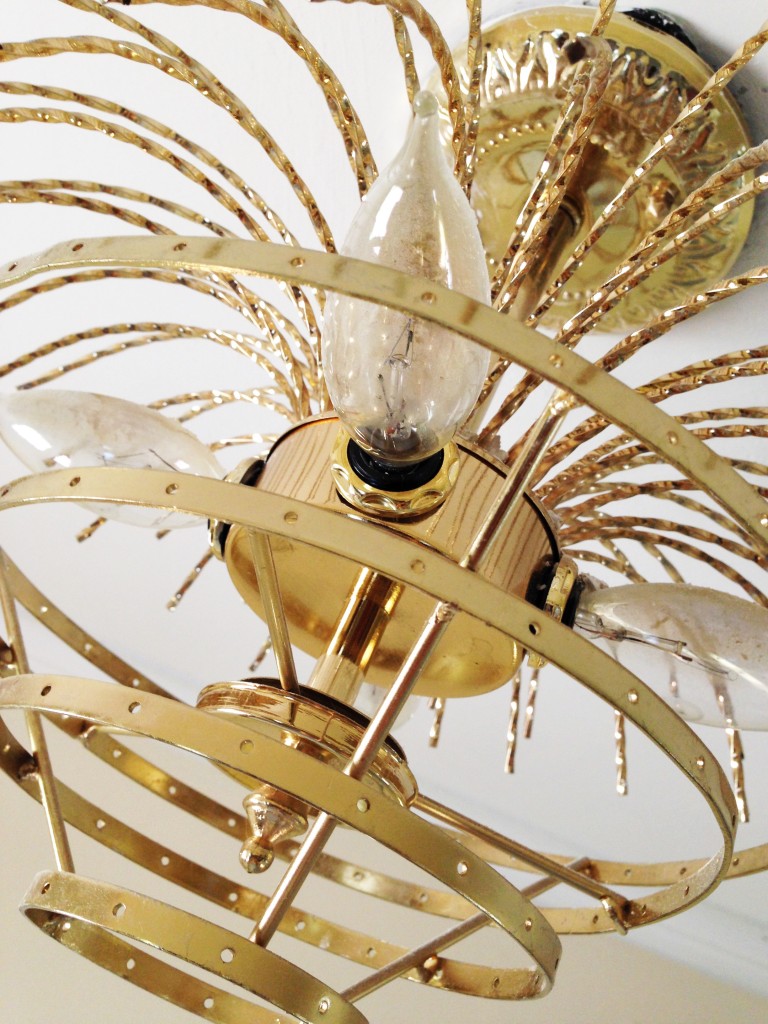 I haven’t tackled the dining chandelier yet, but I worked on the entry light pretty soon after moving in. I used Rust-oleum Hammered spray paint, and the process was rather quick and easy. Here’s what I did:
- Remove any crystals or globes. Luckily, the crystals on our entry light were attached with hooks instead of rings. I removed all of the crystals and cleaned them individually with a damp cloth. I didn’t want to submerge them in case it would cause a discoloration of the metal. Honestly, this was the most time consuming part of the process.
- Remove the fixture. Be sure to turn of the power before taking the fixture down!
- Clean the fixture well. You’ll want to be sure it’s free of dust and debris, especially if it’s an older fixture. Most of our lights (and every other square inch of the house) were covered in construction dust from having the ceilings scraped. Even after a professional cleaning, there was still quite a bit of dust in the crevices.
- Get to painting! I sprayed two coats of paint on our fixture, being sure to coat both the top and bottom of the fixture so that you didn’t see any traces of the old, brass color. Be sure to let it dry between coats. This was super quick and easy.
- Once the paint dries, hang the fixture back up and reattach any crystals or globes.
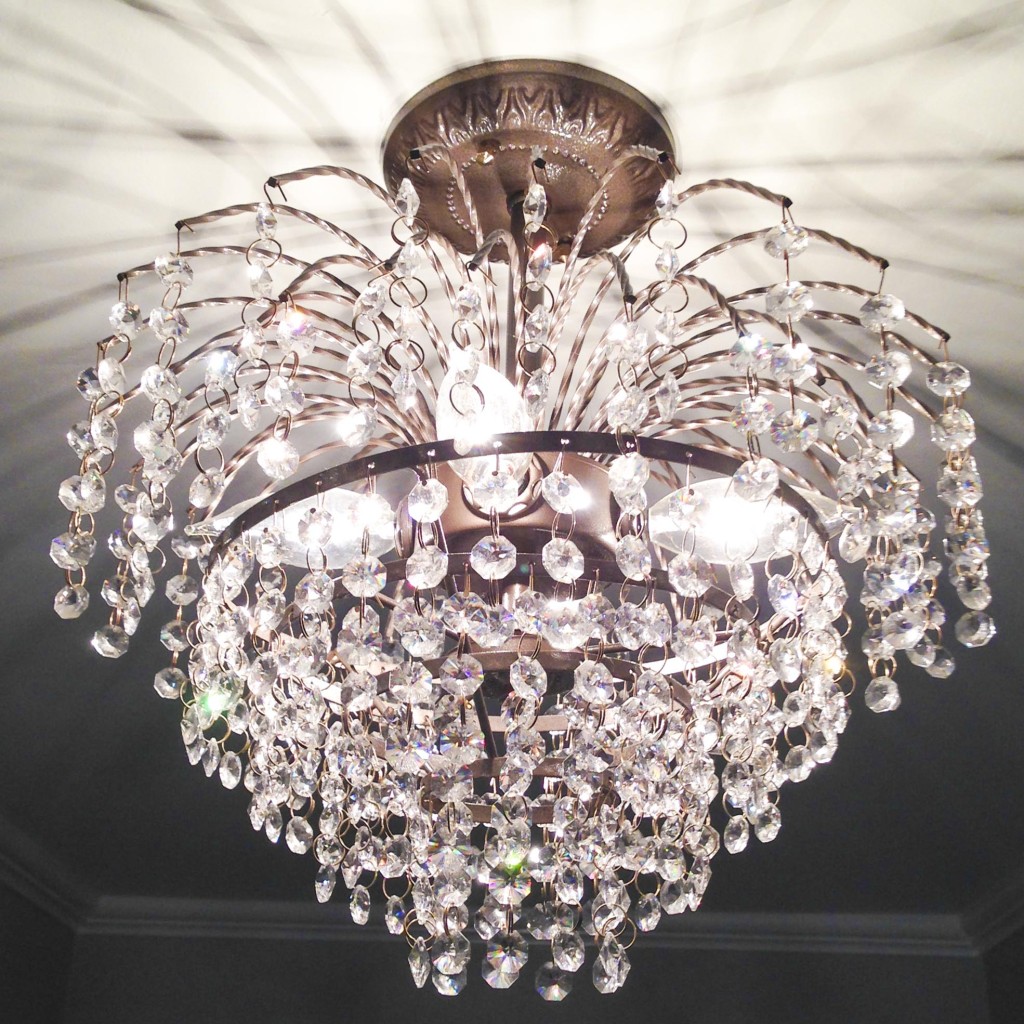 Simple as that, you have a new fixture for less than $5. I’ve seen numerous tutorials online where people find dated fixtures at garage sales and thrift shops and paint them bright, fun colors. I went with a neutral color on our fixture because I wasn’t quite sure what décor I was going with yet. Whether you already have an old fixture or pick one up somewhere, using a little spray paint is a great, inexpensive way to update your lighting.
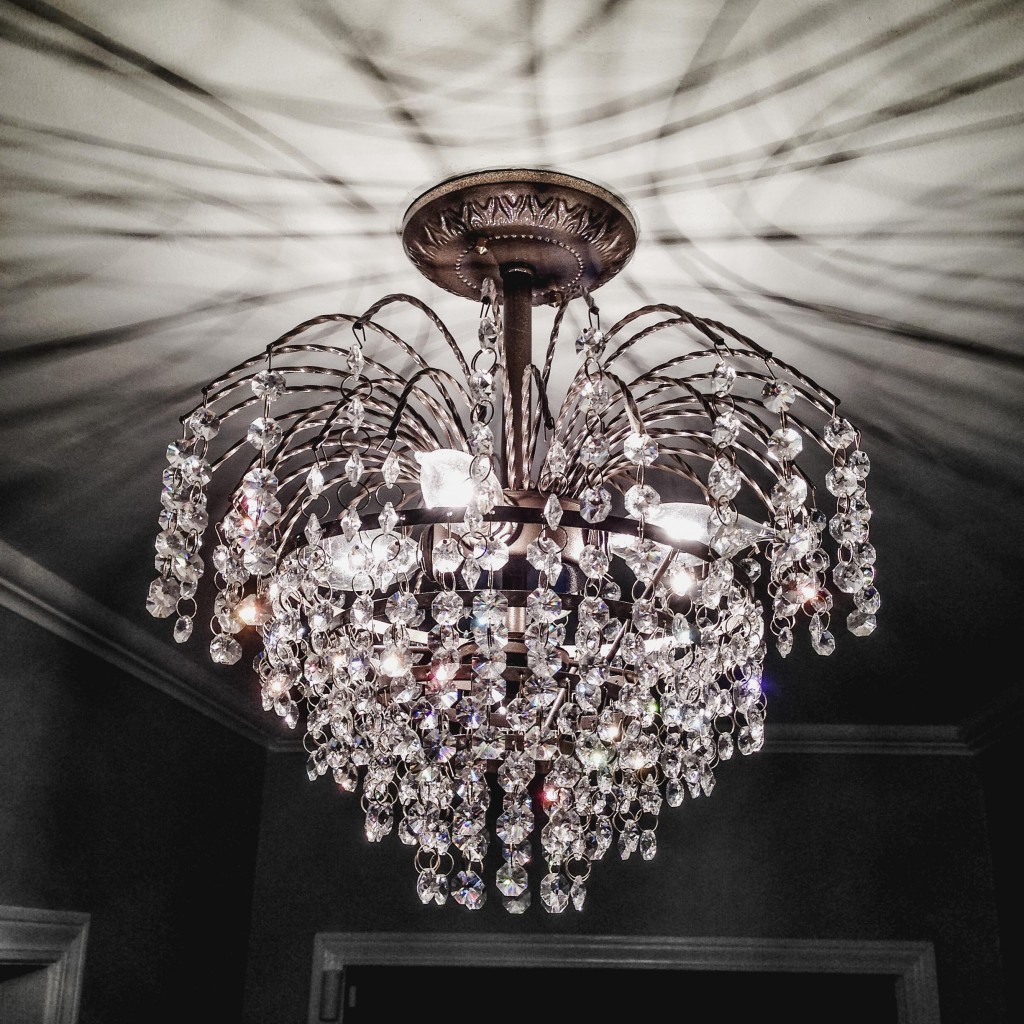 Next up is the dining room chandelier. I have a bit of a different plan for it, but I’ll hopefully get to work on it soon. Have you ever used spray paint to update light fixtures in your home? I’d love to see your before and after pics!
DIY Paintings
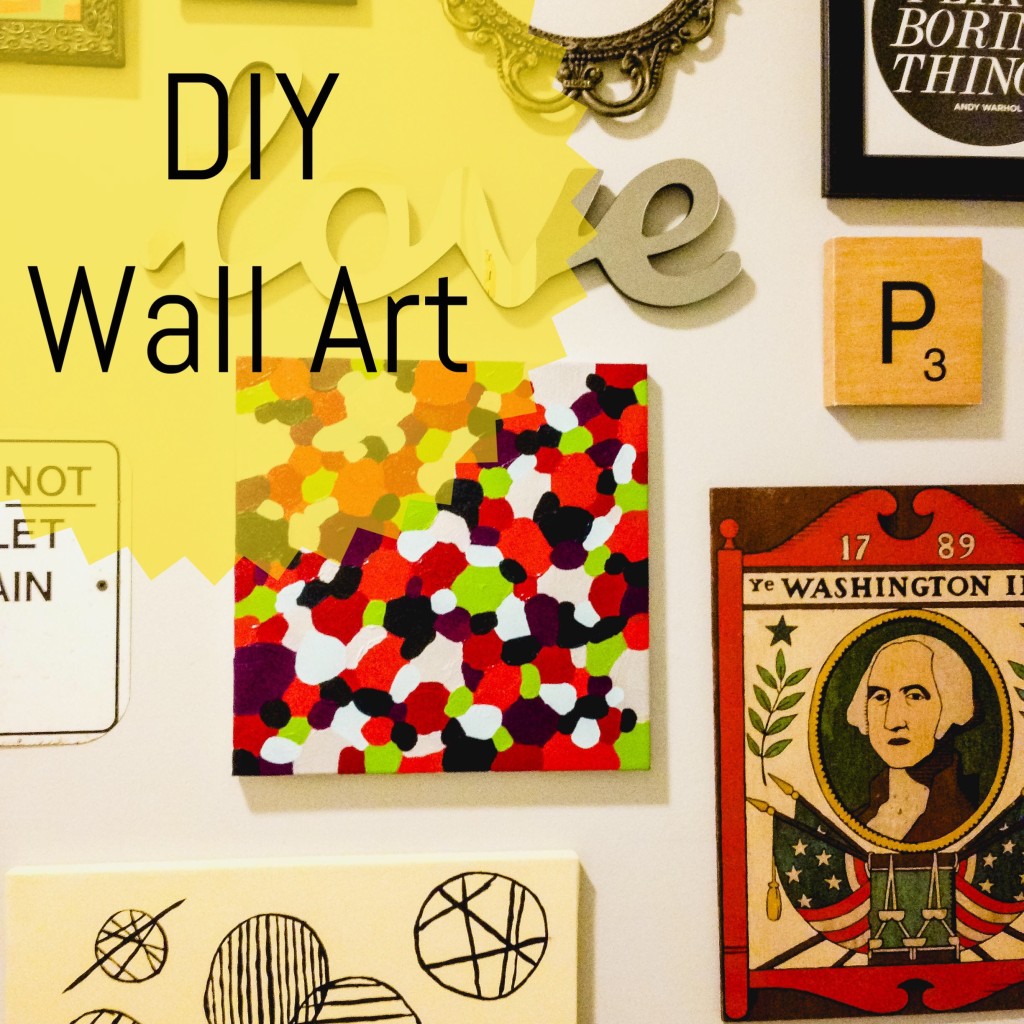 It’s been several months since we moved into our new home and even though I’ve made a conscious effort to get this place decorated quickly, there are still so many bare walls. This is partly because this house is a bit larger than our last, partly because we are trying to change our style up a bit, and partly because we have tall ceilings and huge, empty walls to fill.
I made a promise to share the progress of our home here on the blog. I have shared bits and pieces here and there, but I haven’t really shared that much. The boxes are emptied, but if I were being honest, I’ve experienced quite a bit of frustration trying to get things pulled together. Decorating a new home from scratch while working full time and trying to have a social life is rather difficult, it turns out.
 We need quite a bit of art to cover the big, bare walls here and finding enough pieces that are within our budget has proved to be impossible. Therefore, I decided it was time to do some DIY. I’ve done a little bit of panting in the past but I haven’t picked up a brush in a while. As a matter of a fact, I didn’t like the last few things I painted, so I decided to give it up. After a bit of a break, I realized that I just had to keep trying. (Listen to this two minute video if you need some encouragement in pushing through the ugly.) Once I got over this hump and picked up a brush, I actually loved the next thing I painted!
This post isn’t about teaching you to paint. Instead, it’s about encouraging you to just try. It’s about helping you to push through the ugly when you think you suck at something. Inevitably, you’re bound to eventually end up with something you like.
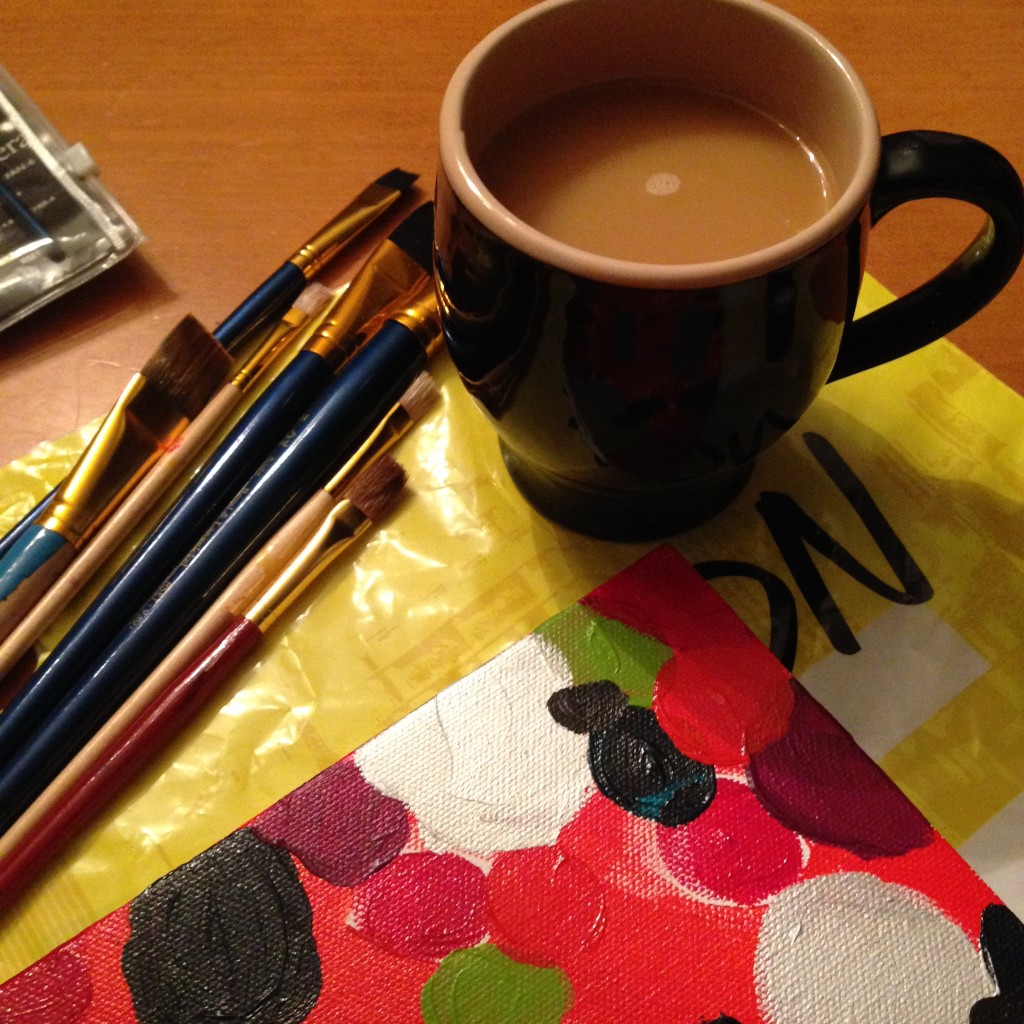 First and foremost, I should say that I’m not a painter. Instead, I’m just a person that likes to paint. I’m someone who can splatter some paint on a canvas and call it good enough. I can fill my home with one-of-kind pieces that cover up empty walls. I’m not going to win any awards, but I can mark some items off of my to-do list.
My first painting that I did recently was the oblong circle painting. I took my inspiration from here, and ended up hating the result. I was getting ready to paint over it or add more circles, but Matthew insisted that we hang it as is. I’m still debating on whether it’ll stay or not.
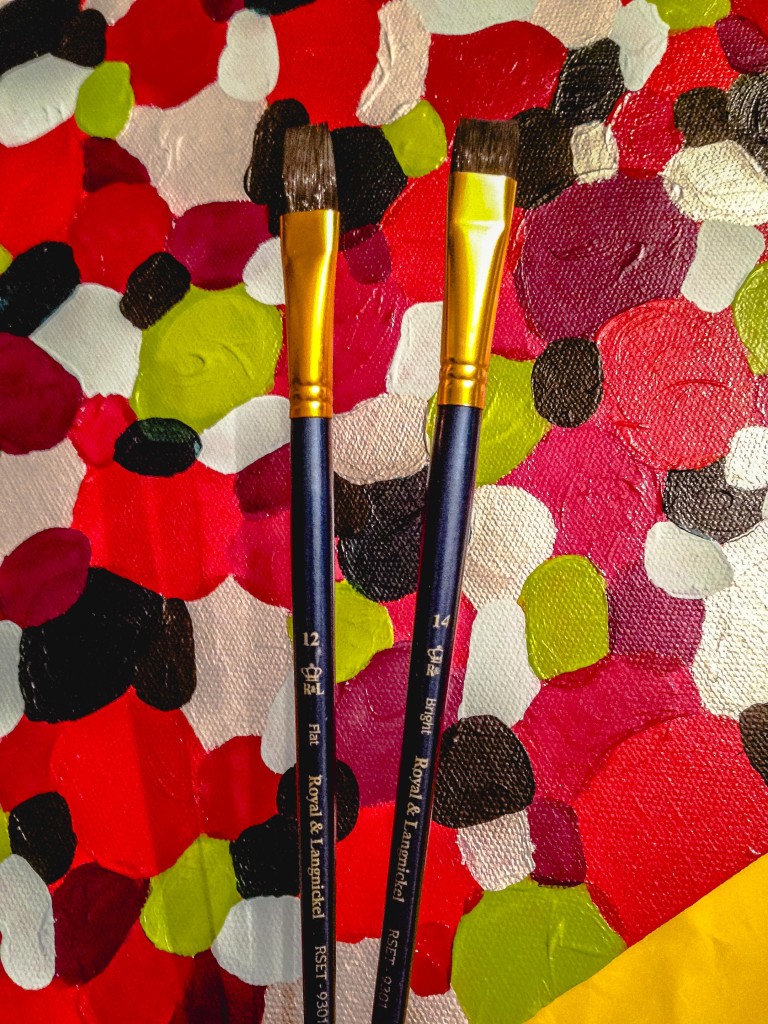 Next, I began the dot painting. I started with something like this in mind, but it ended up being a little more symmetrical. At first, I wasn’t quite happy with how it was turning out, but when I decide to add the light blue color, I fell in love. That was a different paint so the texture was a bit different, but it was what I had on hand. I ended up loving the difference in color and feel of the paint. (Lesson: don’t give up on something because you don’t like it immediately. Your big idea might be right around the corner!)
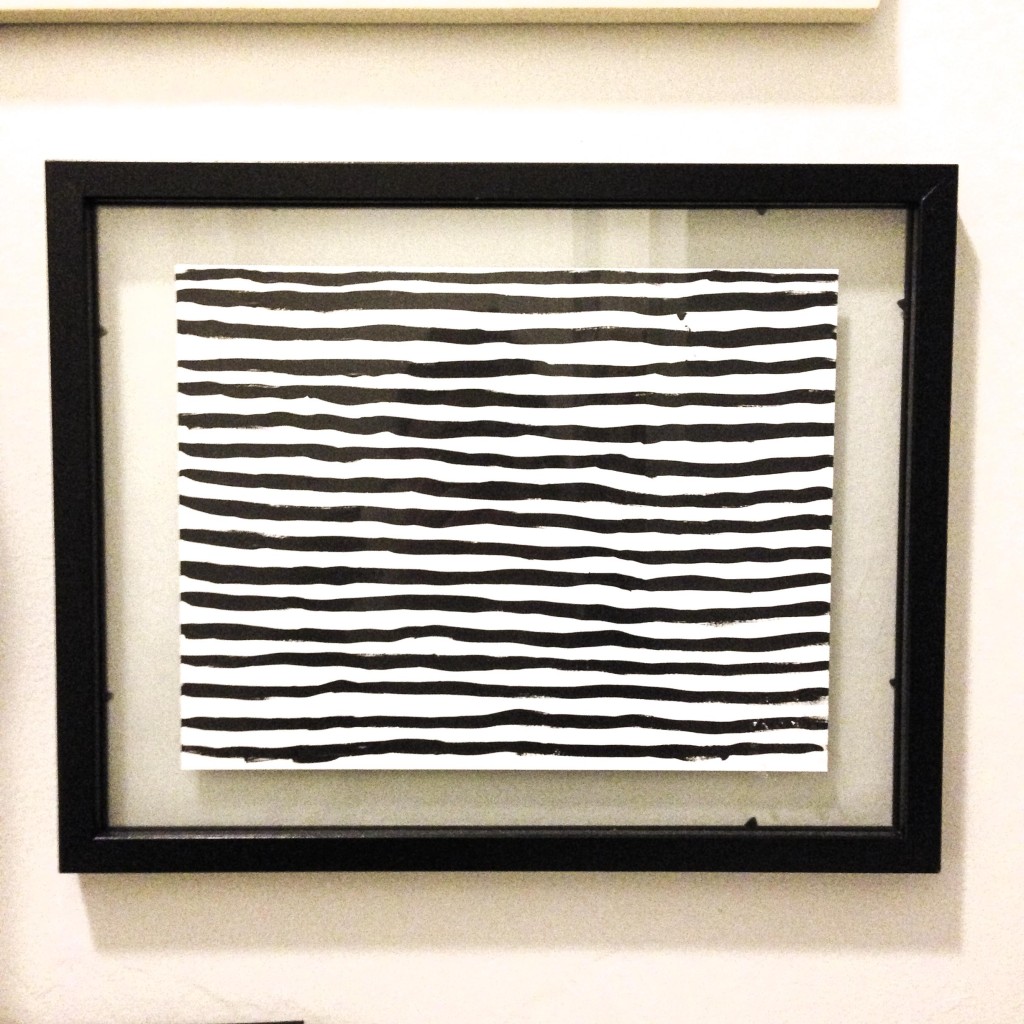
I was having so much fun with paint that day, that I decided to keep going. I didn’t have anymore canvases on hand, so I just pulled out some card-stock and made the black and white stripes and flowers. I didn’t really have anything in mind for these, but I ended up framing the striped one, and it’s one of my favorites!
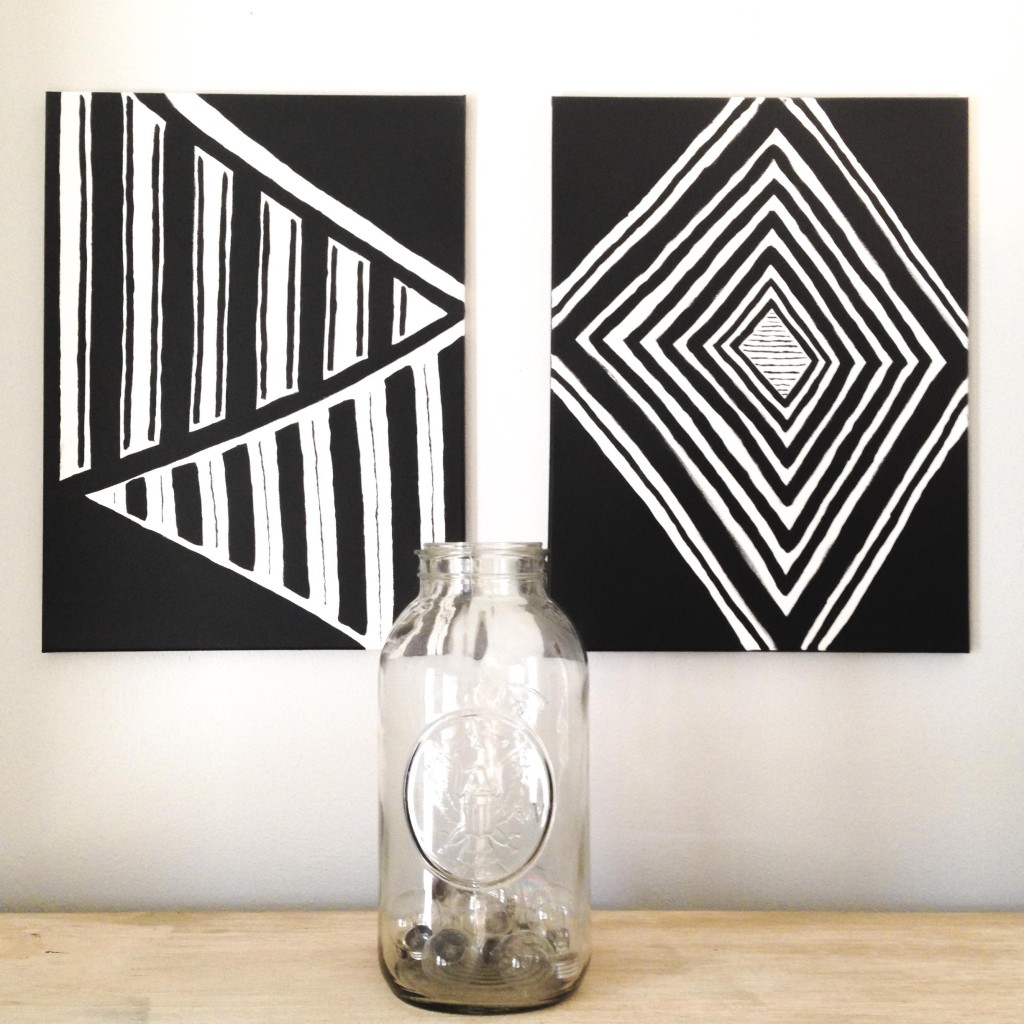
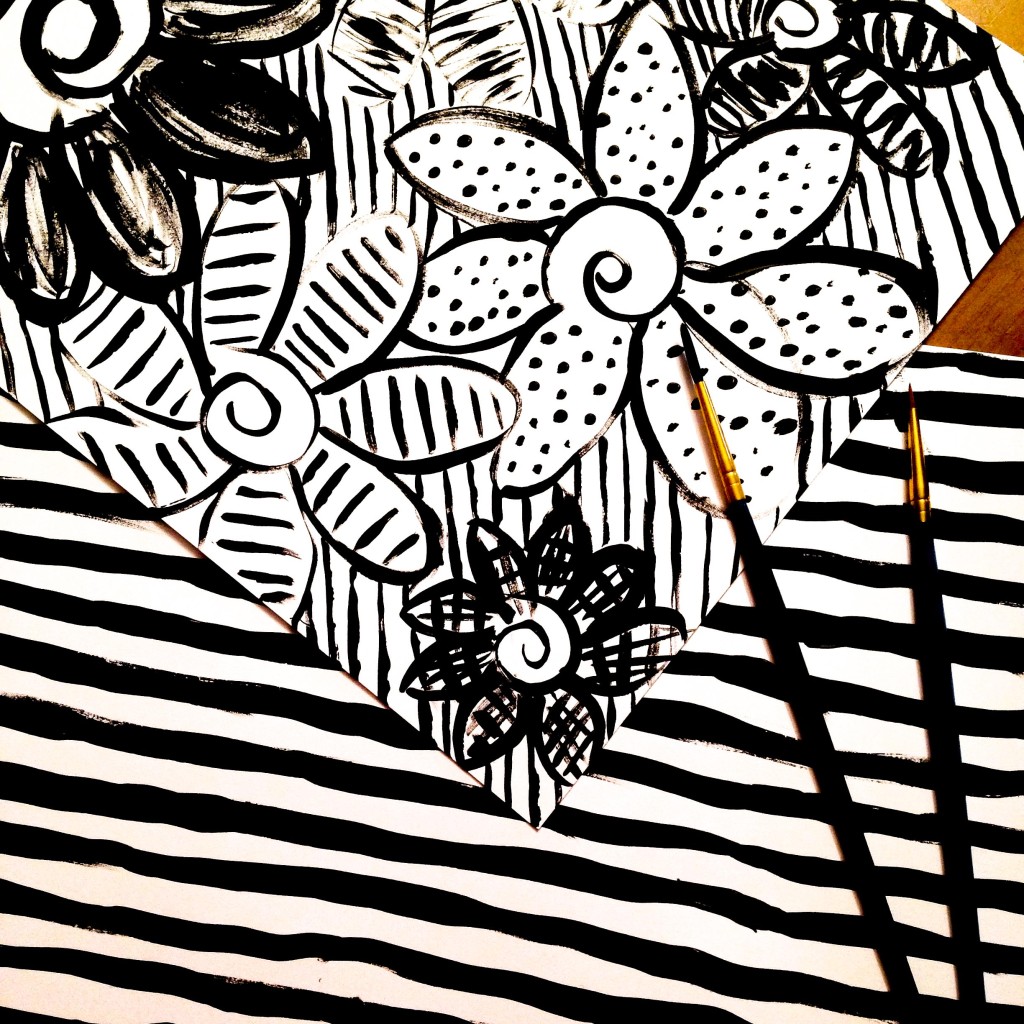 A few weeks passed after painting these four things, and I decided to keep going. I picked up some more canvases and went to town! (To be honest, my in-laws were coming into town for Matthew’s pinning, and I needed to cover these bare walls fast!) I saw an awesome wall mural covered in various black and white designs and fell in love. I hoped to show it to you, but I can’t find the link! My default is almost always black and white these days, and I knew that I’d love to create something similar. When I started those two paintings, I was using straight, sleek lines. Then, when I “messed up” the first time, I realized that I liked the rough look much better. Again, none of these projects are perfect, but they do cover wall space that was otherwise empty and bland. Plus, those bland walls would have likely stayed that way for many more months until I could commit to purchasing something else.
 If you have bare walls and a small budget, I highly recommend creating some of your own art. The first several pieces might be terrible, but you’ll eventually get something you love. Besides, it’s a great creative outlet. If you’d like some more DIY painting suggestions, look here! Elise has done some great, DIY pieces in the past. Happy painting!
March Goals + February Review
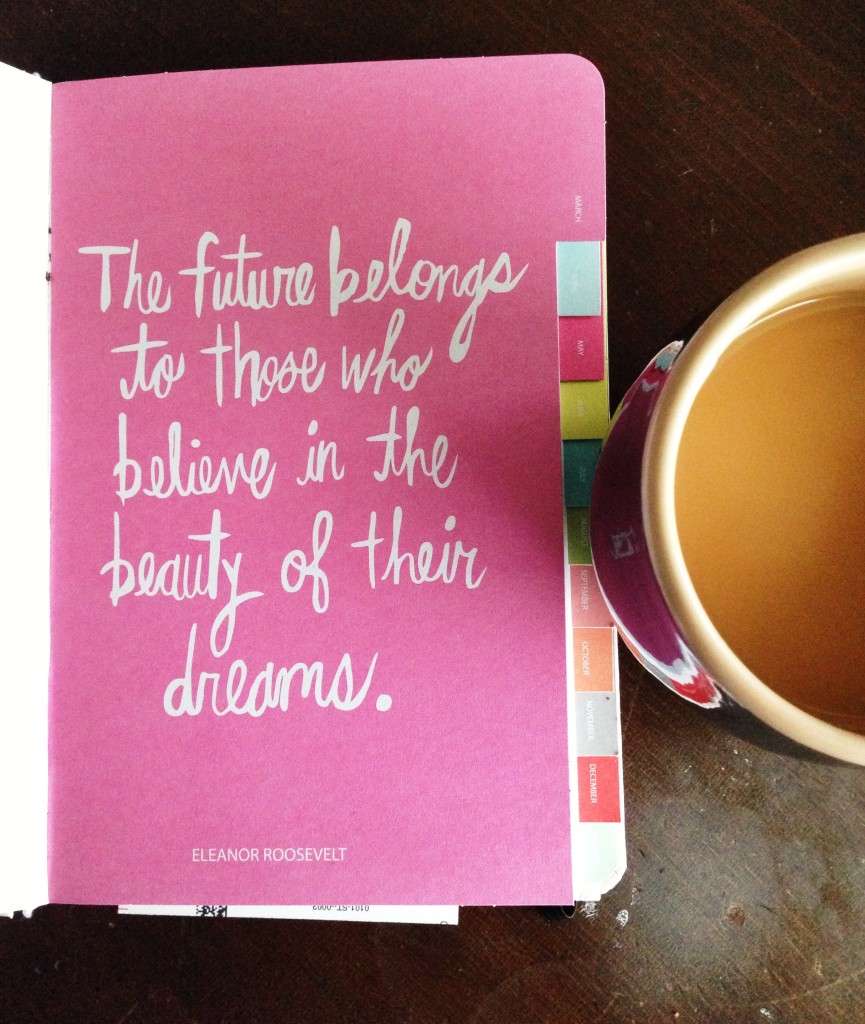 Believe it or not, we’re two full months into 2015! I’ll let that sink in for a bit…. If you’re like me, that blows your mind a little. Nonetheless, the show much go on. I didn’t set many goals for February, but I’m happy to report that I accomplished all three of them! *Cue the hallelujah chorus.* Here’s my happy report:
1. I attended Family Reunion and came home with several great ideas! I can’t wait to spend some time developing them and getting them into practice.
2. Matthew and I celebrated Valentine’s Day. Even though I almost backed out at the last minute, I pulled it together and made something happen. (By the way, we watched the full SNL 40th Anniversary together the next night, and I’m sort of counting that as an extension of our Valentine’s Day celebration.)
3. I hung MORE THAN three things on the walls!! I think I’m most excited about this one. We have several new things hanging here and there AND we installed a new gallery wall in our bathroom. I can’t wait to show you!!
I’m pretty pumped at how much I got done in February. I’ve even more impressed by the fact that I got so much done even though we had our fair share of wet, crummy, and cold weather. Isn’t it super easy to stay curled up under a blanket and read the internet when the weather is gross?? I’m giving myself two thumbs up for still being productive, despite the yucky weather.
What’s on the agenda for March, you ask? Quite a bit. Here are my basic goals for the month:
1. Spend lots of time with Matthew. Since he just wrapped up nursing school, I’m hoping that we finally get to spend some quality time together! We have a bit of time before he starts his new job, so I’m going to soak up as much husband/wife time as possible this month.
2. Travel to Dallas for the weekend. Matthew and I are planning a quick trip to Dallas, TX. This is mainly to get some items we need for the house, but it’s also for quality time together and to celebrate his graduation. Plus, we’re meeting some friends there…can’t wait!
3. Square away three areas of my home. Yes, this is a little vague. However, I want to leave some wiggle room. I’m not sure what all we’ll find on our trip to Texas, so I’m just hoping that whatever we come up with will complete at least three parts of our home. (To be clear, “parts” can even mean a corner or vignette…I’m being reasonable here!)
4. Paint three new paintings. Painting is my new thing. I’ve been SO excited about it lately. I’ve painted a few new pieces for the house, and I’m hoping to do three more this month! (More on this later this week!)
So there you have it! For me, March is going to be all about creative endeavors and quality time. What are you looking forward to this month? Whatever it is, do it big!
A New Couch
 When Matthew and I decided to buy our current house, we knew we’d need to get a few new furniture pieces for the home. This was for a few different reasons, actually. First, our rent house was a combination of his things and my things from before we got married. Most of it was either hand-me-down furniture or pieces that we’d each had for quite some time and that had miraculously survived the college years. It was time for some new furniture. Secondly, our current furniture didn’t really work very well with the new living room layout. Therefore, we knew we’d be purchasing new furniture soon after the move.
I began searching high and low for a new sofa and was rather unsuccessful for quite some time. Everything that I liked was either crazy expensive or didn’t really work any better with the layout. Finally, I decided that a 3 piece sectional would suit our needs the best. In the beginning, I was quite firmly against purchasing a sectional, because I really wanted something more sleek looking. Most of my struggle in the sofa search was that I really wanted something with a mid-century modern look but that was also comfortable. As far as I can tell, this combination doesn’t exist…at least not for someone with our budget. Finally, I decided that I would give a sectional more thought. It would really work best for the room layout and give us the comfort we were looking for. Besides, I’m wanting to host more parties, and a sectional would give us more seating.
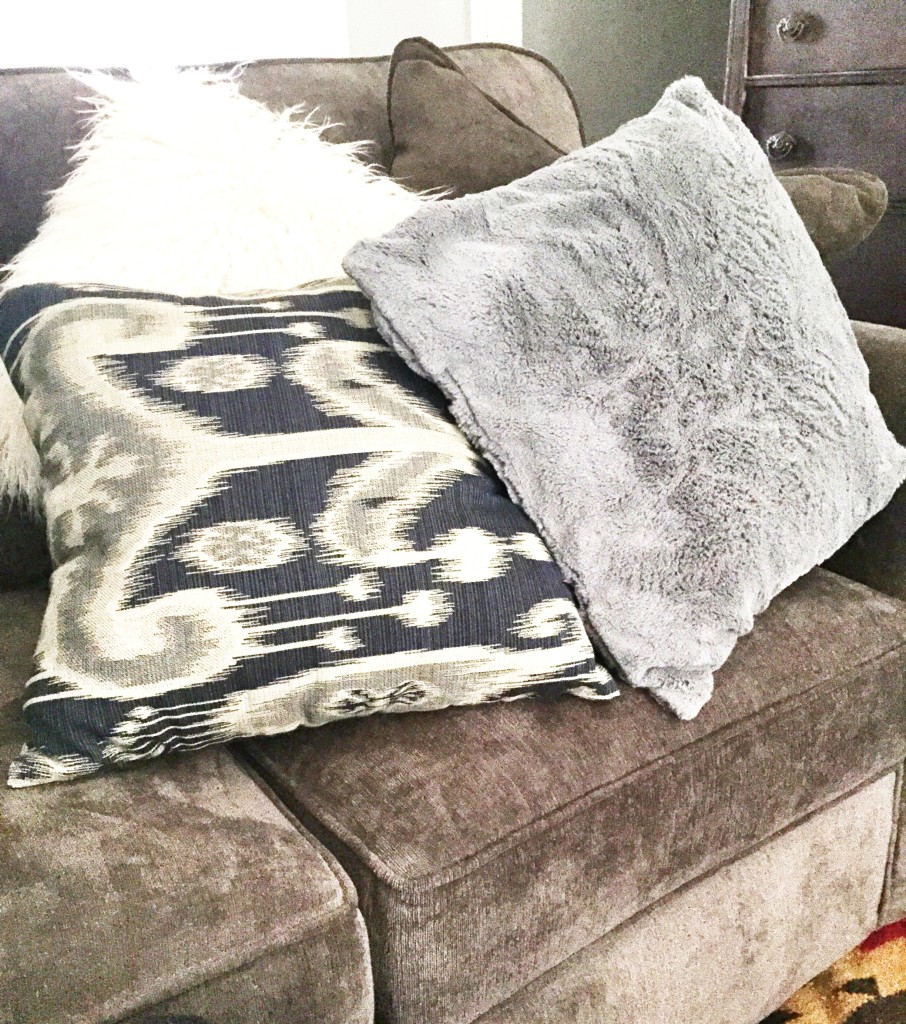 After searching high and low on the internet, I finally decided to give our local Haverty’s a shot. I browsed their website and selected a few options to check out in the store. Both Matthew and I agreed that the Piedmont was our favorite. Here’s a tip to consider before shopping for furniture: always, always measure your space before you go. Practically every piece of furniture looks much smaller in a gigantic warehouse than it will in your home. We knew that the Piedmont would be a tad larger than what we were originally looking for, but it still fit our needs.
As soon as Matthew and I decided to purchase this couch, I couldn’t hardly contain my excitement. I really felt like this sofa was what I needed to finally pull our living room decor together. Wrong. I had a general idea of what I wanted to do with the space when the sofa arrived, but none of it really worked out as I planned. Even though I was excited about our new sofa, I was struggling to pull things together in the room. If you’ve ever had a similar experience, you know that it’s pretty frustrating. I basically had to start from scratch.
I still haven’t quite decided what I’m going to do with the room. Do I want only black, white, and gray pillows? Do I want to add an assortment of colors as I had originally planned? Gallery walls? Book shelves? I’m just not sure yet. However, I’ve learned over the years that I can’t force myself to make such decisions right away. Instead, I’ll need to find that one piece that’s missing that’ll give me the necessary inspiration for the whole room. However, I’ll try to make it as beautiful as possible while we wait for my inspiration to strike.
Even though the new sofa has shaken up my decor plans a bit, I’m still very pleased with our purchase. I like the texture of the fabric and the color is just what I was hoping for (if we went with a neutral, that is). I also really liked that the pillows that came with it were the same color and fabric as the couch. Most of the time, sofas come with a patterned pillow, and they’re almost always not my style. If you’re in the market for a new sofa, I’d give Haverty’s a shot. I was thoroughly pleased with their customer service, delivery options, product selection, and price.
Now, who wants to come help me figure out what to do in this living room?? Also, if you’re interested in our other fascinating grown up purchases, be sure to read about our new mattresses…which I’m still sooo crazy about…and our first car to purchase together. Next up, a discussion on retirement planning and dentures! Just kidding…or maybe not.
Valentine’s Day 2015!
 I mentioned last month that I’ve never been a huge fan of Valentine’s Day. This was mine and Matthew’s third Valentine’s Day together, and we’ve really never done much to celebrate in the past. However, I set a goal to actually do something more special this year.
Originally, I had planned to do something sort of like this. I planned to cook a nice dinner, get dressed up, and decorate the house. I’m definitely NOT going to plan a dinner outing on the same day that practically everyone else will be out, so I thought it would be fun to do something really special at home. However, after being in Orlando for a week and going out to Louisiana Dancing with the Stars the night before, I just wasn’t as motivated to go all out. I started to feel a bit guilty as the day passed though and threw something together at the very last minute.
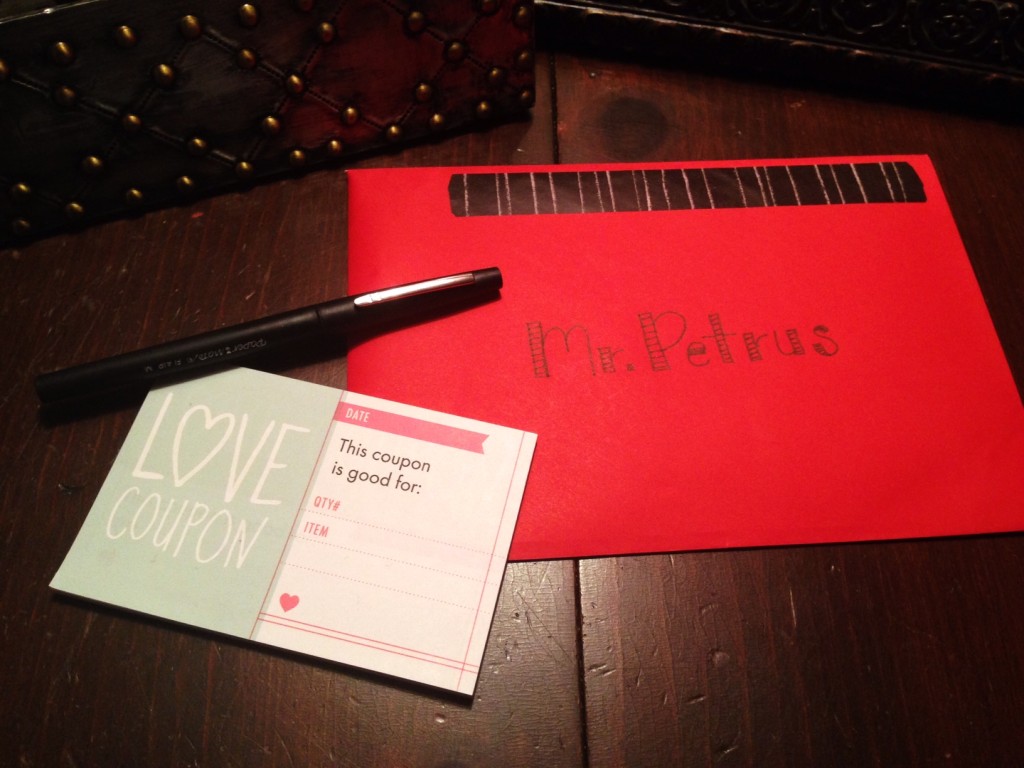 We didn’t dress up, but I did throw some decorations on the table right before Matthew came home from work. By decorations, I really mean a few candles and wedding photos that I dug from a box in the closet. (If you’ve never sat at a table and stared at photos of yourself, you should try it. It’s incredibly awkward.) Nonetheless, I had no red or pink décor lying around, and I thought it would be great to have a reminder of where we started.
 We had already planned out the menu, so I didn’t have to panic over that when I decided to make this happen at the last minute. I have been wanting to try the slow cooker mashed potatoes from A Beautiful Mess, so I used this as an opportunity. The recipe calls for 5 pounds of potatoes, so I only made half. Matthew and I do NOT need to eat 5 pounds of potatoes…even if it is a holiday! I topped mine with green onions and cheese, and was very pleased with the outcome. This would be a great recipe to try if you were planning a big meal for friends or family.
When he got home from work, Matthew made steak fingers from the Pioneer Woman. This recipe is fantastic, and it’s one of my favorite things that Matthew makes…which is why we had it on Valentine’s Day. Generally, I prefer the fingers to be in smaller, more bite-sized portions, but you can make them however you like. These paired well with the mashed potatoes, and we also added red grapes, as the Pioneer Woman suggests. (If you’re thinking the grapes are an odd addition, I was skeptical at first, too. However, it makes total sense once you try them together. Give it a shot!)
After dinner, we watched a girly movie and then turned in for the night. We were originally planning on watching the 40th Anniversary Saturday Night Live Special together, since we were both looking forward to it. When we realized it didn’t come on until Sunday night, we had to make other plans. I normally do not count watching TV as “quality time together,” but if I get to choose the movie, I’ll let it count. You say cheating…I say smart.
 After being out of town/on the road and quite busy lately, a simple night at home was just what the doctor ordered. In just a few short weeks, Matthew will be graduating from nursing school and our daily lives are going to change a bit. Without knowing exactly what the future holds, it was nice to sit and chat and reconnect as we prepare for what’s ahead.
What did you do for Valentine’s Day? Even though it’s not my favorite holiday, I think we might doing something special next year too!
Closet Cleanup
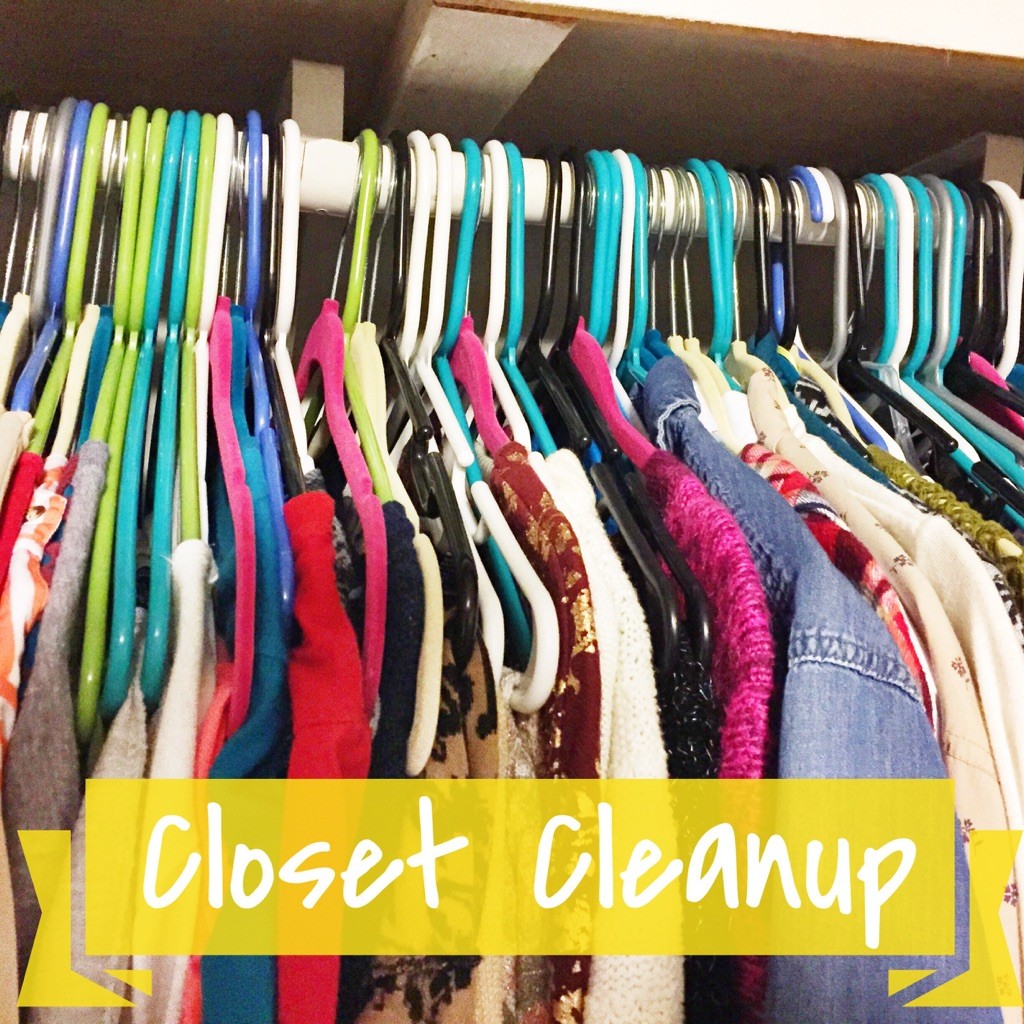 My name is Taylor. You may have heard of me, I am one of Pamela’s lovely assistants! She is out of the town for the week. You can read more about where she is and what she’s doing here. So, I am filling in! Hope you don’t mind! Now, I know that most of the time when you have a guest post, they’ll often link you back to their personal blog site. Well I don’t have one yet. This is me getting my feet wet. If it works out for me, I may try my hand at blogging. Enjoy!
I recently went from living alone to being married… and Pamela taught me well in the whole “we need all the clothes/shoes/jewelry/things” lesson of life. My closet was the proof. Now, my husband and I share the world’s tiniest mobile home which also means we now share the world’s tiniest closet. Something that I am NOT the biggest fan of but for now it’ll have to do.
Pinterest is my favorite. I am on it everyday searching for things I can do to make my home a more functional and happier place (Pamela also talks about this here). While searching one day last year I came across this pin. It gave great advice about how to slim down your closet and realize that you don’t really wear everything in there. Since the now “shared” closet was beginning to be so packed that it was dysfunctional, I decided to give it a try.
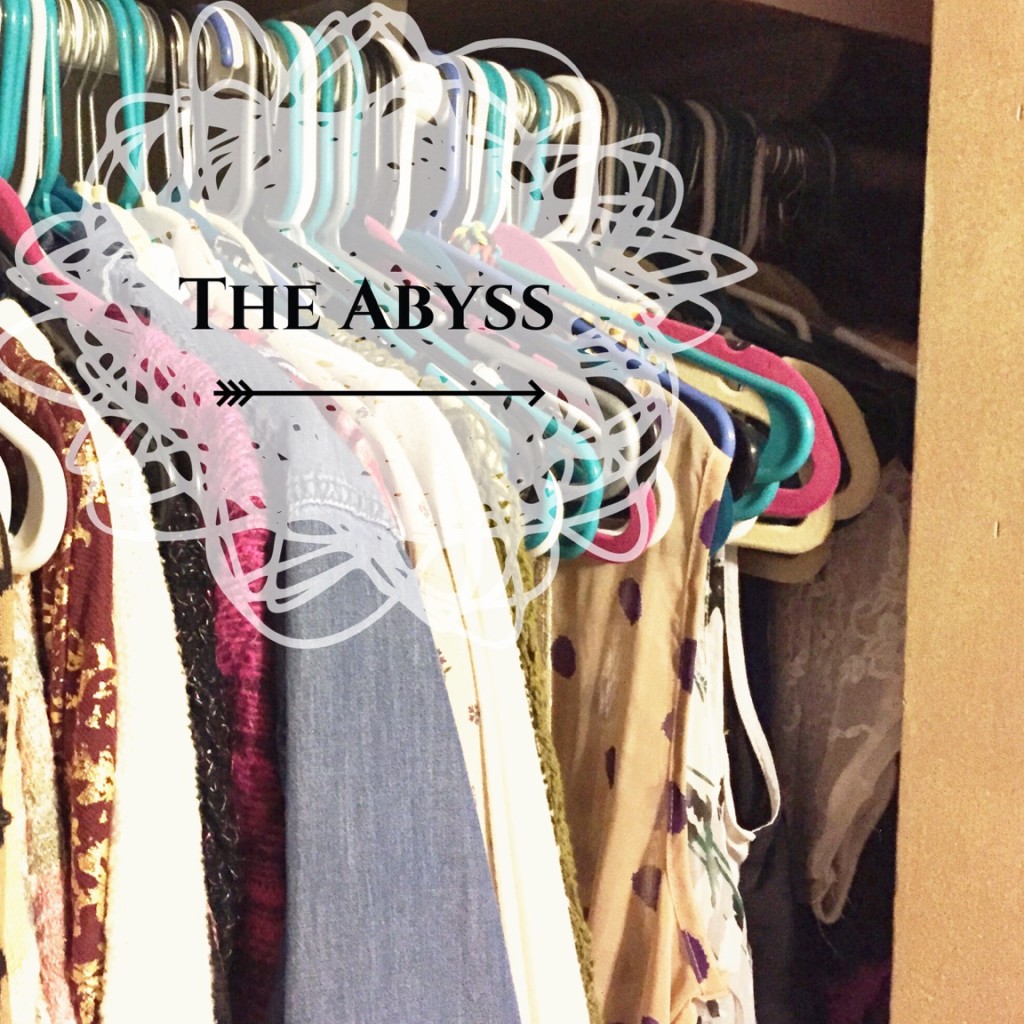
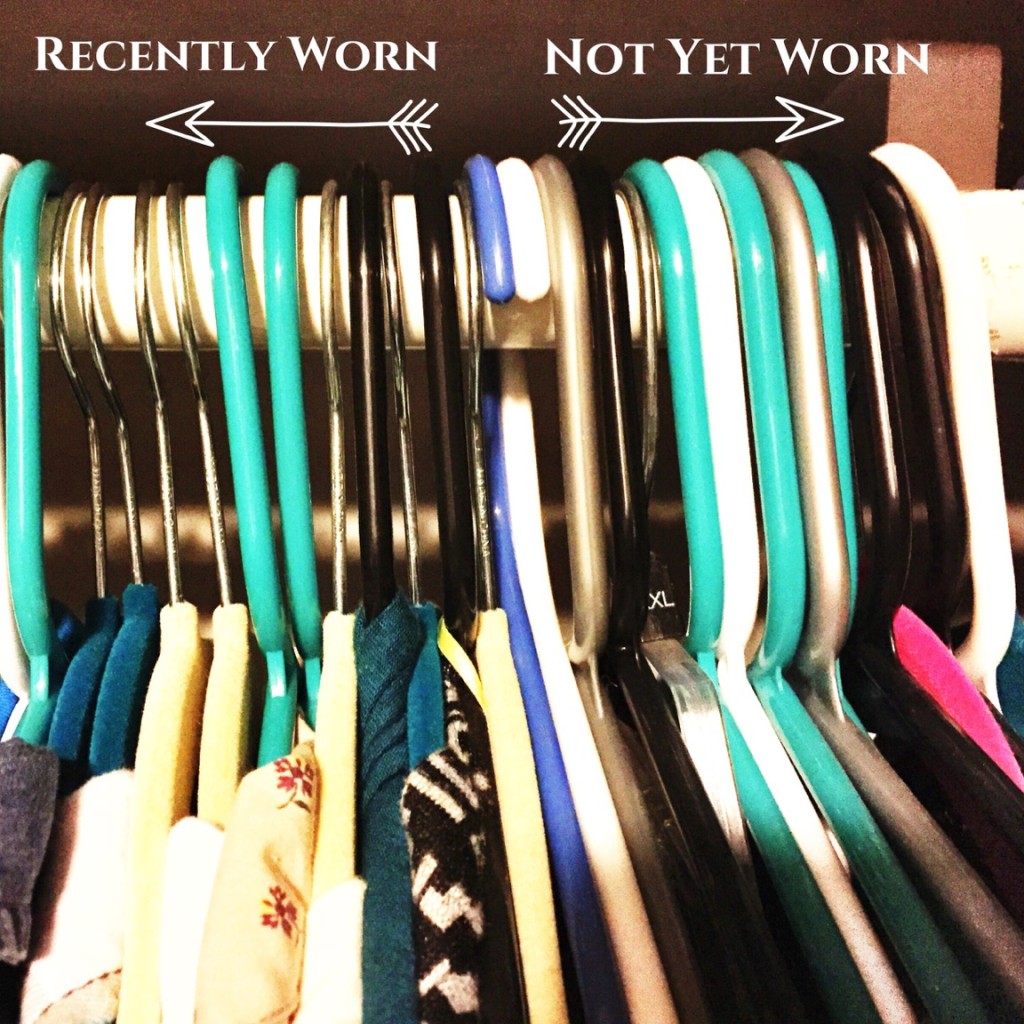 The pin’s suggestion was to turn ALL the hangers in your closet backwards and as you hung up items that you have worn you hang them up correctly. At the end of the season you will be able to really see the items that you never touched. I thought that was great and all, but I could BARELY hang one more item up let alone re-hang everything backwards without having to go to physical therapy for all the lifting. So, I decided to just hang the items that I knew I didn’t wear often backwards (nice party dress and a a sequin top that I only pull out for new year events.) Then everything I wore recently was to be hung on the opposite side of these items.
 (I also did this to my husband’s side but he doesn’t know this yet! Shh…) Can you find the dividing hangers?
I loved how this not only would lead me to clean out my closet at the end of the season, but it also:
- made me aware of what I wear TOO much
- allowed me to see growth in the side of recently worn items
- allowed me to see a shrinkage of clothes on the never wear side
- forced me to wear more clothes on the never wear side for fear I would lose them
- forced me to throw out items that were too small or not flattering as I tried them on instead of waiting until the end of the season.
In January I started working at a physical therapy clinic. This means that I have to wear scrubs on the regular. I don’t know about you, but I would much rather wear something a tad more fashionable. So I began to really love Friday-Sunday. These are the days that I could look and feel my best. This month I began to notice myself pulling more and more from the recently worn section, and I have way too many clothes to be limiting myself so soon.
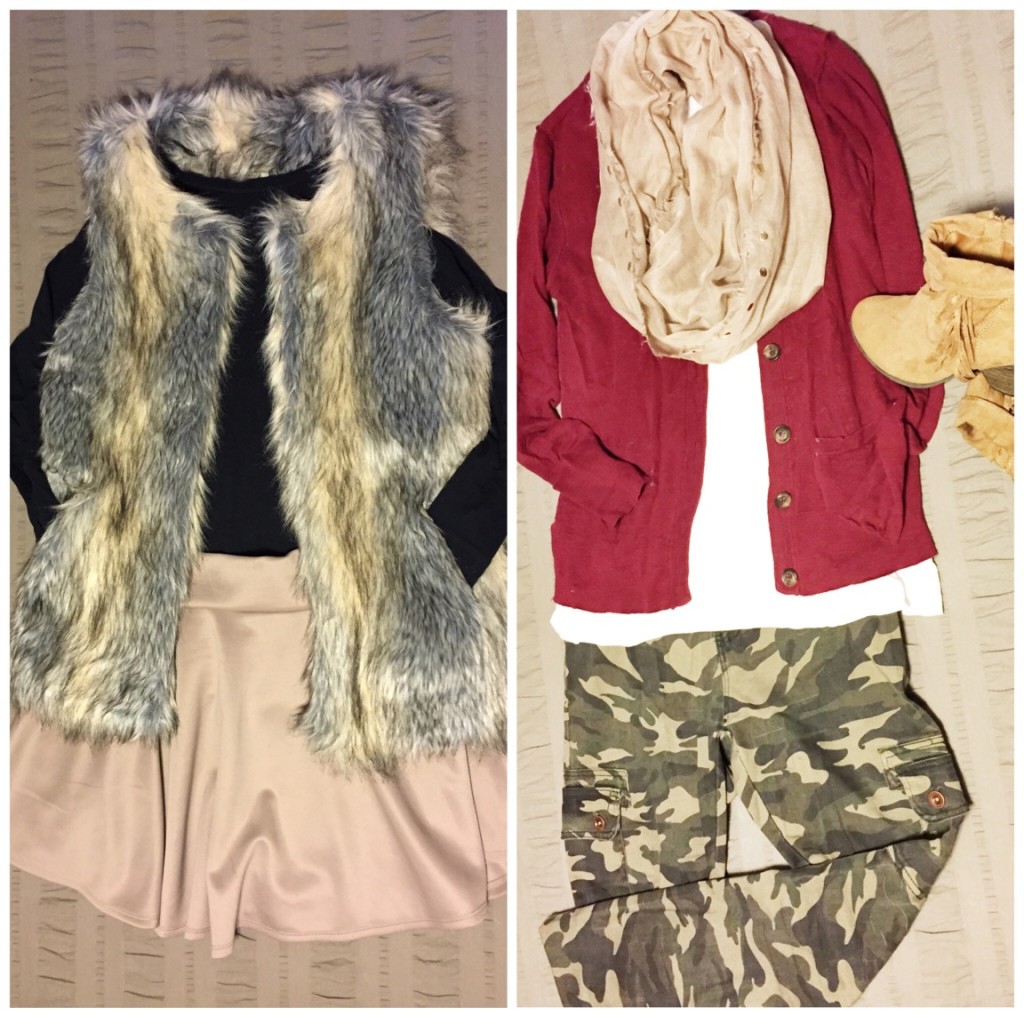
We spent the last weekend in Baton Rouge/New Orleans and I made a point to ONLY pack from the other side of the backwards hangers. The Abyss.
And I was thrilled with my outfits!
Maybe this idea works for you, maybe it doesn’t but I challenge you to evaluate your closet. Notice what you might be wearing too often or not enough. Throw things out that make you feel uncomfortable (trust me, this will make you feel like a million bucks when you’ve thrown out the tight, uncomfortable things and the rest of your clothes truly fit and flatter you). Do you have any tiny closet tips? I would love to hear them!
Nail Holes & The Nesting Place
 This post is a bit of a combo post. First, I want to bring attention to the fact that I finished my first book in many, many years back in the fall. I honestly can’t remember when the last time was that I actually finished a book that I started. I was probably a little girl. It was probably Babysitters Club or Sweet Valley High. (Not kidding.) I’ve learned a lot about how I feel about reading lately, but we’ll talk more about that later. For now, let’s all celebrate the fact that I actually read a book from start to finish. Feel free to bring me celebratory cupcakes if you’d like.
Now, let’s talk about that book. I’ve been following along with The Nester’s blog lately, and I’ve seen her book mentioned here and there around the internet. Basically, this book is about designing a home that you love around things that you already have or can put together cheaply and easily. It’s not about going in debt to furnish a picture-perfect home and it’s not about following all of the rules.
Instead, The Nester’s motto is, “It doesn’t have to be perfect to be beautiful.” Honestly, this motto is what drew me to her blog and the book to begin with. We all know that I struggle with perfection. It’s not uncommon for me to just not do something if I don’t feel like I have the time to do it perfectly. This is especially true for decorating our home. I have hundreds and thousands of ideas, but I delay implementing any of them for the fear of finding a better idea or not haven’t enough time to plan it out completely. It’s quite tragic.
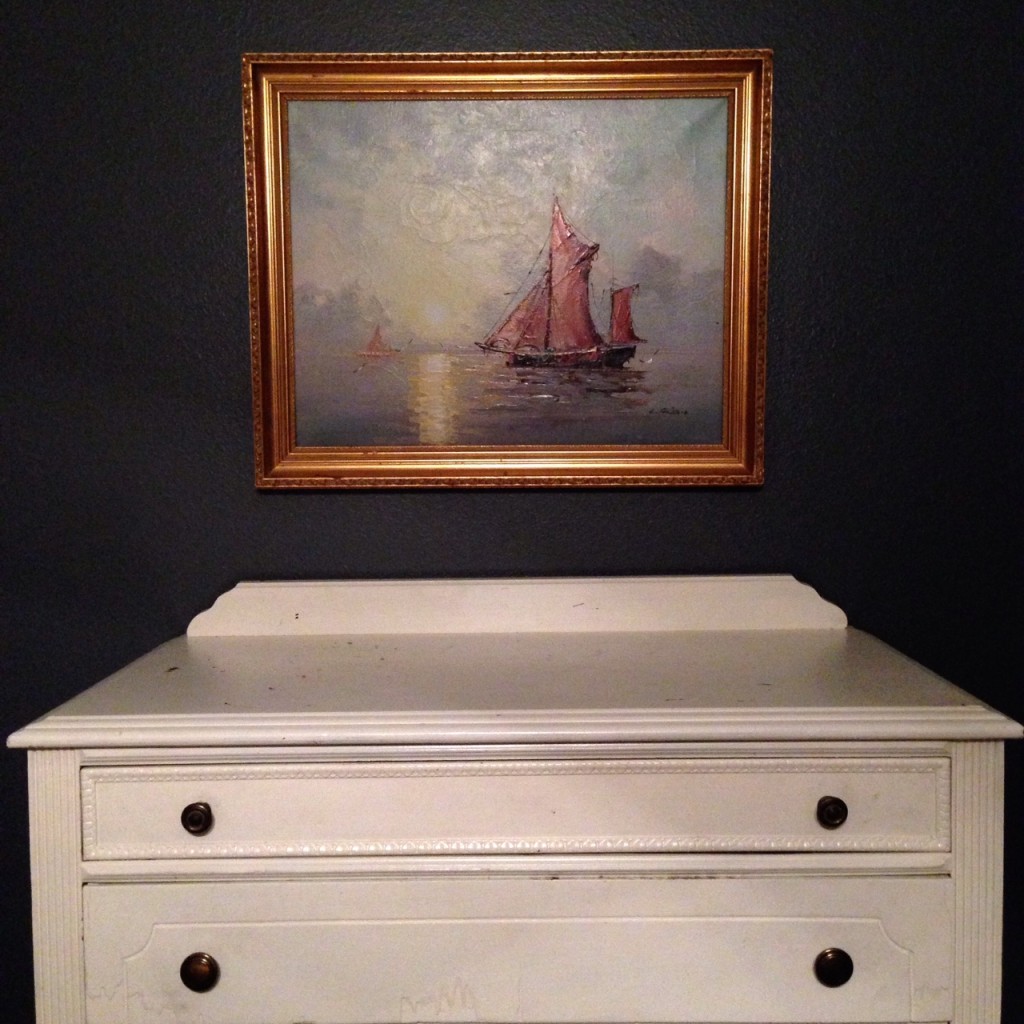 When I stumbled upon Myquillyn’s blog, her message struck me. I shouldn’t be waiting on perfection. Instead, I should be creating a home that works for Matthew and I, and I can do so without a perfect plan. There are many beautiful things out there that aren’t perfect. As a matter of fact, I tend to find that the imperfections are what’s most beautiful. Why, then, do I put things off in a quest for perfection when I don’t even want a perfect home?
As I read more of Myquillyn’s posts, I knew that her message was exactly what I needed to hear. I needed someone to coax me into just doing things, both at home and in my life in general. I hesitated to buy the book because I knew I had a terrible track record of not finishing books. I also didn’t want to read a design book that “showed you how to properly mix patterns” or some other surface level design strategy. Finally, I broke down and purchased the book for my iPad and then struggled to put it down again.
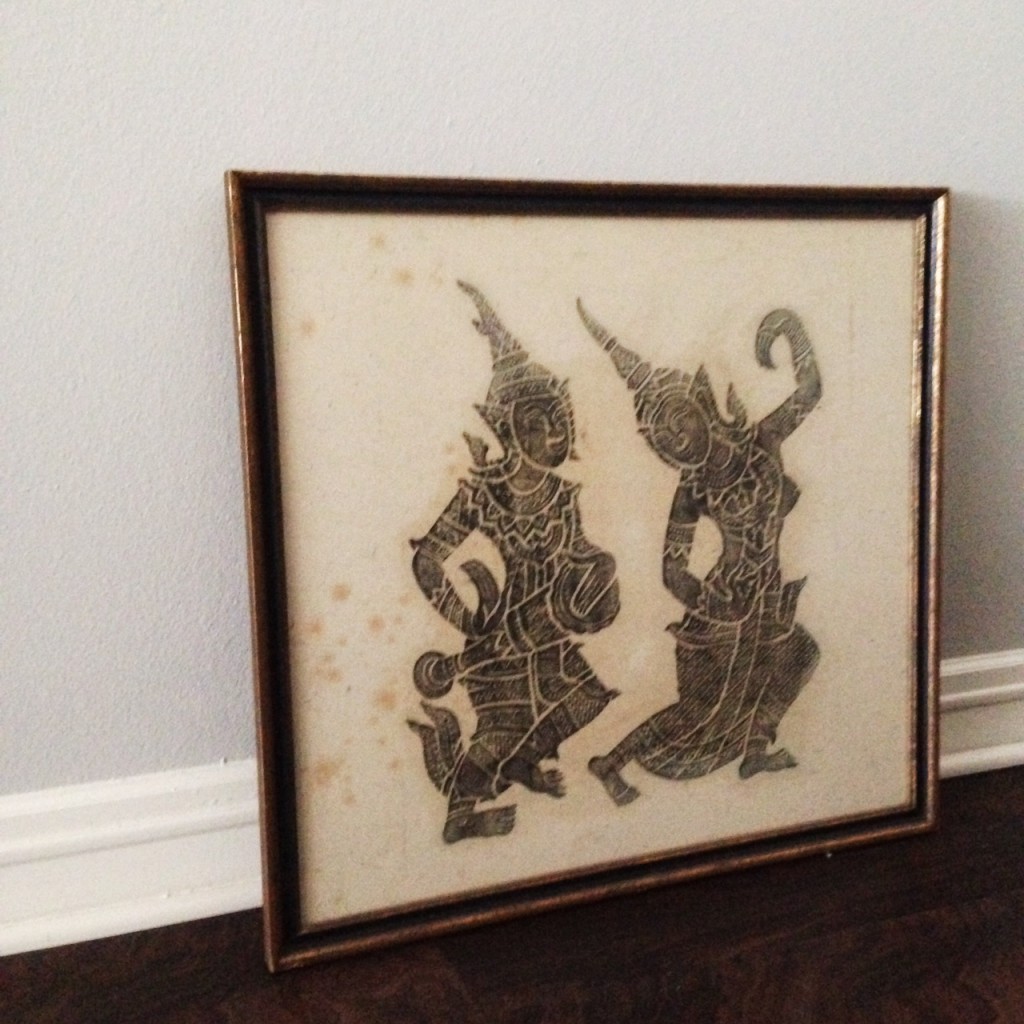 After reading the first few pages, I knew that I needed to really hear Myquillyn’s message. I knew that this book was far less about how do decorate and far more about why. After all, I don’t feel like I need help with how to do it. Instead, I needed someone to steer me towards actually doing things instead of waiting for the stars to align in a scenario where I have plenty of time and money and inspiration. The Nesting Place helped to me see all of the scenarios in which I was accidentally waiting for perfection. I was waiting for the perfect moment or the perfect shower curtain, and in reality, I had practically everything that I needed to at least make things beautiful for the time being. If I found a better rug/chair/ottoman/wall hanging later, then that’s fine! I could simply change it later. If you find yourself struggling with decorating your home or if you want some creative ideas for creating something beautiful on the cheap, I highly recommend reading the book.
This brings me to the second part of this post. There’s a section in The Nesting Place dedicated solely to nail holes. I almost shiver as I write this, because the thought of putting an unnecessary nail hole in my freshly painted walls, sends chills down my spine. After all, I paid a pretty penny (I suppose “pretty pennies” are worth more than ugly ones.) to have all of the holes filled and every single surface of this home painted. However, Myquillyn says, “Is there anything less risky in life than creating a one-millimeter hole in a wall that can be filled with your finger and some putty in two seconds?” She goes on to say, “Nail holes are just a part of living in a house. I’d say that a nail hole is the lowest entry-level risk-taking action you could have in life, other than getting no whip on your coffee.”
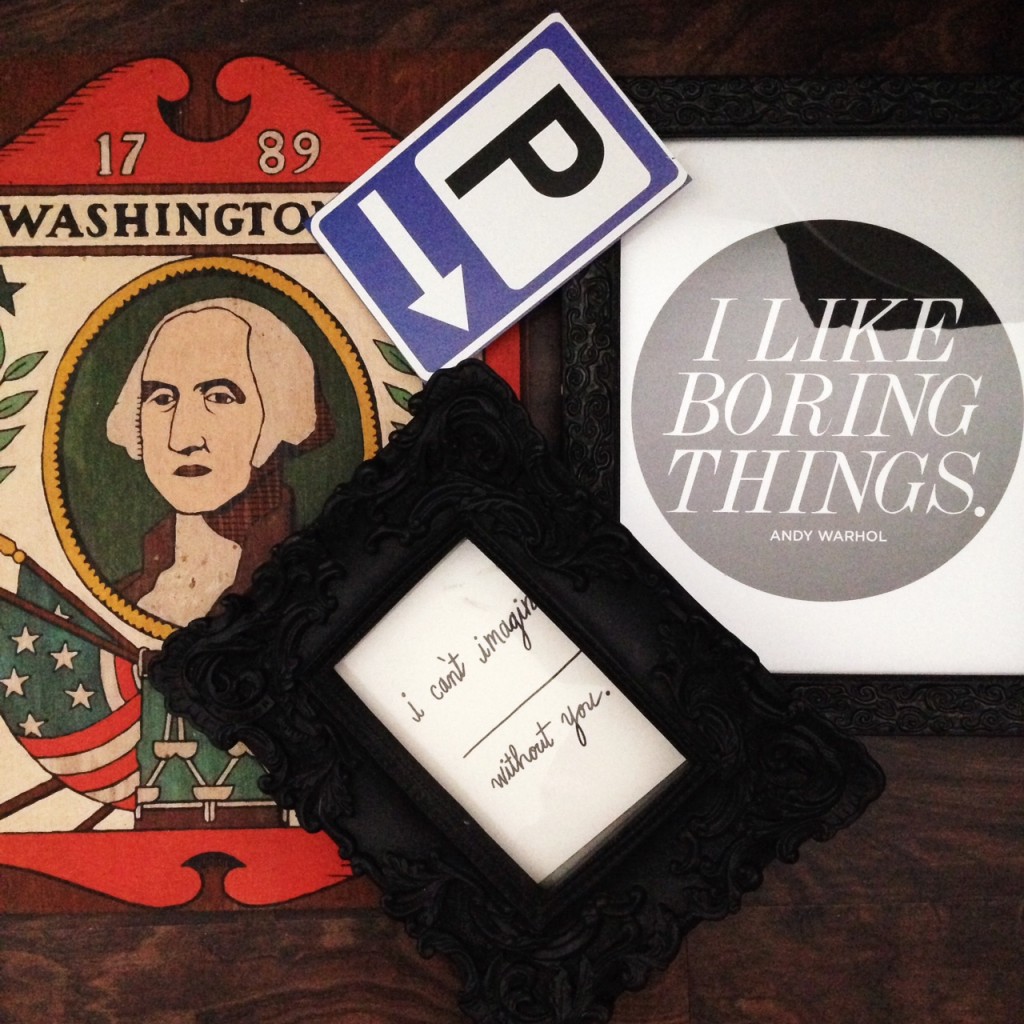 As crazy as it sounds, this section of the book was a huge turning point for me. I was putting off hanging things on my walls (something that I’ve desperately wanted to do for months) for the fear of putting a nail hole in the wrong place. How silly! That very day, I went and put a hole in the dining room wall. I hung a wreath as part of my Halloween decor…it’s wasn’t even a permanent decor item! As silly as it sounds, this was a huge step for me. I made a decision to not let such a tiny, little obstacle hinder me from having a beautiful home right now.
Each day that passes leads me closer to the day that Matthew and I will move from this home. I made a commitment that I wouldn’t put off decorating this home as I had done with our rent house. However, we’ve now lived here for 5 months and most of the house isn’t decorated as I’d like. Some of this stems from needing lots of new furniture. Some of it is from a lack of time. However, most of my hesitation to decorating has been a fear of missing the mark. It’s from a fear of hanging something in the “wrong” place or purchasing the “wrong” rug. These fears kept me from finishing our last home, and if I’m not careful, I’ll see the same thing happen in this home.
After reading Myquillyn’s book, I realized that most of my hesitation surrounds nail holes. I also realized that nail holes are really such a small issue, both literally and figuratively. The reality is, there’s a large chance that I’ll actually like where I hang something. The other reality is, if I don’t like where it’s hanging, I haven’t made some huge, life-altering mistake. I can simply move it. I can just as simply fill in the nail hole. After finishing this book, I decided to no longer let waiting on perfection be an obstacle for me in creating a home that I love.
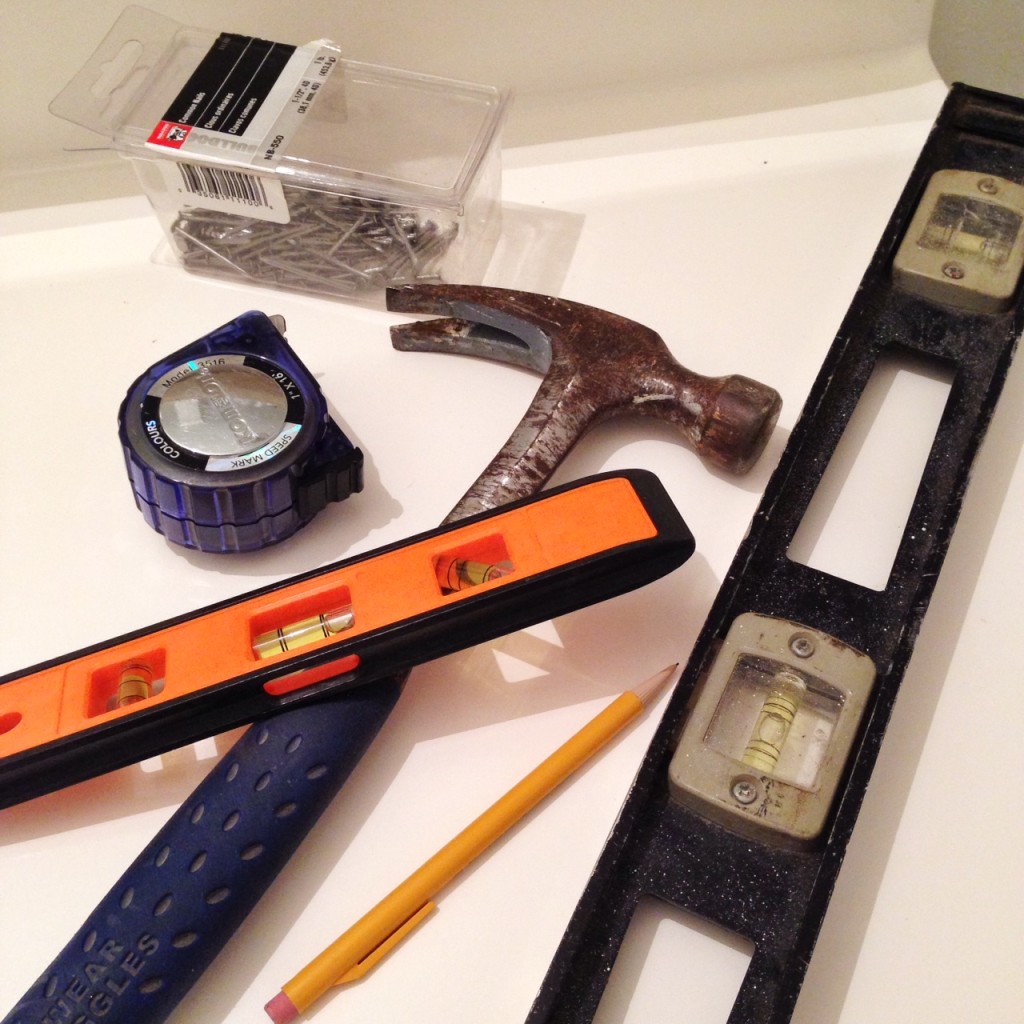 How many areas of our life do we approach in a similar manner? I think it’s safe to say that we often let fear of the unknown be an obstacle for us in creating a life that we love. Maybe we don’t go after that promotion for a fear of being told no. Maybe we don’t tell someone how we feel, because we’re scared of how they’ll react. Maybe we don’t put nail holes in freshly painted walls, because we’re afraid that it will be the “wrong” spot. Whatever it is, these little fears can quickly and sneakily be a total road block for us in creating the lives we want. Rather than holding on to fear and the struggle for perfection, let’s tackle life, one little nail hole at a time. Sometimes the risks we need to take are tiny. Sometimes they’re large. Either way, we’ll never know the outcome without first taking the risk.
What is one thing that you can do today to take a step towards the life that you want? Whatever it is, don’t spend too much time thinking about it. Just do it! For me, that means going to out another hole in the wall. Use this link to order the book and I receive a small commission!
January Review + February Goals
We’re nearing the end of January, so I thought it would be a good time to reflect on how I’m doing with my 2015 goals so far. In general, I’d say that I’m doing decently well with some and not as great with others. Some might find this discouraging, but I say it’s the nature of the beast.
Here are the things I’m doing well at:
- Waking up by 6:00-6:30. I’d be lying if I didn’t say this one is probably the toughest goal that I’ve set. Maybe ever. I seriously hate getting out of bed in the morning, and it’s been quite a struggle. However, there have been two instances where I’ve slept well past the 6:00-6:30 goal, and it’s had a tremendous, negative effect on my day. I’m going to keep this one up, but I’d say that we have a love/hate relationship at this time.
- Blogging 2x per week. I had to make 3 posts one week to make up for missing a post the week before, but I’ve met the monthly number. In my mind, that totally counts. I only made 4 posts in January of last year, so the fact that this is my 9th post for the month feels like a huge accomplishment…that’s more than double! I attribute a lot of the success so far to having a good deal of help from my assistants. (Thanks, girls…you’re the best!!) I can’t wait to see how this plays out as my work schedule fills up, but we’re headed in the right direction for now.
- Monthly quality time days with Matthew. I marked this one off too! I can already see that the first half of the month is going to fly by, and we’ll likely be squeezing this time in at the end of each month. However, the purpose of this goal is to make the time happen, so as long as I can mark this off by the end of each month, I’ll be happy.
- Host a party. I wouldn’t exactly count this as a party, but I did have some friends over for my birthday. Since the big goal here is to spend time with the people I love, I’m counting this as a party…and filling in a bubble on my goal sheet. 🙂
- Replacing mediocre things. I wouldn’t say that I did anything major towards this goal. However, I did make a pretty big step for myself. Hold on to your seats…this is a big one – I replaced the hand soap in our bathroom. Riveting, I know! On a serious note though, I was forcing myself to finish this bottle before buying a new one. The bottle was old and dingy. The nozzle was nearly clogged, and I didn’t like the texture or smell of the soap. The worst part was, it always seemed to leave little specks behind in the sink, so I was constantly having to clean the sink after washing my hands…so counterproductive! Nonetheless, it was still an unfinished bottle of soap, so I figured I needed to finish it before buying a new bottle. Not true. I threw this disgusting nuisance away and replaced it with a fresh, new bottle that smells lovely and doesn’t make a huge mess. One small step for mankind, one giant step for me!
While I did made some progress towards these five things, I didn’t do so well at working out regularly, random acts of kindness, or volunteering. Some of these are more annual or quarterly goals though, so I’m not too discouraged. Regardless, I feel like this month was pretty successful, and I’m excited to keep working towards all of these goals.
As we wrap up January, I’ve been thinking about what I want to do in February. Honestly, I struggled to set goals for February. For some reason, I just couldn’t really wrap my head around what I wanted to do. Finally, I settled on a few simple goals for the month.
- Leave with at least 3 big things (but no more than 5) from Family Reunion 2015. Family Reunion is the big, annual conference for Keller Williams. Agents from all over the world come together for a jam-packed week of training, networking, and planning. It’s nothing less than overwhelming. Since I tend to want to do all things at once, I hope to pick just 3-5 things from the conference that I want to implement in my business this year.
- Actually celebrate Valentine’s Day. Since we’ve been married, Matthew and I have never really celebrated Valentine’s Day. Honestly, I’ve always thought it was a pretty dumb holiday. This year, though, I’d like to make a little bigger deal of it. I think Matthew and I will do something special! (Side note: I can totally count whatever we do as a QT day and mark it on my sheet!)
- Hang at least 3 things on the walls. You’ve seen this pop up on several of my monthly goals lists. I have made a tiny, little bit of progress, but not near as much as I’d like. If I were being completely honest, I’d say that I struggle with just doing things. Instead, I have to plan everything out perfectly first. This is especially true for putting holes in my new walls. (Read: On Waiting for Perfection if you don’t believe me.) However, I’m growing a bit tired of bare walls. This month, I’m hanging some things. Period!
How are you doing with your goals so far this year? Don’t be discouraged if you haven’t knocked them out of the park yet. I haven’t either. We still have hundreds of days left in 2015, and there’s plenty of time to work towards whatever dreams you may have. Join me in setting a few small goals for the month, and let’s show February who’s the boss!
DIY Wall Hanging
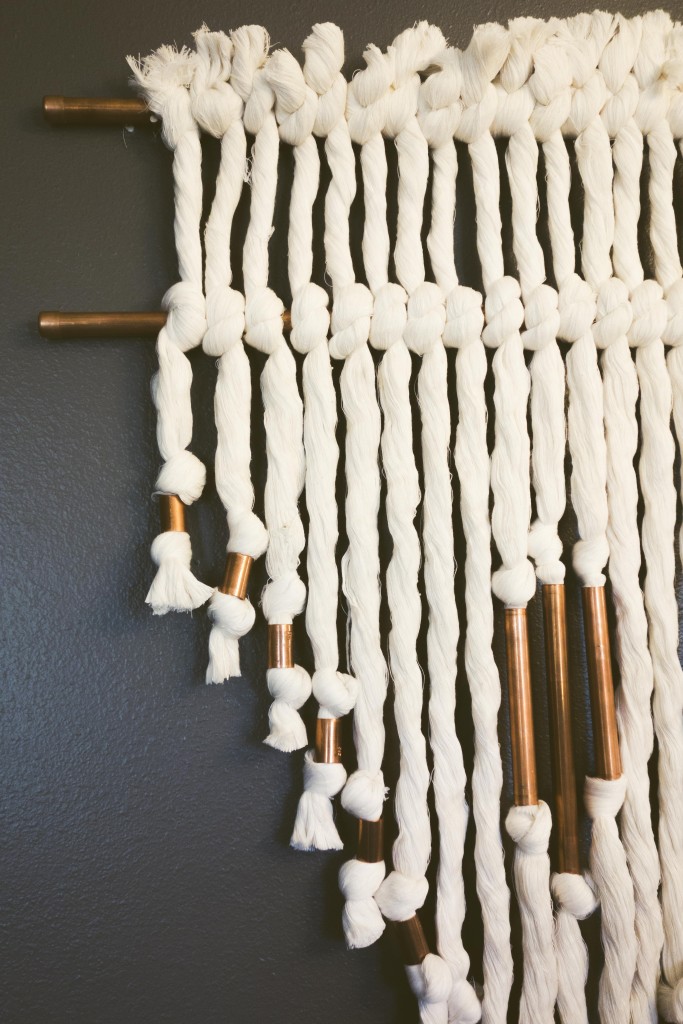
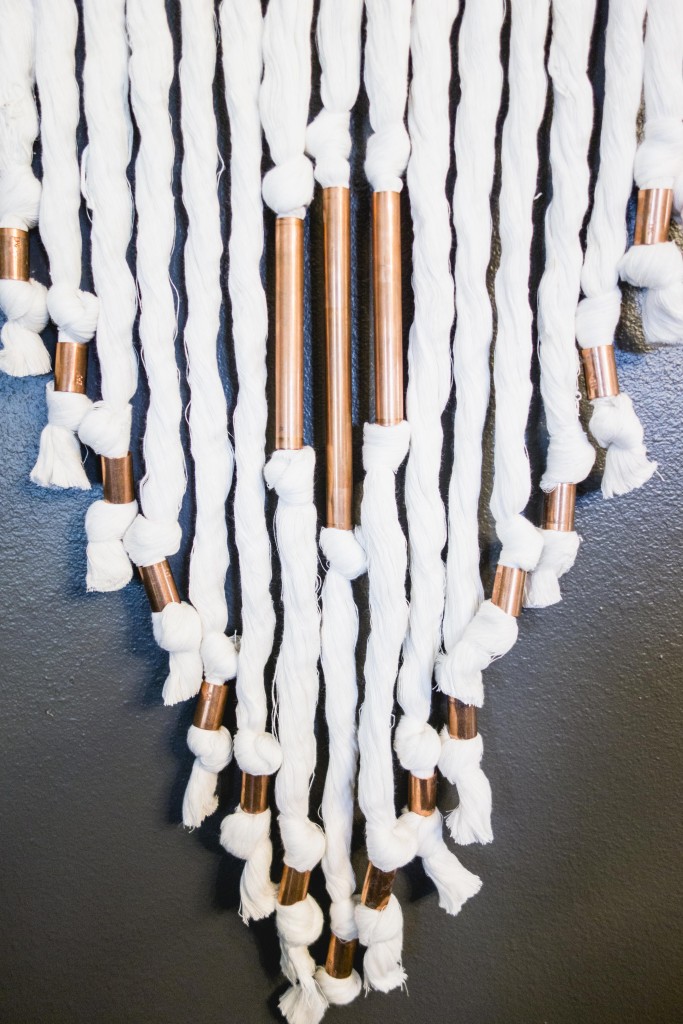
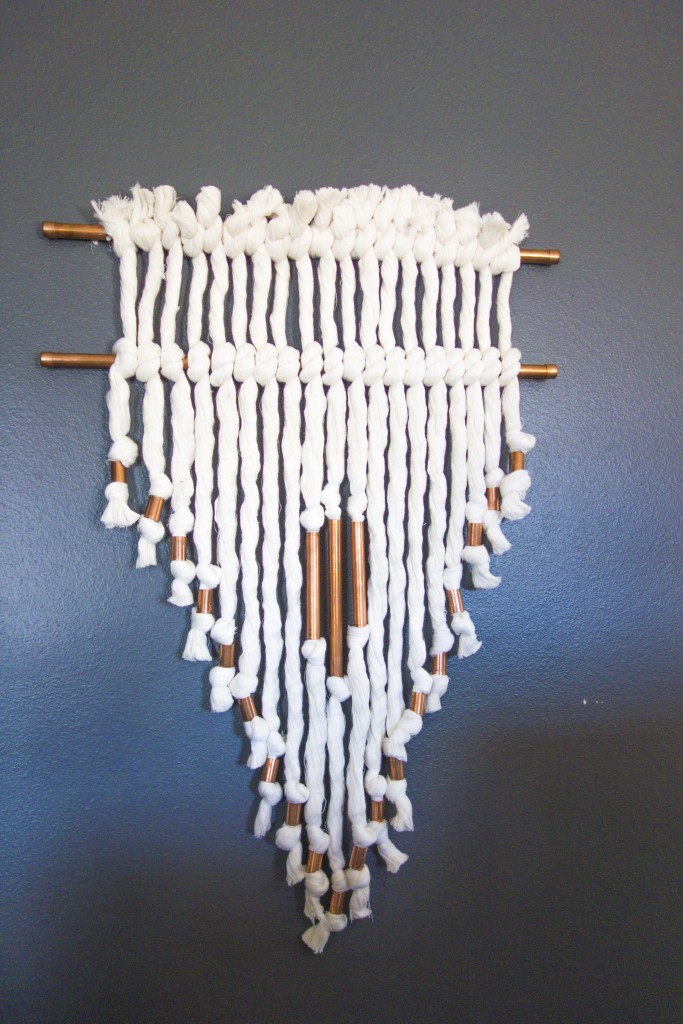
When I saw this wall hanging on A Beautiful Mess, I knew that I needed to give it a whirl for my own home. Rope is one of my favorite things ever, and I’ve been drawn to anything copper lately. Perfect combination! Plus, the world is being taken by storm with textured wall art and weavings these days, which I’m totally fine with. There’s some pretty awesome work making its way around the internet, if you’ll look around a bit. If I’m not careful, my home might end up with a weaving or rope/yarn art on every wall!
I actually started on and completed this project months ago. It was finished (with the exception of trimming the edges to level them out) months before we decided to move from our rent house. Now that I think about it, I may have actually purchased these supplies this time last year! (Take you a year to get something completely finished? Me too…don’t feel bad.) I planned to hang this in our master bedroom….that I never finished. Instead, this little guy just hung out in a laundry basket until we moved. However, it was one of the first things I planned out for the new house. I knew right away that I would hang it in our dining room, and I was excited about how it would pop on the dark gray wall.
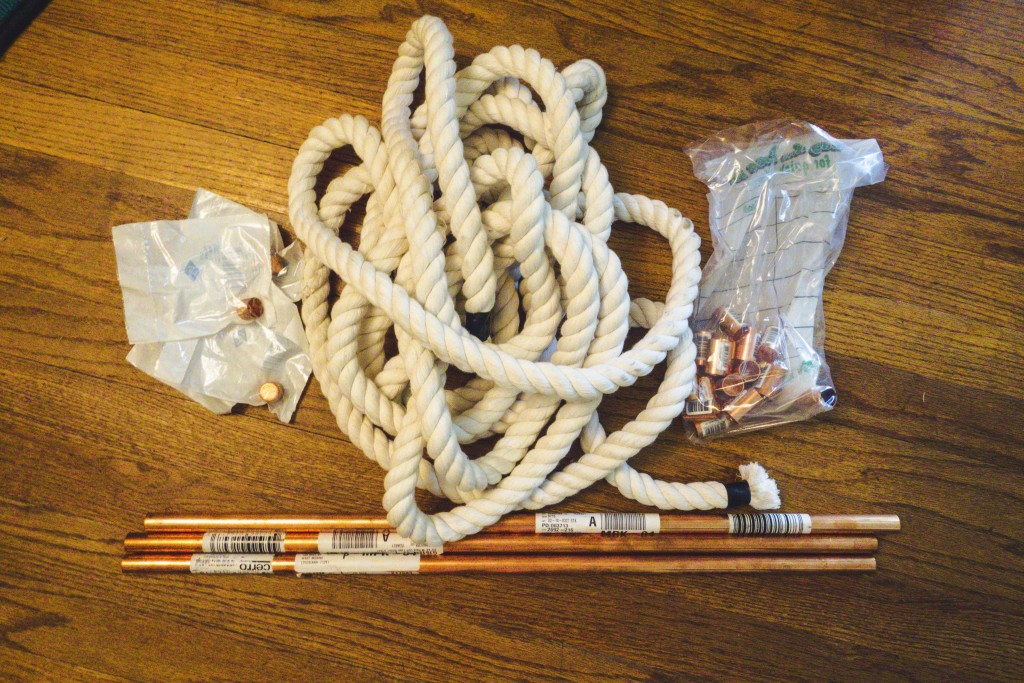
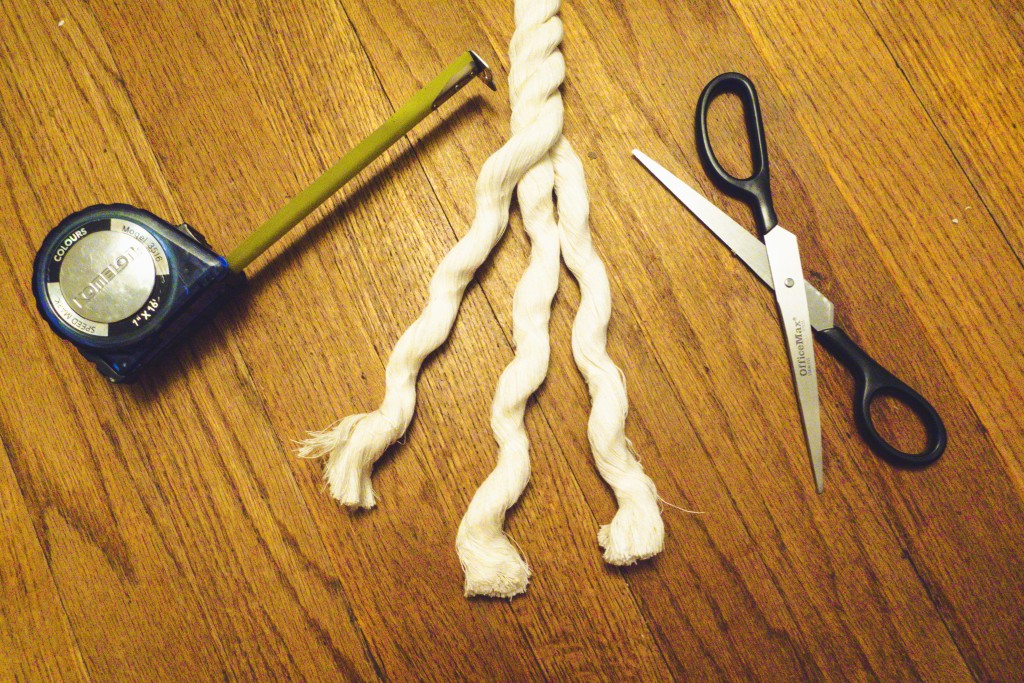
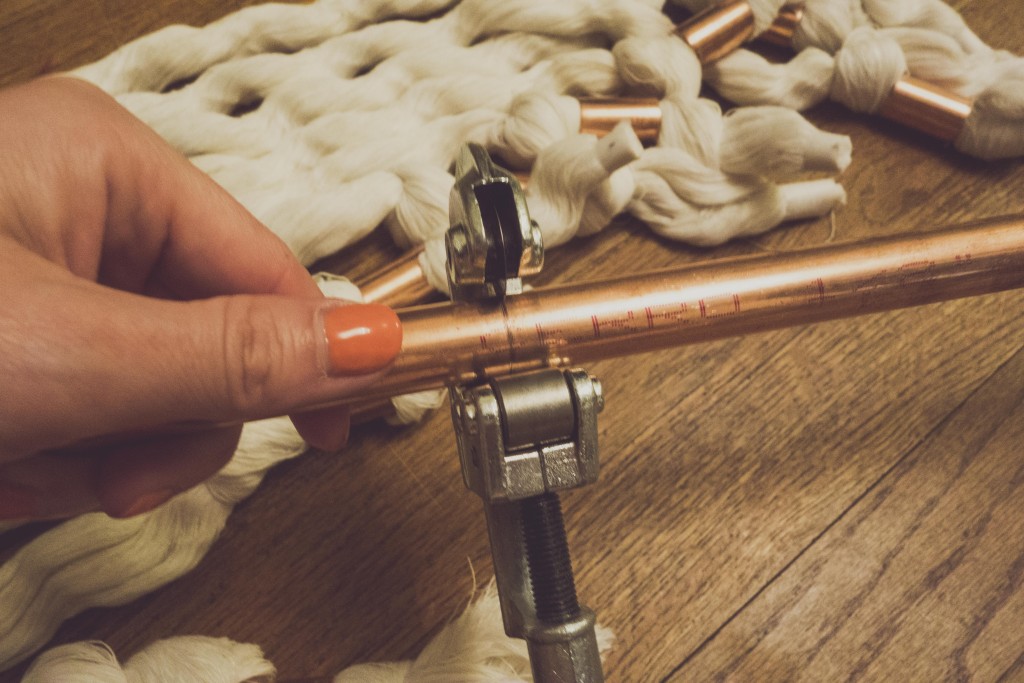
I’m not sharing much of a tutorial here since you can get all of that from the ABM link. I will say that all of the supplies came from TP Outdoors. The rope was a 3-strand rope, and I unraveled it to use the individual strands. I also taped the ends with scotch tape before cutting them to keep them from fraying quite so much as I worked. I removed the tape after hanging it on the wall. For the most part, I followed the directions pretty closely. The hardest part of this project was cutting all of the rope and getting the knots to line up. However, after you get going with a few strands, it’s pretty easy to work out a system. Don’t worry too much about the ends being the same length at this point. It’s much easier to make them a tad longer than necessary and then trim to the correct length after that.
This is one of my first DIY projects to make from ABM (They share so many good ones!), and it’s one of the first that I’ve done that turned out pretty much exactly how I’d hoped! It’s been a bit of a conversation piece in our new home and most people are shocked to hear that I made it.
How about you? Have you made any awesome DIY projects lately? I’d love to see them, so send me a link! I actually have another project that I made from ABM that I hope to share soon…just gotta get to work in that closet room of mine!

