Tag Archives: fall decor

DIY Halloween Rug

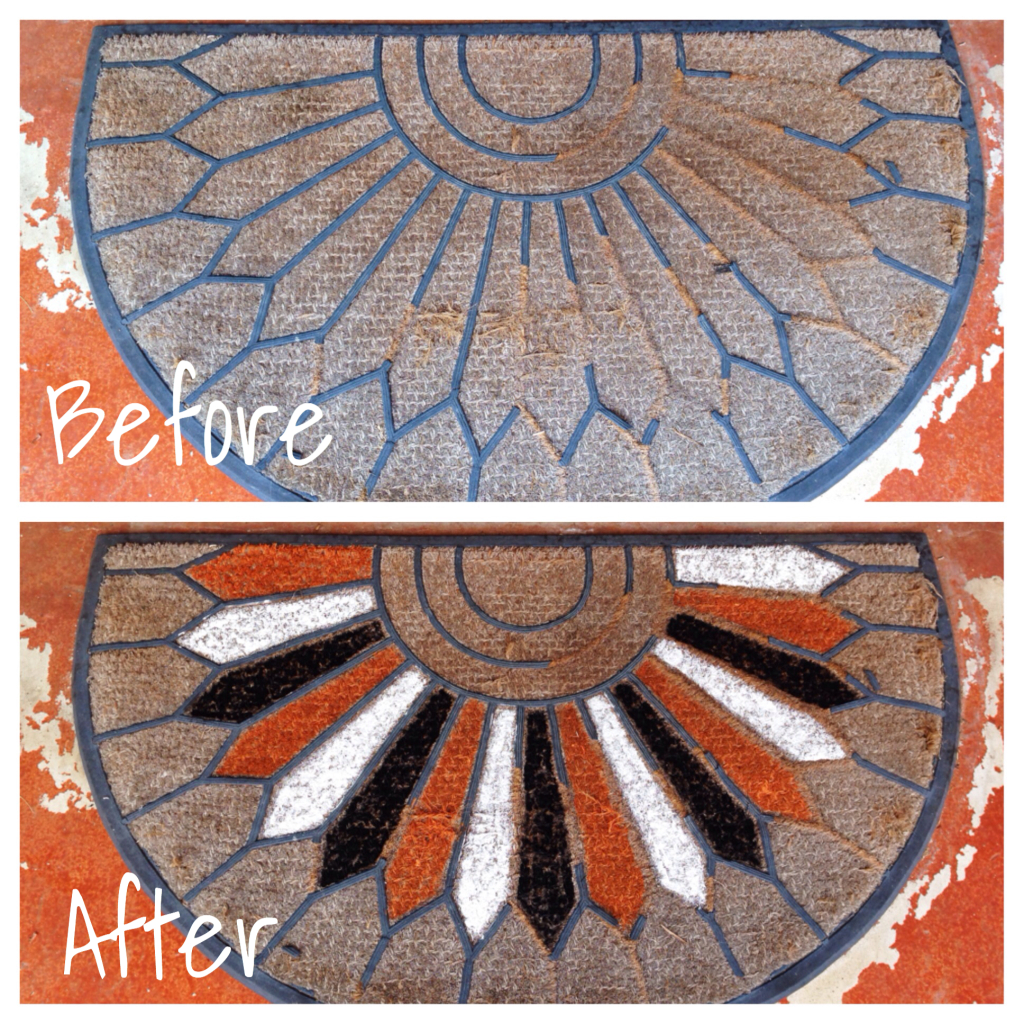
rug before and afterThis old, worn out rug was left at our house by the previous owners. I’d been meaning to pick up a new one but just hadn’t gotten around to it. The list of things that I need to get for this house is incredibly long. For example, light fixtures…I still need to pick out new light fixtures for every room in the house. One thing at a time, Pamela. One thing at a time.

Anyway, I was waking around outside, thinking about Halloween/fall decor one morning, and I decided that I should give this old rug one last ride before tossing it out. I decided to add a little paint and use it as part of my Halloween decor before replacing it. I could have just bought a Halloween rug from the store, but this option gave me a chance to use something that I already had, and I won’t have to try to reuse or store a new rug until next year.

Halloween craft suppliesI used simple craft paint for this project because it’s what I had on hand when I had the idea. This rug is under the front porch, so I don’t have to worry much about it getting wet. Also, I only needed it to last for a few weeks, so I didn’t spend too long worrying about the paint choice. If you’re going to do something similar in an area exposed to weather or want it to last longer than a couple of weeks, you’ll want to use a more durable, exterior paint.
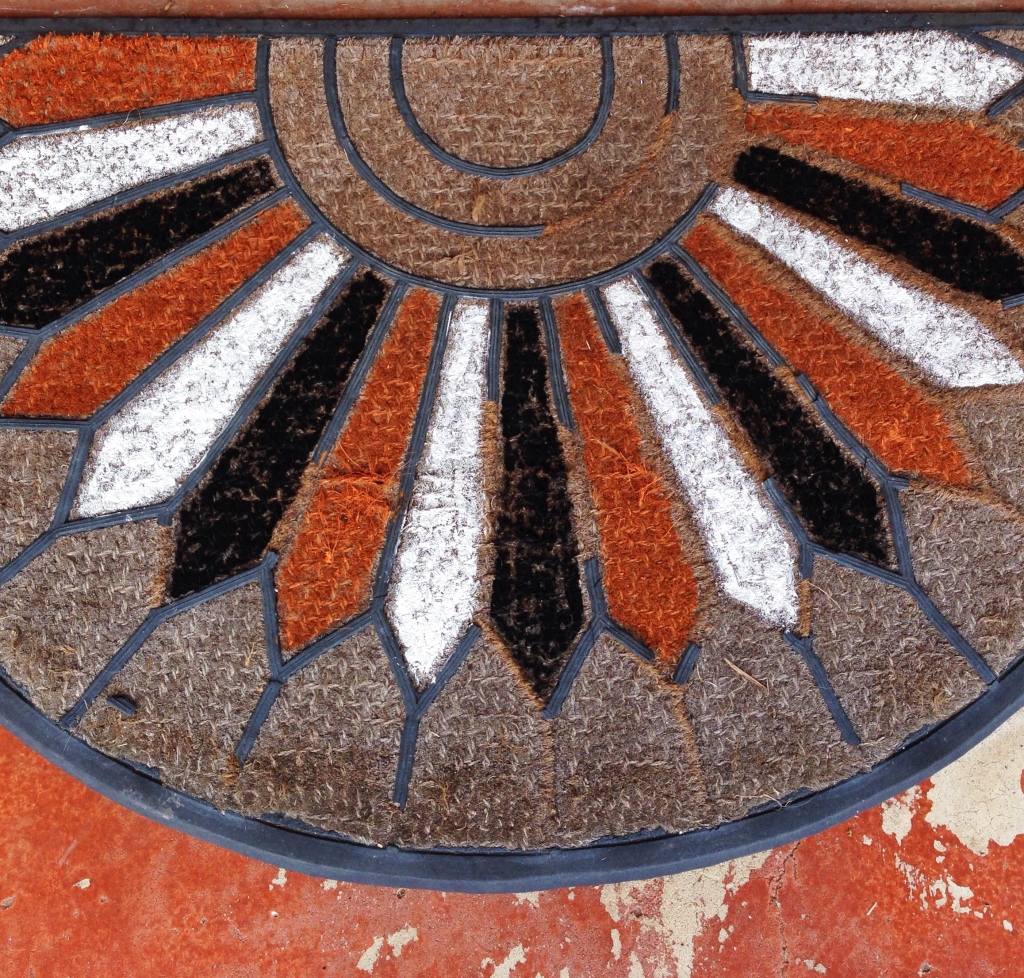
DIY Halloween RugLooking back, I should have probably painted the top and bottom portions instead of the middle where most of the feet-wiping will take place, especially since I used craft paint. However, I feel pretty confident that it’ll make it through Halloween anyway.

So there you have it….a quick and easy way to give a new life to something old. Do you have anything lying around your house that a little paint might spruce up? Even temporarily? This project took about an hour to complete. That includes the idea process and hunting up supplies. If you have an old, ugly rug lying around, you should try it!

See more Halloween decor ideas on my previous post.

Halloween Decorating Ideas

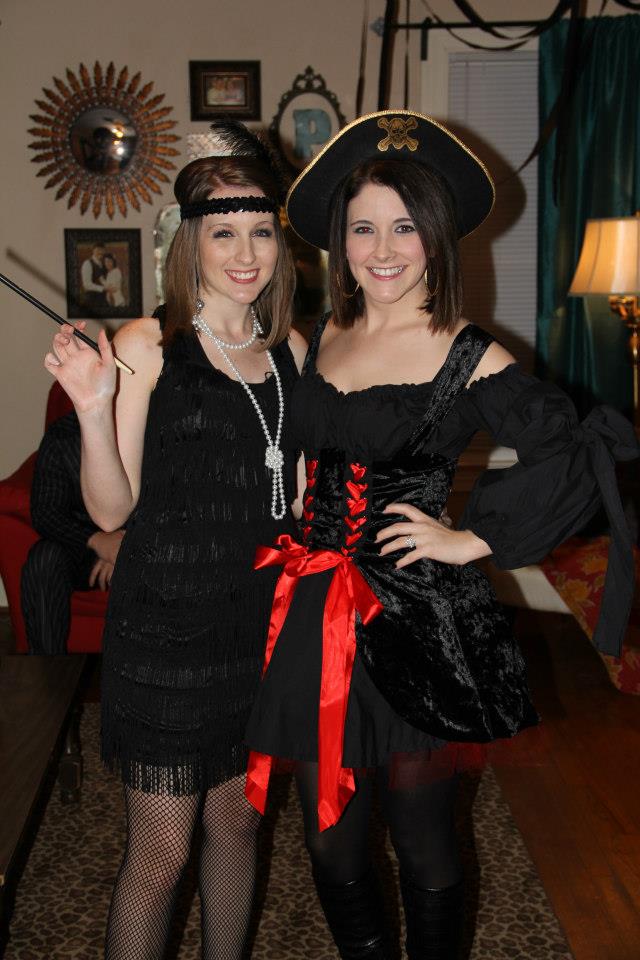
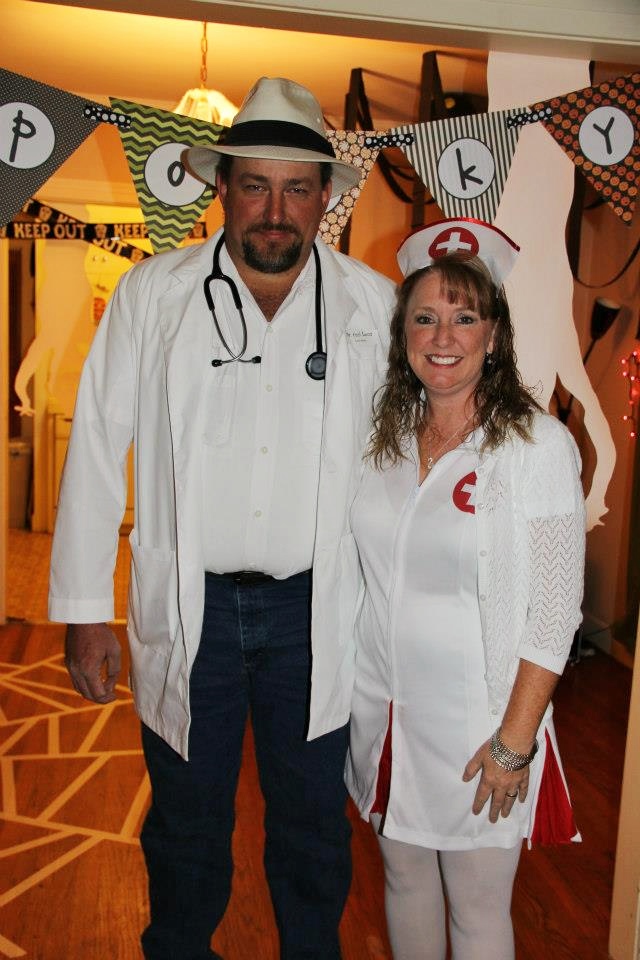
Halloween Decorating Ideas (9)Halloween has always been one of my favorite holidays. Costumes, decorations, the cool fall air…it’s just so much fun! Matthew and I hosted a Halloween party shortly after we were married in 2012, but I never shared any pictures from that night. (We ended not having a party last year.) When preparing for Halloween 2014, I thought it would be fun to share a few photos from the 2012 party. We didn’t get pictures of all of the guests, but how fun are these costumes?!

Halloween Decorating IdeasHalloween Decorating Ideas (6)Halloween Decorating IdeasHere are a few quick and easy decorating ideas from the 2012 party.

1. Giant spider web: Use masking tape to put a spider web design on the floor. I did mine coming out from under the food table. Note: Be careful using masking tape on hardwood floors. It didn’t leave a lasting web impression on the floor or anything. I’m definitely warning you from past experience.

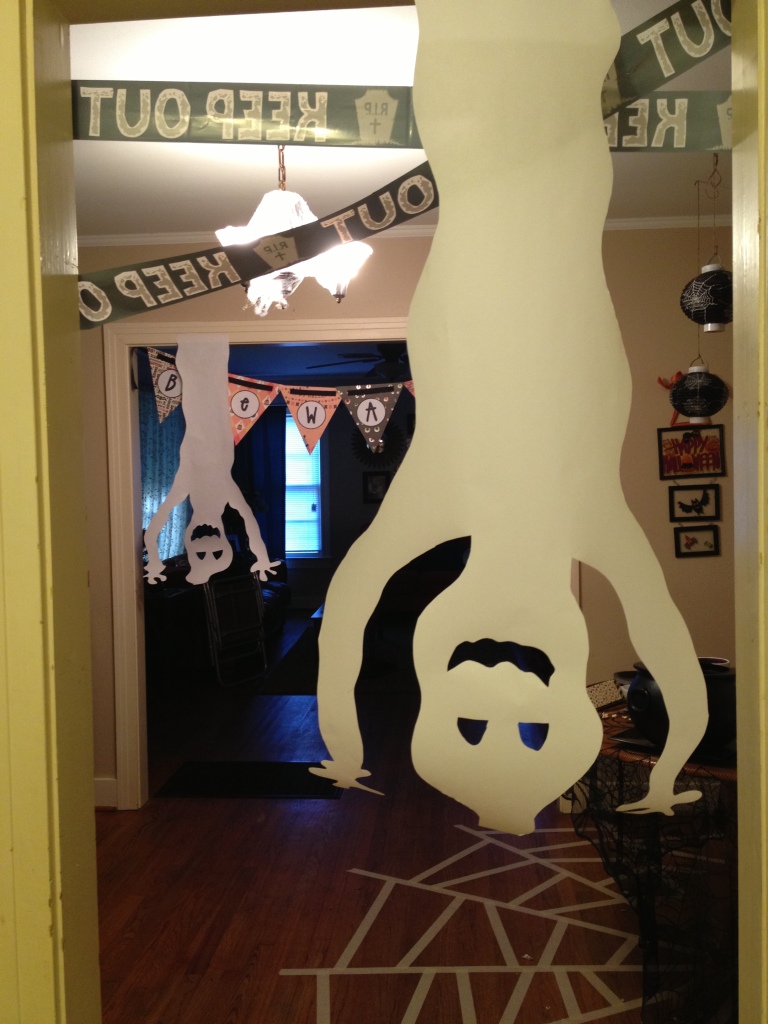
Halloween Decorating Ideas (7)2. Hanging ghosts: Cut scary ghosts from butcher paper and hang from the bottom of doorways. I added a little caution tape from the Dollar Tree to give it something extra.

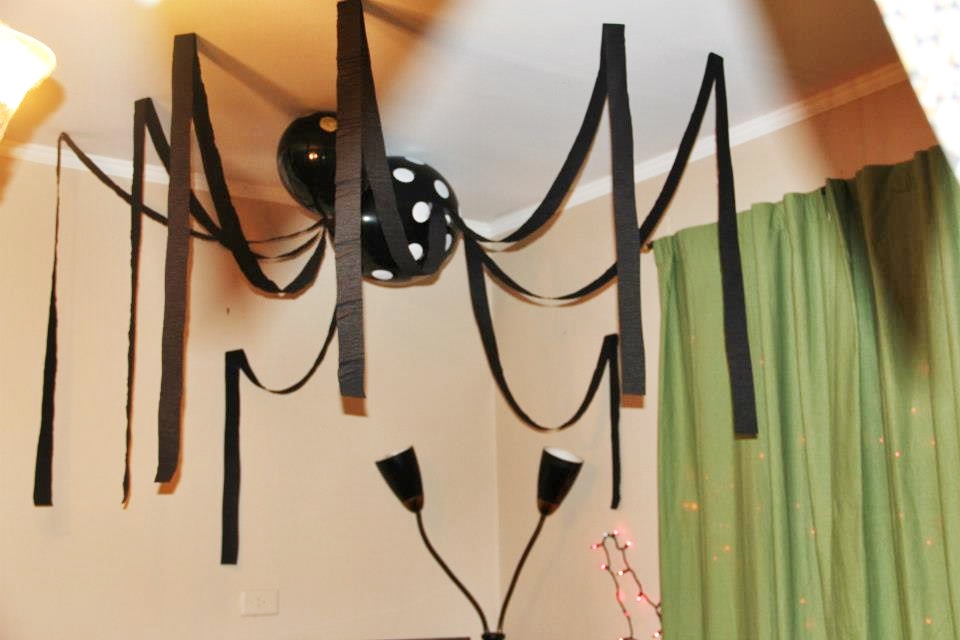
Halloween Decorating Ideas (14)3. Giant hanging spider: Tape black streamers to balloons and hang from the ceiling to make a giant spider. We used push pins to secure it to the sheetrock ceilings. This is a great idea to take up a large space…you could make it as big as you’d like!

Halloween Decorating Ideas (8)4. Apothecary jars: Use plastic bones in water with green food coloring to create a lab-like vibe.

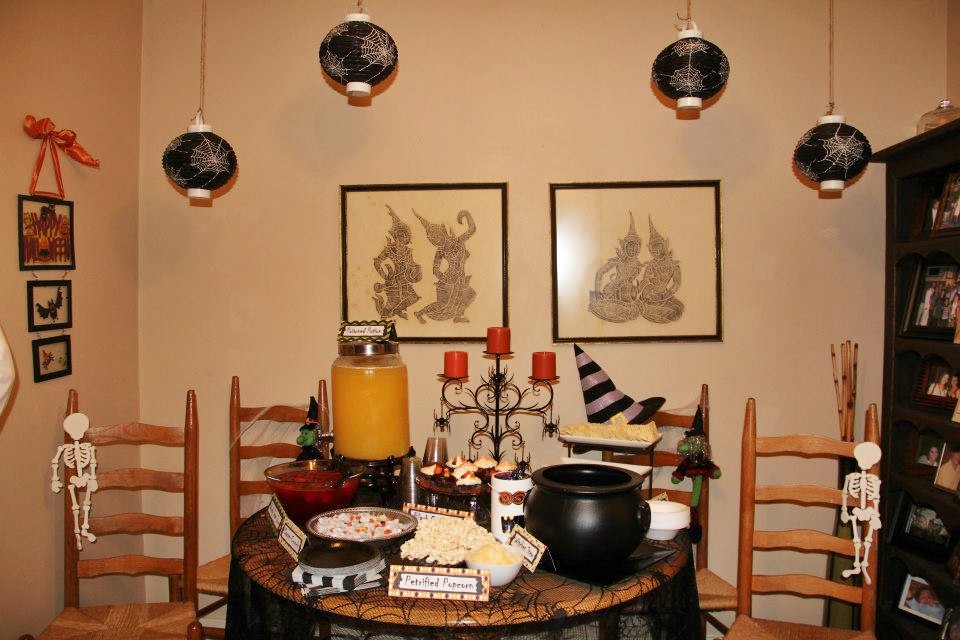
Halloween Decorating Ideas (5)5. Food labels: We made Halloween themed labels for the food and included names like Petrified Popcorn, Witches Stew, Black Cat Cakes, Poisoned Punch, Casper Crunch, etc.

Halloween Decorating Ideas (10)6. Faux spider webs: You can never have too many spider webs. This is a cheap and easy way to make any space look more festive. Stretch them over everything!

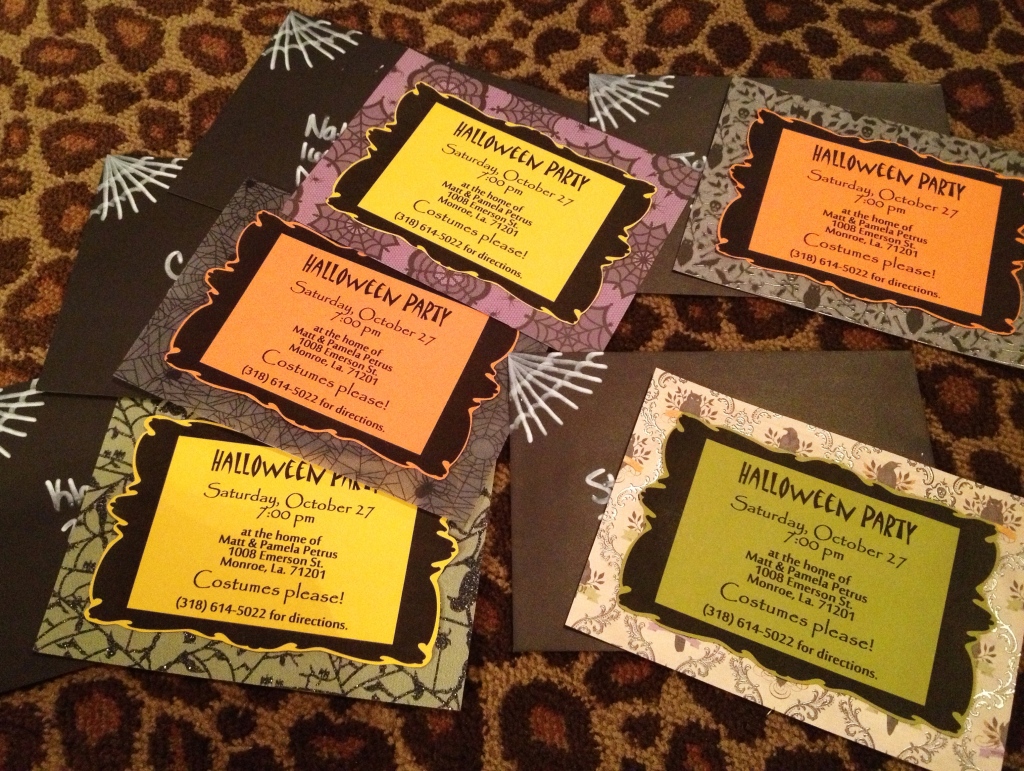
Halloween Decorating Ideas (2)7. Invitations: It’s no secret that I have a slight infatuation with stationary and paper products. We printed invites on fall-colored paper, cut them out, and glued them to Martha Stewart Halloween paper (similar to these). I mailed them in black envelopes and wrote the addresses with a white marker. I also drew a little spider web in the corner. I loved it! I might have to use this idea again this year.

Halloween Decorating Ideas (13)Halloween Decorating Ideas (4)Whether you’re doing a small get together or something larger, these ideas can be incorporated into practically any space or event. I’m getting pretty excited about this Halloween, and I know that I better get busy! I’ve been pinning quite a bit of Halloween and fall décor ideas lately. If you’d like an extra dose of inspiration, go check out my Halloween/Fall Board on Pinterest!


DIY Fall Wreath

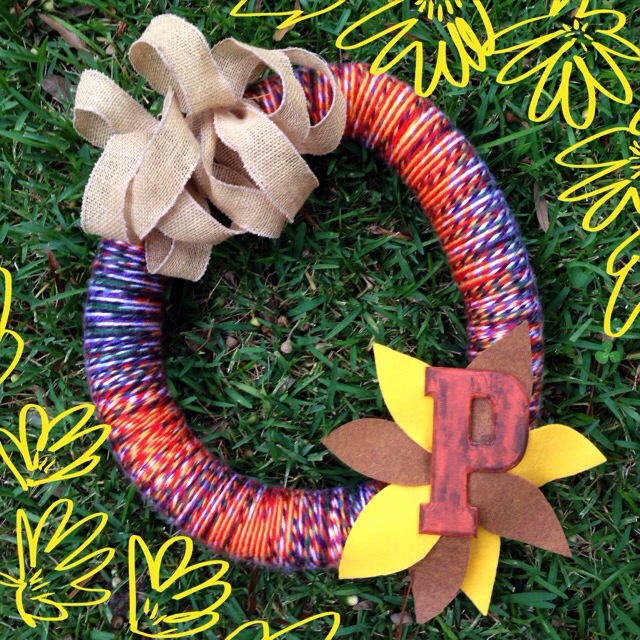
DIY fall wreathI’m working on building a wreath collection for our home. This fall, I had several different wreath ideas that I wanted to try and finally decided on combining a few ideas I collected on my Pinterest.

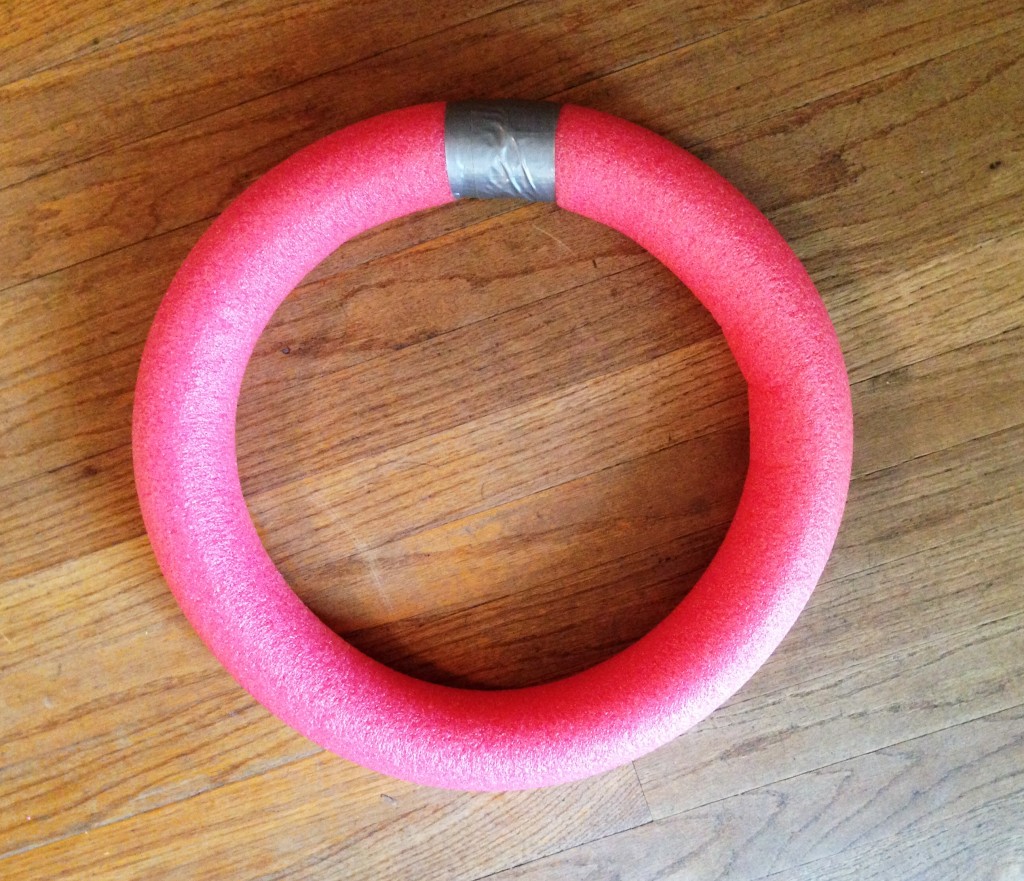
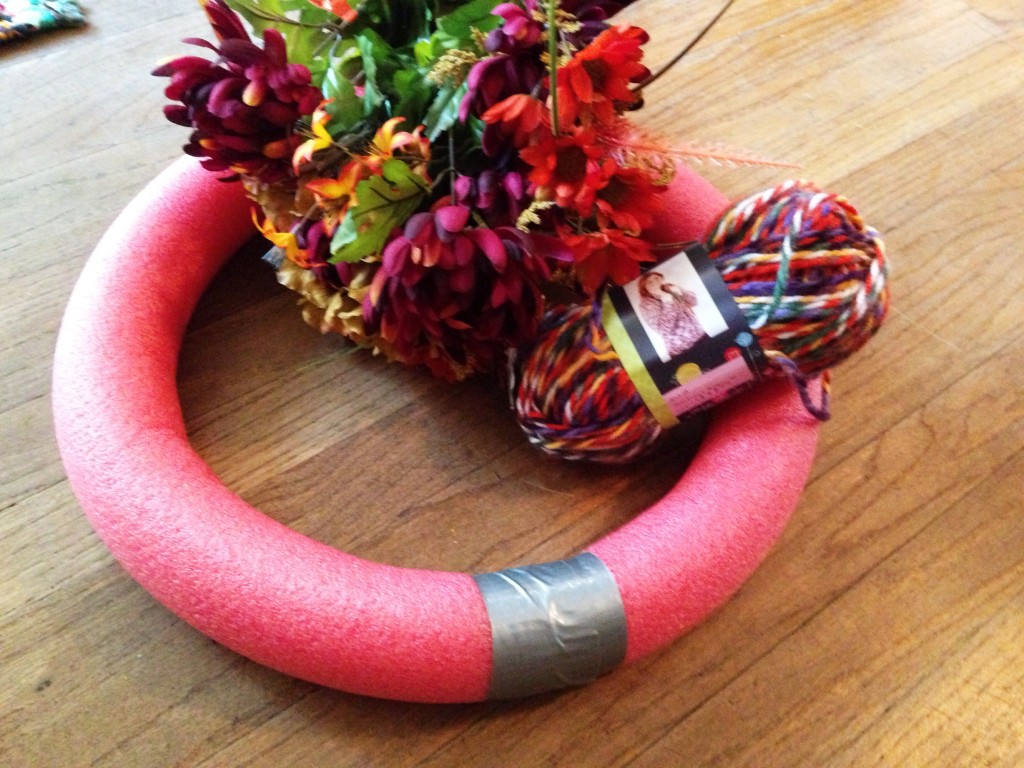
One of the main things I’ve been wanting to try is making a wreath from a pool noodle. I saw this idea somewhere on Pinterest (Sorry, I didn’t pin the link!) and thought it was genius! I picked up this pool noodle from the Dollar Tree (You guessed it, just $1.) and couldn’t wait to try the technique. To be completely honest, I bought this back in June with the intention of making a 4th of July wreath, but that never happened. Don’t judge.

DIY fall wreathDIY fall wreathSo, since I still had this pool noodle on hand, I chose a fall wreath plan that could use these supplies. You begin by using duct tape to attach the two ends of the noodle, creating your round wreath shape. Note: it’s very important to make several rounds with the tape, taping approximately 4-5 inches or more on either side of the connecting point. (The photo above is NOT enough tape.) You don’t want to come back to your wreath to find that it’s popped apart. I’m not speaking from experience here. Ok, maybe I am.

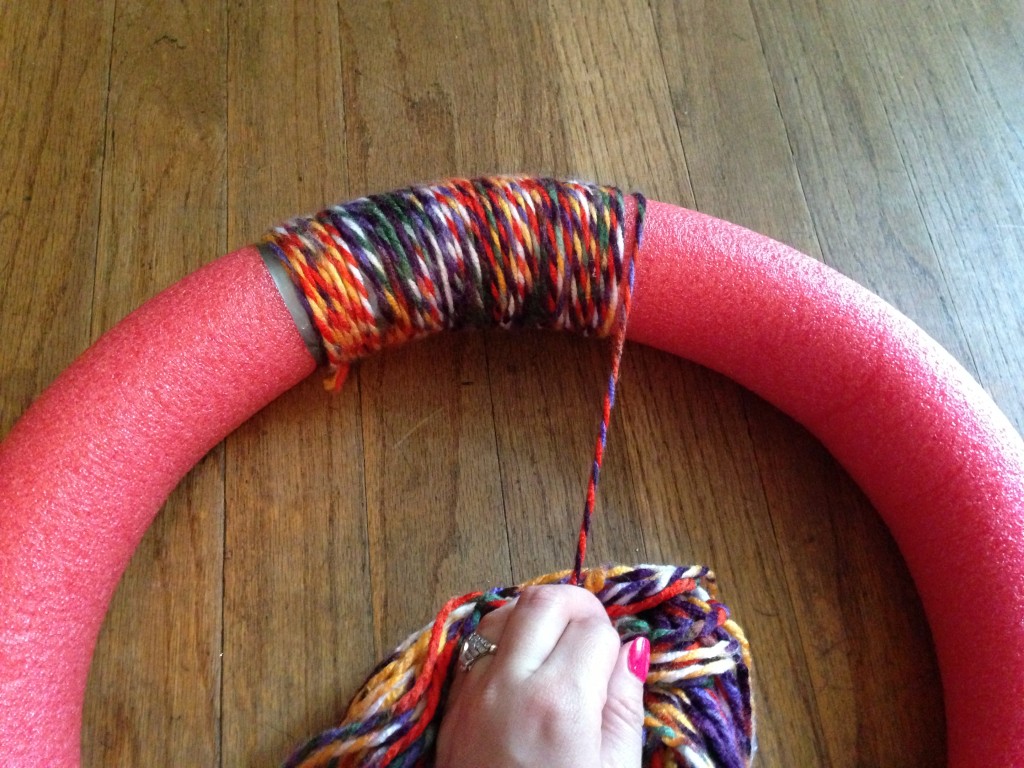
DIY fall wreathAfter I created my wreath, I chose to wrap the whole thing in fall colored yarn. Word to the wise: this process took a lot longer than I anticipated. I also ended up tangling the yarn more than a time or two. Nonetheless, I pressed on and didn’t set the whole project on fire like I may have wanted to at some points.

The day before I started working on my wreath, I saw Rachel’s fall wreath and thought it was adorable! I really liked the felt leaves so I decided to try to work those in. My original plan was to use fall-colored, silk flowers around the initial, but I thought the felt leaves would compliment the yarn I used. This project took on a few different looks before I actually completed it, as you can see from my supplies photo above. Those flowers didn’t make the cut.

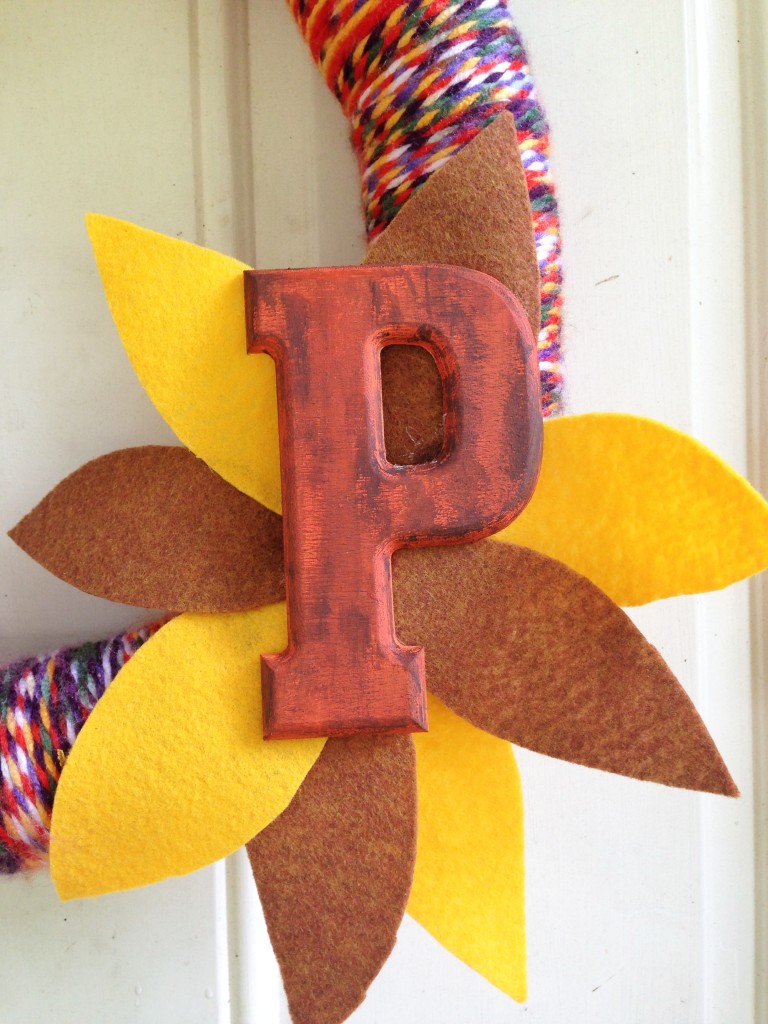
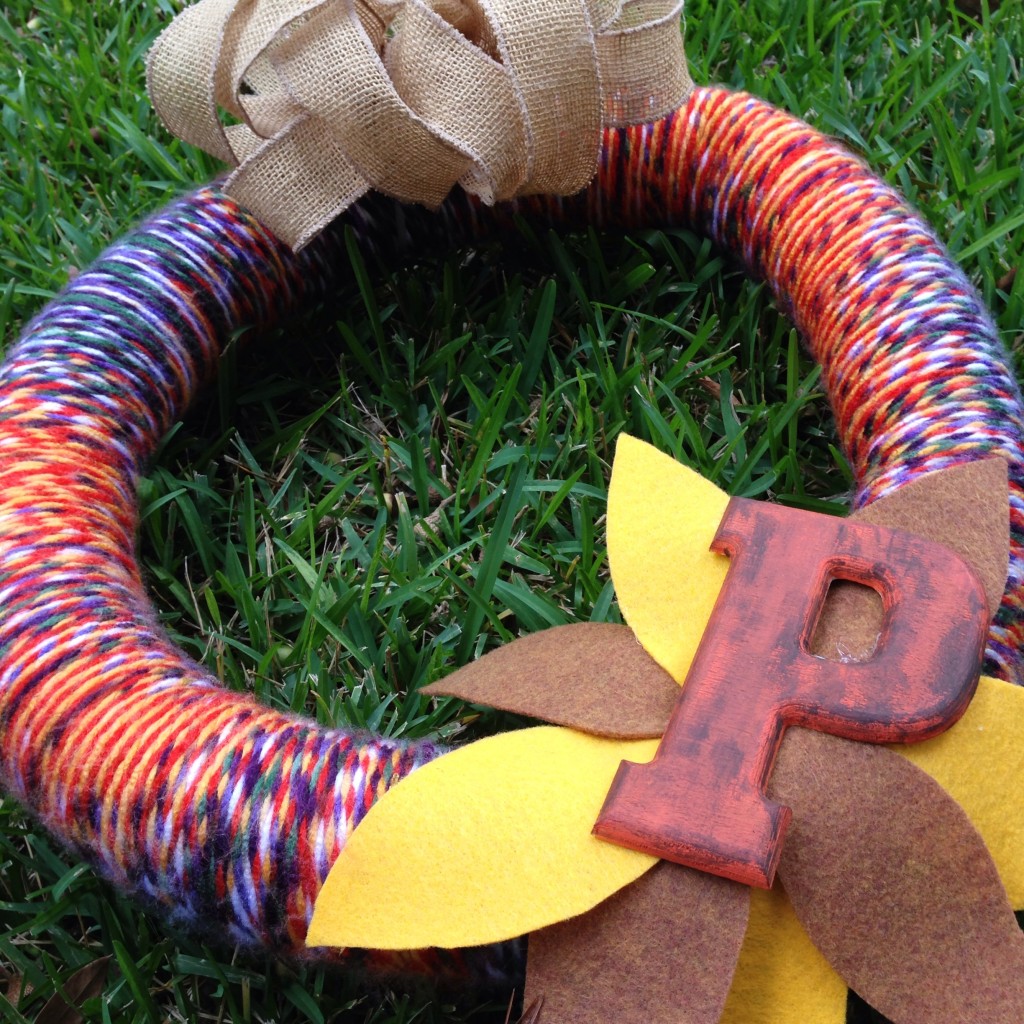
DIY fall wreathI couldn’t make her leaf layout look quite right with the initial, so I opted for creating a flower of sorts behind our “P” instead. I painted the letter orange, distressed it a little with some brown craft paint, and adhered all of the pieces with hot glue. I also added a burlap bow, which if you notice was on my last wreath. It was also on the one before that AND on one of my Christmas trees last year. Talk about versatility!

DIY fall wreathWhat do you think? Seen any fabulous fall wreaths this year? Share a link! Cool wreaths are my fav!