Tag Archives: DIY

Little Changes, Big Differences: Scarf Organization

This post is the beginning of a series of posts called “Little Changes, Big Differences” where I’ll show how tweaking small things in your home can make a big difference.

My first project for this series is tackling my scarf storage. Owning a boutique where we’re known for our scarf selection means one thing: I have a ton of scarves. One of the main questions we get in the store (after how to tie scarves), is how to store them. Here’s how I’m currently storing mine, beginning with a before picture.
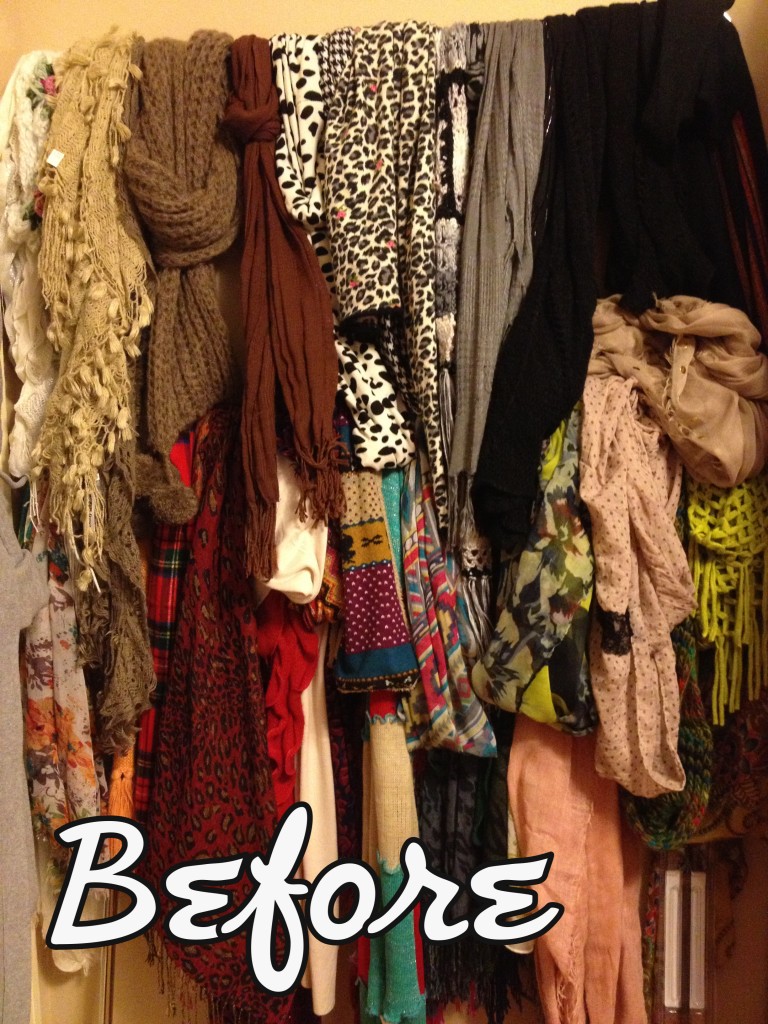
Bad scarf storageI mentioned before that I turned a spare bedroom into a giant closet. This project is still a work in progress, so it’s not exactly the fashion oasis that I’m hoping for, but we’re getting there. As you can see, my scarves are hanging on rods on the wall. I like to hang them so everything can easily be seen. I love seeing how pretty they all are, and I like the color it adds to the room. Even if you don’t have a closet room like I do, you can still hang scarves with a rod on the back of a closet door or back or side wall of your closet.

To hang these scarves, I used silver bars from Ikea. As you can see from the picture, the system wasn’t working. The problem was that the bar wasn’t far enough off of the wall for me to be able to easily hang the scarves. The thicker scarves barely fit through there, and when I was in a hurry (always), I wouldn’t have time to fight with them. In turn, the scarf wall ended up look like this crazy mess. Not good.

If a system or storage function isn’t working in your home, CHANGE IT. Spend a few minutes thinking about what the problem is and usually a small amount of effort and/or money can remedy your problem and makes things work more smoothly for you.

Since I determined that the bars were too close to the wall, I decided to replace them with actual curtain rods. We’ve used curtain rods on a wall at Salt & Pepper before, and it worked wonderfully. I already had these rods so this update didn’t cost me anything, but you can get similar ones at Ross for under $5. These were $3.99! After installing the new curtain rods, I have more room to slide the scarves in, making it much more feasible for me to keep it tidy.

(Shopping tip: I actually get most of my curtain rods from Ross, because they have really nice ones for amazingly cheap prices. Obviously, the ones that I’m using for this wall aren’t the “really nice ones,” but I needed smaller ones with a yellow tint for a different project, and they’re coming in handy for this project too.)
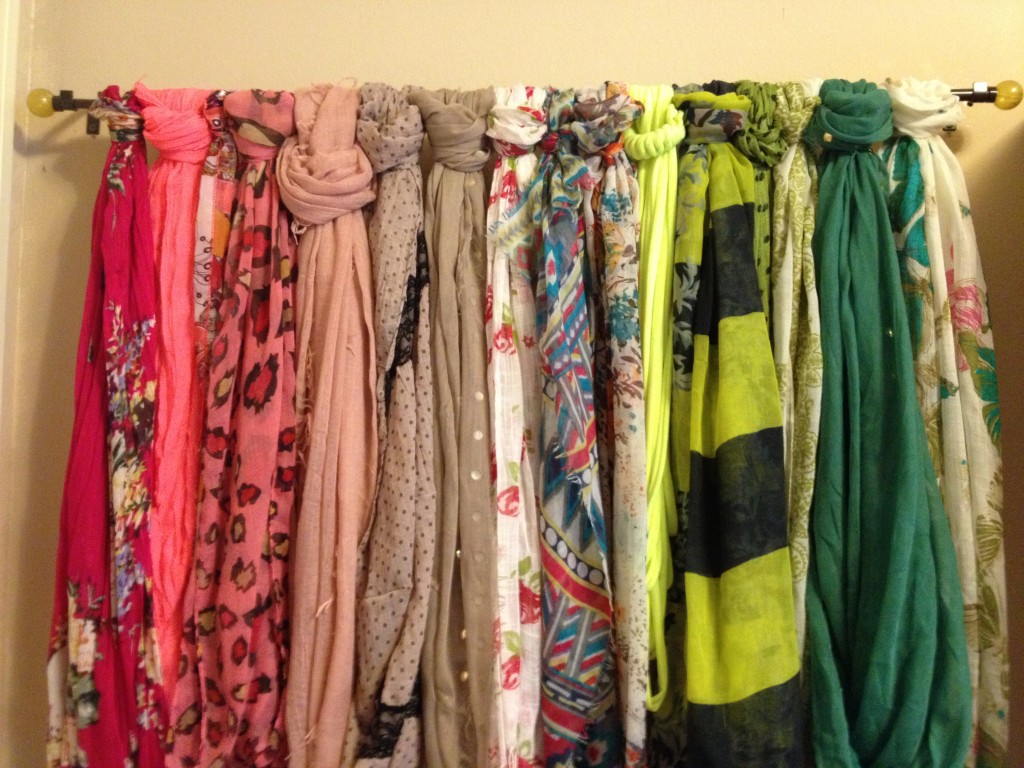
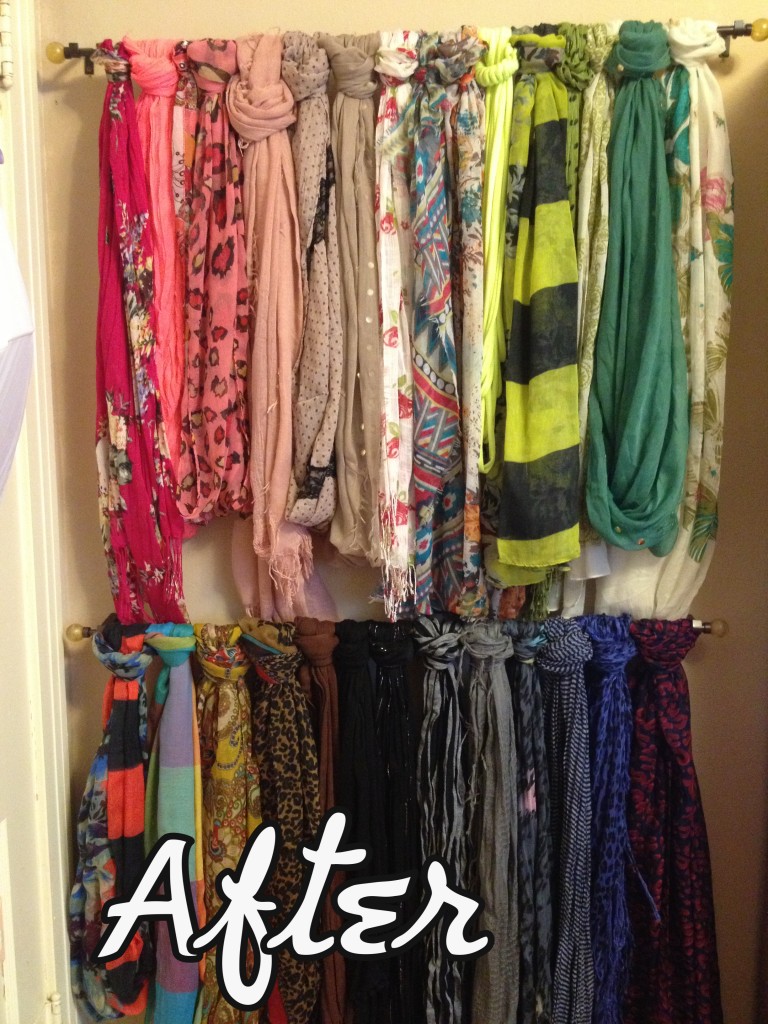
New scarf storagenew scarf storageAgain, making a small change, such as this one, can sometimes make a big difference in the overall function of a space. If you’re looking to make your home less cluttered and more functional, be on the lookout for areas like this where you can make a small adjustment and in turn create a better environment.

Do you have any areas that aren’t working for you in your home? Tell me about them…I might can help!

See more from my closet room here!


Homemade Laundry Detergent: Take 2

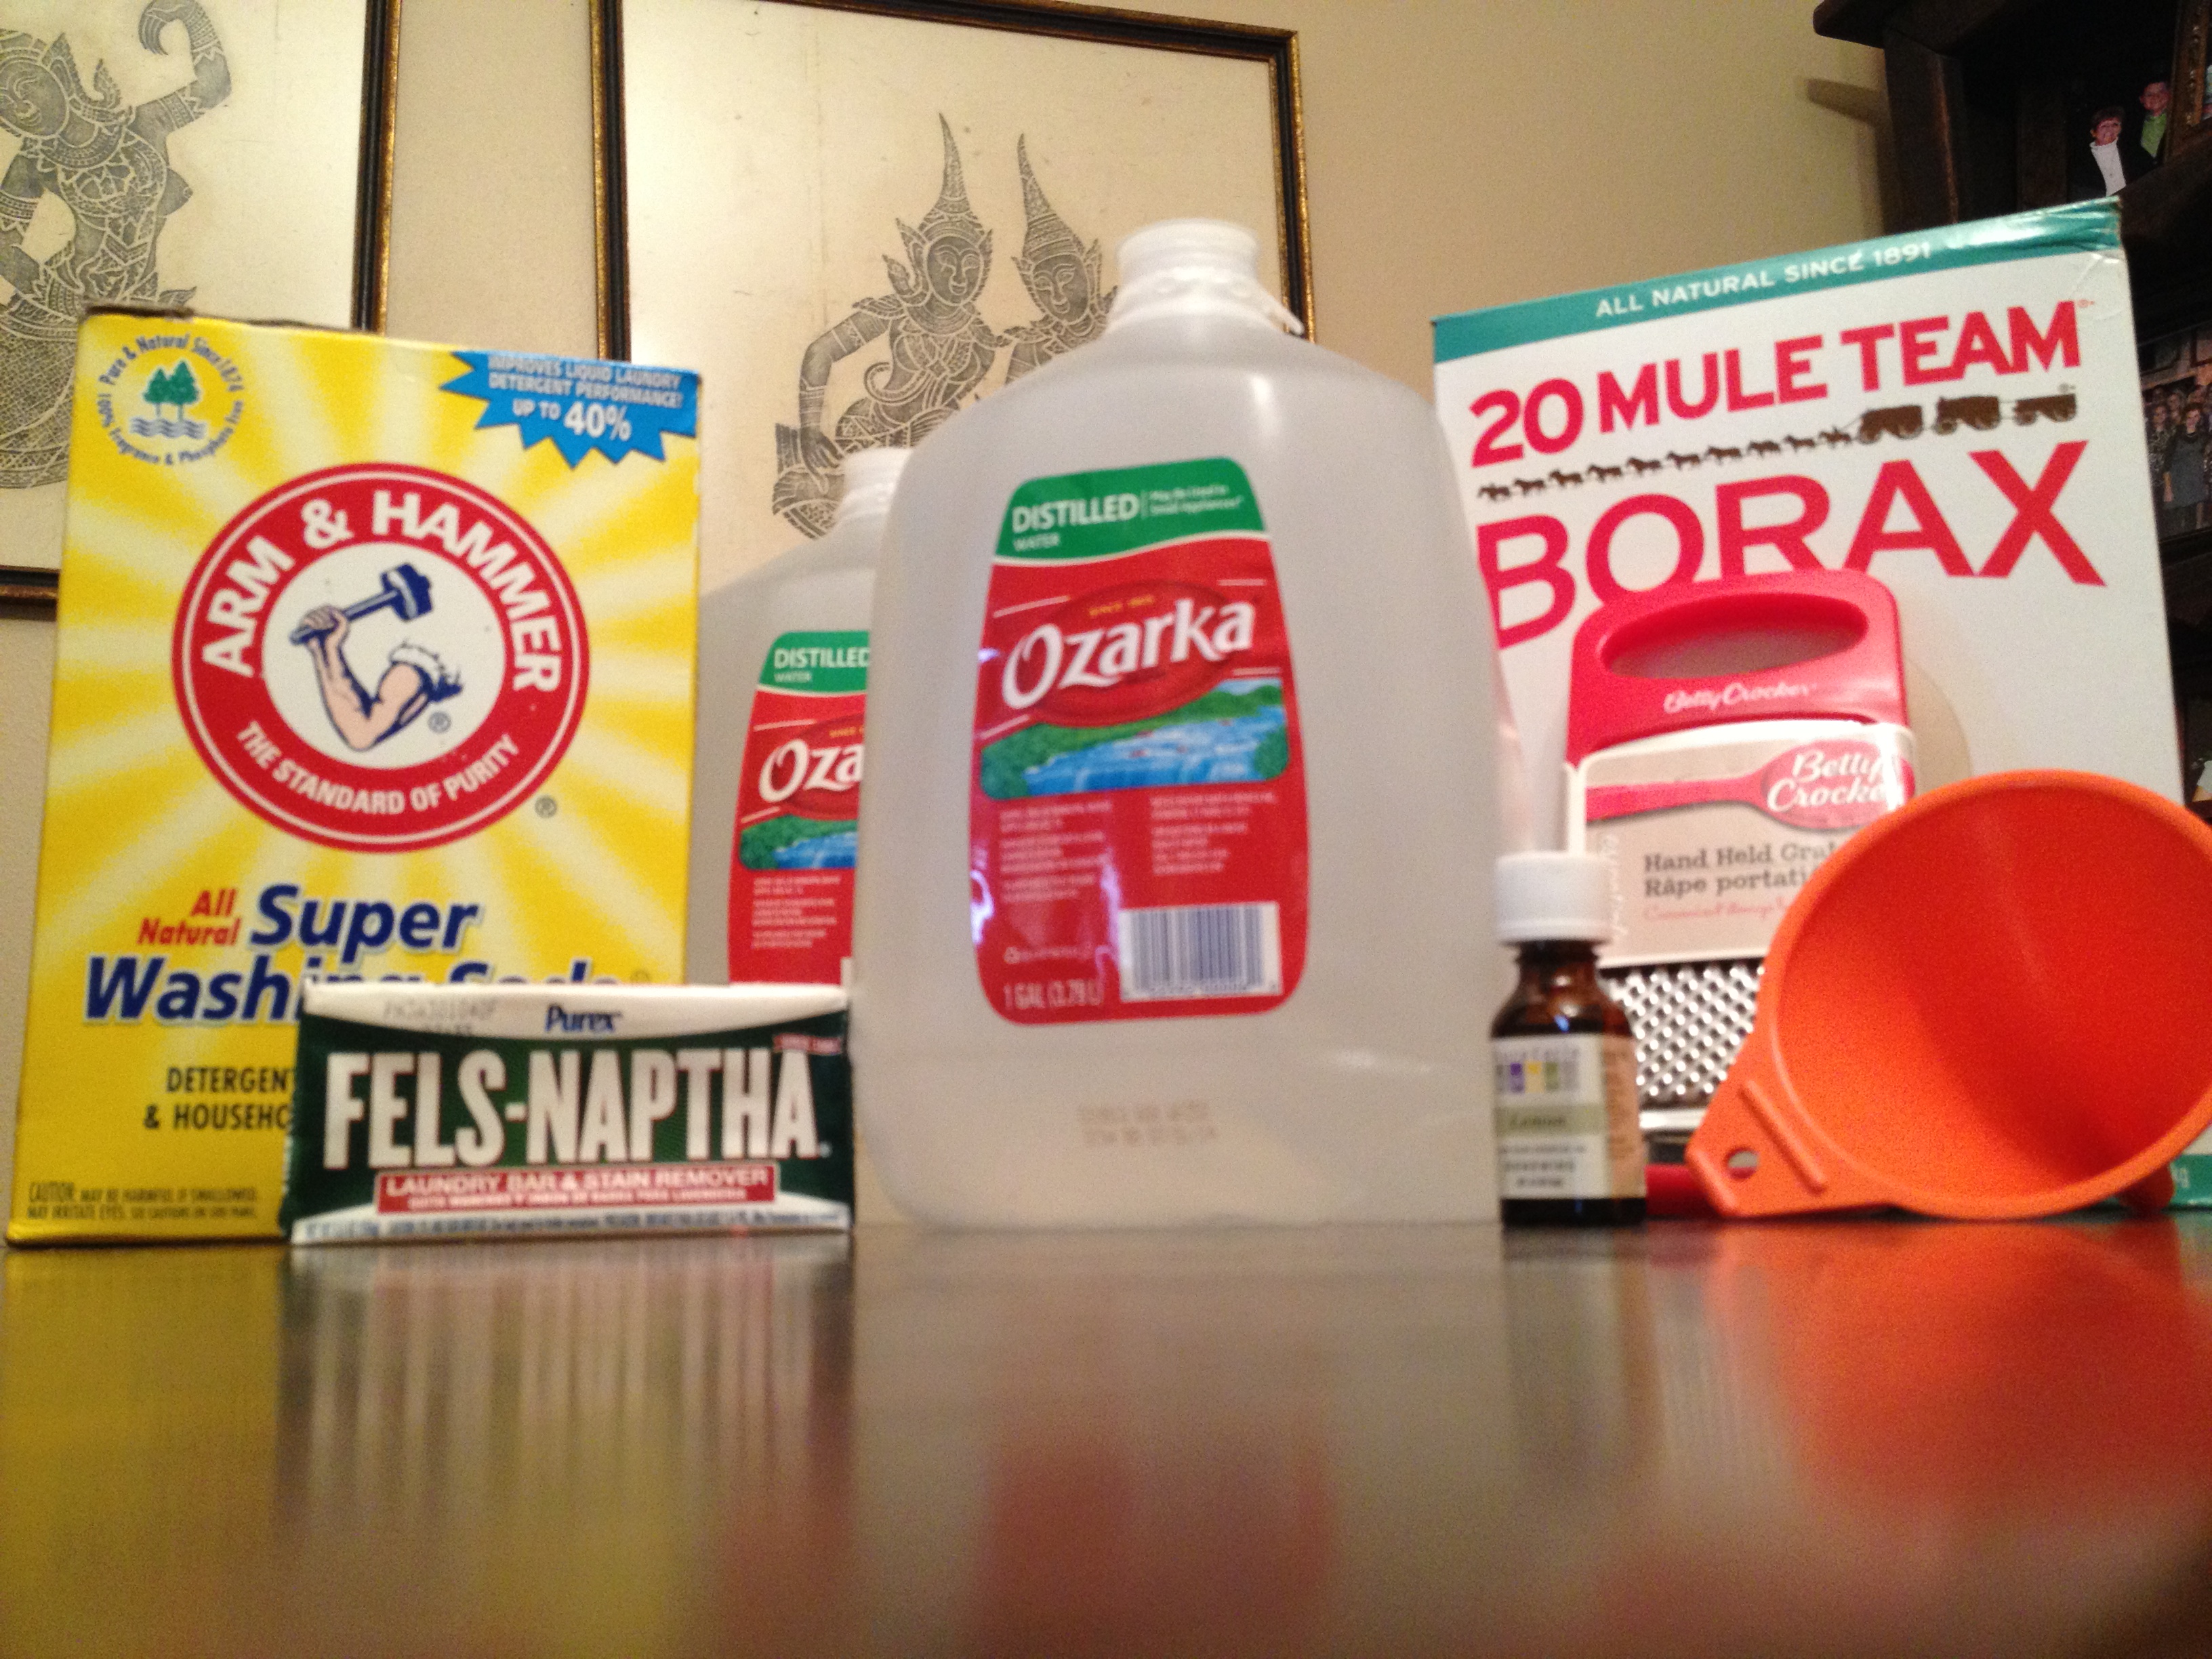
Detergent Supplies

I’ve made a few batches of this laundry soap and decided I just wasn’t crazy about it. I liked that there wasn’t any grating or cooking involved, but I just felt like it wasn’t cleaning quite enough, and it didn’t have a prominent enough smell.

I have a few version of detergent recipes pinned (Don’t we all?), so I thought I’d give another one a shot. I sort of combined this recipe with this one to create my own version. I liked the first one because it included essential oils, which I figured would make it smell good, but I didn’t want to make such a huge batch without trying it first. So, I used the second recipe and combined the Fels-naptha soap and essential oil from the first. Lets hope that was a good idea!

Here’s what I used:
3/4 bar Fels-naptha soap
1 cup Arm & Hammer washing soda
1 cup Borax
Lemon Essential oil
2 gallons water

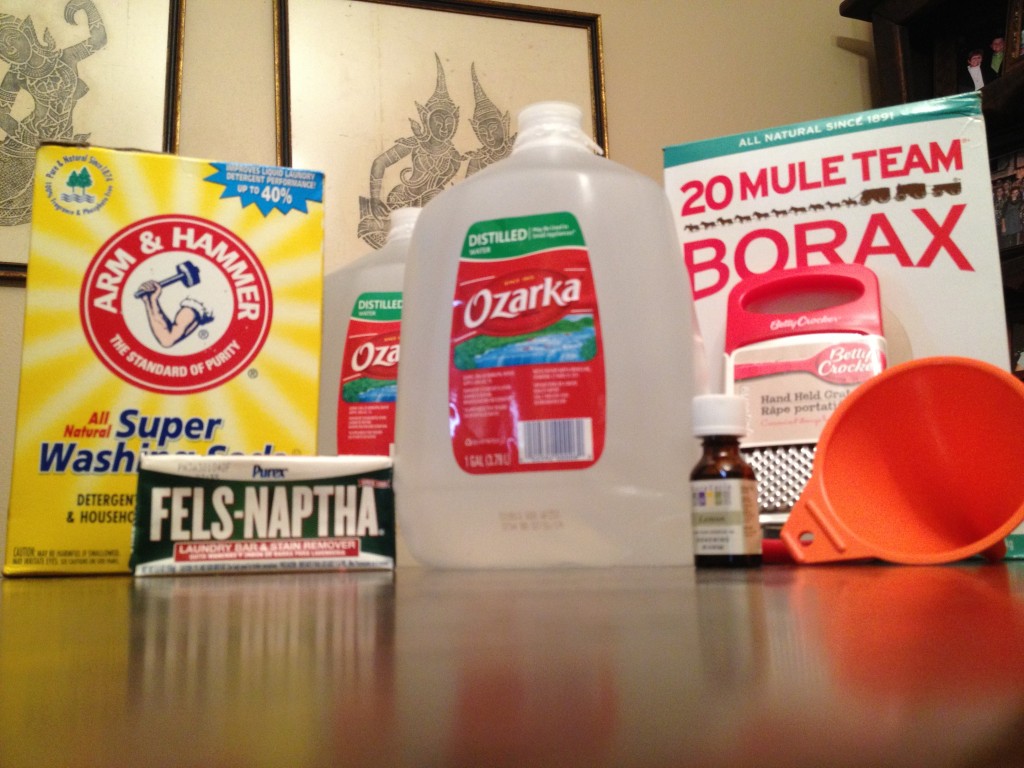
Detergent SuppliesHere’s what I did:
Obviously, you start by gathering supplies. Sometimes people have a little trouble finding the borax. TP Outdoors carries it (and the Fels-naptha) if you’re in the area. The essential oils were equally tough to find. I finally found mine at Fiesta Nutrition. Some article suggest to not use supplies from your kitchen, so I dug a pot and grated spoon from the garage sale pile.

Grated SoapYou begin by grating your soap. I bought the Betty Crocker grater from the Dollar Tree, specifically to make this soap, but it grated the soap too finely so it was taking FOREVER! I ended up pulling my hand grater from the kitchen and using it instead. One of the recipes suggested using just half of the bar of soap, so the detergent wouldn’t be too thick. I wasn’t sure, so I went the middle of the road and used 3/4 of the bar. However, the detergent ended up being too thick for me, so I’d suggest only using 1/2 of the Fels-naptha.

Cooking soapAfter grating the soap, you add it to the pot with one gallon of water. I also read somewhere that you have better results from using distilled water, so I purchased two gallons from TP Outdoors, as well. (Turns out that distilled water makes it thicker…that may be another reason mine was too thick.)

Heat the soap and water until the soap melts. I cooked mine over medium heat. Warning: this process took much longer than I expected…approximately 10-15 minutes.

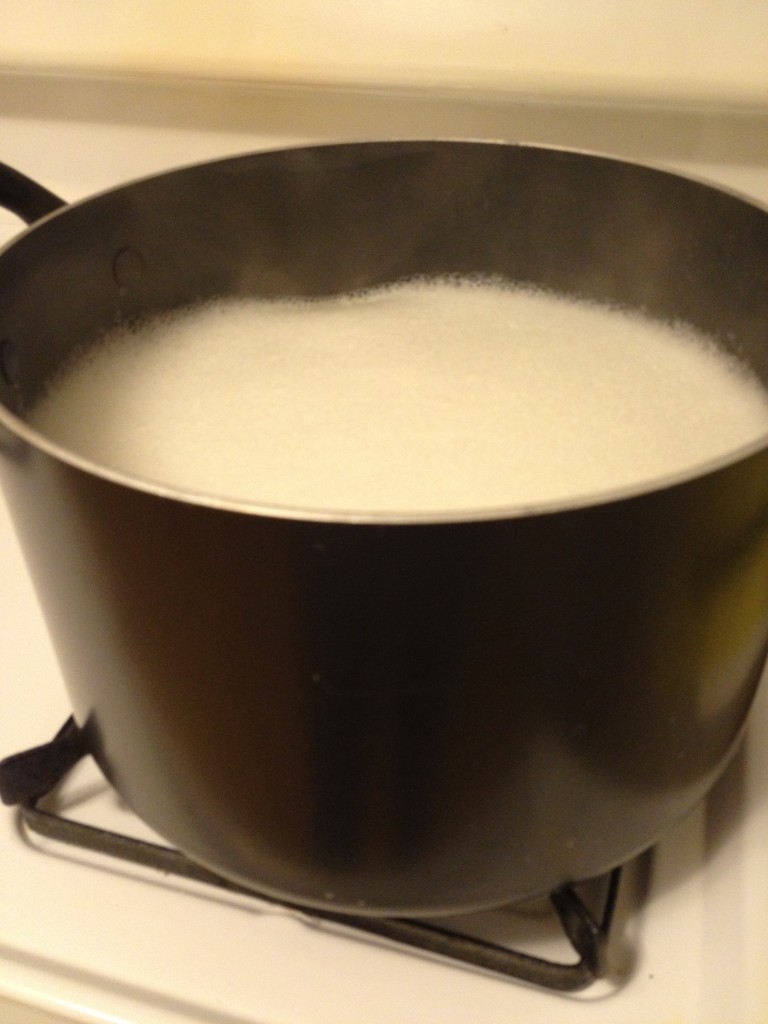
Once the soap is melted, you add in 1 cup of washing soda and 1 cup of borax. I also added 4-5 drops of lemon essential oil. (I chose lemon because I like the smell, and because they say lemon kills bacteria, etc.) Mix these ingredients together and bring to a boil. This process took much longer than I expected too. However, when it started boiling, it almost immediately started to boil over, so I’d keep a close eye on it.

Boiling laundry detergentOnce the mixture starts to boil, remove from heat and add the other gallon of cold water. (I put the second gallon in the fridge to chill earlier that morning.)

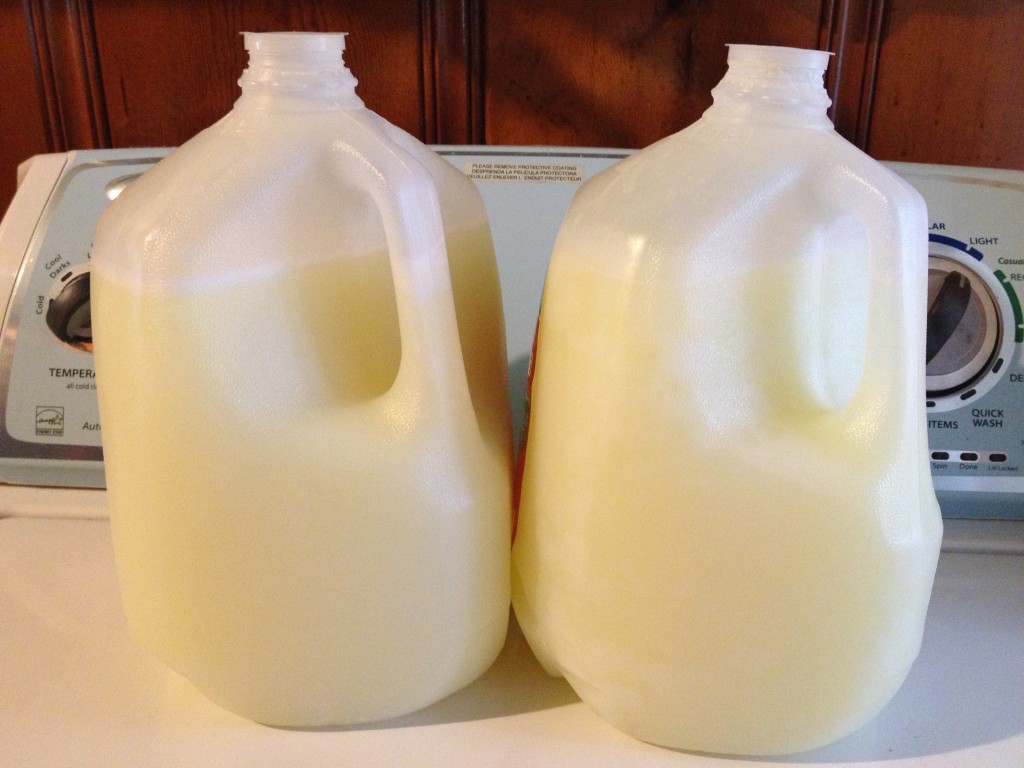
Ideally, your pot should be able to hold the 2 gallons of water so you can stir them together comfortably. Mine only held approximately 1 1/2 gallons, so I split the remaining water between the gallon jugs, stirred the mixture in my pot, poured it into the jugs, and shook vigorously to mix in the remaining water.

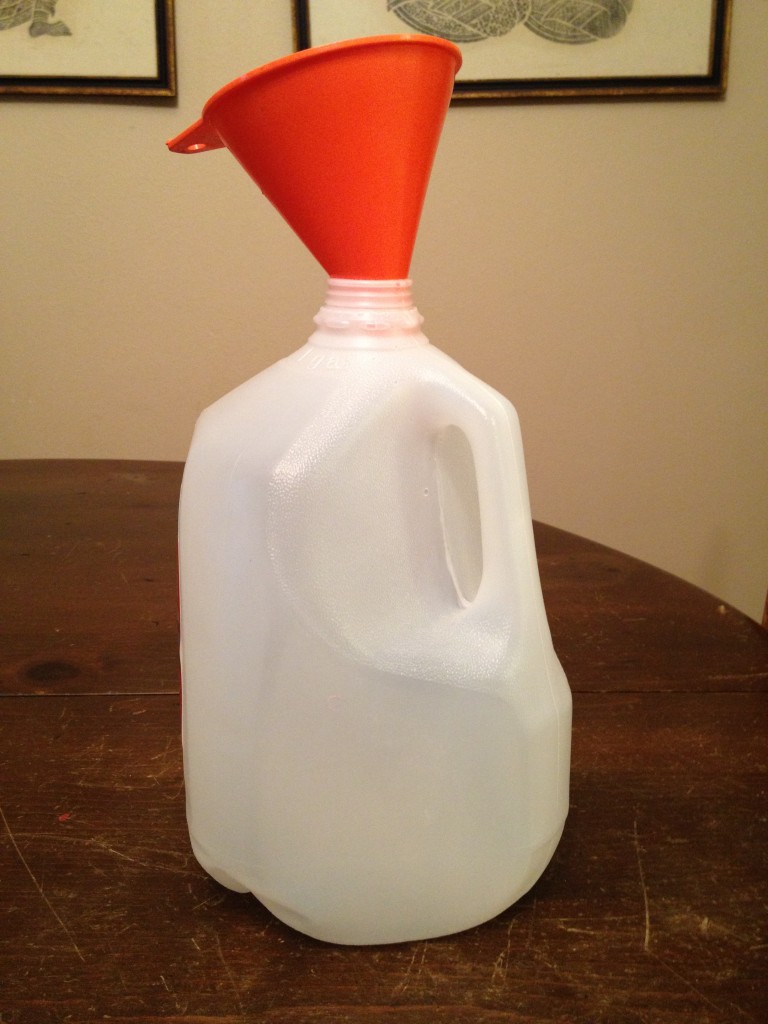
pamelapetrus (4)I saved the gallon jugs, so I used a funnel to pour the mixture back in to the jugs. You’ll want to do this over the sink. I made a huge mess and wasted a good bit! Had my pot not been so full, it would have been easier to pour.

Homemade laundry detergentSo there you have it! The process was less intensive than what I imagined, with grating the soap being the hardest part. You use 1/2 cup per load of this recipe. I am doing laundry today, so I’ll hopefully have an update soon on how well this recipe works. I really like the idea of making my own detergent, so I hope to find a recipe that I like.

If anyone has a recipe that they love, please share. Furthermore, if you try this recipe and love it or hate it, please let me know how it goes!

Easter Goodies.

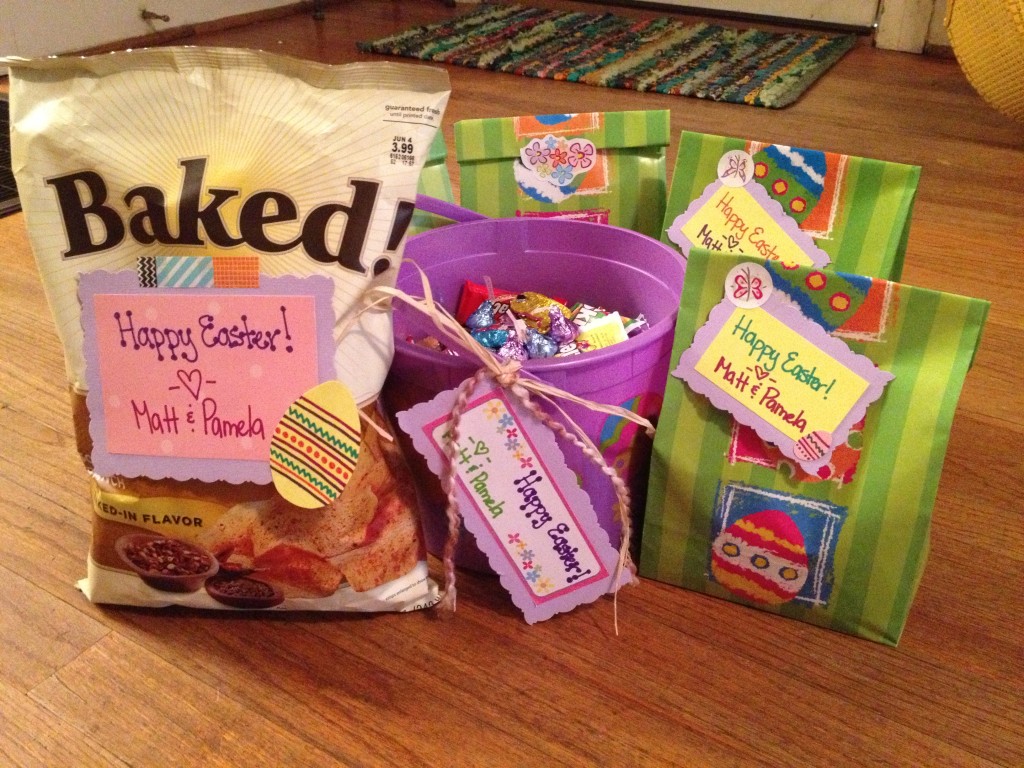
Rather than folding and putting away laundry, which was on the to-do list for yesterday afternoon, I decided to make some Easter goodies! Matt wanted to take Easter candy to the front desk folks at TP Outdoors, and I wanted to make some goody bags for our girls at Salt & Pepper.

Easter CandyI had an Easter pail, bags, and grass already, so I just ran and picked up some candy. Then, I pulled out some old scrapbook supplies and made tags. I took it a step further by making little eggs for each of the tags. I used butterfly stickers to attach the tags and flower stickers to close the bags. (I’ll admit that I got a little carried away…it’s what I do.)

Easter tagsEaster GoodiesSometimes you just gotta blow that to-do list and do something else that strikes your fancy. Today, I fancied making Easter goodies for people we love. I think it’s worth it, especially to put a smile on someone’s face. I’ll get to that laundry next week. I hope you all have a happy Easter!

Much love!
Matt & Pamela

Spring Market 2013: The Purse Fence & My Big Mistake

Building the purse fence for Spring Market 2013 brought its share of challenges, so I thought I’d share the process. There’s a pretty funny story here, so be sure to read to the end.

As I mentioned in my earlier post, the hubby had a great idea of building the purse wall into a fence to fit with the outdoor theme I was going with. We purchased 1×8’s at 10′ long to be tall enough to fill most of the wall space in our booth. I was going to use pipe pegs as we’ve used throughout our store, but we decided to cut pegs from 1×2’s instead so it wouldn’t be so heavy.

Supply list:
9 1×8’s at 10′ long
4 1×4’s at 10′ long (to connect the fence)
27′ of 1×2’s to create 27 pegs at 12″ long
54 L brackets
Screws
Drill
1/2 gallon paint
Brushes

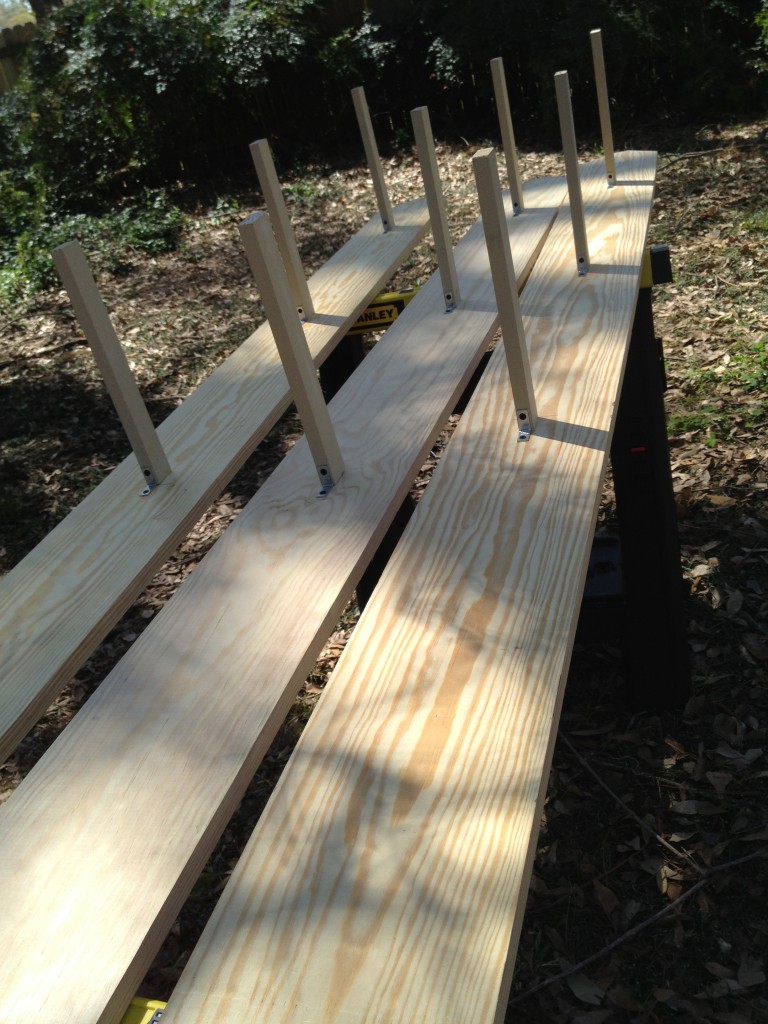
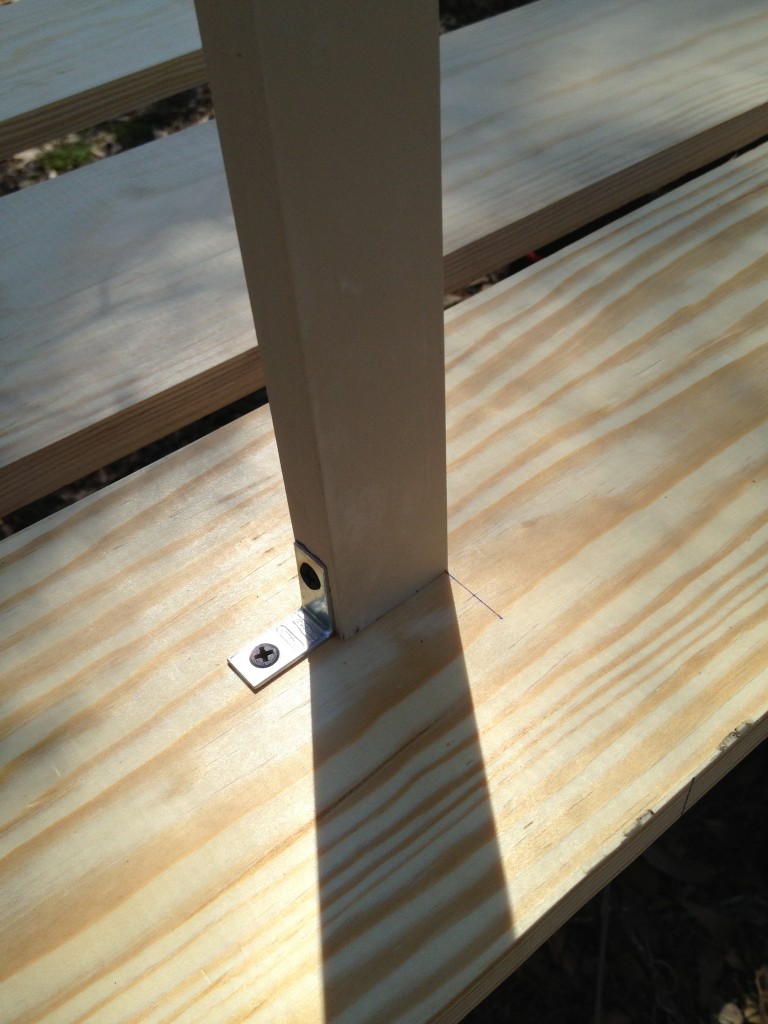
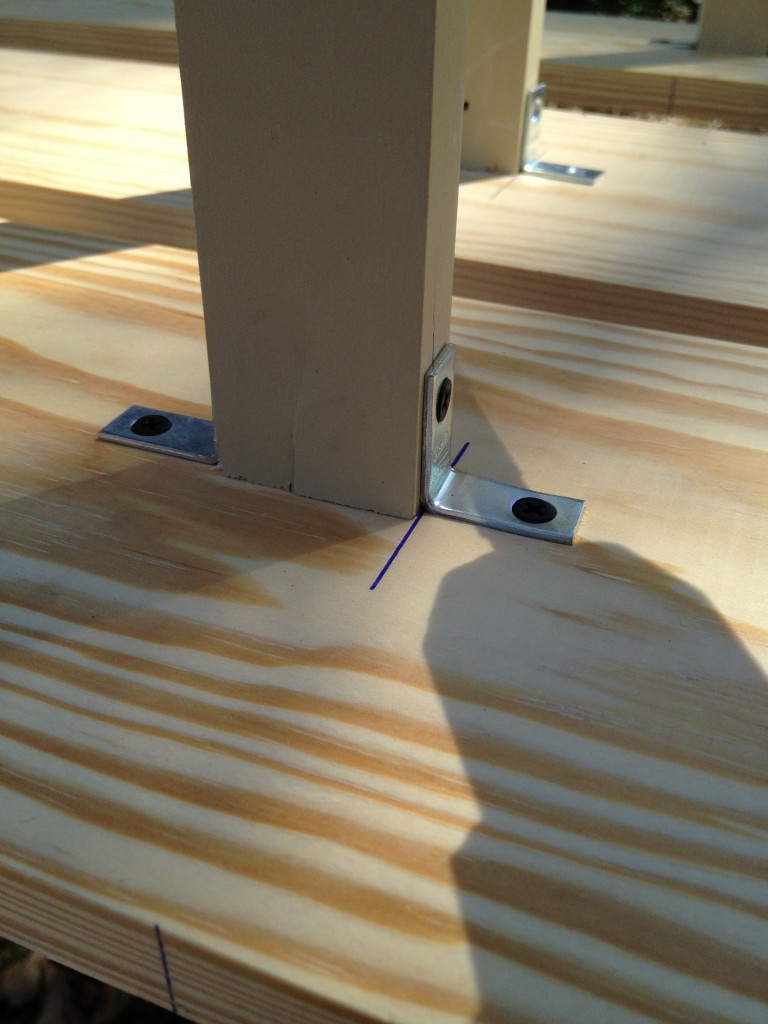
Fence postsPegs with bracketsMatt put the individual slats together while I was at work. As you can see, he cut the corners of the tops of the 1×8’s to look like fence posts. Then, he cut the 1×2 into 12″ pegs and measured how far apart they needed to be in order to hang purses. He screwed the pegs in from the back of the 1×8 and added an L bracket for extra support. We decided the pegs needed a bracket on the top as well, so I added them later.

Adding two brackets

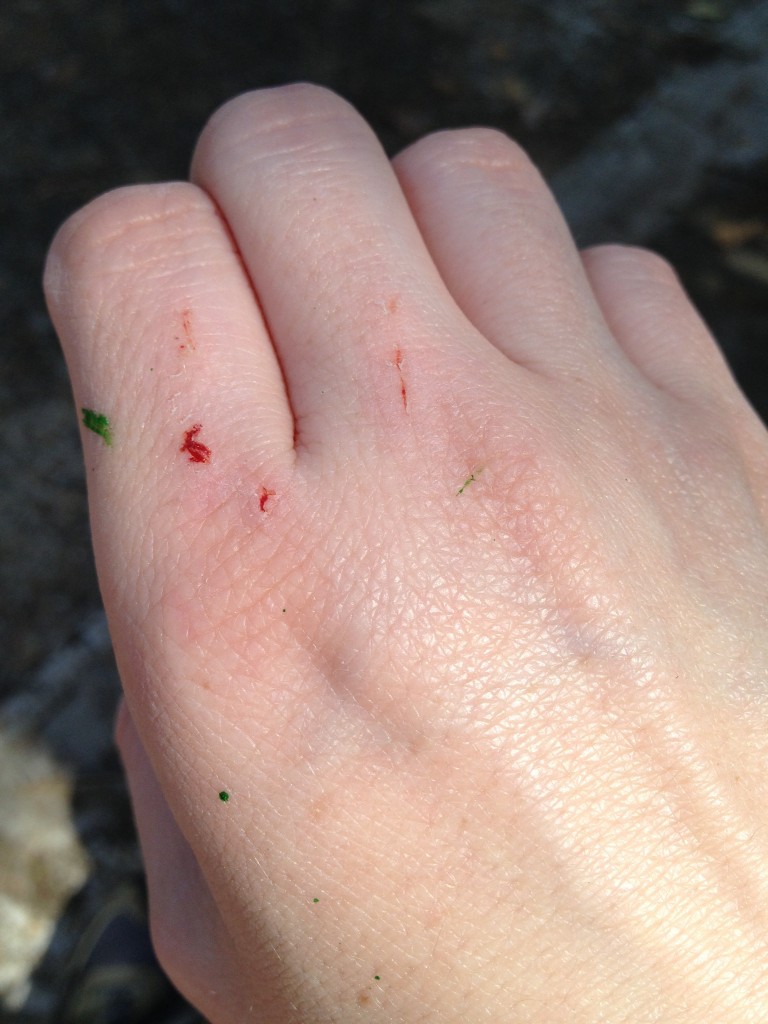
My first injury of the day.

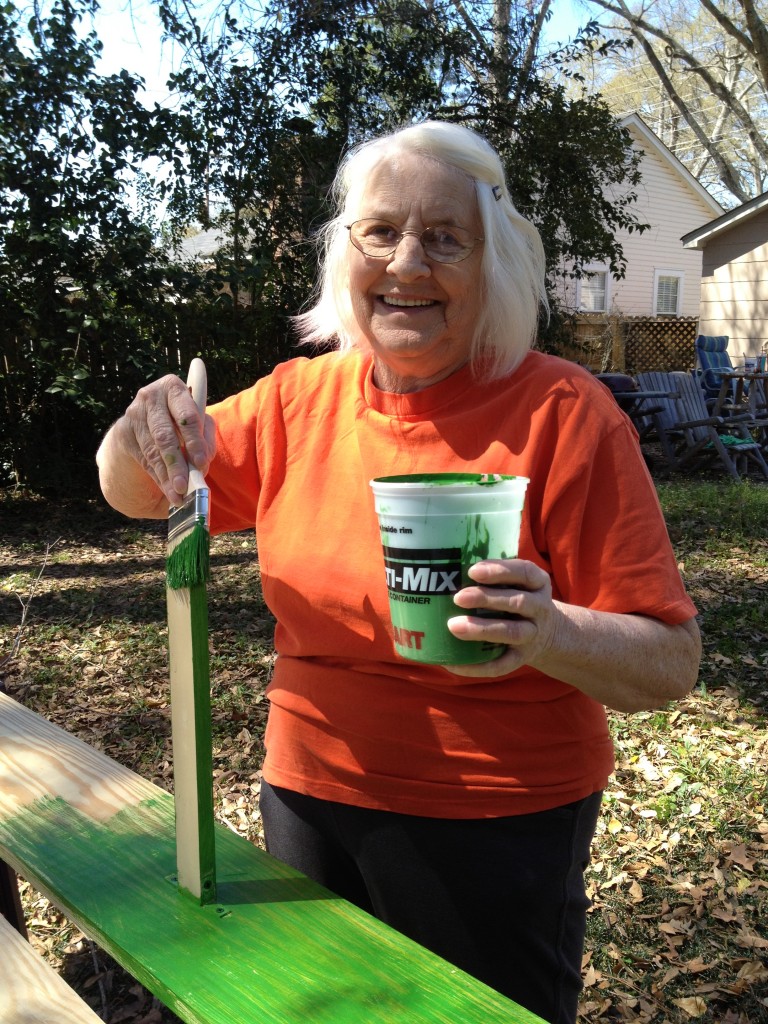
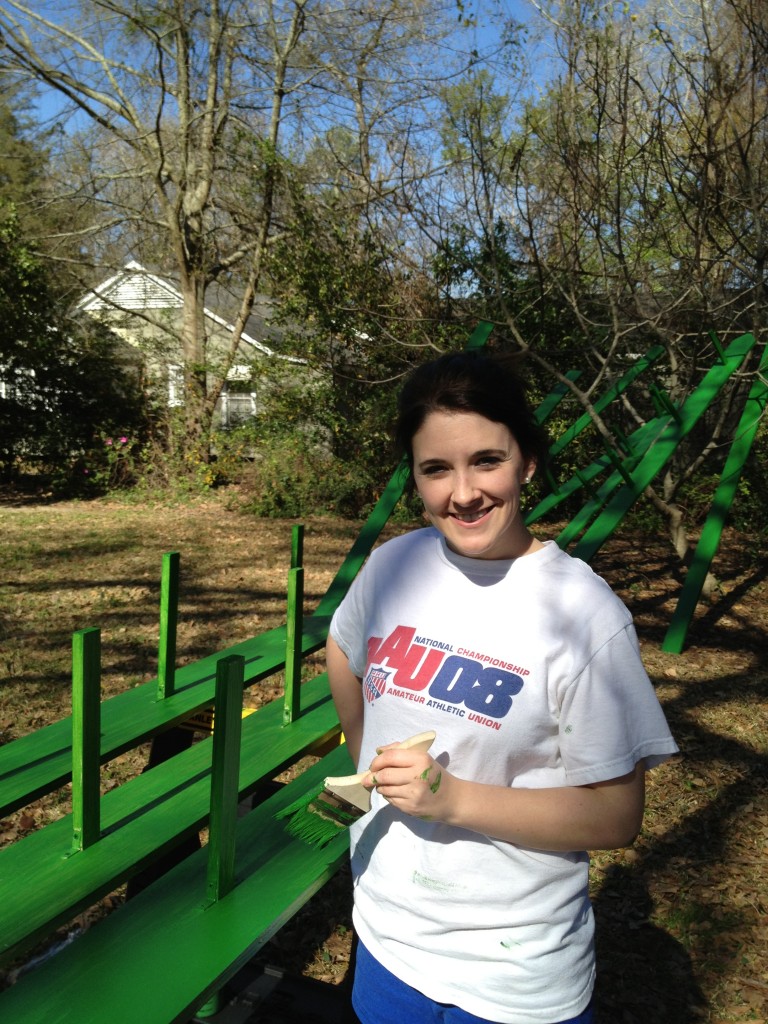
For some reason, we were both seeing green when we talked about the fence, so we went with this great green color. My mom came down on a Saturday to help me get everything painted. She was sick of seeing green by the end of the day!

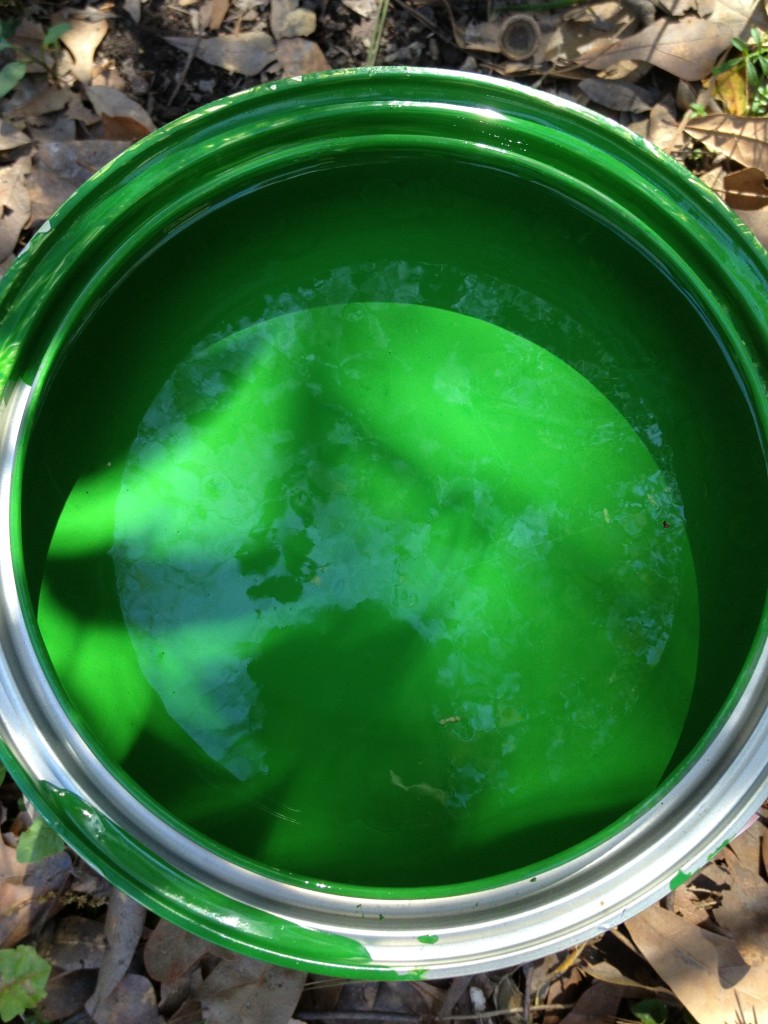
Green paint.

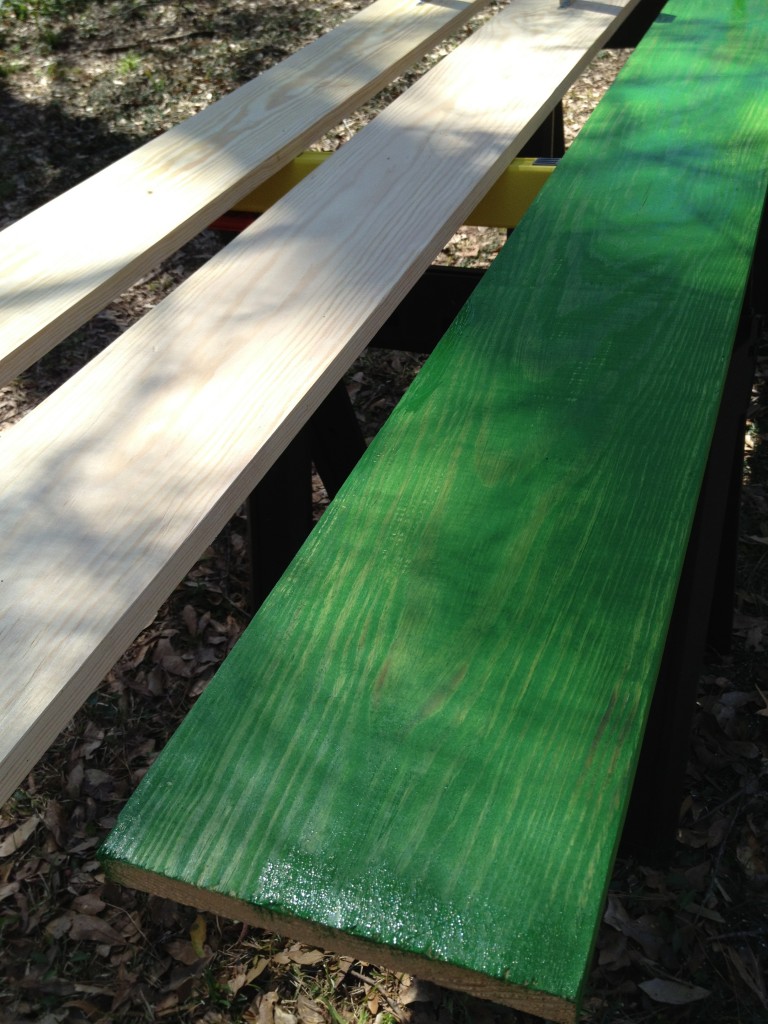
The transformation begins...

Icee...yum!
The most important tool on the list!
Mom painting.
Mom hard at work….she’s going to kill me. Seriously.

Me painting.

My green hand

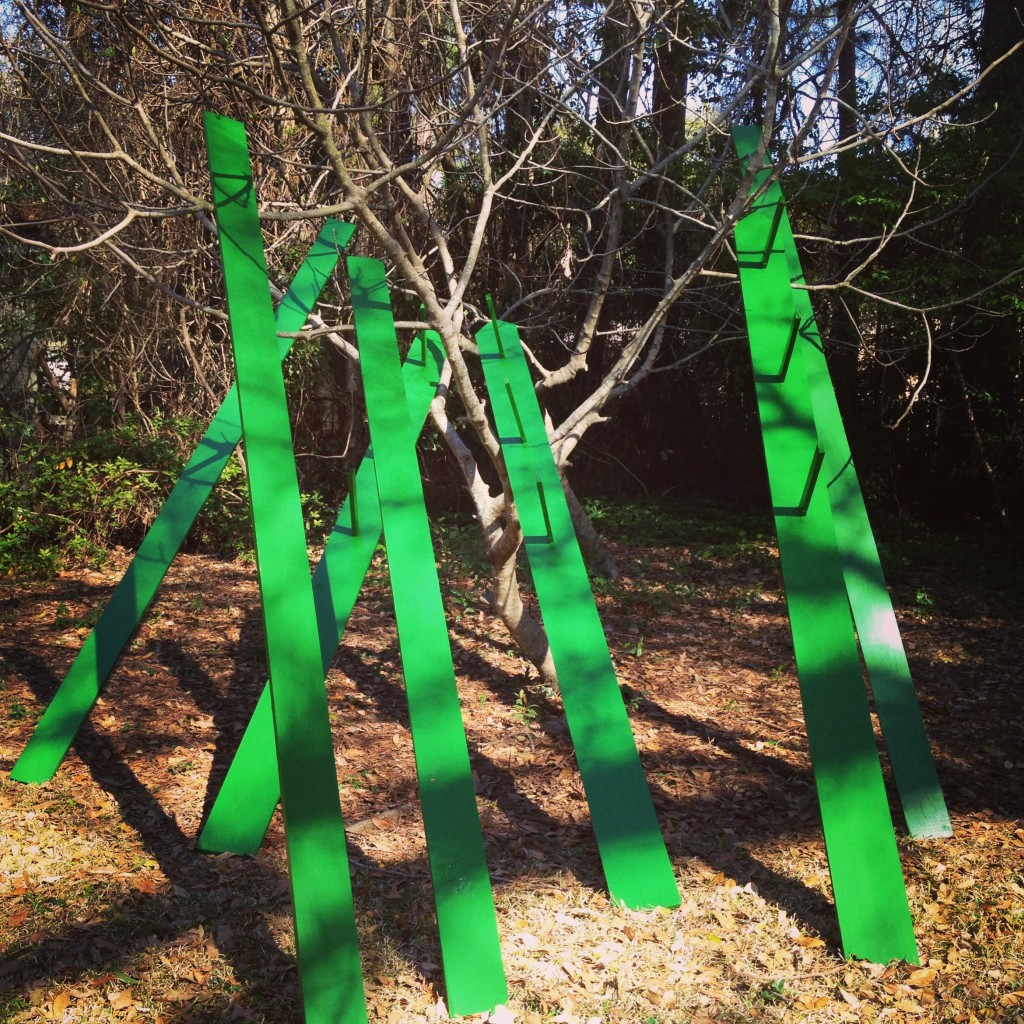
Fence posts in the tree.And here’s the finished project! (See the full Spring Market post here.)

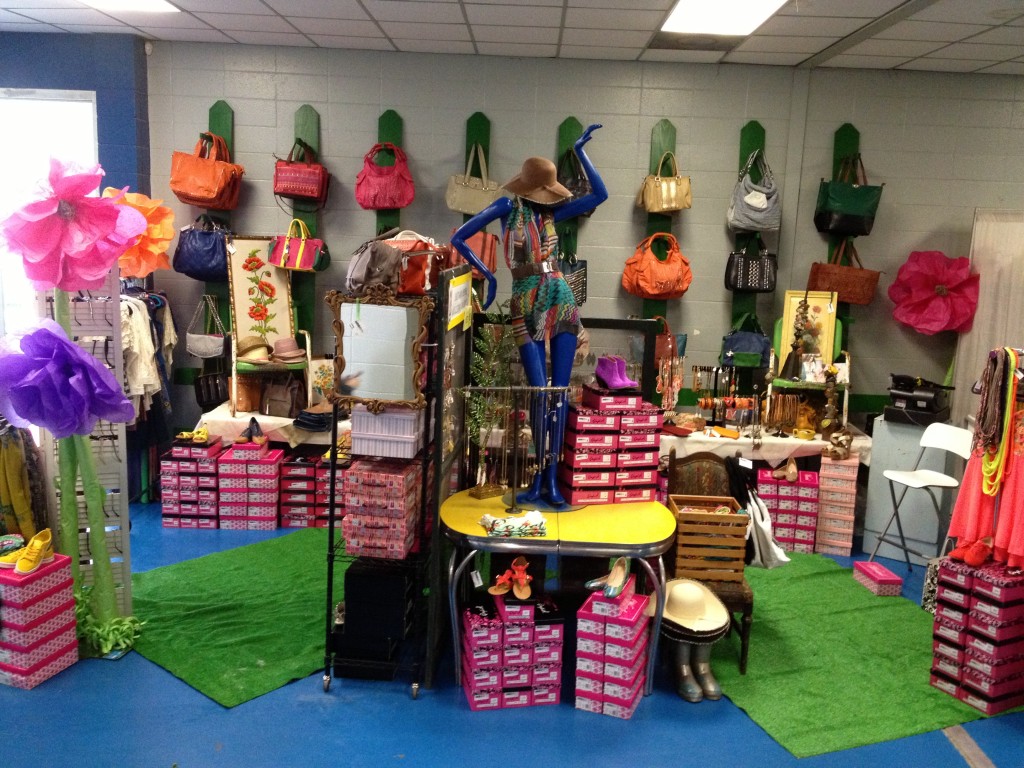
Spring Market 2013
I was pretty shaken up by the events of the day (see below), so I ended up putting the connecting boards in the wrong place. Ideally, there would have been boards going horizontally across the top so that it actually looked like a fence. Instead, I put them on the bottom, behind the tables, where you can’t see them. Sorry honey!!

Spring Market 2013So…as I mentioned earlier, there would be a funny story at the end.  Well, I said that we made 9 fence posts, but if you notice in the picture of the booth, there’s only 8. What happened to the other one?? Well, what had happened was…. (Isn’t that how all of the good stories start?) …my nephew and I came to my house to load up the fence boards and got distracted by gathering supplies, unloading lawnmowers, etc. So…we ended up leaving the house without closing the door to the cargo trailer. Yep, you read that right…I drove from my house to TP Outdoors (approximately 2.5 miles) with the door to the trailer down. Luckily, the trailer wasn’t damaged along the way, but we did lose one of the fence posts. Oops! If you happened to see a random 10′ long green thing in the middle of the road somewhere along Park Ave./Riverside Dr. or on the Louisville Bridge….that was mine.

(Disclaimer: I swear that I don’t usually do such air-headed things. I’m going to blame this one on exhaustion and the madness of Spring Market.)

Anyone else ever done something this utterly stupid? Please share if you have so that I don’t feel so dumb!

Spring Market 2013

It’s been quite a while since my last post, but work has gotten in the way. (Silly job!) We just wrapped up Spring Market 2013, and it’s taken up practically all of my time the past two weeks. Soooo…since Spring Market has been my life recently, I thought I’d share!
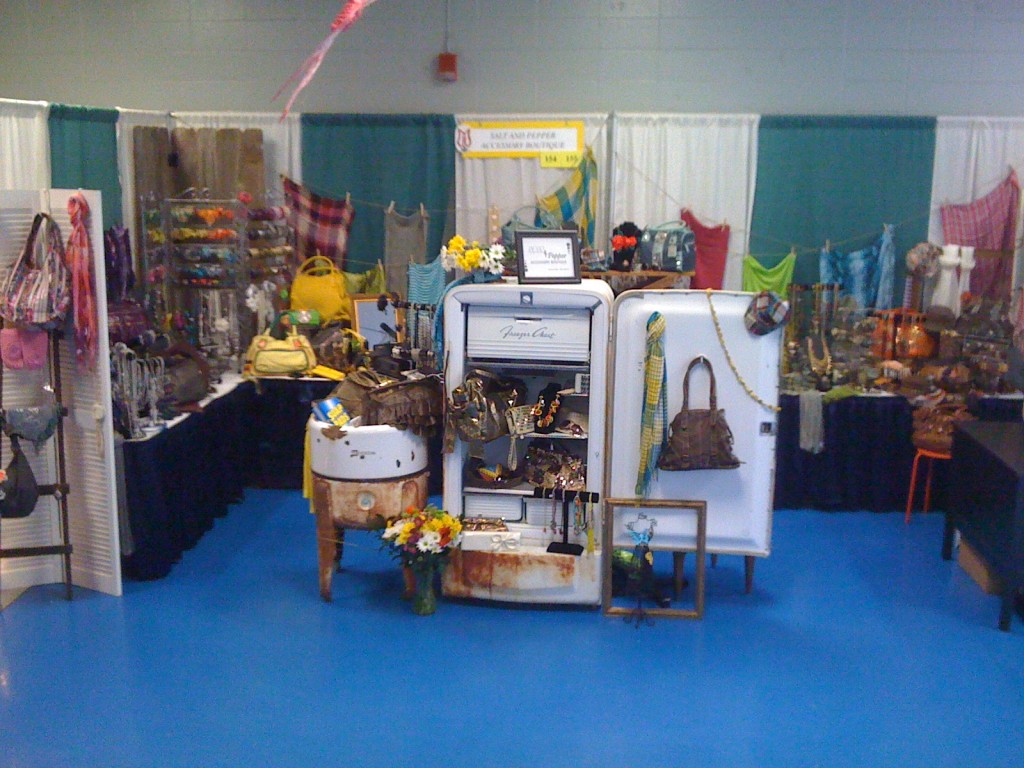
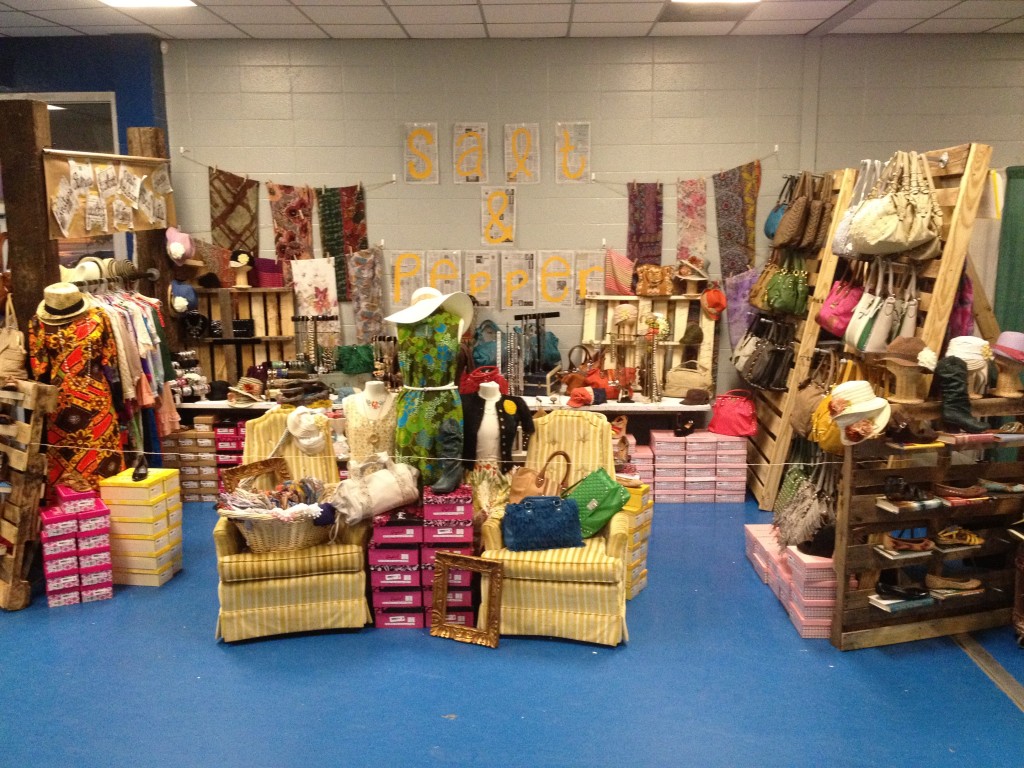
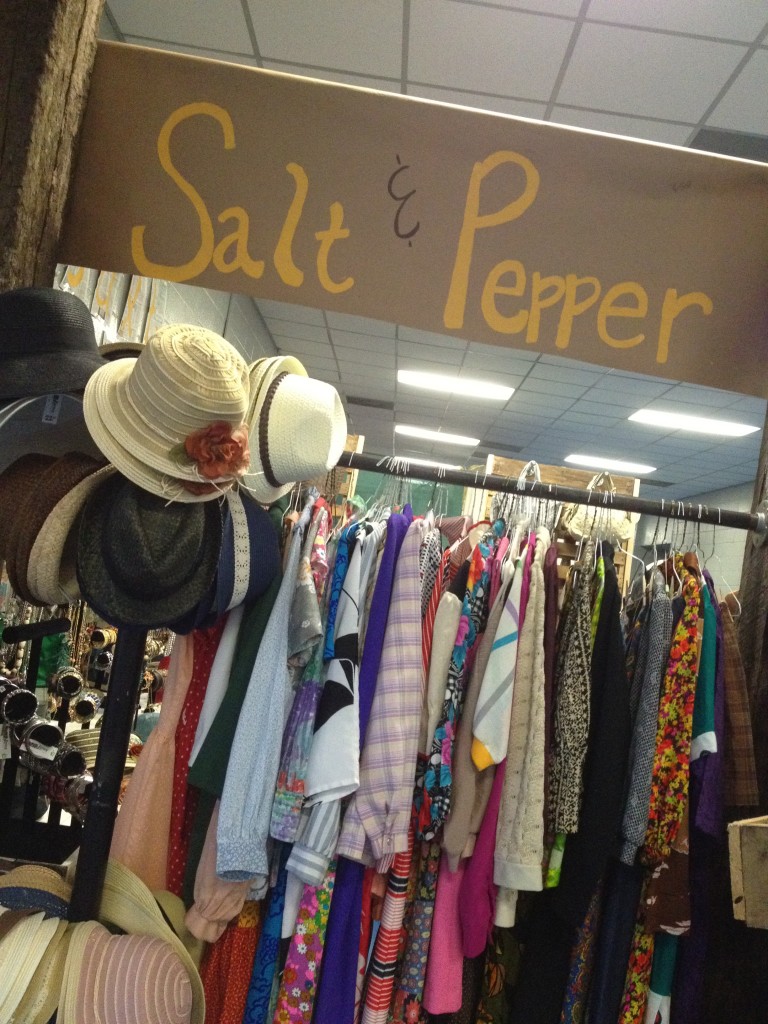
At Salt & Pepper, we are known for doing things outside the box. Our Spring Market booths are no exceptions. Here are a few pics of years past. As you can see, we don’t roll in slat board racks like most do. Of course, we’re going to do things the hard way!

Spring Market 2010 - Our first year!
Spring Market 2010 – Our first year!
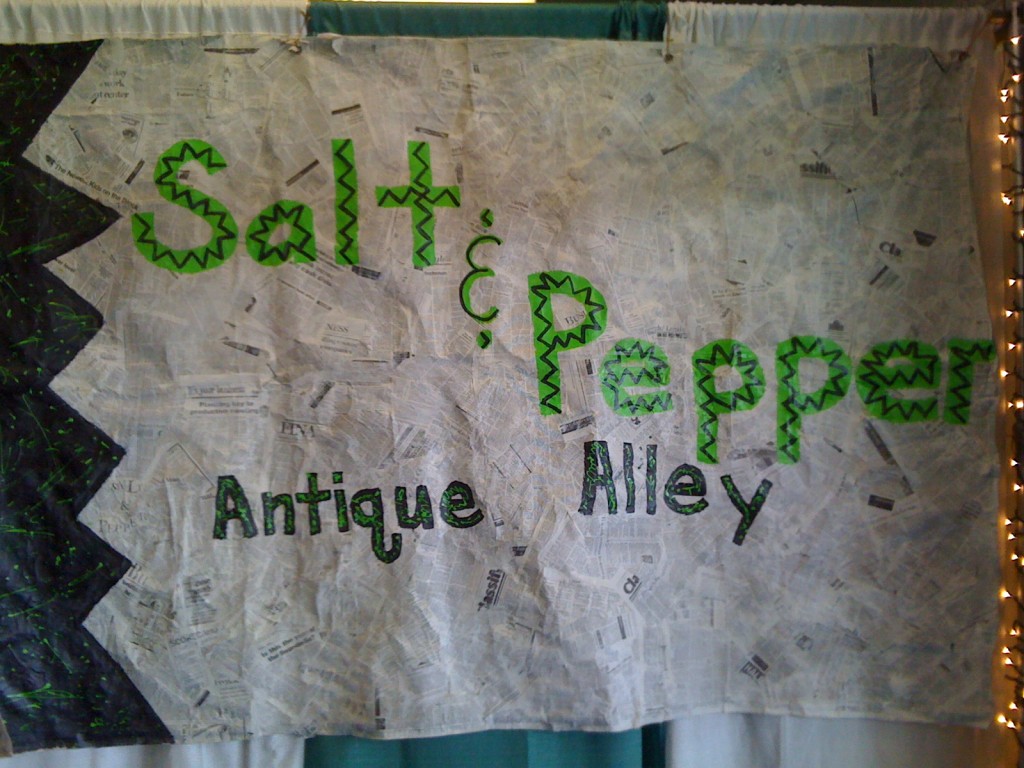
Spring Market 2010 - Hate this sign was ruined in the flood =(
Spring Market 2010 – Hate this sign was ruined in the flood =(
Spring Market 2011
Spring Market 2011
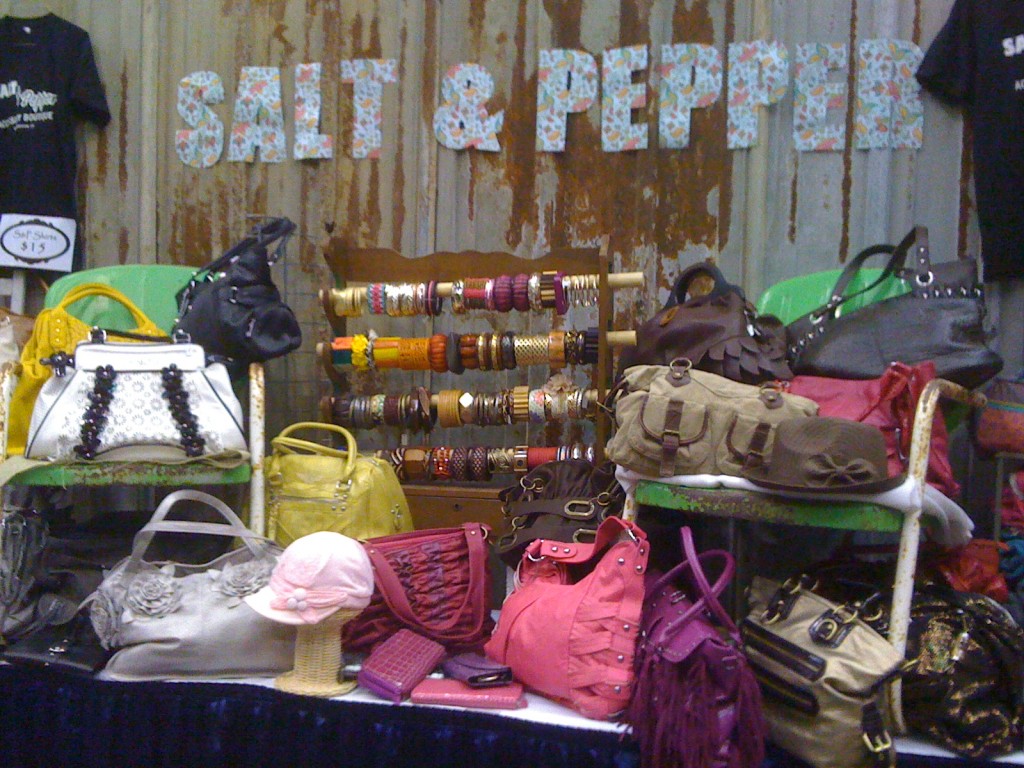
Spring Market 2011 - rusted tin
Spring Market 2011 – Boy, that tin was a pain to haul in and install!
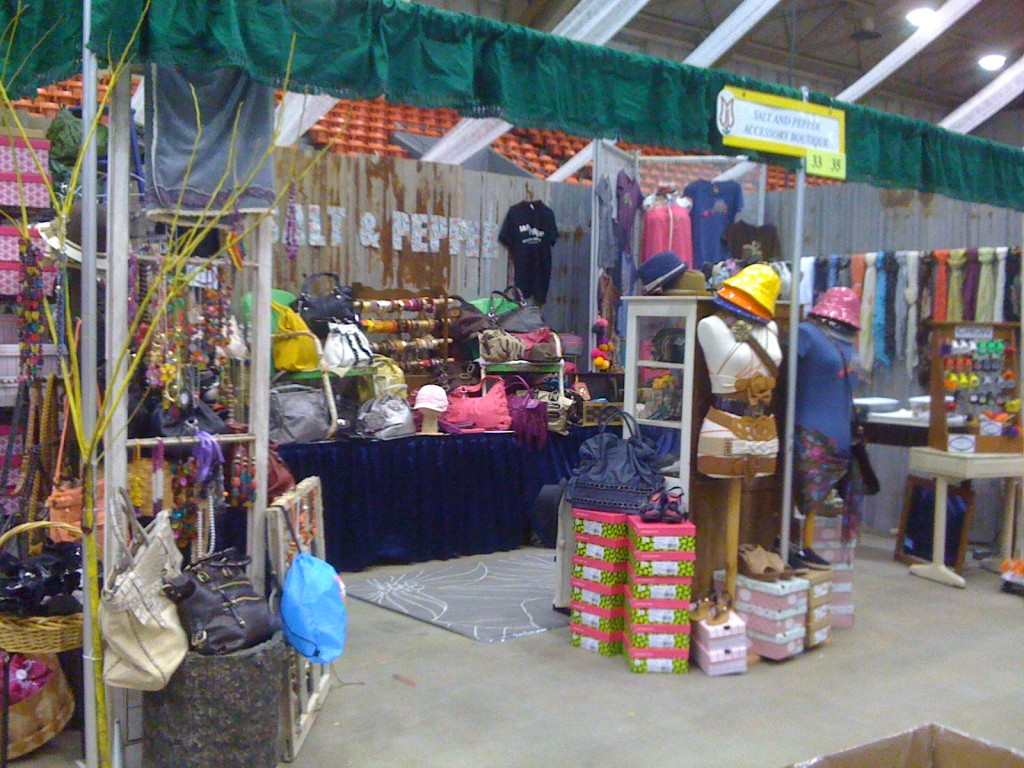
Spring Market 2012 - pallets galore!
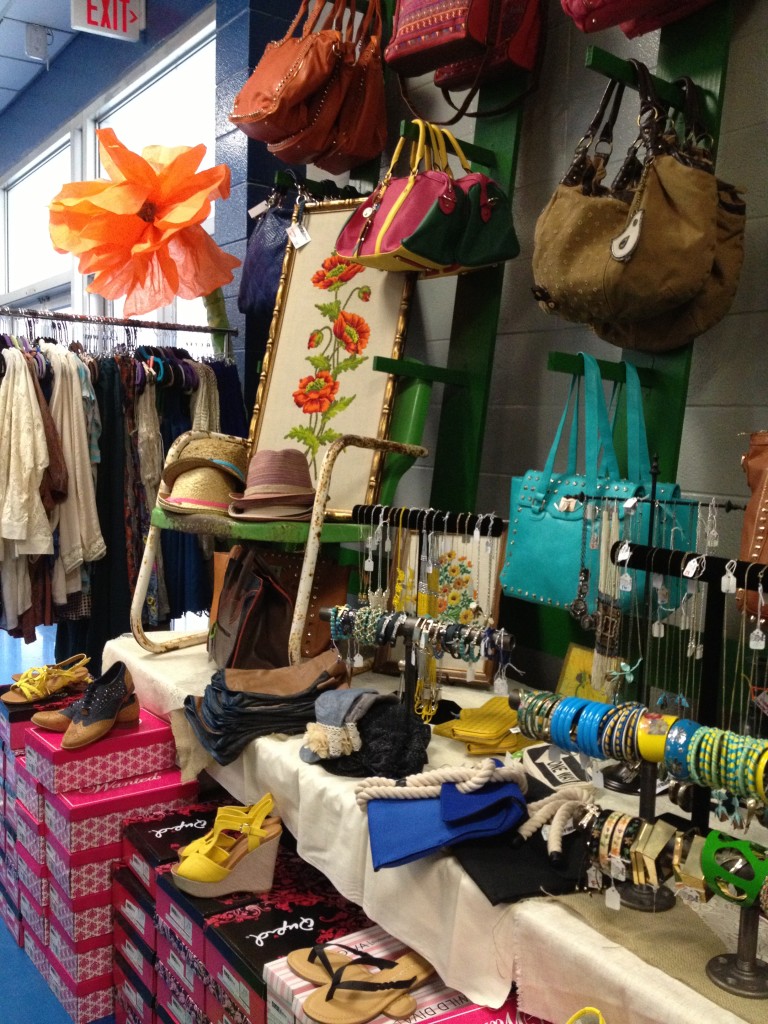
Spring Market 2012 – This was an awesome year! Wish you could see all of the little details.
Spring Market 2012 - railroad timbers
Spring Market 2012 – Those timbers were HEAVY!

Last year our store was closed while we were waiting on the new building to be built, so getting ready for the market was much easier. The hubby built us those amazing pallet walls and hauled in the railroad ties to build that awesome clothes rack. (I often tell people that I married him after I saw how talented he was. Hehe!) On a serious note, Spring Market 2012 is where Matt & I got our start. He helped design and set up our booth, and I was amazed at how well we worked together. Who knew that we’d be married by Spring Market 2013!

We used the pallets and railroad timbers in the new store design, so we were back to square one on this year’s market booth. Purses are always tough to display in the booth, so I knew we needed something similar to the pallet walls, to make use of the wall space. I like to fill up every possible inch!

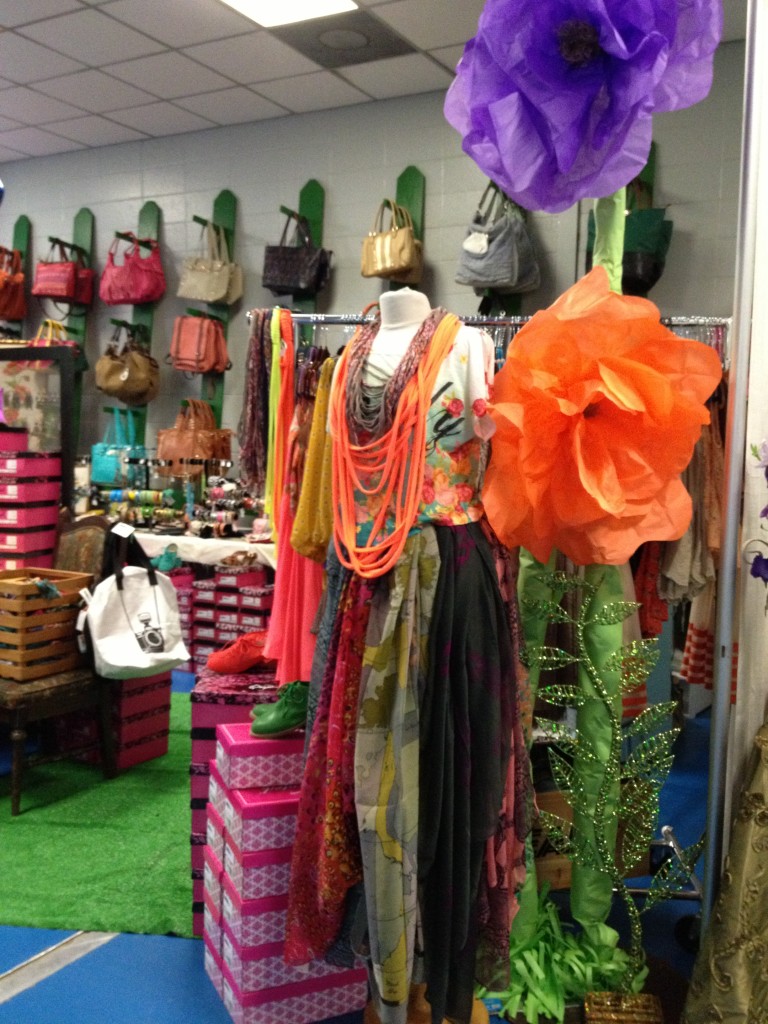
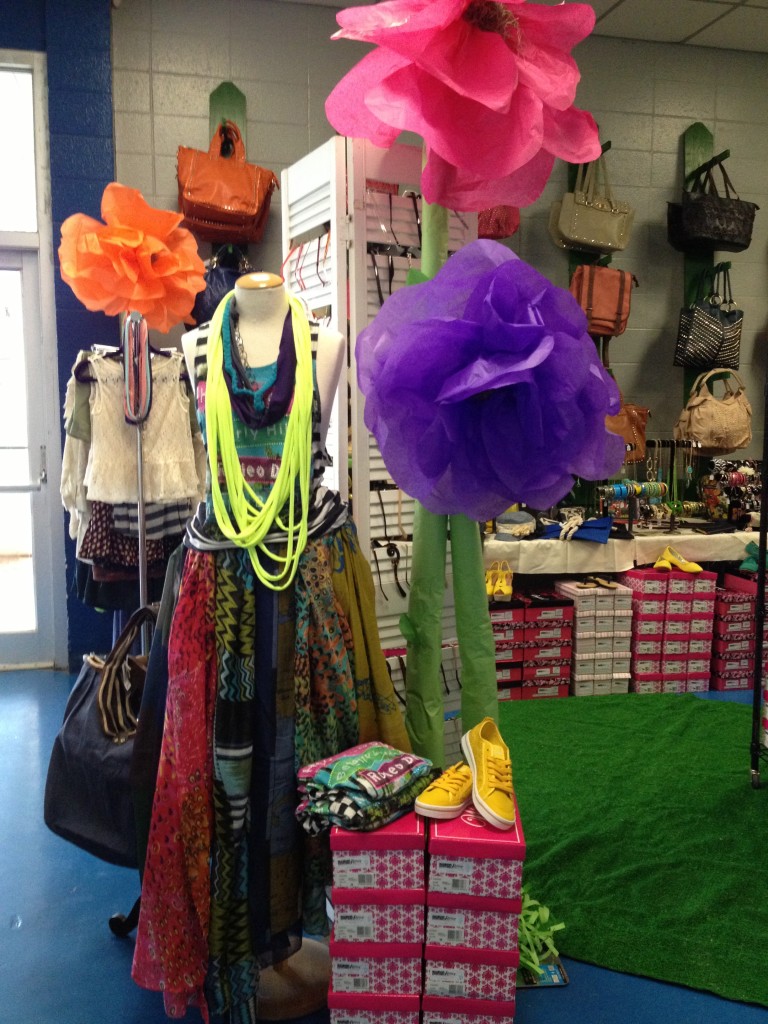
During our brainstorming dinner, I decided to go with a spring yard theme…as if you were hanging out on your front porch. I had a flower project that I wanted to try from Pinterest, and we had some unused astroturf rugs from a previous project. I finally decided to just prop some 1×8’s with pegs on the wall and use those for purses. Then, the hubby had the genius idea to make that into a fence…fitting perfectly with our outdoor theme! I tell ya, I think he has to be the smartest man in the whole world. (I’ll post more about this process and the flower project later this week.)

So, here we have it! Another successful Spring Market at the Monroe Civic Center!

Spring Market 2013
Why didn’t I notice that one box of shoes out of place before now?! What a shame!

Spring Market 2013Spring Market 2013Spring Market 2013Spring Market 2013I have to scream a huge thanks to my hubby for his building skills; my nephew, Cody, for helping to set up; my sister for running the store while I was on lock down at the Civic Center; and our FABULOUS staff for working late nights and long hours to pull this event together. I am pretty blessed with an amazing team!

So, what do you think of the booth??

Update: See more from our Spring Market booth here.

Little Girl’s Dresser Project

I spent last weekend helping my friend set up her little girl’s “big-girl room.” (We have a new baby on the way that’s going to need the nursery!) Priority #1 was finding a dresser. This post is written to show you to think outside the box…it could save you some cash!

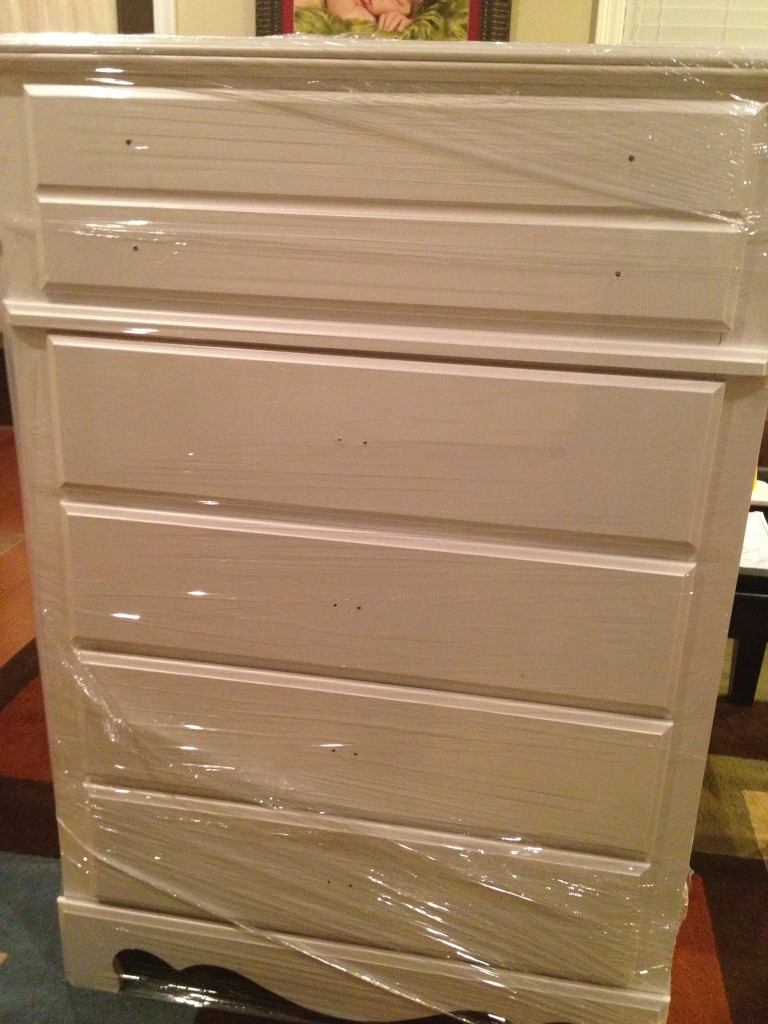
The dresser we found was going to cost $300, but we checked the sale section and found a similar white dresser for just $125! It needed knobs/handles and a good wipe down, but other than that it worked perfectly! (There was also a small scuff on the back, but no one would see it anyway.) So of course, we bought this one and headed off to find hardware!

She just needs a little TLC!

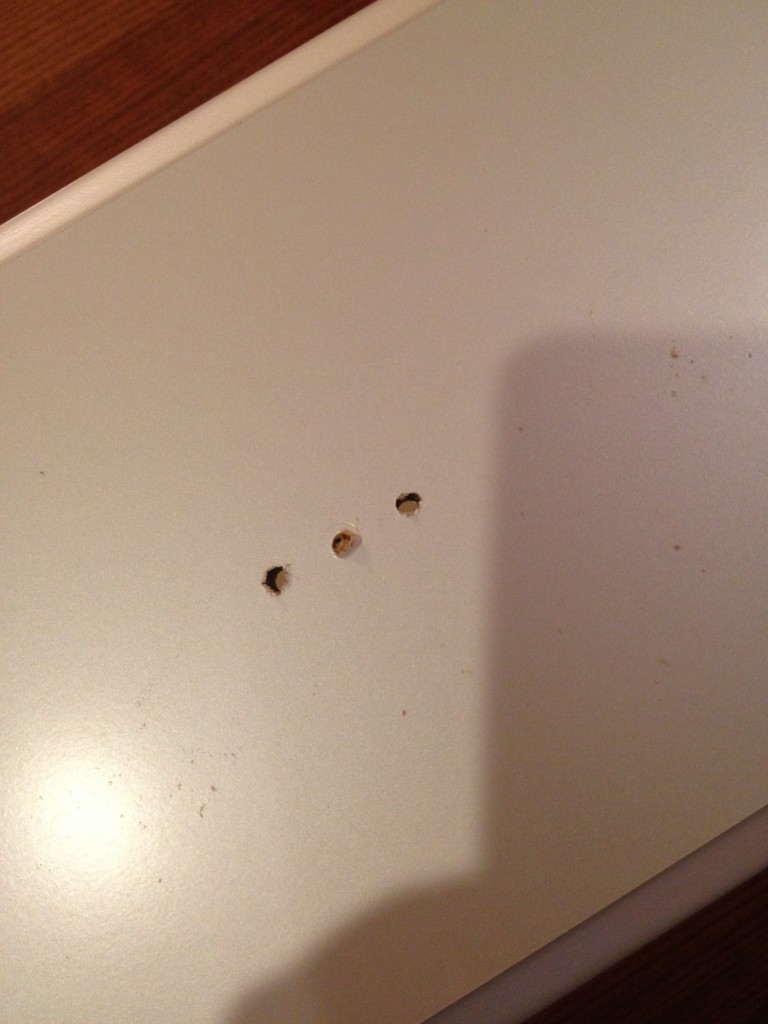
I learned a valuable lesson about handles that day. The pre-drilled holes were only 1 ½ inch apart, which turns out to be a very difficult size to find! My friend started to get a little nervous about our purchase, but if there’s anything my Mama taught me, it is to “make it work.”

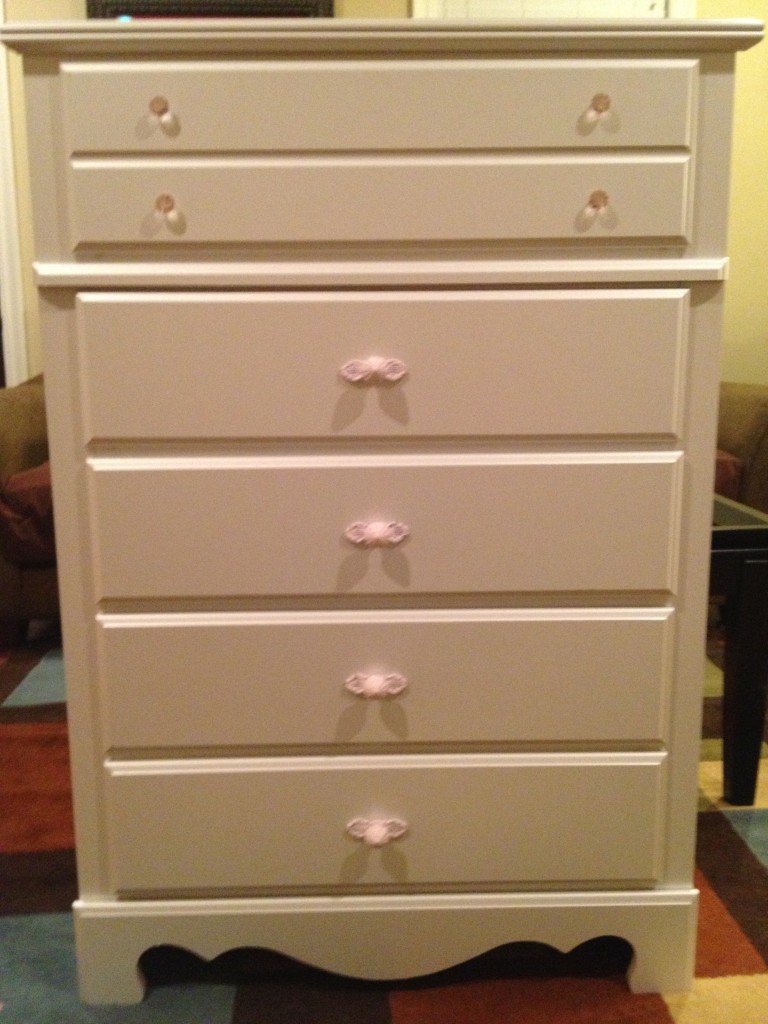
We found some gorgeous coordinating pink knobs and handles at Hobby Lobby (for ½ price!) and headed home to “make it work.” Figured out how I solved the problem yet? The handles we bought had 2 inch plates behind them, so I just drilled an additional hole in the drawers, and the plates covered the original, predrilled holes!

Break our your power tools!
Break our your power tools! The two outside holes were the original ones, & I drilled the one in the middle.
Dresser (5)
Isn’t she perfect for a little girl’s room?!

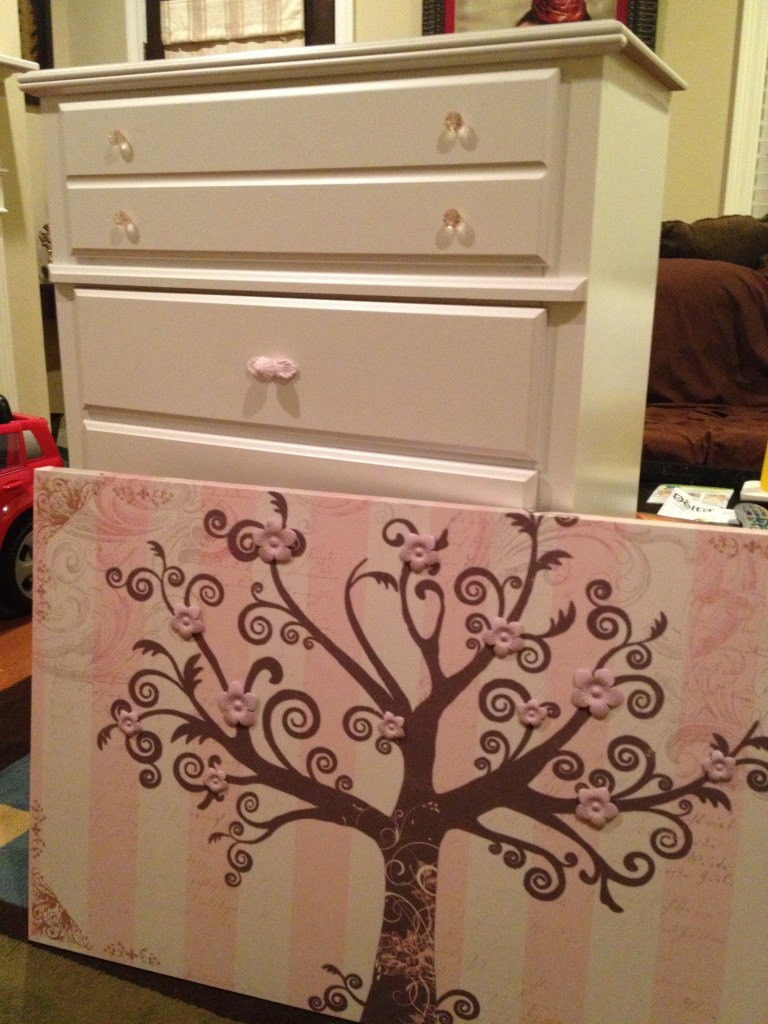
Our other steal for the day was this oh-so-pretty canvas print that ties together the purple & pink of the room perfectly. It was priced at $89.99 and on sale for ½ price. It gets even better! One of the wooden flowers on this particular canvas had fallen off, so we got an additional 10% off and just glued that puppy back on when we got home! All in all, we bought the dresser, hardware, canvas, laundry basket, and other wall art…all for the price of the original dresser!

They look great together!

What’s the moral of this story? Don’t be afraid to think outside the box. A little DIY project can save you lots of cash and turn out even more perfect in the end. I have another project for little Aubrey’s room up my sleeve, so I’m sure you’ll see more from her room soon!

P.S. I apologize that these photos are a little dark. We were doing these projects at 10pm with a sleeping little girl in the next room.

$1 Valentine’s Day Project

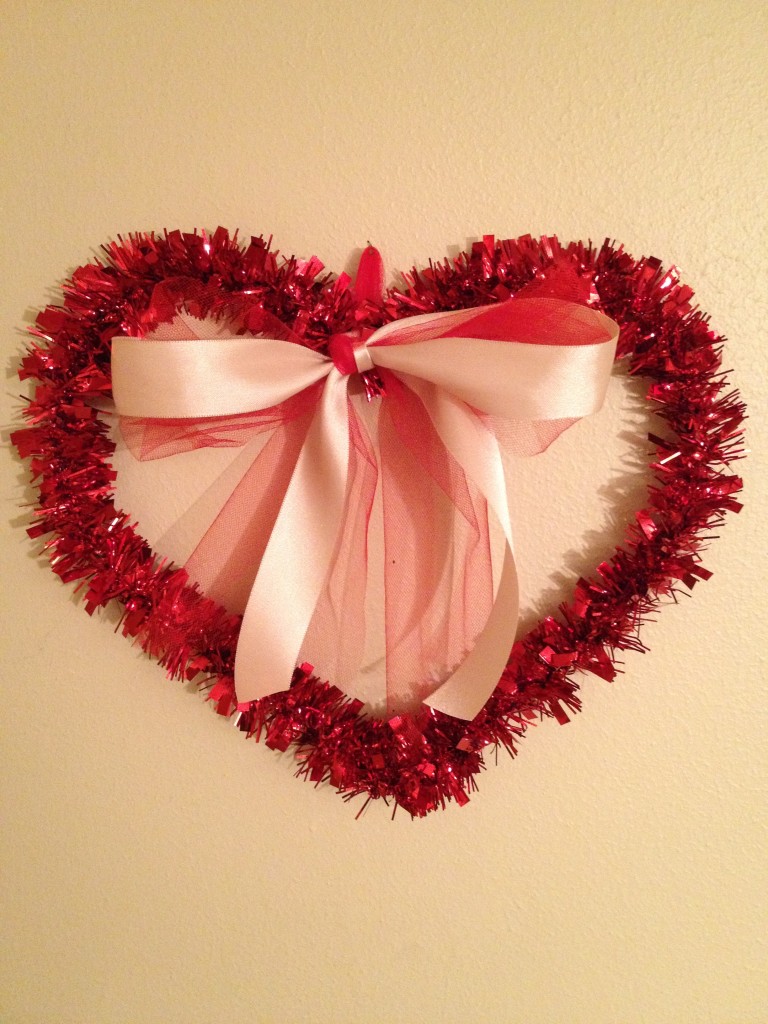
ValentinesTake a look at my quick, easy, and CHEAP Valentine’s Day décor. By cheap I mean it only cost me $1!

I picked up this garland heart at the Dollar Tree. When I got home I used some red tulle and cream ribbon to tie a bow on the top. Then, I tied a little loop of tulle through the back of the bow to use as a hanger.

I would have probably used a printed or white ribbon, but these were items that I already had. If you have to buy ribbon, this project would cost more than $1, but not more than $5!

I bought this for my front door, but it was a tad smaller than I’d like. It would be great for hanging on a cabinet door, wall, etc. Next year I’ll probably do something more creative with this heart, but with limited time right now, I’ll take this as a quick, easy, and completed project!

Finding pieces like these at the Dollar Tree and expanding upon them, is a great way to have inexpensive holiday décor. What do you think??

Bathroom Makeover

I’m finally getting around to posting pics of our bathroom makeover. With the busy holiday season approaching at Salt & Pepper, I’m sure my posts are going to be few and far between for a bit.

Before: Yuck!

Nonetheless, here it is…our amazing bathroom transformation! They say that bathrooms and kitchens sell houses. Well, that just wasn’t the case in our rent house. (I won’t even talk about the dreadful  kitchen today.) And as you can see, the bathroom is the size of a small closet. The awesome master bedroom, gorgeous hardwood floors, and PERFECT location are what sold us on this house…definitely NOT the bathroom or kitchen.

I will never understand what made someone chose this dreadful green color for the bathroom. It was the color of toothpaste! To make matters worse,

Love this shower curtain!

someone patched the walls (poorly) with the wrong color paint, which really made it look like a child smeared old toothpaste all over the place. In this case, a can of paint really made a huge difference.

Since the room is so small, I decided to paint it stark white. I also thought it would be a good contrast to this FABULOUS shower curtain.

We switched out all of the towel racks to our awesome, new branch-looking ones. (Thanks, Mom, for all of the new bathroom goodies. She hooked us up with a new bathroom as part of our wedding present.) We changed the knobs on the doors. Two doors had old, dreadful silver knobs, and the other two had porcelain white ones with monkeys on them…no joke. (Notice the new knobs match the shower curtain rings that I already had. Total accident, but I loved it!)

Possibly my favorite part of the new bathroom is this cool ladder shelf. I bought this ladder to use as a night stand, but it was too short. It makes a perfect holder for these baskets! Matt & I each have one for our toothbrushes, etc. (The baskets were also a wedding present.)

My favorite part!

Other bathroom details: My mom bought me the rug as a housewarming present when I moved here, and it covers up a large chunk of that ugly floor. The bird containers were also a wedding present from my mom. (I’ve since broken one of them, so now the center serves as a candle holder. I was so mad!) I already had the wall sconces, curtain hook, and rod from my very first town house. The curtain was originally my sisters. My mom used it for a bit at her house. Then, we used it as a table cloth at one of our wedding celebrations, and now it’s my bathroom curtain! Also, Matt hates the light fixtures, but I happen to love them! I think they compliment the decor nicely, and of course, I love anything vintage!

Well, there ya have it…our Sunday afternoon bathroom makeover. I’ll post the living room decor next, but in the meantime, let me know what you think of the bathroom! I love seeing everyone’s thoughts and comments!

After: Much Better!