Category Archives: Fashion

What I Wore: Memorial Day

When I started this blog, I figured that I’d eventually get around to sharing outfit posts. I always get a ton of comments about my attire and would like to share details. However, to be completely honest, I secretly hate taking photos of myself, and I hate sharing them even more! Even though I’ve planned several outfit posts since I created this blog, I always talk myself out of posting them. However, at the encouragement of my wonderful husband, I finally decided to take the plunge. (If you’ll haven’t noticed, he thinks I’m great at everything….thankfully.)

I will preface this post with saying that this is not, in any way, one of my best outfits. However, it was festive and a happy occasion, so I thought I’d go ahead and share. Besides, if I didn’t go ahead and start, I’d just keep putting the outfit posts off until eternity. So here it goes…

Pamela & Taylor at partyThis Memorial Day was a happy one! It was the birthday of one of the kindest, most beautiful (inside and out), and talented young ladies that I know. Not only was it her birthday, but she got ENGAGED! Her parents and now fiancé set up a surprise celebration to commemorate this exciting time, and I was happy to be there to congratulate them. (Drew, I’m warning you here on the world wide web that you better take amazing care of that girl! She deserves a prince charming like no other!) My advice to you both is to always put each other first. Never, ever criticize each other in front of other people, and always avoid hurtful words…even in the heat of the moment. Enjoy every second of this special time!

Now, back to my outfit post. When I’m choosing what to wear each day, I often pick one item that I know I want to wear and then pull the rest together from there. I may change the other pieces a hundred times, but I typically stick with whatever initial item I gravitate to.

Memorial Day Outfit
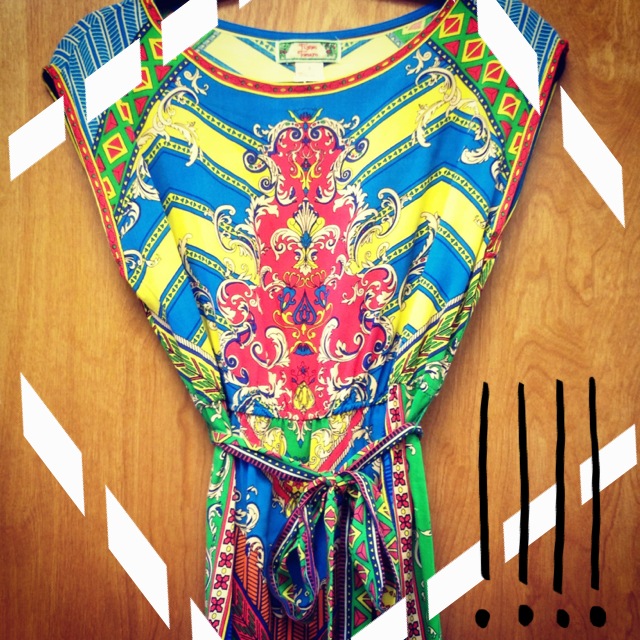
Today, it was white jeans. When deciding what to wear to the event, I knew that I wanted to wear these particular white jeans and wedges. After trying on a few different shirts, I decided on this navy and white patterned top. I really like its rope straps. To be honest, I hardly ever wear it though. I probably haven’t worn this top in well over a year! Today was its lucky day.

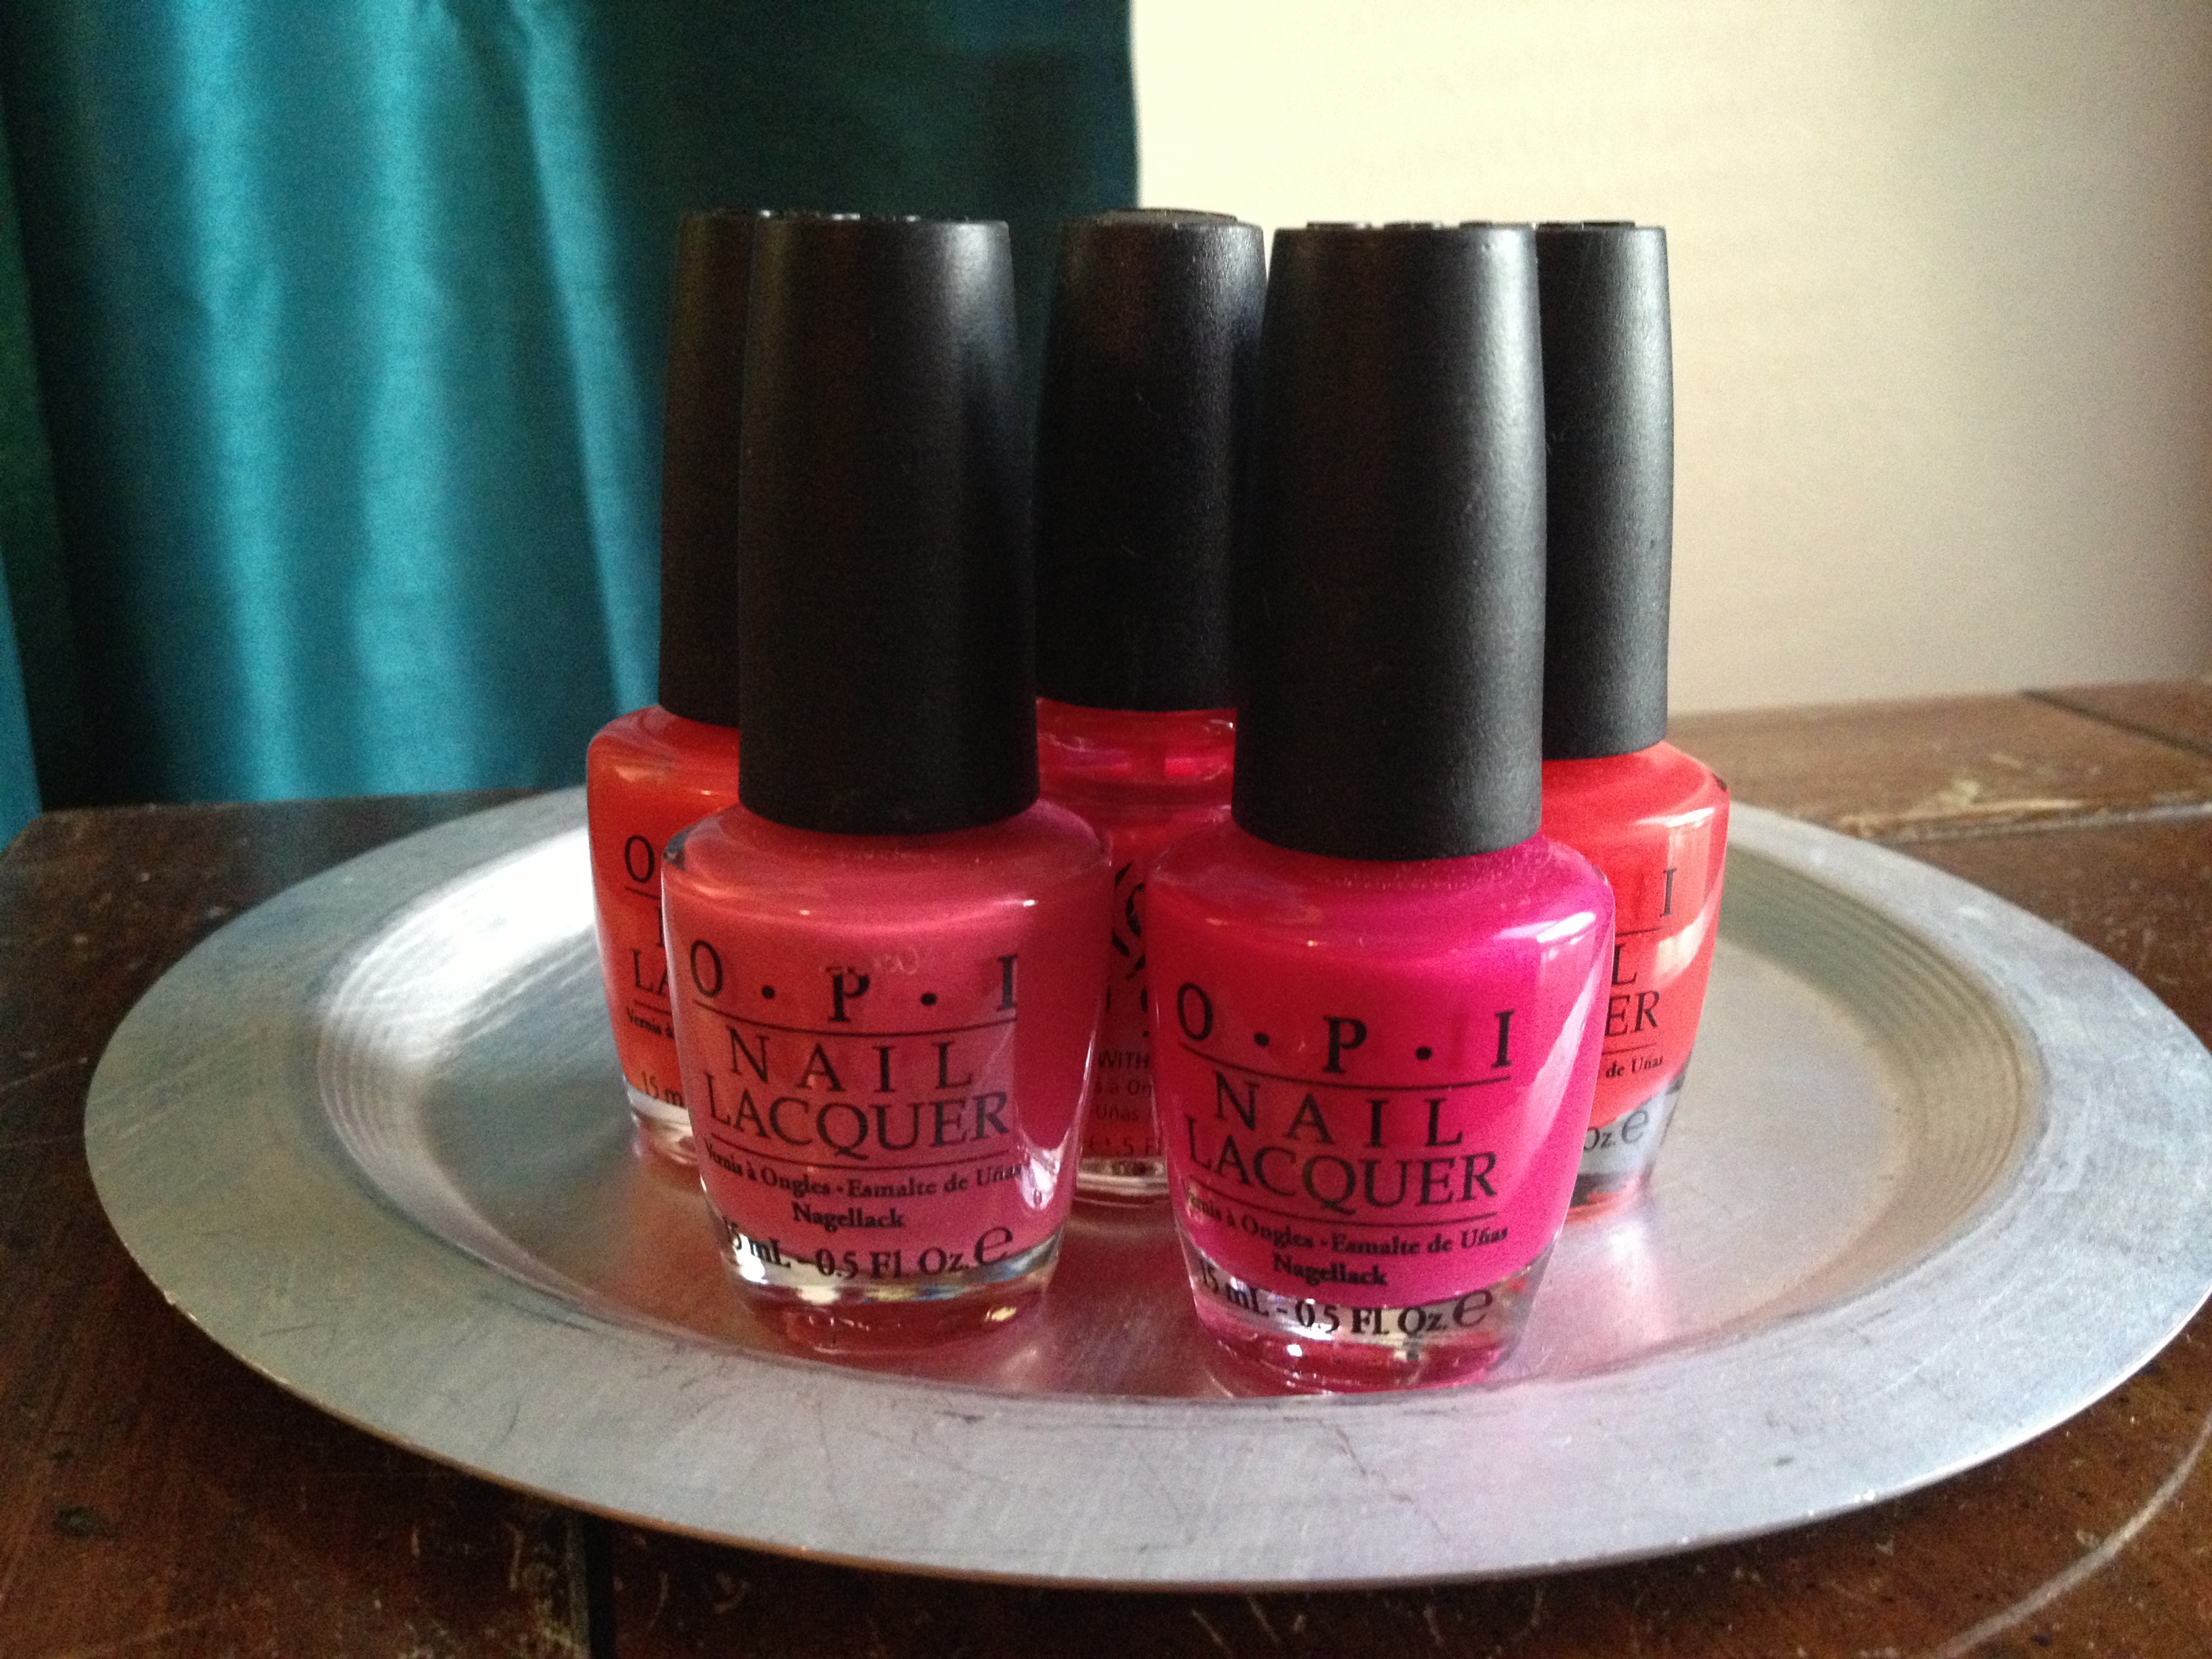
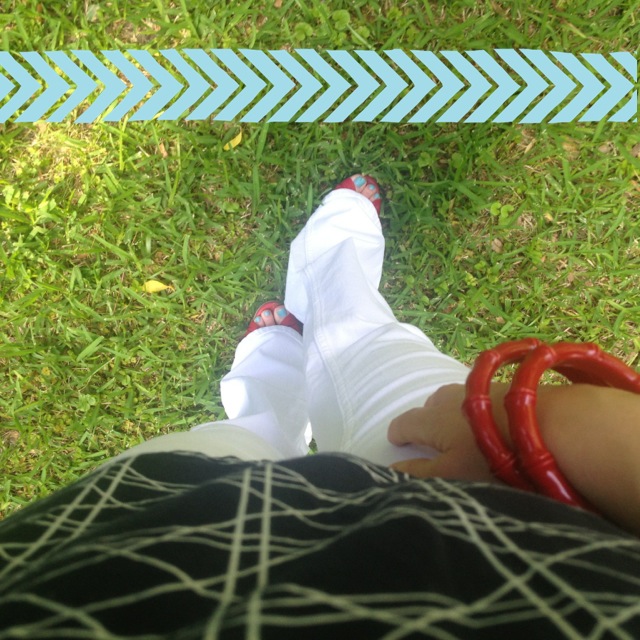
At the start, I was wearing these yellow wedges with the outfit, but then suddenly remembered it was Memorial Day! I’m not one to typically wear red, white, and blue together, so I used this opportunity to take advantage of the holiday. I switched the yellow wedges for red ones, and sprinkled in some red jewelry.red bamboo bracelets

red bracelets and feather earrings
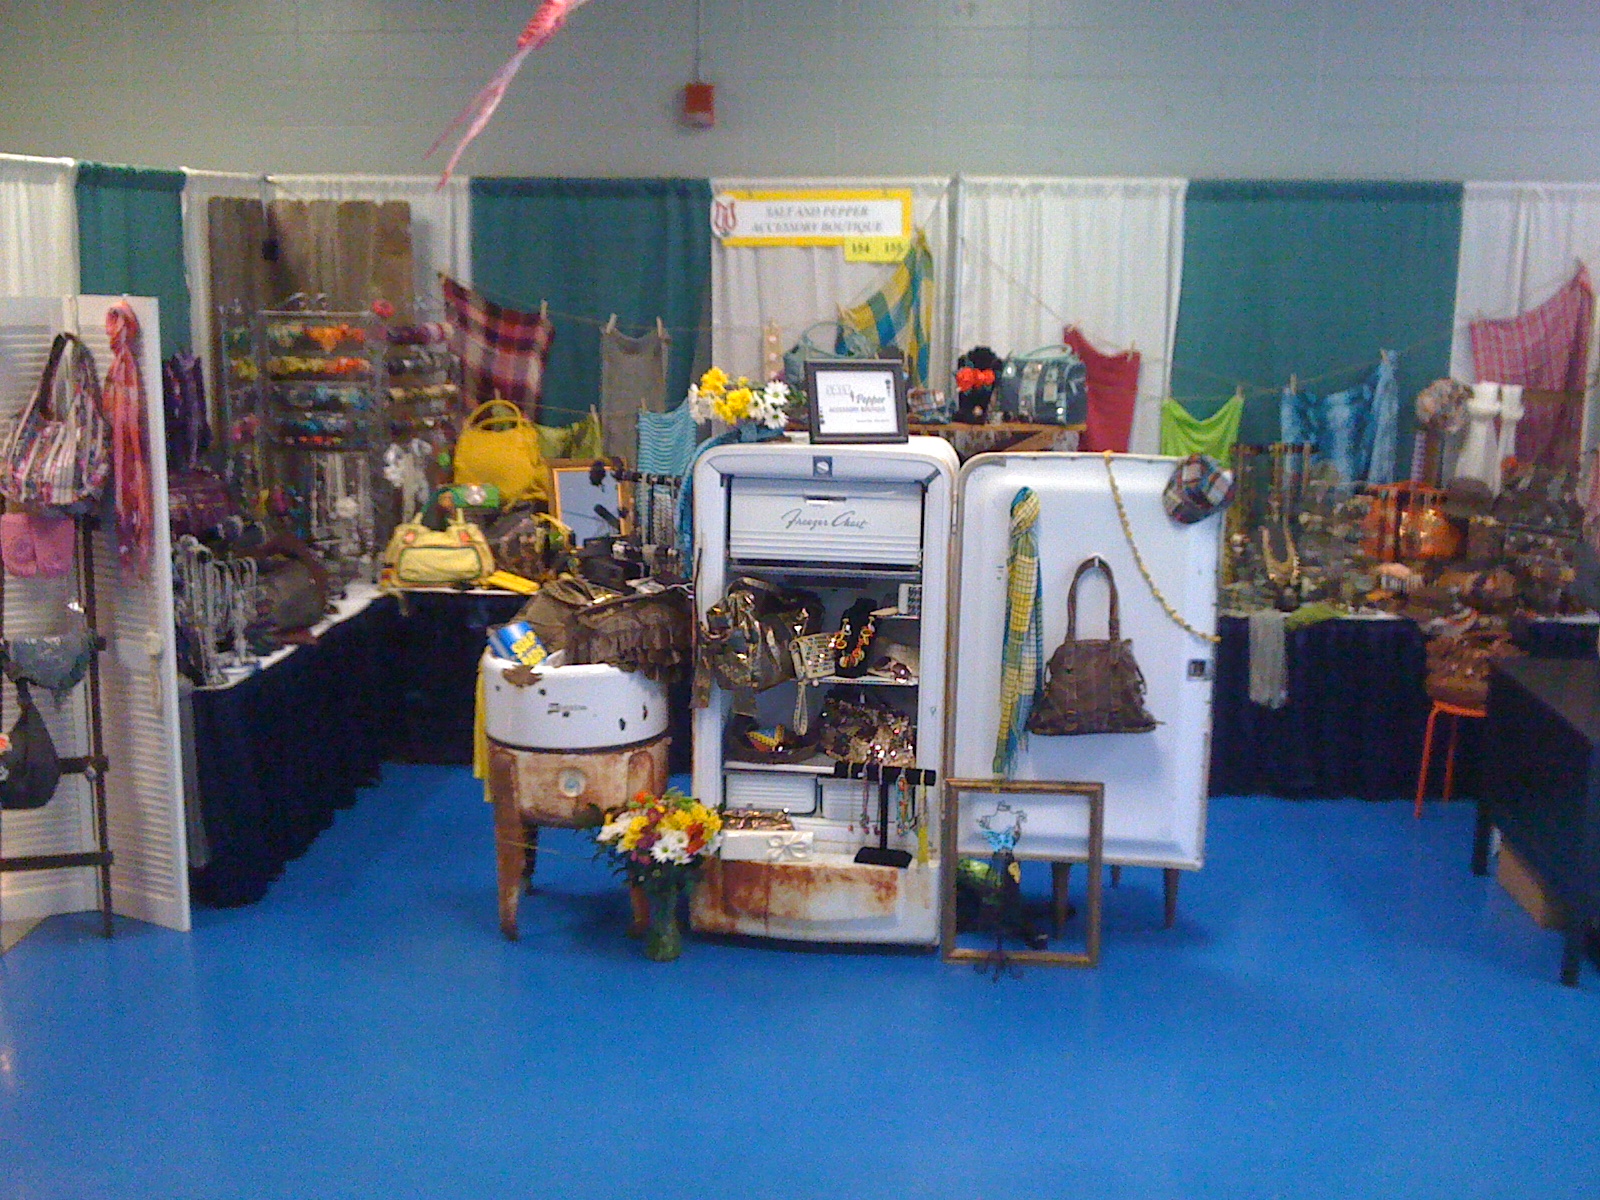
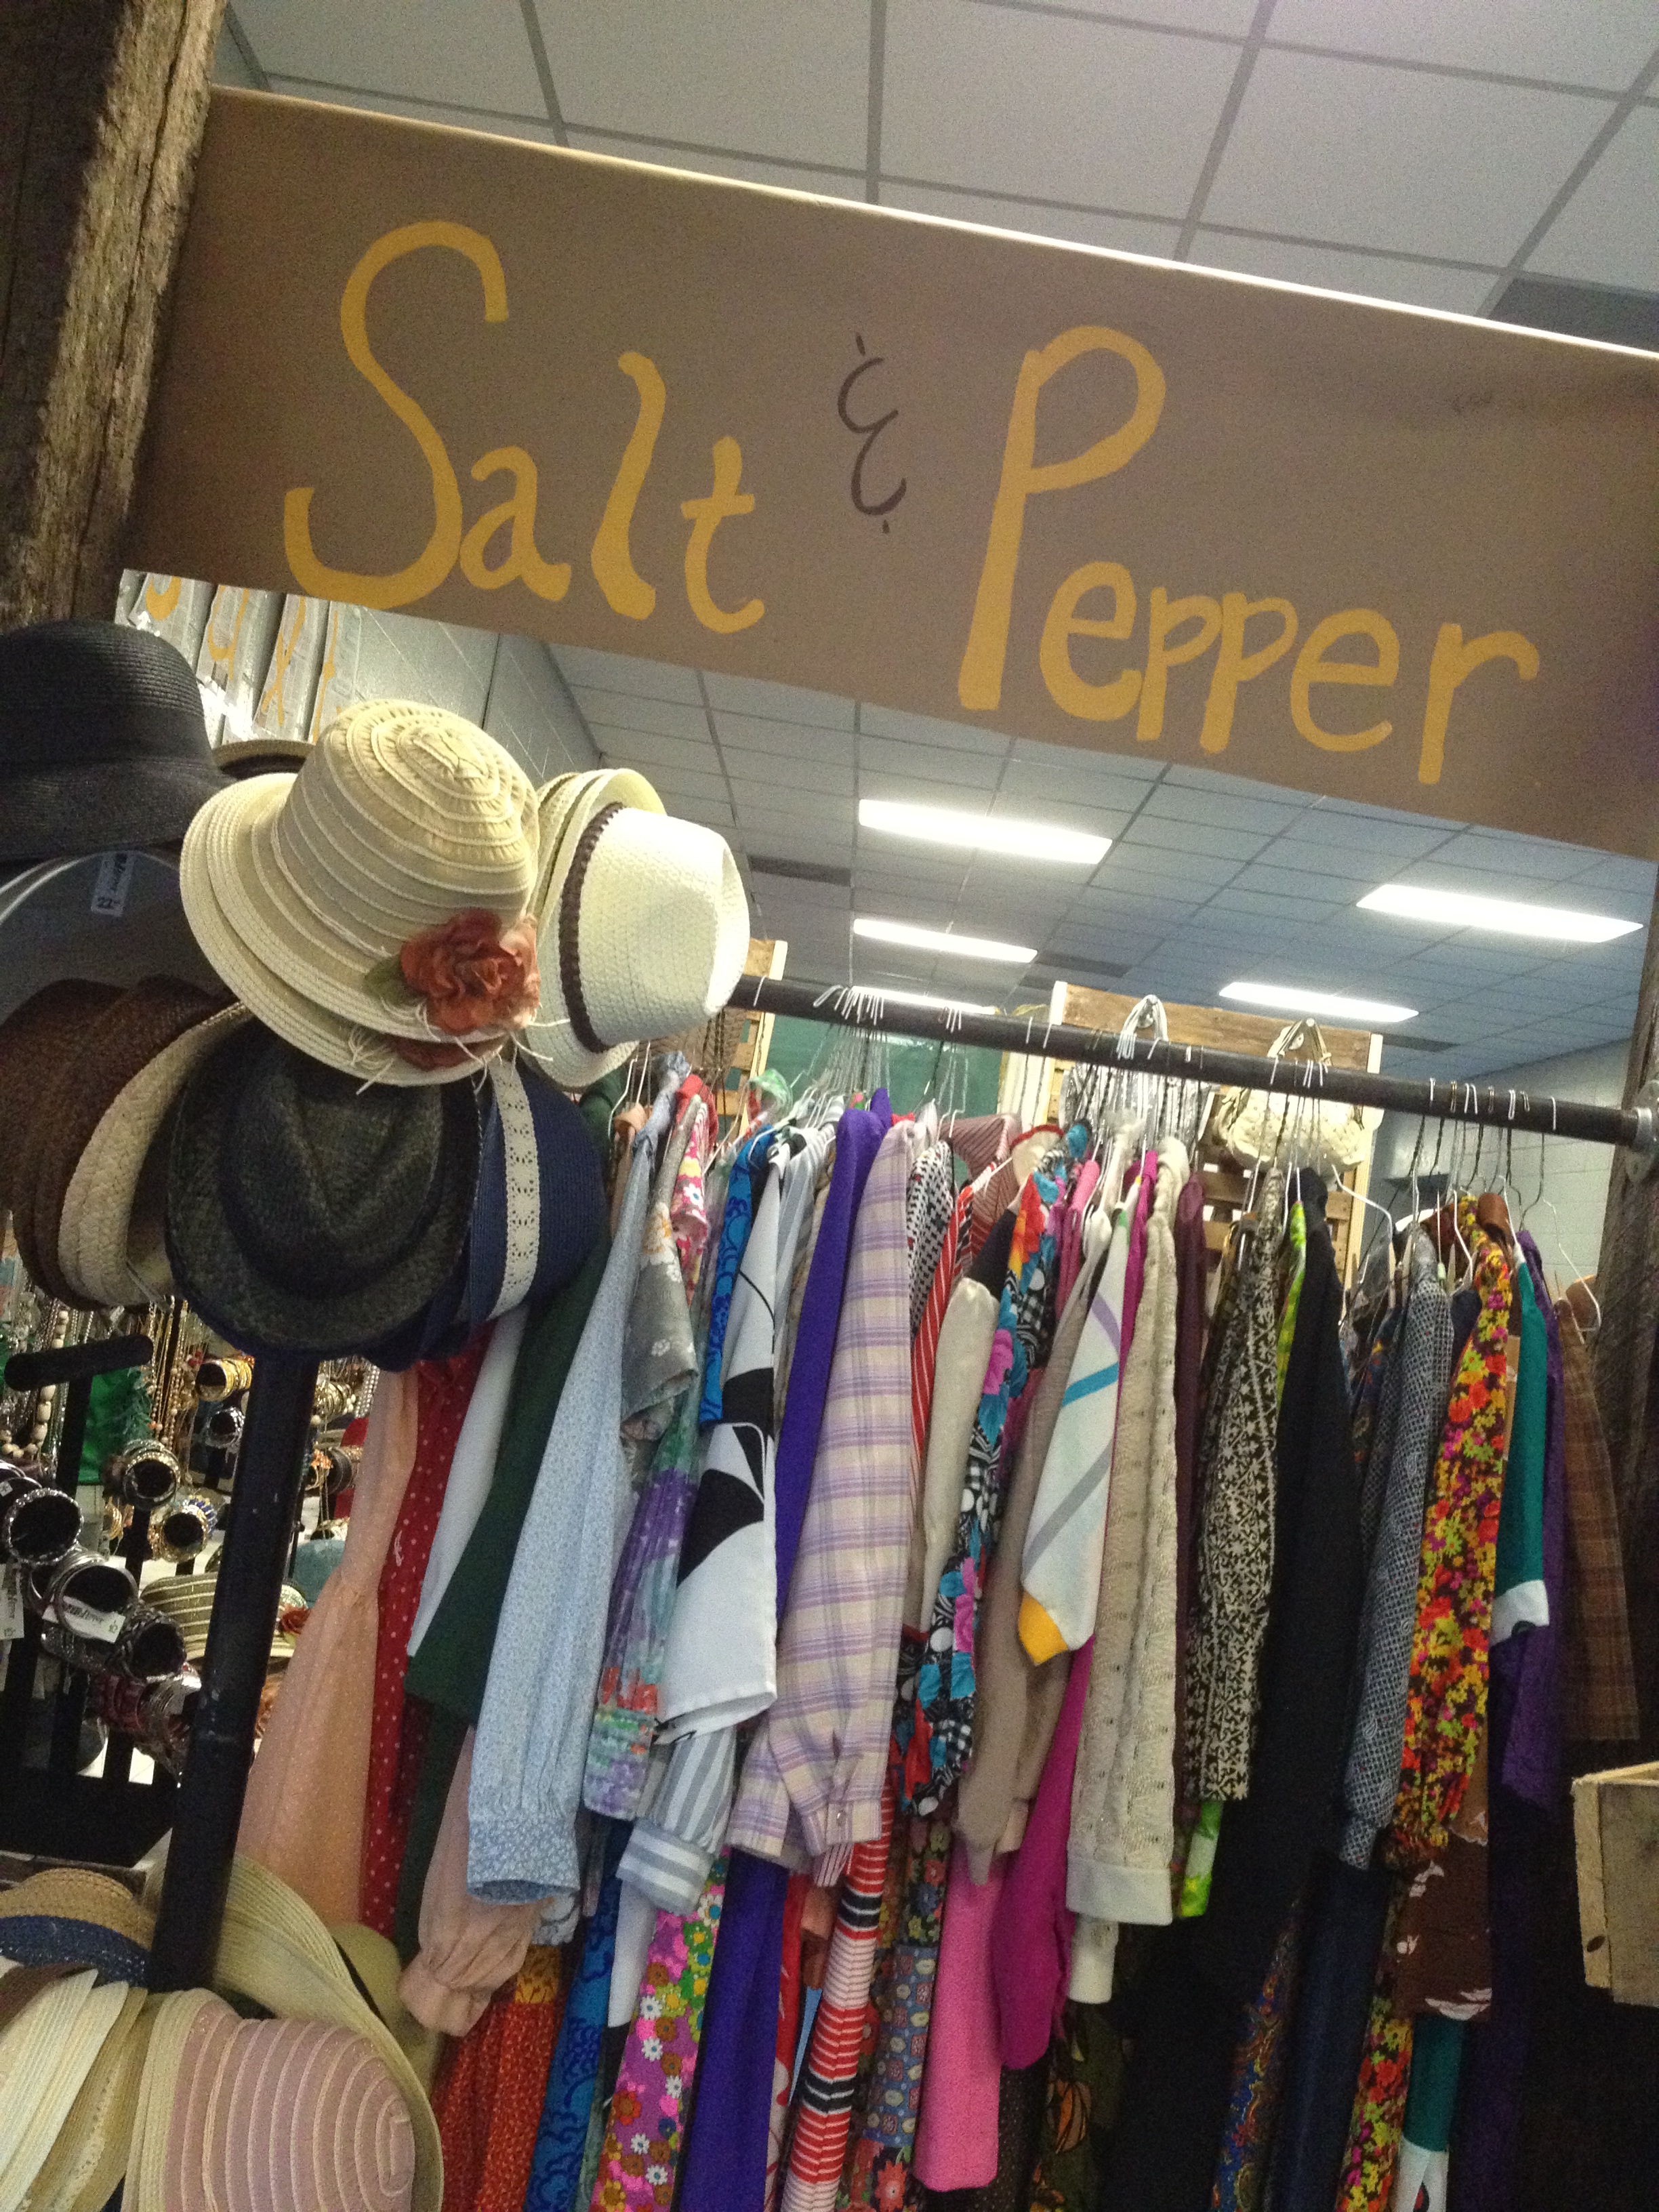
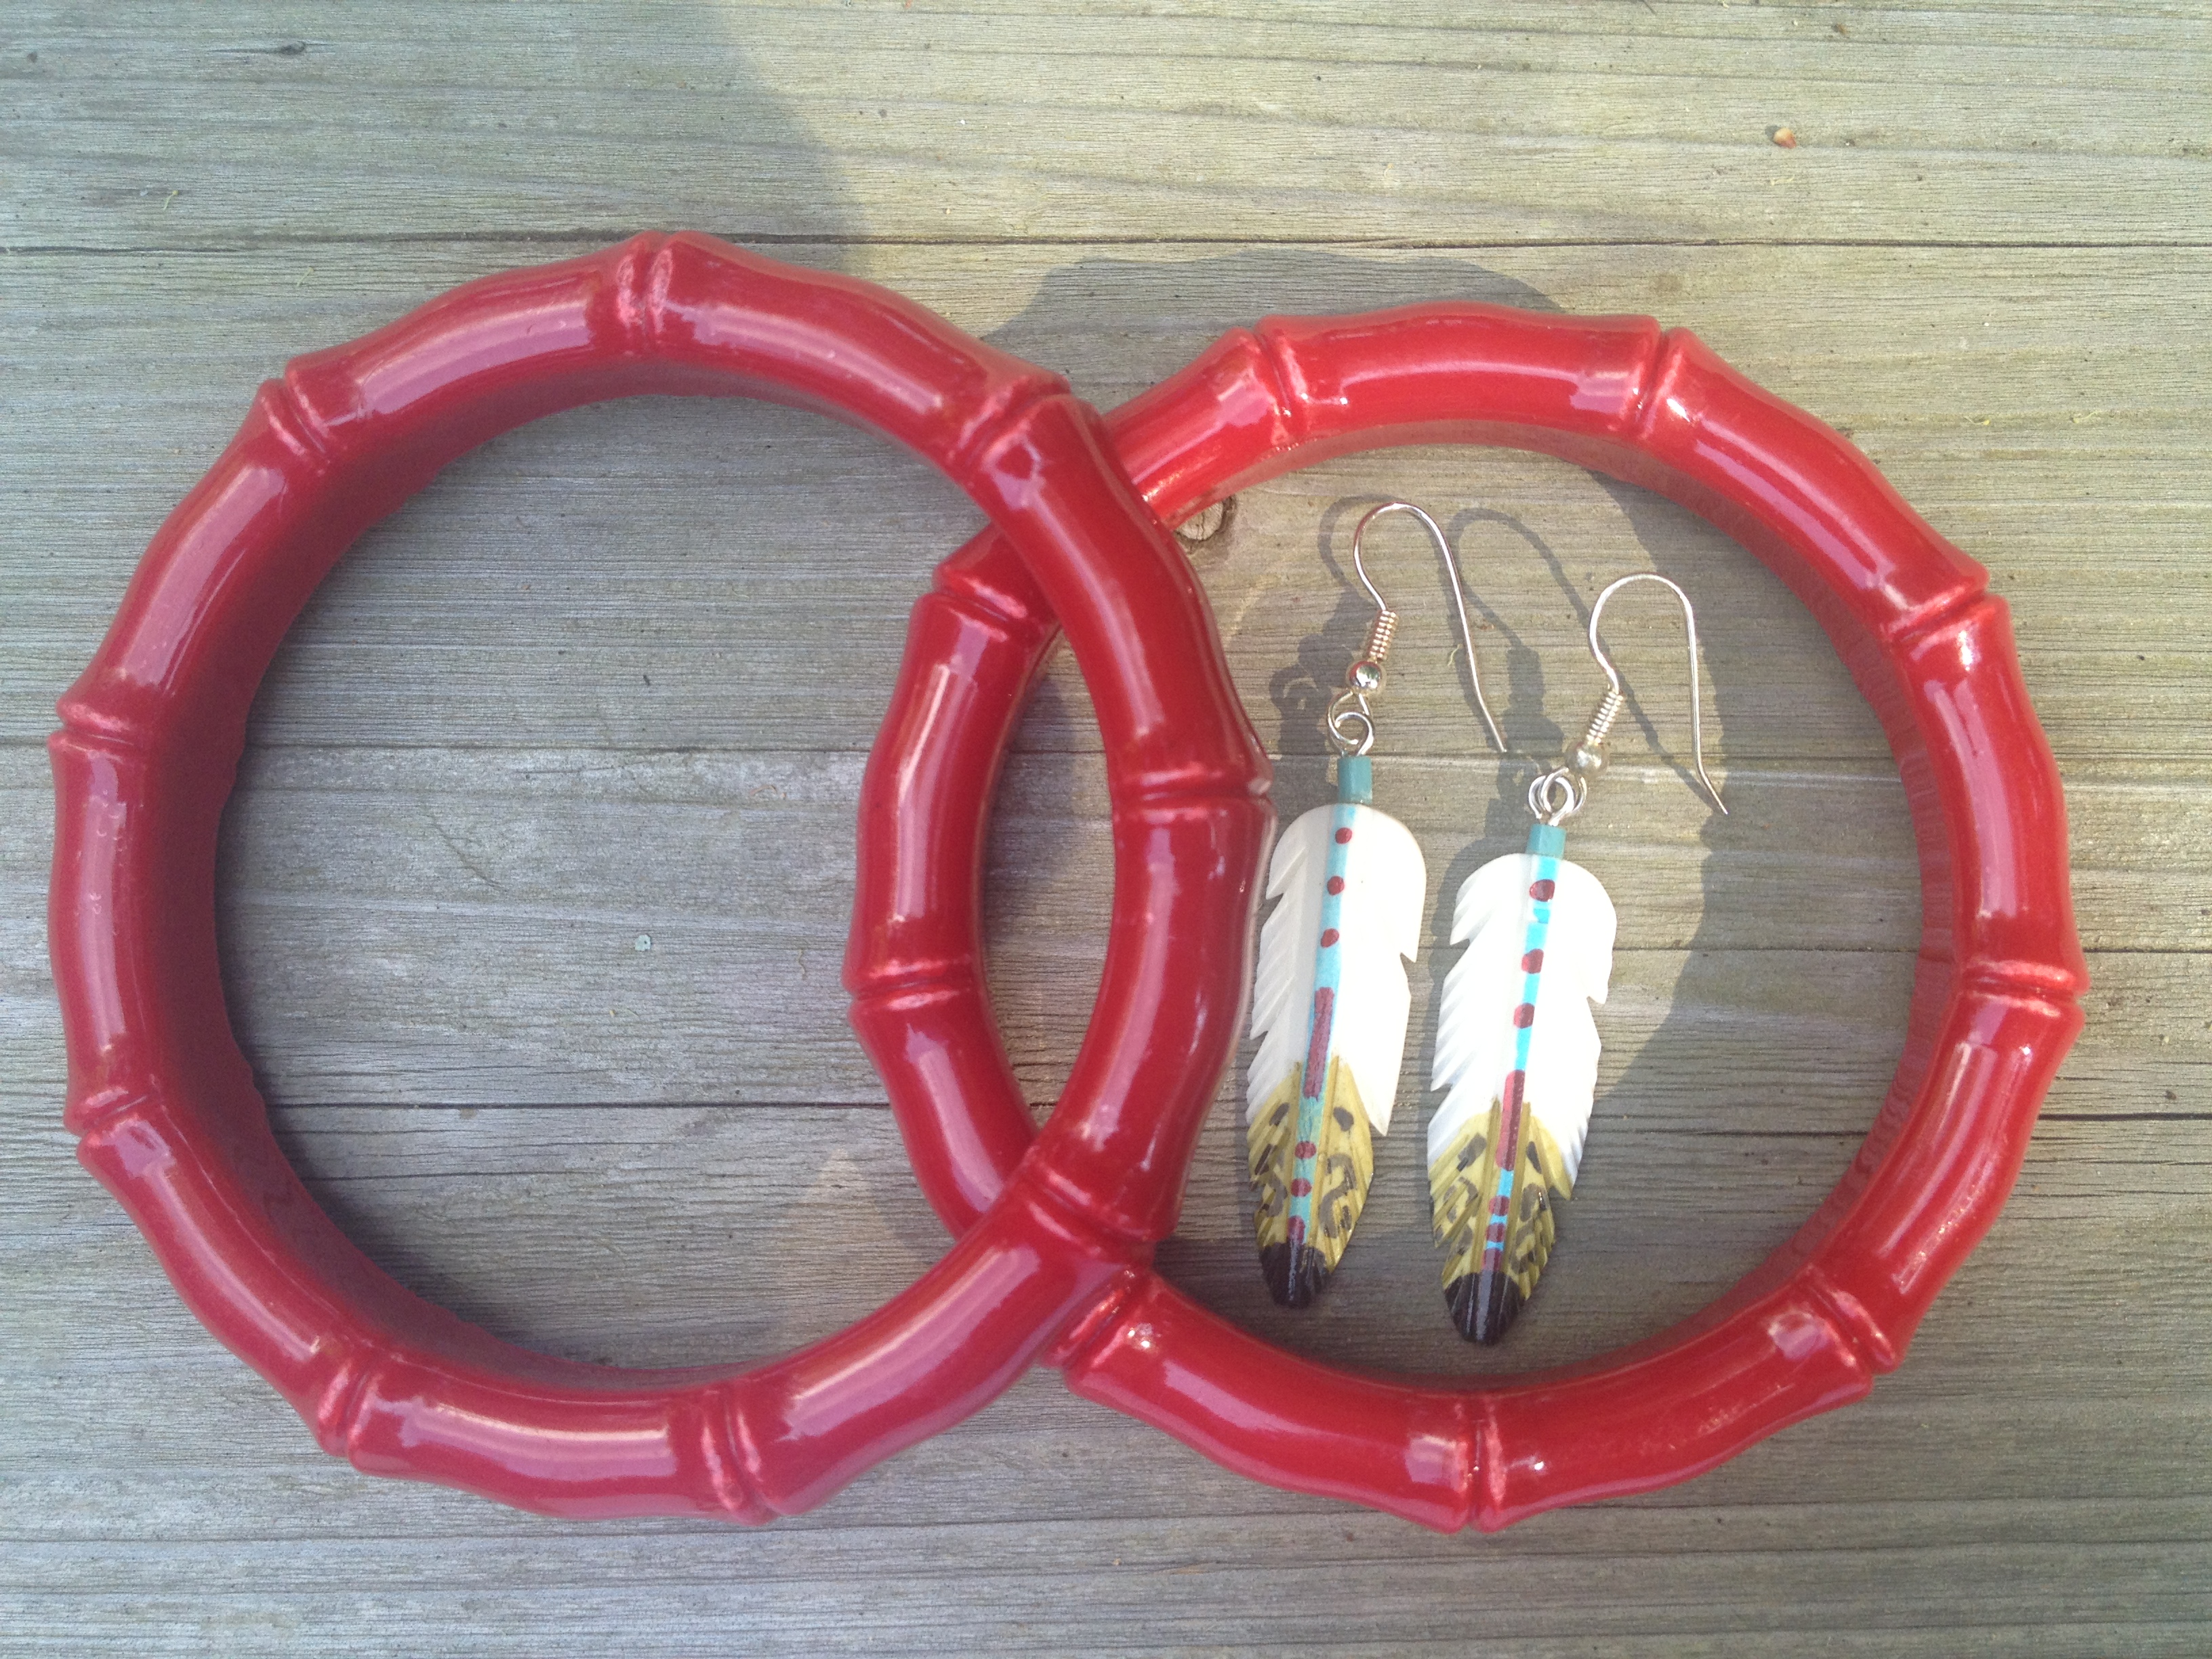
One of the most frequent pieces of fashion advice that I give is to not overdo it on matching accessories. I tied in the red shoes by adding the red, bamboo bracelets, but I didn’t add red earrings so that I wouldn’t be too “matchy-matchy.” Instead, I wore the cream and turquoise feather earrings with a splash of red in them (currently available at Salt & Pepper!). They had just enough of the colors from the outfit, but added another element too. As I post more outfits, you’ll notice that I do not like being overly matched and will sometimes try to not match at all! It’s kind of my thing.

Memorial Day OutfitSo here you have it! My very first “What I Wore” post! Again, I’m hoping that by forcing myself to share this, I will become a little more courageous in sharing my personal style with you. Let me know your thoughts!

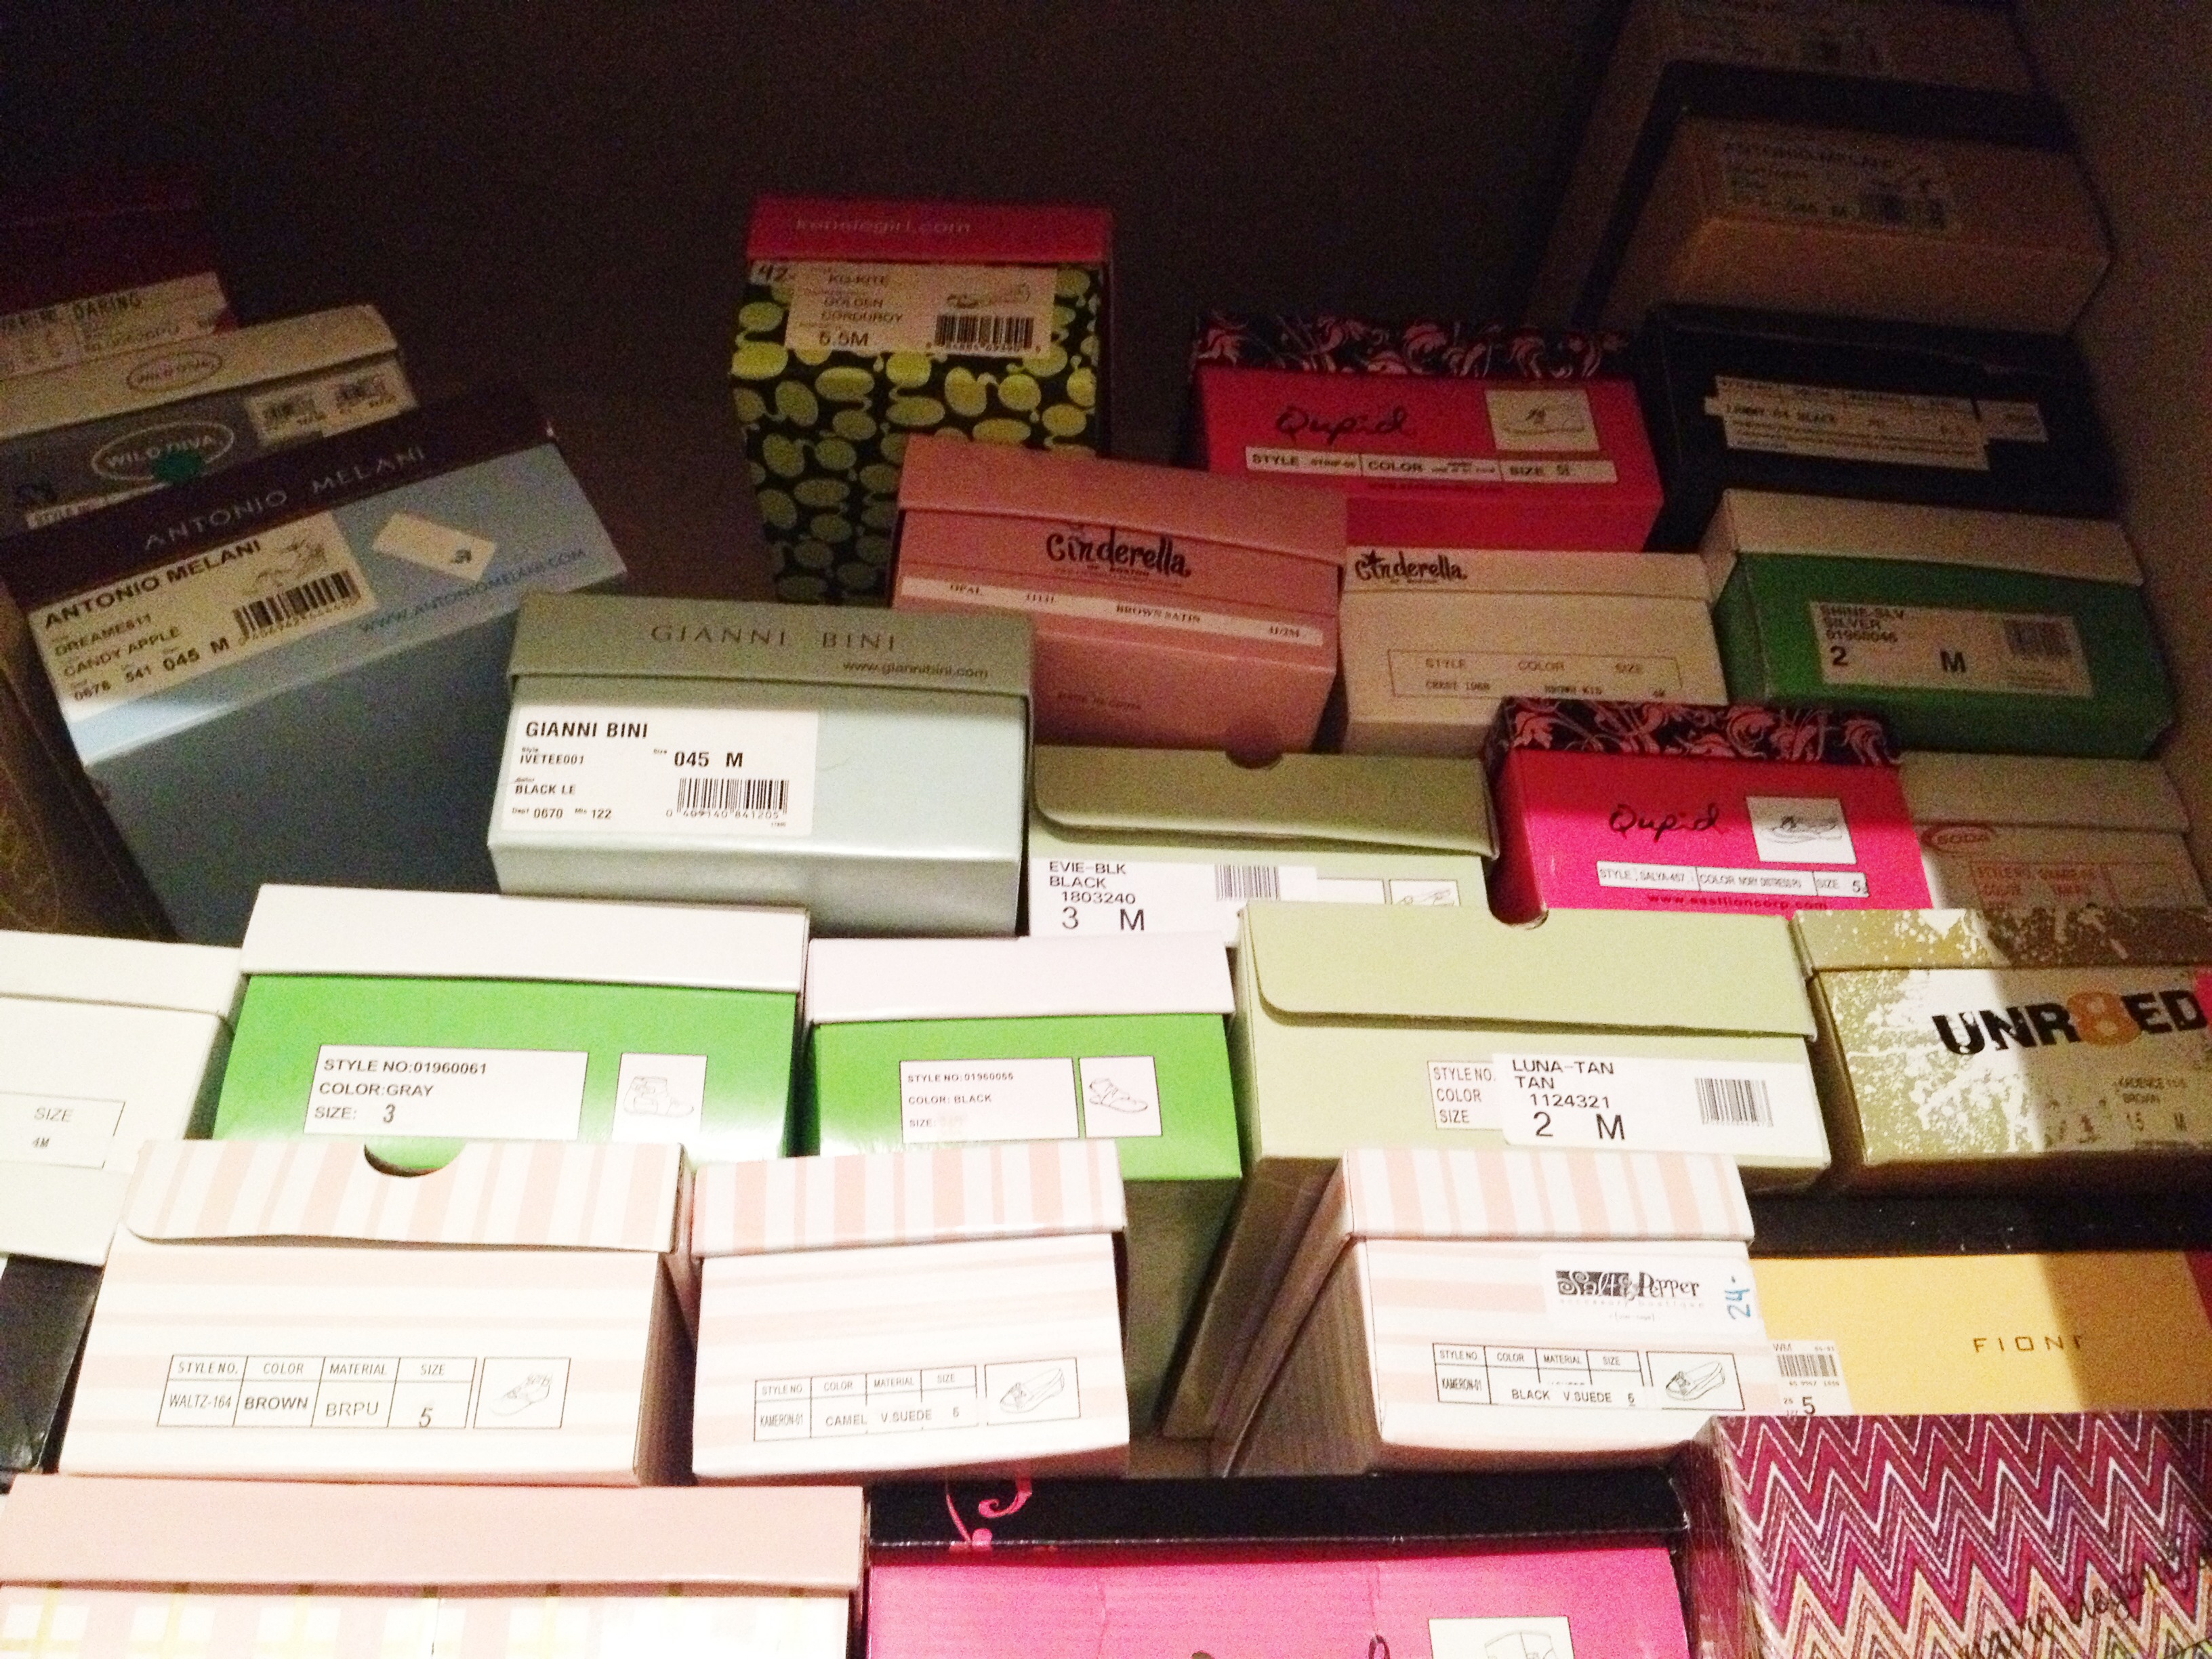
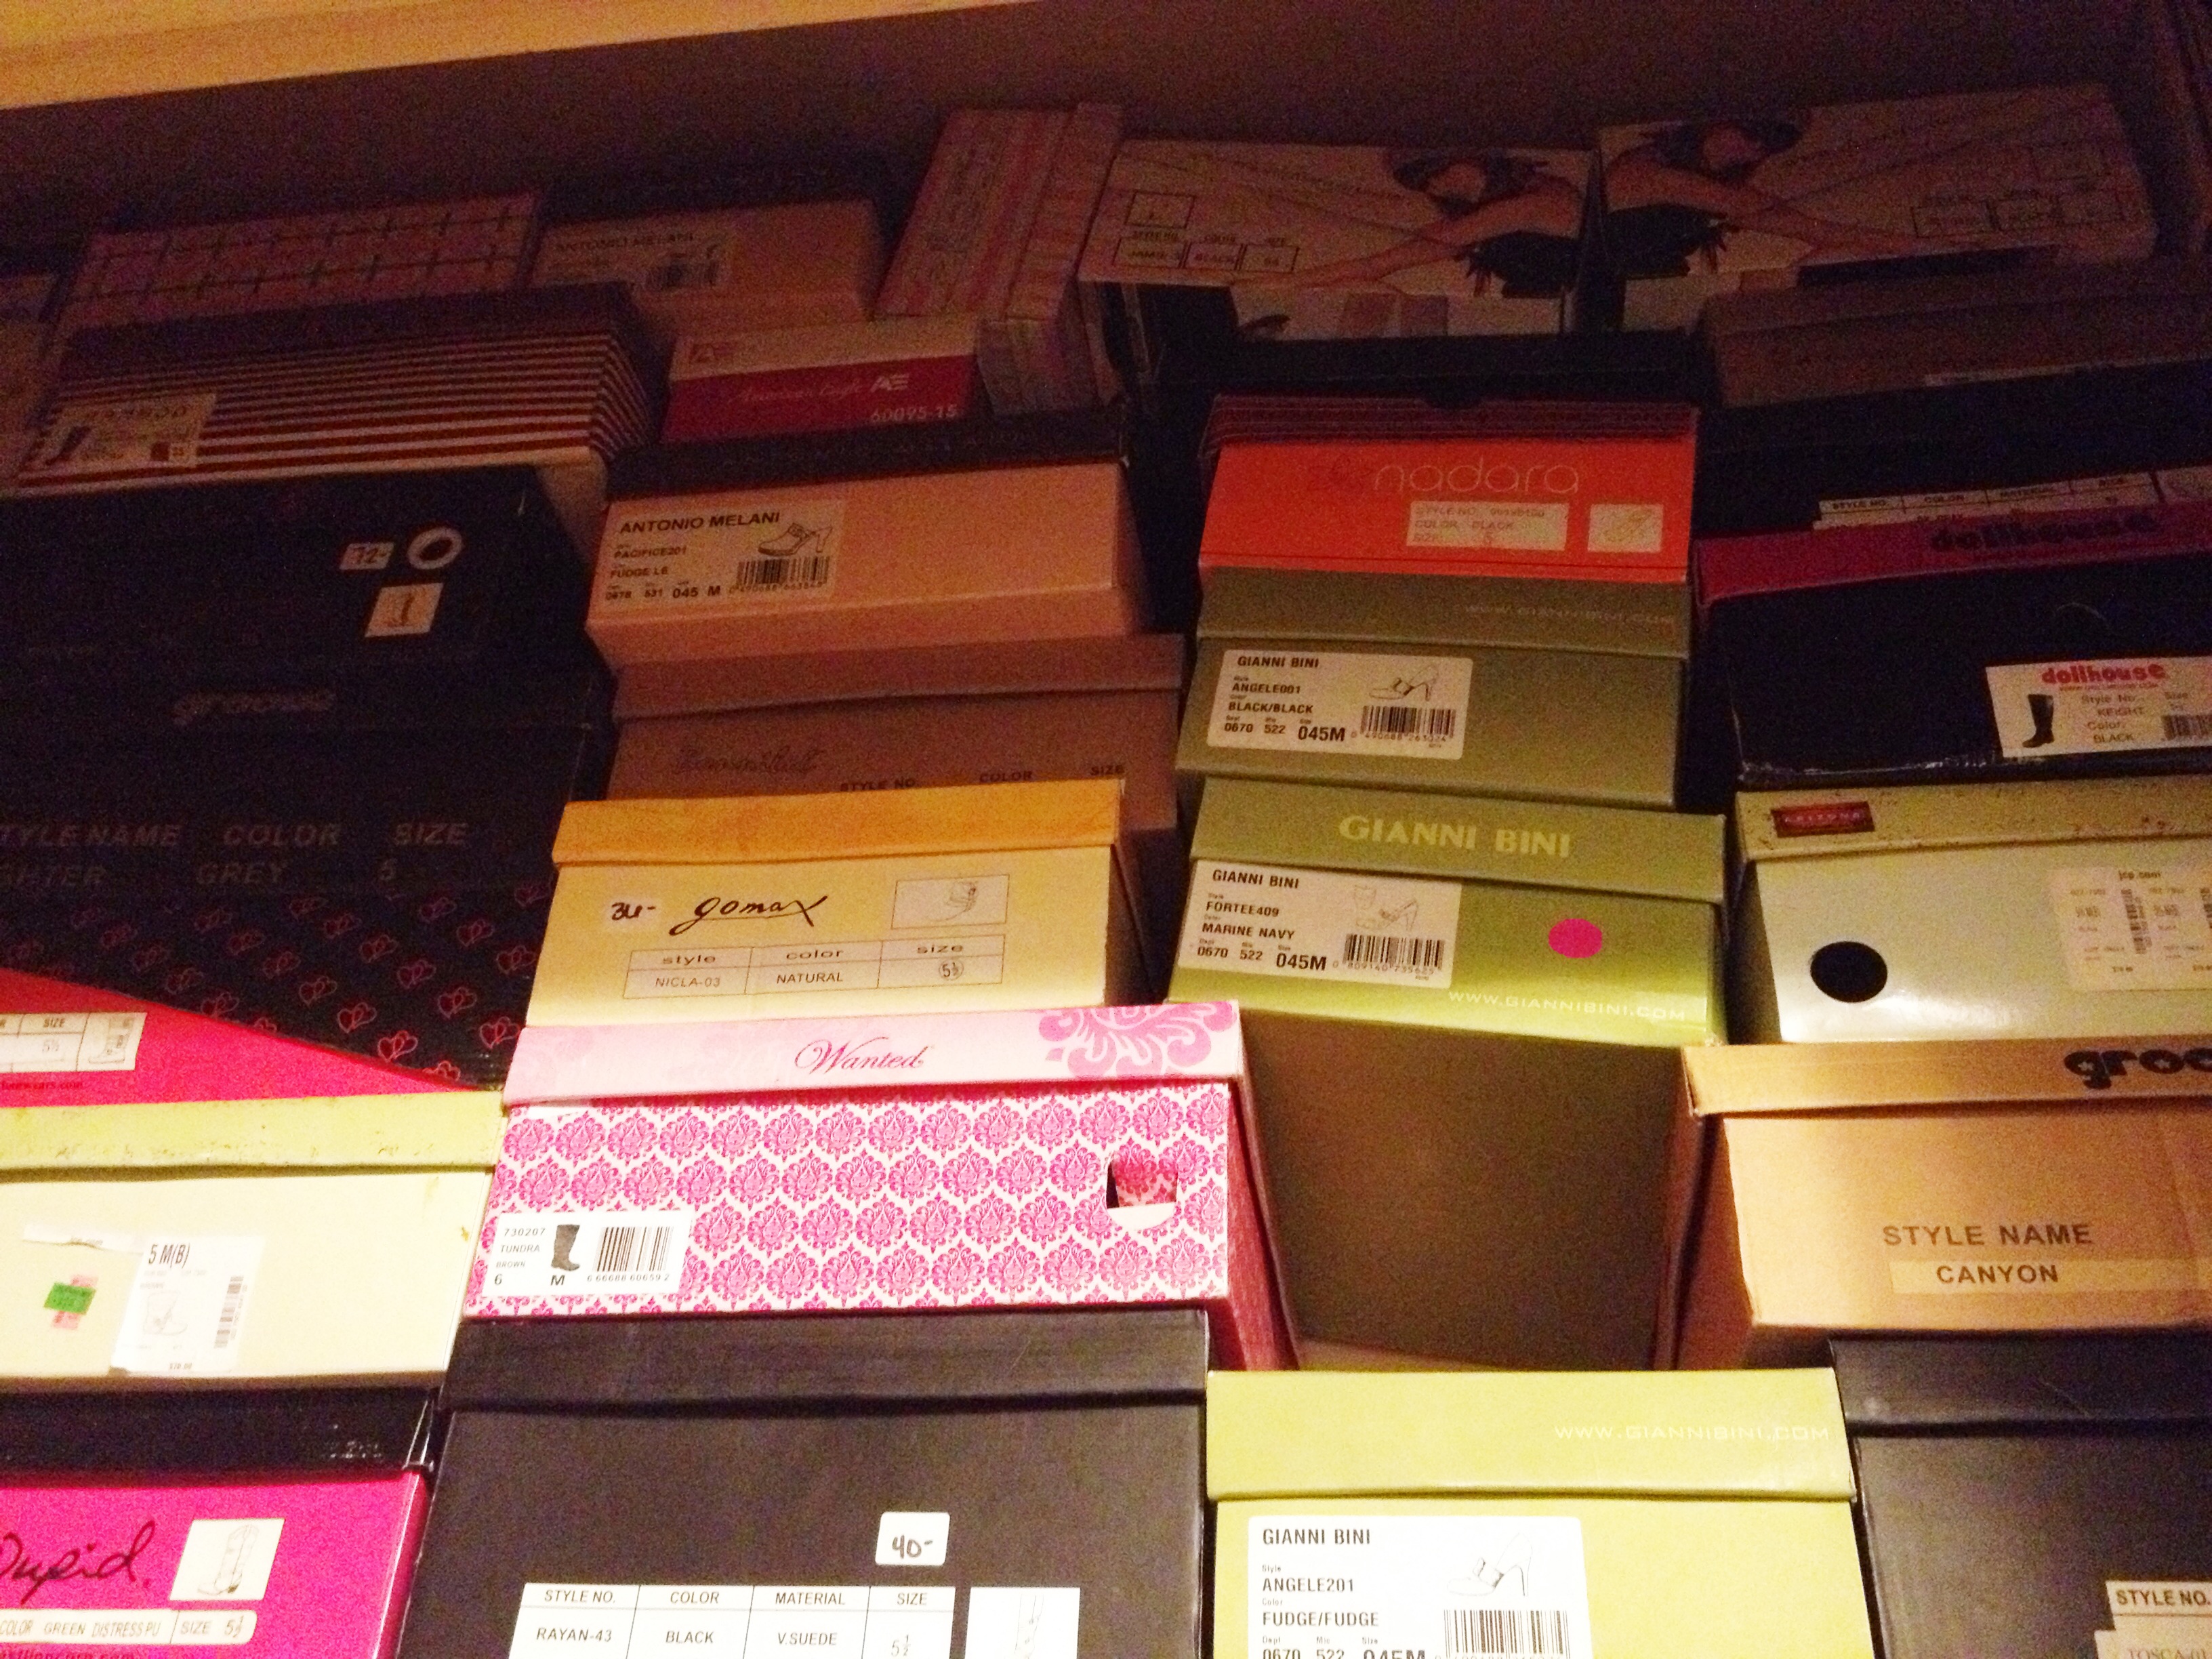
Outfit details: top and pants – Banana Republic; shoes – Gianni Bini (Dillards); bracelet & earrings – Salt & Pepper

My Favorites: Pinks & Patterns

This season has brought with it lots of new favorites for me. It’s almost like I have become a brand new person as the season changed. Some of my new favorites are completely atypical of me.

me wearing a pink scarfpink scarf & jewelrymy pink pursePink: I have never, ever been fond of the color pink…not even when I was a little girl. As a matter of a fact, I sort of despise it. Prior to this spring, you wouldn’t have found a stitch of pink anywhere in my closet or home. (Other than nail polish, of course. Everybody likes pink nail polish.)

pink nail polishThis season, though, I’m finding myself being drawn to more pink things. Don’t get too excited…it’s mainly the neon or almost coral shades of pink that I’m gravitating to. Everything is ok in moderation right??

Note: My new pink scarves, jewelry, & purse are all from Salt & Pepper, of course! bold patterns

pretty patterned dressBold prints: The next thing that I’m absolutely in love with right now is bold, bright prints. I have always been more fond of solids and earth tones. If you look through my clothes, you will see very few bright colors and even less patterns. My signature was solid, neutral clothing with bold accessories. However, this season has brought some of the wildest patterns and brightest colors we’ve seen in a while…and I’m LOVING it! I just can’t get enough of the neons and crazy, wild patterns. I’m not planning to empty out my collection of browns and grays anytime soon, but I’m certainly adding a fair share of colors and prints to my wardrobe lately.

Note: The photo of the patterned clothing was taken at a vendor’s booth at market, and the patterned dress is available at Salt & Pepper.

Maybe you should try something new this season too! Are you feeling drawn to things outside of your comfort zone? If so, go for it with me! Tell me about new things you’re excited about. What about spring trends? What sorts of things can’t you get enough of? I’d love to hear about it all! And as always, if you’re feeling stuck in a rut, swing by and see me at Salt & Pepper, and I’ll be happy to help you find some new things to excite you.

Let’s Talk about Shoes.

Anyone who knows me, knows that I have quite a large shoe collection. My sister always jokes that she’ll never help me move again because I have too many shoes. (I hope that’s a joke anyway.) Let’s begin by talking about why I have so many shoes:

  1. I’m a girl. Need I say more?
  2. I’m a girl that works in and loves the fashion industry. Again, self explanatory.
  3. And the big one…I have the world’s smallest foot. Seriously, I wear a woman’s size 4 1/2. There’s a saying that goes, “If the shoe fits, buy it in every color.” This isn’t just an excuse to buy shoes. For me, it’s a way of life. If I come across a shoe that fits my tiny, little foot, you better believe I’m buying it!

fabulous shoes!Over the years, I’ve collected my fair share of shoes in all styles and colors. Because I have so many, I can’t have them all out at once. To save space, I store my off season shoes and display only the ones I can wear during the current season. Prior to this week, I’ve stored the out of season shoes in their original boxes. This means that I have over 100 shoe boxes stored in the tops of various closets. This also means that at any point during the year, at least half of the boxes are empty while their corresponding shoes are on the shoe shelf.

I know what you’re thinking. That’s insane. I could have easily just kept half of the boxes and let winter and summer shoes share the same ones. However, I liked being able to quickly and easily grab a pair that was stored if needed. I could easily do so because they were in their original boxes, and I knew which was which. This was especially important during transition periods, because I may need a pair of sandals before I’d unpacked all of the summer shoes and vice versa. Here are what the tops of two of our closets looked like. As you can see, it’s rather messy looking because the boxes are all different, and since they’re all different sizes, it’s impossible to stack them neatly. A few boxes are missing from me pulling them out as the weather warmed up, an example of why I liked having them in their original boxes. (I apologize that the pictures aren’t very good…it’s very difficult to photograph the top of a closet!) Shoes in storageshoes in storageThe past few months, I’ve been making a focused effort to simplify my home life and get a handle on clutter. (Combining two full households provides for a bunch of extra stuff!) I’ll be posting more about changing systems that don’t work next week. It suddenly hit me that I needed to create a new system for my shoe storage, and that’s what I did. I decided that purchasing clear shoe storage boxes would tremendously improve my shoe organization system and free up a ton of storage in our home. By using the clear boxes, I will no longer be storing empty shoe boxes, as I can use the same 50 boxes to store both summer and winter shoes as necessary. Plus, since they’re clear, I’ll be able to find a certain pair if needed, even more easily than I was before. I’m estimating that I have approximately 150 pairs of shoes…and this doesn’t include things like Old Navy flip flops! I threw away almost 100 boxes when I started this project! Here they are lined up in the living room. That’s a ton of boxes and storage space that was being wasted! 100 shoe boxes to throw awayObviously, I didn’t purchase a box for every shoe that I own, because I’ll use the same boxes for both summer and winter shoes. Plus, some shoes like sneakers and certain flats and heels, can be worn year round, so they stay out on my shoe shelf. I also stored 2 pairs of flats in some boxes and will do the same with sandals. In this case, I just made sure to store similar shoes together. For example, one box contains 2 pairs of similar black moccasins. Another holds ballet flats that I have in 2 different colors. At first, I thought I’d have to come up with a different option for my tall boot storage, but it turned out that most of them fit in the regular boxes if folded a certain way. Anyone with a normal sized foot probably wouldn’t be so lucky. This project cost me around $60, because I bought 55 boxes at just under $1 each. When you look at the benefits versus the cost, it was well worth it. If you’re considering investing in clear shoe storage, I highly recommend getting these exact Sterlite containers. I’ve used several other brands for various projects and these stack better and have better lids. You certainly don’t want lids that won’t attach properly or won’t withstand the weight of stacking. I purchased mine at Walmart. Sterlite clear shoe boxesCheck out the difference that the clear storage containers made! I went from shoe boxes in 2 closets, to barely filling one. And it looks MUCH better.

new shoe boxes in storageTo continue the shoe storage discussion, here’s how I store my in-season shoes. They’re housed on cheap, Target shoe racks that you can build yourself. I’ve had these shelves since college, have moved with them 5+ times, and have been surprised at how well they’ve held up. They’re certainly not the most attractive things, but they’ll do until I have time to come up with a new option. As you can see, my shoes are shelved by color. You’ll notice that everything in my closet is sorted according to color. It’s my number one organization rule! (Of course this isn’t all of my spring shoes…I robbed this photo from Instagram from the night I switched out my shoes. The shelf actually stands approximately 6 feet tall, and is currently holding 81 pairs of shoes.)

shoe shelfMore to come from my closet room soon!

My Favorites: Tan Towels

Disclaimer: This isn’t a sales pitch. If I didn’t really like this product, I wouldn’t have ordered it for my store, and I certainly wouldn’t rave about it. Even when selling things in my store, I’m known for always being honest and “telling it like it is.” I’m not going to brag on something just to sell it.

Tan TowlesThat being said, here’s my Tan Towel experience. A good friend kept raving about the Tan Towels, so I finally decided to try them. I made a new goal to not use a tanning bed anymore, so when I needed a little color for an event, I gave the Tan Towels a chance. (Did you know that tanning beds are a level 1 carcinogen…just as dangerous as smoking??!)

I’ve never been a fan of self-tanners and to be honest, I don’t usually get caught up in the hype of beauty products either. However, when I like something, I love it and will sell it until I’m blue in the face. It appears as if Tan Towels are going to be one of my new favorite products.

Here’s why I like them:

  • They’re easy to use.
  • They don’t leave streaks like most self-tanners.
  • You get a natural looking tan, rather than that gross orange color. It’s also a subtle change…you don’t end up with that just-got-a-spray-tan look. Yuck.

Here’s how to use them:

  • Bathe, shave, and exfoliate. (To be honest, I just scrubbed a little harder with my loofa. Tan Towels offers an exfoliating wipe that I’ll try soon.)
  • Dry off really well.
  • Rub the towel on in a circular motion. (While these towels don’t streak like other self-tanners, it’s still important to not miss a big spot.)
  • When you’re finished, wipe the palms of your hands on a washcloth.
  • Let dry before putting on clothes. (Only takes a couple of minutes.)

Again, I’m really not one to rave about products like this, but I was surprisingly fond of this one. I tan easily, but I haven’t had a chance to be in the sun yet this season. For me, the Tan Towel gave me just enough color to be comfortable showing a little leg, until I actually get to enjoy some sunshine. After using just one wipe, I called the next day and ordered them for Salt & Pepper. If you’re looking for just enough color to be comfortable in your shorts or sleeveless shirts, I definitely recommend giving Tan Towels a try.  It’s a safe way to get a sun kissed look, without jeopardizing the safety of your skin. Plus, they’re inexpensive…much cheaper than a tanning bed membership.

Other tips:

  • Bathe and use the tan towel the night before you want to look tan. Then, bathe again the next morning.
  • Do legs & tops of your feet first. Then, do one arm, cross over your chest, and down the other arm. End with doing the back of your hands. (You can also do your trunk and face if desired. I haven’t used the towels on my face yet so I can’t attest for how they work there.)
  • Don’t wash your entire hands in the sink. Instead, just wipe your palms and inside of your fingers onto a washcloth.

As with other tanners, it’s best to not get wet or sweat profusely for several hours after application. (This is why I suggest using it an hour or so before bed.) It only takes a few minutes to dry.

If you want to try the Tan Towels and have any questions, feel free to ask me! I’d be happy to answer what I can. As I mentioned earlier, they’re now available at Salt & Pepper, so we have them in stock if you want to give them a try!

Spring Market 2013: The Purse Fence & My Big Mistake

Building the purse fence for Spring Market 2013 brought its share of challenges, so I thought I’d share the process. There’s a pretty funny story here, so be sure to read to the end.

As I mentioned in my earlier post, the hubby had a great idea of building the purse wall into a fence to fit with the outdoor theme I was going with. We purchased 1×8’s at 10′ long to be tall enough to fill most of the wall space in our booth. I was going to use pipe pegs as we’ve used throughout our store, but we decided to cut pegs from 1×2’s instead so it wouldn’t be so heavy.

Supply list:
9 1×8’s at 10′ long
4 1×4’s at 10′ long (to connect the fence)
27′ of 1×2’s to create 27 pegs at 12″ long
54 L brackets
Screws
Drill
1/2 gallon paint
Brushes

Fence postsPegs with bracketsMatt put the individual slats together while I was at work. As you can see, he cut the corners of the tops of the 1×8’s to look like fence posts. Then, he cut the 1×2 into 12″ pegs and measured how far apart they needed to be in order to hang purses. He screwed the pegs in from the back of the 1×8 and added an L bracket for extra support. We decided the pegs needed a bracket on the top as well, so I added them later.

Adding two brackets

My first injury of the day.

For some reason, we were both seeing green when we talked about the fence, so we went with this great green color. My mom came down on a Saturday to help me get everything painted. She was sick of seeing green by the end of the day!

Green paint.

The transformation begins...

Icee...yum!
The most important tool on the list!
Mom painting.
Mom hard at work….she’s going to kill me. Seriously.

Me painting.

My green hand

Fence posts in the tree.And here’s the finished project! (See the full Spring Market post here.)

Spring Market 2013
I was pretty shaken up by the events of the day (see below), so I ended up putting the connecting boards in the wrong place. Ideally, there would have been boards going horizontally across the top so that it actually looked like a fence. Instead, I put them on the bottom, behind the tables, where you can’t see them. Sorry honey!!

Spring Market 2013So…as I mentioned earlier, there would be a funny story at the end.  Well, I said that we made 9 fence posts, but if you notice in the picture of the booth, there’s only 8. What happened to the other one?? Well, what had happened was…. (Isn’t that how all of the good stories start?) …my nephew and I came to my house to load up the fence boards and got distracted by gathering supplies, unloading lawnmowers, etc. So…we ended up leaving the house without closing the door to the cargo trailer. Yep, you read that right…I drove from my house to TP Outdoors (approximately 2.5 miles) with the door to the trailer down. Luckily, the trailer wasn’t damaged along the way, but we did lose one of the fence posts. Oops! If you happened to see a random 10′ long green thing in the middle of the road somewhere along Park Ave./Riverside Dr. or on the Louisville Bridge….that was mine.

(Disclaimer: I swear that I don’t usually do such air-headed things. I’m going to blame this one on exhaustion and the madness of Spring Market.)

Anyone else ever done something this utterly stupid? Please share if you have so that I don’t feel so dumb!

Spring Market 2013

It’s been quite a while since my last post, but work has gotten in the way. (Silly job!) We just wrapped up Spring Market 2013, and it’s taken up practically all of my time the past two weeks. Soooo…since Spring Market has been my life recently, I thought I’d share!

At Salt & Pepper, we are known for doing things outside the box. Our Spring Market booths are no exceptions. Here are a few pics of years past. As you can see, we don’t roll in slat board racks like most do. Of course, we’re going to do things the hard way!

Spring Market 2010 - Our first year!
Spring Market 2010 – Our first year!
Spring Market 2010 - Hate this sign was ruined in the flood =(
Spring Market 2010 – Hate this sign was ruined in the flood =(
Spring Market 2011
Spring Market 2011
Spring Market 2011 - rusted tin
Spring Market 2011 – Boy, that tin was a pain to haul in and install!
Spring Market 2012 - pallets galore!
Spring Market 2012 – This was an awesome year! Wish you could see all of the little details.
Spring Market 2012 - railroad timbers
Spring Market 2012 – Those timbers were HEAVY!

Last year our store was closed while we were waiting on the new building to be built, so getting ready for the market was much easier. The hubby built us those amazing pallet walls and hauled in the railroad ties to build that awesome clothes rack. (I often tell people that I married him after I saw how talented he was. Hehe!) On a serious note, Spring Market 2012 is where Matt & I got our start. He helped design and set up our booth, and I was amazed at how well we worked together. Who knew that we’d be married by Spring Market 2013!

We used the pallets and railroad timbers in the new store design, so we were back to square one on this year’s market booth. Purses are always tough to display in the booth, so I knew we needed something similar to the pallet walls, to make use of the wall space. I like to fill up every possible inch!

During our brainstorming dinner, I decided to go with a spring yard theme…as if you were hanging out on your front porch. I had a flower project that I wanted to try from Pinterest, and we had some unused astroturf rugs from a previous project. I finally decided to just prop some 1×8’s with pegs on the wall and use those for purses. Then, the hubby had the genius idea to make that into a fence…fitting perfectly with our outdoor theme! I tell ya, I think he has to be the smartest man in the whole world. (I’ll post more about this process and the flower project later this week.)

So, here we have it! Another successful Spring Market at the Monroe Civic Center!

Spring Market 2013
Why didn’t I notice that one box of shoes out of place before now?! What a shame!

Spring Market 2013Spring Market 2013Spring Market 2013Spring Market 2013I have to scream a huge thanks to my hubby for his building skills; my nephew, Cody, for helping to set up; my sister for running the store while I was on lock down at the Civic Center; and our FABULOUS staff for working late nights and long hours to pull this event together. I am pretty blessed with an amazing team!

So, what do you think of the booth??

Update: See more from our Spring Market booth here.

Cleaning Out Your Closet

The night we came home from Memphis, I unpacked my suitcase and went into beast mode in my closet. My darling husband convinced me to turn an extra bedroom into a closet (Why wouldn’t I marry him after that?!), but I’ve spent months trying to get it set up properly and more efficiently. Something on the ride home made me determined to make it happen.

This room is a work in progress, so I’ll be sharing more about it as I go along. This post is about cleaning out your closet. (That could also be about cleaning negative things out of your life, but I meant it in the literal sense.) You must clean out clutter before you can get an area organized.

Honestly, it’s quite sad that I had an entire room for a closet, and I still didn’t have room for everything. Every area was spilling over, and it felt like I could never get everything squared away. I decided that I needed to get rid of more stuff. This is the 3rd time I’ve “cleaned out my closet” in the last 4 months. Even though I’ve already gotten rid of a ton of stuff (3 storage tubs and a big box full + a few garbage bags), I still felt overwhelmed by the amount of clothes crammed into one room. Somehow I still managed to purge 2 full garbage bags of stuff.

Garage Sale PileThere are tons of suggestions on the Internet for how to clean out a closet and I’ve tried a few of them. After all, this is a very daunting task for me…I hate getting rid of anything! So here’s how I finally did it.
1. One of the most important things to think about while cleaning out a closet, is to get rid of anything that no longer fits well, isn’t flattering, or is damaged. Don’t keep a shirt with a hole in it even though the tear could be covered with a jacket. If it’s stained, throw it out. Period. Even more importantly, don’t keep anything that you don’t feel great in. One of the most common bits of fashion advise that I give is to only wear things that you feel great in. If those jeans are just a little too tight and give you even the slightest muffin top, get rid of them! If that shirt fits just a little too tight across the midsection and makes you uncomfortable, don’t keep it! It’s much better for you to wear the same flattering pieces over and over again (in different ways of course), than to wear things that don’t make you look your best. Being brutally honest with yourself in this area will help you to get rid of things that you shouldn’t be holding on to. It doesn’t matter what brand it is, how pretty it is, or how much you paid for it. If it doesn’t make you feel like a million bucks…get rid of it!!

A purging hindrance can often be weight fluctuation. You don’t want to get rid of things because you might lose/gain weight and be able to or need to wear it again. This is another area where you have to be brutally honest. And let’s face it, thinking about your weight can be brutal. It’s a good idea to keep a few pieces in a size up/down from what you’re currently wearing, especially if you fluctuate regularly. However, do not make a habit of keeping things that haven’t fit in years.

2. The second strategy that helped me was to pick a storage area for certain pieces and get rid of any that wouldn’t fit there. For example, there is no reason that my yoga/lounge pants shouldn’t fit in one drawer. So, I picked the best place for them to go and narrowed down the collection until they all fit. (Remember, you don’t want any drawers, etc. to be too full or you’ll be less likely to keep things in order. Nothing is worse than trying to cram things into an overly full drawer.) When I realized how many would fit, I got rid of a few of my least favorite pair to make it work. Realistically, why do I need more than two pair of black yoga pants? I always gravitate to the same two pair anyway.

Folded Storage
Storage tip: fold items and store them this way rather than on top of each other so that you can always see your options. I’m also a fan of color coordinating…it just looks more attractive!

I’m going to share more about closet organization soon, but you must start by getting rid of extras that you don’t need. Don’t forget rule #1. If you wouldn’t wear it on a day when you wanted to look top notch, then don’t keep it in your closet.

Anybody have any tips that’s worked for them? This is a constant battle for me, so I’m always open to suggestions!