All posts by Pamela Stephens

What’s Going On…Real Estate

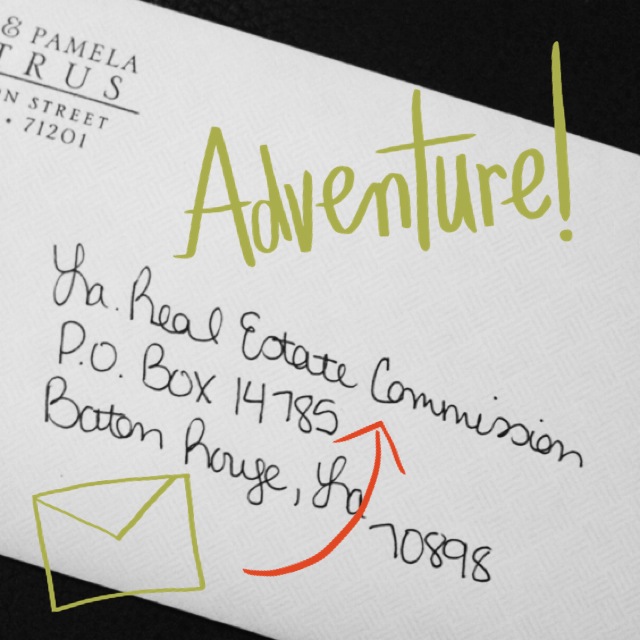
La Real Estate Commission

Man, it has been an exciting day! It’s as if everything that I’ve been working towards for months culminated suddenly today.

I took my real estate exams this morning….and PASSED! I feel very excited to have passed both the state and national portions on the first attempt. I feel even more excited that this huge step is behind me, and I’m one step closer to beginning this new adventure.
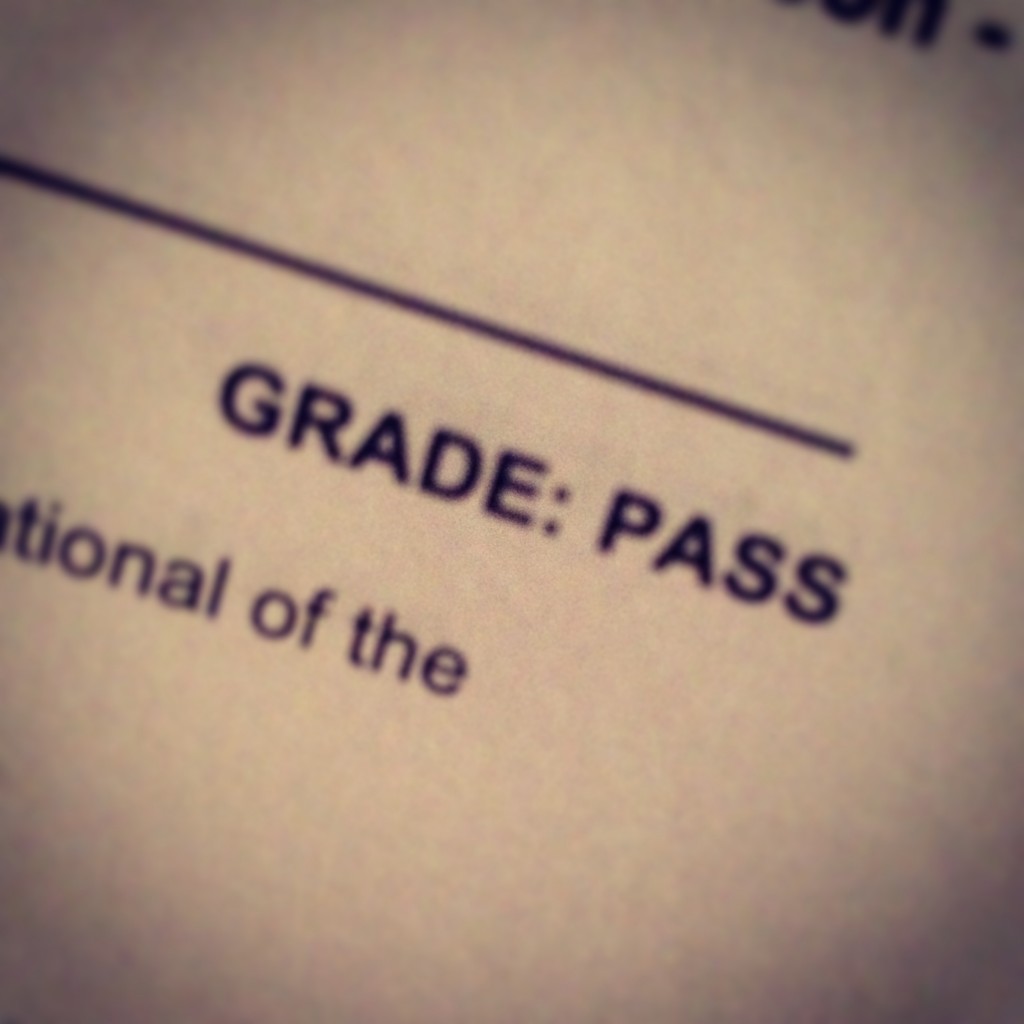
Real Estate ExamNot only did I accomplish my last big hurdle before becoming a licensed real estate agent, I also finished up some important paperwork for the big switch over at Salt & Pepper. It’s amazing that both of these huge events unfolded today, within hours of each other.

People have been shocked that I am leaving Salt & Pepper and constantly want to know how that makes me feel. That’s a tough question! Of course, I am sad to bid farewell to such an important and huge part of my life. However, closing this one door is opening such an exciting new chapter, that it’s impossible for me to be sad for long. I’ve dreamed of trying real estate from the sidelines for years, and I am so very grateful that the opportunity arose.

As with any new adventure, I’m a tad nervous about conquering this new territory, but there’s something about it that feels right. I have a ton to learn and trainings galore in my future, but I can’t wait to take it all in. The tough part is behind me, and now I’m ready for the fun stuff!
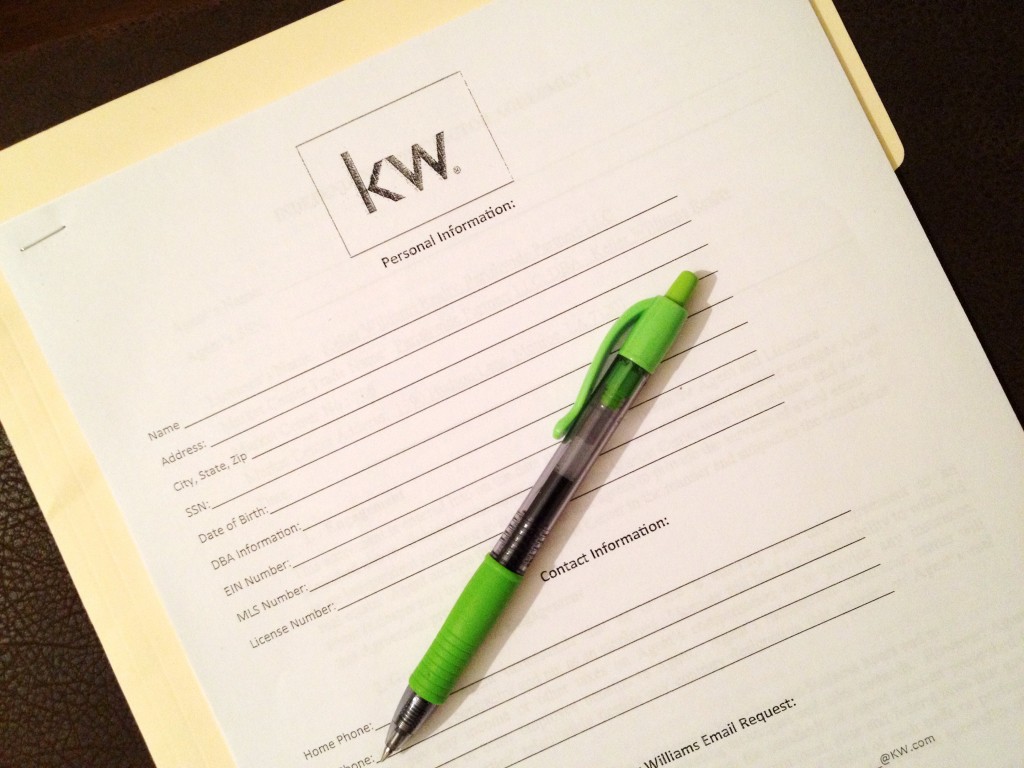
Paperwork galoreI should be officially licensed as early as Monday, and I’ll be ready to start selling stuff! If you are considering buying or selling a house, hit me up! Even if you don’t live in this area, I can still hook you up with a fabulous agent in your town. Also, please tell your friends about me! If you’ve ever worked with me on anything before, you know that I always tell it like it is and will never, ever sell something that I don’t believe in. (Pardon the sales pitch…I have to find clients somewhere! My father-in-law always says, “If you can’t sell things to your friends and family, then who do you think you can sell to?” He has a point.)

La Real Estate CommissionAs I sit here and reflect on these past few weeks and the excitement of today, I can’t help but feel completely and utterly blessed. I’ve had so many wonderful opportunities already in my life, and I’m lucky to get to continue learning and growing. I have an AMAZING support system that stands behind and encourages me every single time I tackle something new. You guys are awesome!

That reminds me…thank you all for reading this blog (yet another project of mine). I started it as a creative outlet for myself, but it means the world to me that you all care enough to read along. So, THANK YOU!

Little Changes, Big Differences: Scarf Organization

This post is the beginning of a series of posts called “Little Changes, Big Differences” where I’ll show how tweaking small things in your home can make a big difference.

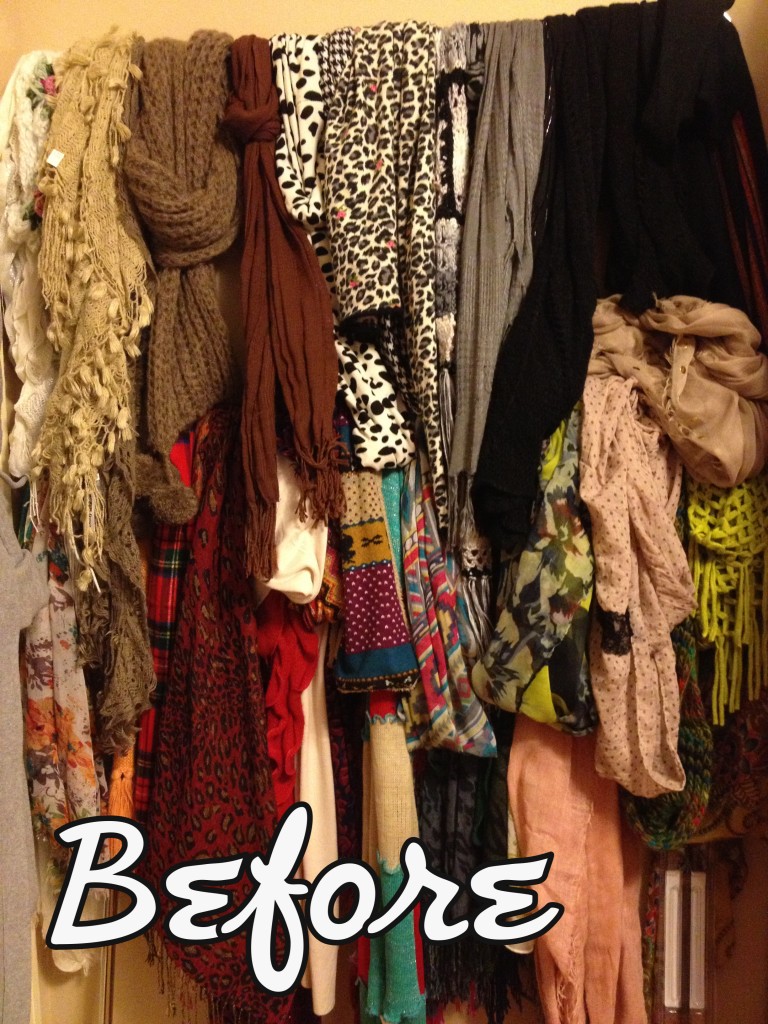
My first project for this series is tackling my scarf storage. Owning a boutique where we’re known for our scarf selection means one thing: I have a ton of scarves. One of the main questions we get in the store (after how to tie scarves), is how to store them. Here’s how I’m currently storing mine, beginning with a before picture.

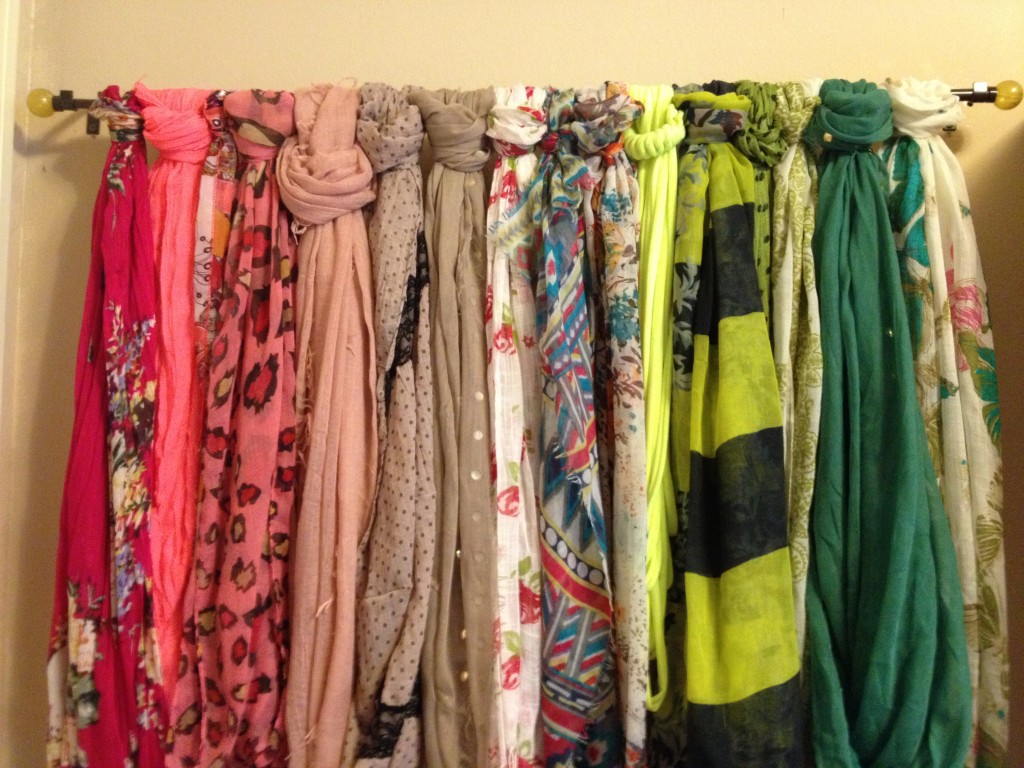
Bad scarf storageI mentioned before that I turned a spare bedroom into a giant closet. This project is still a work in progress, so it’s not exactly the fashion oasis that I’m hoping for, but we’re getting there. As you can see, my scarves are hanging on rods on the wall. I like to hang them so everything can easily be seen. I love seeing how pretty they all are, and I like the color it adds to the room. Even if you don’t have a closet room like I do, you can still hang scarves with a rod on the back of a closet door or back or side wall of your closet.

To hang these scarves, I used silver bars from Ikea. As you can see from the picture, the system wasn’t working. The problem was that the bar wasn’t far enough off of the wall for me to be able to easily hang the scarves. The thicker scarves barely fit through there, and when I was in a hurry (always), I wouldn’t have time to fight with them. In turn, the scarf wall ended up look like this crazy mess. Not good.

If a system or storage function isn’t working in your home, CHANGE IT. Spend a few minutes thinking about what the problem is and usually a small amount of effort and/or money can remedy your problem and makes things work more smoothly for you.

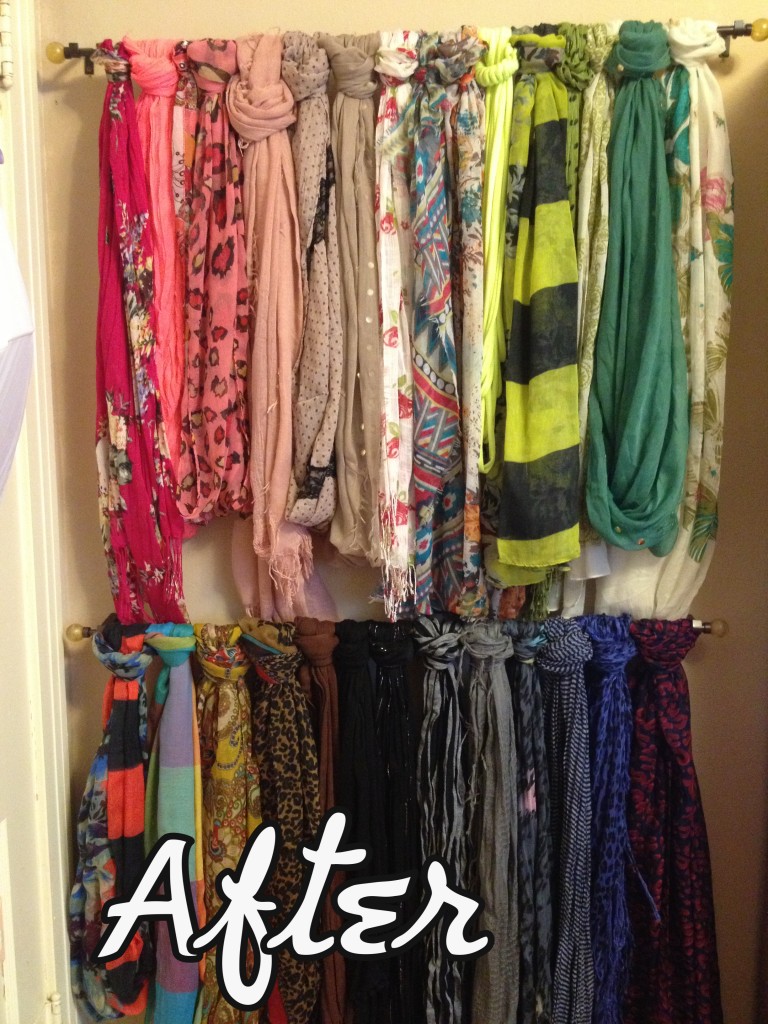
Since I determined that the bars were too close to the wall, I decided to replace them with actual curtain rods. We’ve used curtain rods on a wall at Salt & Pepper before, and it worked wonderfully. I already had these rods so this update didn’t cost me anything, but you can get similar ones at Ross for under $5. These were $3.99! After installing the new curtain rods, I have more room to slide the scarves in, making it much more feasible for me to keep it tidy.
(Shopping tip: I actually get most of my curtain rods from Ross, because they have really nice ones for amazingly cheap prices. Obviously, the ones that I’m using for this wall aren’t the “really nice ones,” but I needed smaller ones with a yellow tint for a different project, and they’re coming in handy for this project too.)

New scarf storagenew scarf storageAgain, making a small change, such as this one, can sometimes make a big difference in the overall function of a space. If you’re looking to make your home less cluttered and more functional, be on the lookout for areas like this where you can make a small adjustment and in turn create a better environment.

Do you have any areas that aren’t working for you in your home? Tell me about them…I might can help!

See more from my closet room here!


What I Wore: Memorial Day

When I started this blog, I figured that I’d eventually get around to sharing outfit posts. I always get a ton of comments about my attire and would like to share details. However, to be completely honest, I secretly hate taking photos of myself, and I hate sharing them even more! Even though I’ve planned several outfit posts since I created this blog, I always talk myself out of posting them. However, at the encouragement of my wonderful husband, I finally decided to take the plunge. (If you’ll haven’t noticed, he thinks I’m great at everything….thankfully.)

I will preface this post with saying that this is not, in any way, one of my best outfits. However, it was festive and a happy occasion, so I thought I’d go ahead and share. Besides, if I didn’t go ahead and start, I’d just keep putting the outfit posts off until eternity. So here it goes…

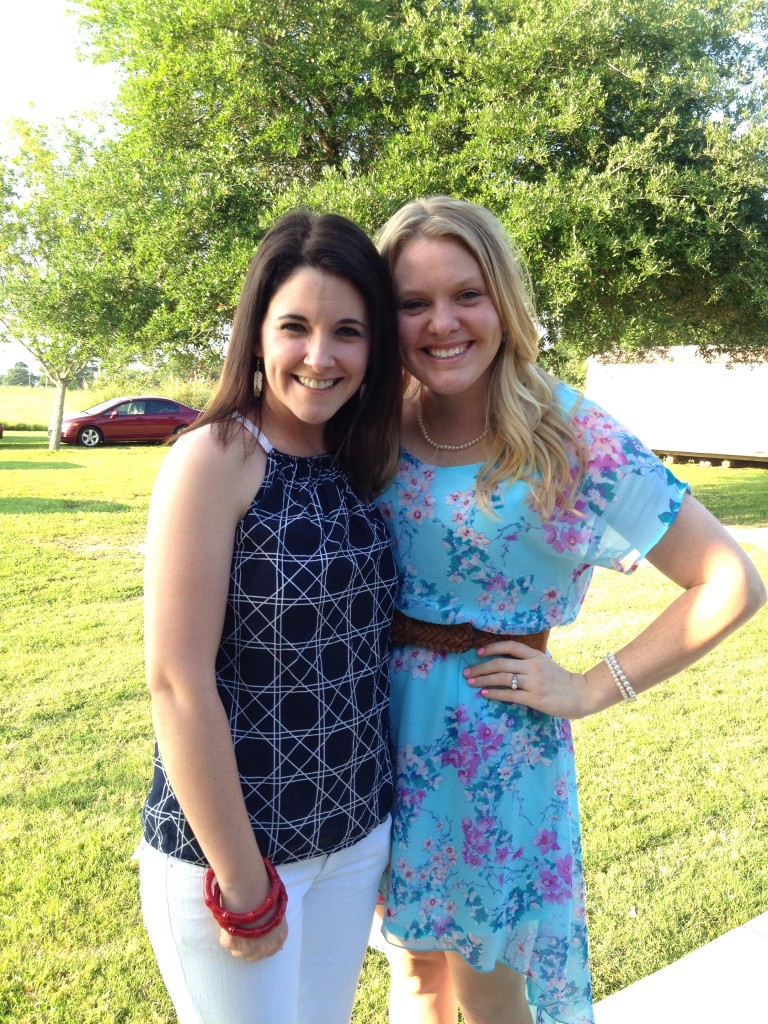
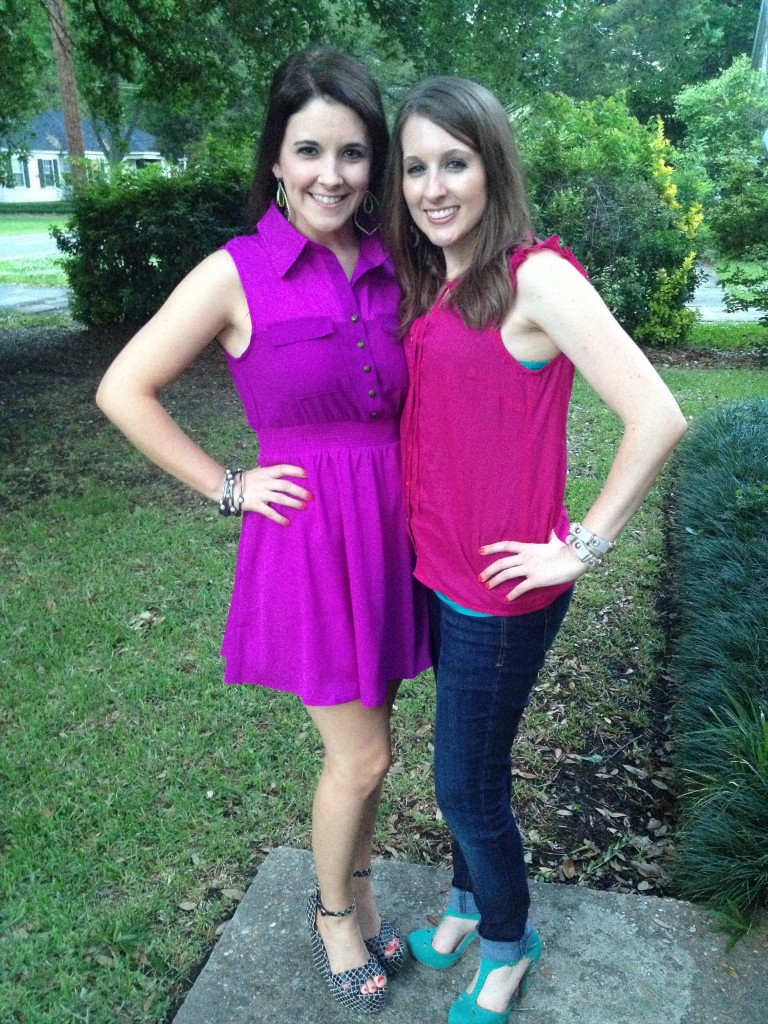
Pamela & Taylor at partyThis Memorial Day was a happy one! It was the birthday of one of the kindest, most beautiful (inside and out), and talented young ladies that I know. Not only was it her birthday, but she got ENGAGED! Her parents and now fiancé set up a surprise celebration to commemorate this exciting time, and I was happy to be there to congratulate them. (Drew, I’m warning you here on the world wide web that you better take amazing care of that girl! She deserves a prince charming like no other!) My advice to you both is to always put each other first. Never, ever criticize each other in front of other people, and always avoid hurtful words…even in the heat of the moment. Enjoy every second of this special time!

Now, back to my outfit post. When I’m choosing what to wear each day, I often pick one item that I know I want to wear and then pull the rest together from there. I may change the other pieces a hundred times, but I typically stick with whatever initial item I gravitate to.

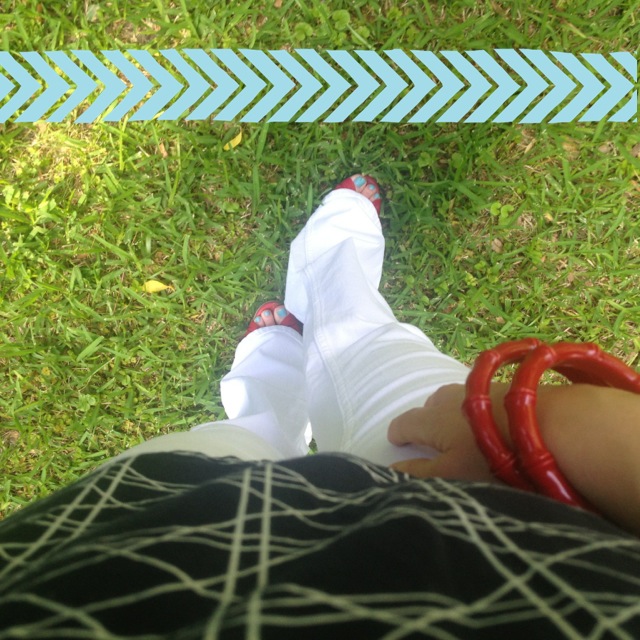
Memorial Day OutfitToday, it was white jeans. When deciding what to wear to the event, I knew that I wanted to wear these particular white jeans and wedges. After trying on a few different shirts, I decided on this navy and white patterned top. I really like its rope straps. To be honest, I hardly ever wear it though. I probably haven’t worn this top in well over a year! Today was its lucky day.

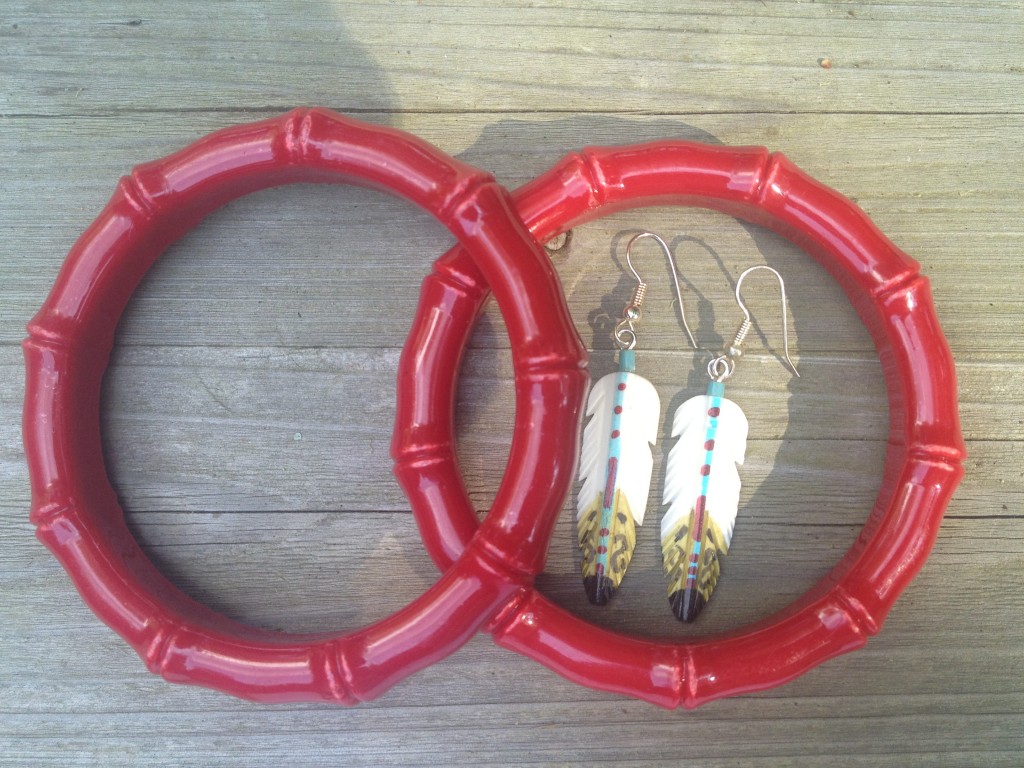
At the start, I was wearing these yellow wedges with the outfit, but then suddenly remembered it was Memorial Day! I’m not one to typically wear red, white, and blue together, so I used this opportunity to take advantage of the holiday. I switched the yellow wedges for red ones, and sprinkled in some red jewelry.red bamboo bracelets

red bracelets and feather earringsOne of the most frequent pieces of fashion advice that I give is to not overdo it on matching accessories. I tied in the red shoes by adding the red, bamboo bracelets, but I didn’t add red earrings so that I wouldn’t be too “matchy-matchy.” Instead, I wore the cream and turquoise feather earrings with a splash of red in them (currently available at Salt & Pepper!). They had just enough of the colors from the outfit, but added another element too. As I post more outfits, you’ll notice that I do not like being overly matched and will sometimes try to not match at all! It’s kind of my thing.

Memorial Day OutfitSo here you have it! My very first “What I Wore” post! Again, I’m hoping that by forcing myself to share this, I will become a little more courageous in sharing my personal style with you. Let me know your thoughts!

Outfit details: top and pants – Banana Republic; shoes – Gianni Bini (Dillards); bracelet & earrings – Salt & Pepper

My Favorites: Pinks & Patterns

This season has brought with it lots of new favorites for me. It’s almost like I have become a brand new person as the season changed. Some of my new favorites are completely atypical of me.

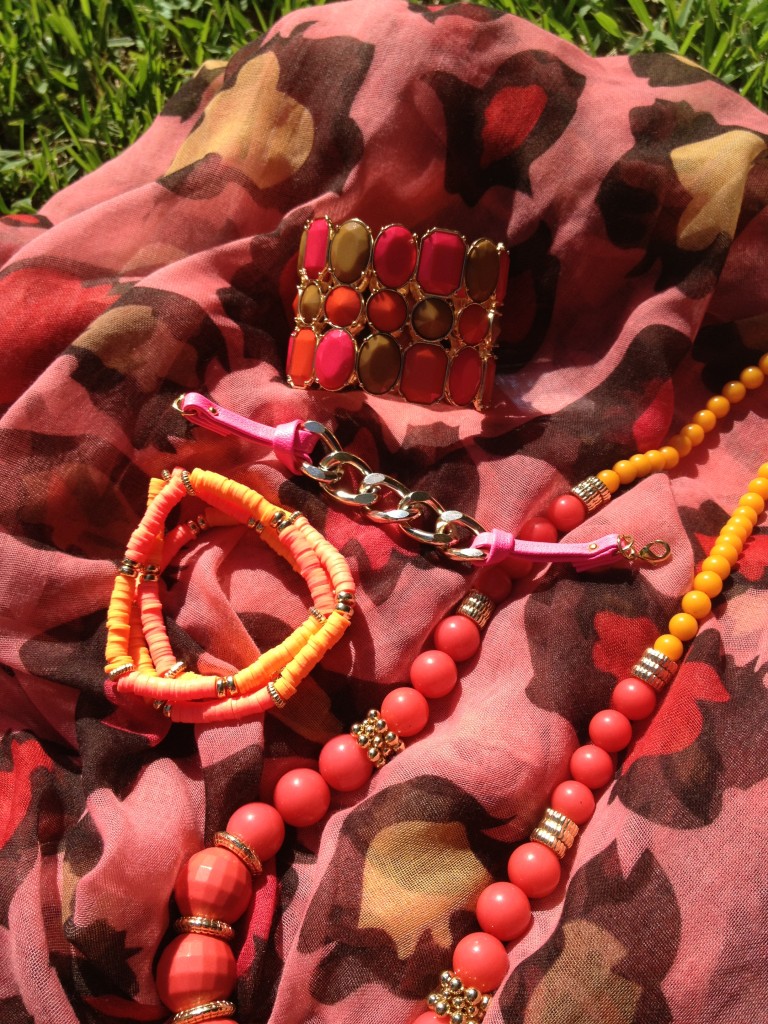
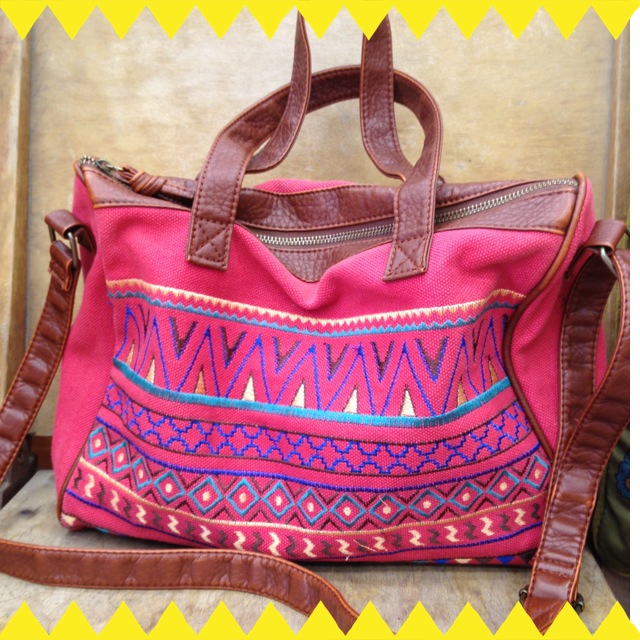
me wearing a pink scarfpink scarf & jewelrymy pink pursePink: I have never, ever been fond of the color pink…not even when I was a little girl. As a matter of a fact, I sort of despise it. Prior to this spring, you wouldn’t have found a stitch of pink anywhere in my closet or home. (Other than nail polish, of course. Everybody likes pink nail polish.)

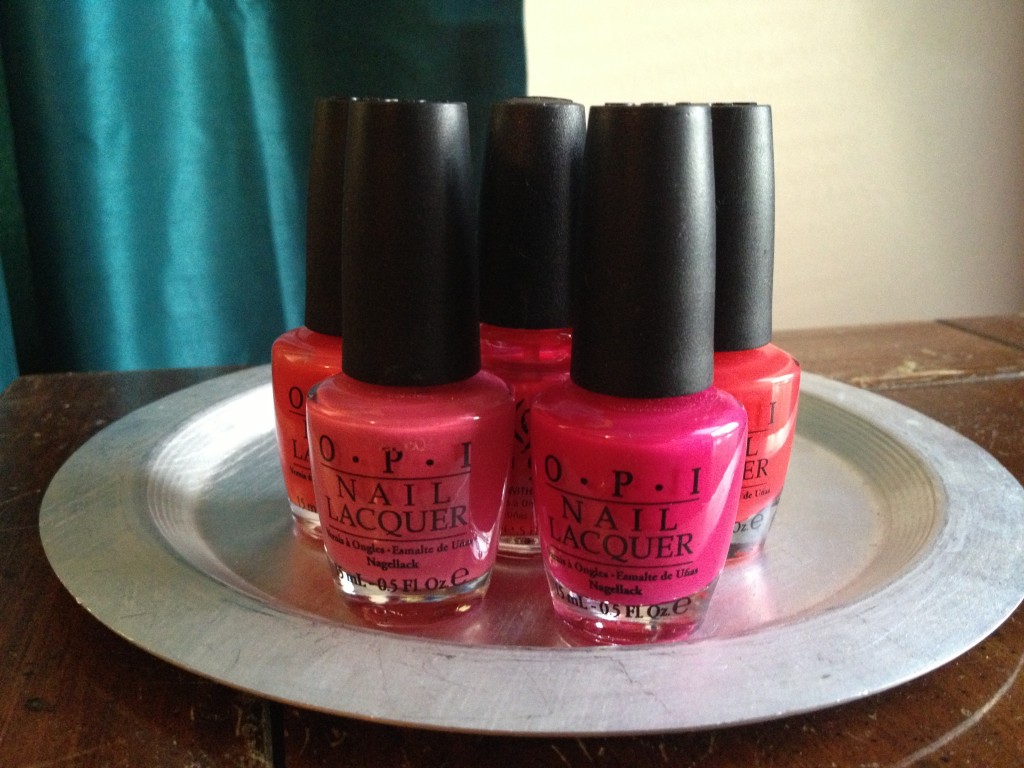
pink nail polishThis season, though, I’m finding myself being drawn to more pink things. Don’t get too excited…it’s mainly the neon or almost coral shades of pink that I’m gravitating to. Everything is ok in moderation right??

Note: My new pink scarves, jewelry, & purse are all from Salt & Pepper, of course! bold patterns

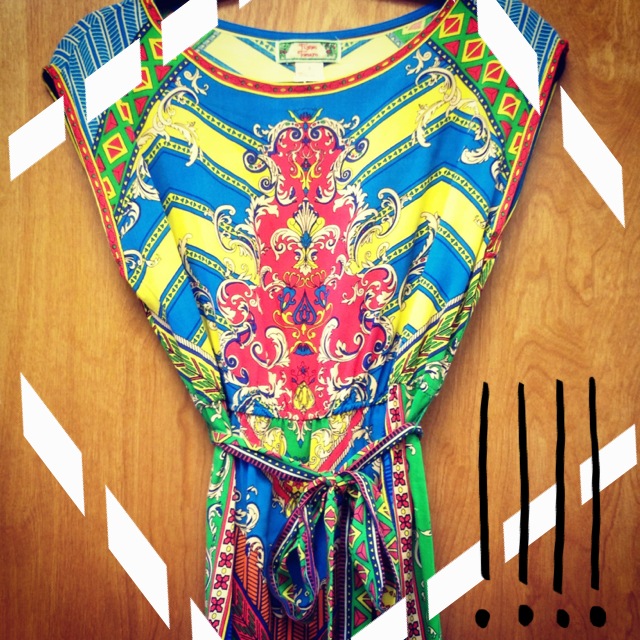
pretty patterned dressBold prints: The next thing that I’m absolutely in love with right now is bold, bright prints. I have always been more fond of solids and earth tones. If you look through my clothes, you will see very few bright colors and even less patterns. My signature was solid, neutral clothing with bold accessories. However, this season has brought some of the wildest patterns and brightest colors we’ve seen in a while…and I’m LOVING it! I just can’t get enough of the neons and crazy, wild patterns. I’m not planning to empty out my collection of browns and grays anytime soon, but I’m certainly adding a fair share of colors and prints to my wardrobe lately.

Note: The photo of the patterned clothing was taken at a vendor’s booth at market, and the patterned dress is available at Salt & Pepper.

Maybe you should try something new this season too! Are you feeling drawn to things outside of your comfort zone? If so, go for it with me! Tell me about new things you’re excited about. What about spring trends? What sorts of things can’t you get enough of? I’d love to hear about it all! And as always, if you’re feeling stuck in a rut, swing by and see me at Salt & Pepper, and I’ll be happy to help you find some new things to excite you.

Let’s Talk about Shoes.

Anyone who knows me, knows that I have quite a large shoe collection. My sister always jokes that she’ll never help me move again because I have too many shoes. (I hope that’s a joke anyway.) Let’s begin by talking about why I have so many shoes:

  1. I’m a girl. Need I say more?
  2. I’m a girl that works in and loves the fashion industry. Again, self explanatory.
  3. And the big one…I have the world’s smallest foot. Seriously, I wear a woman’s size 4 1/2. There’s a saying that goes, “If the shoe fits, buy it in every color.” This isn’t just an excuse to buy shoes. For me, it’s a way of life. If I come across a shoe that fits my tiny, little foot, you better believe I’m buying it!

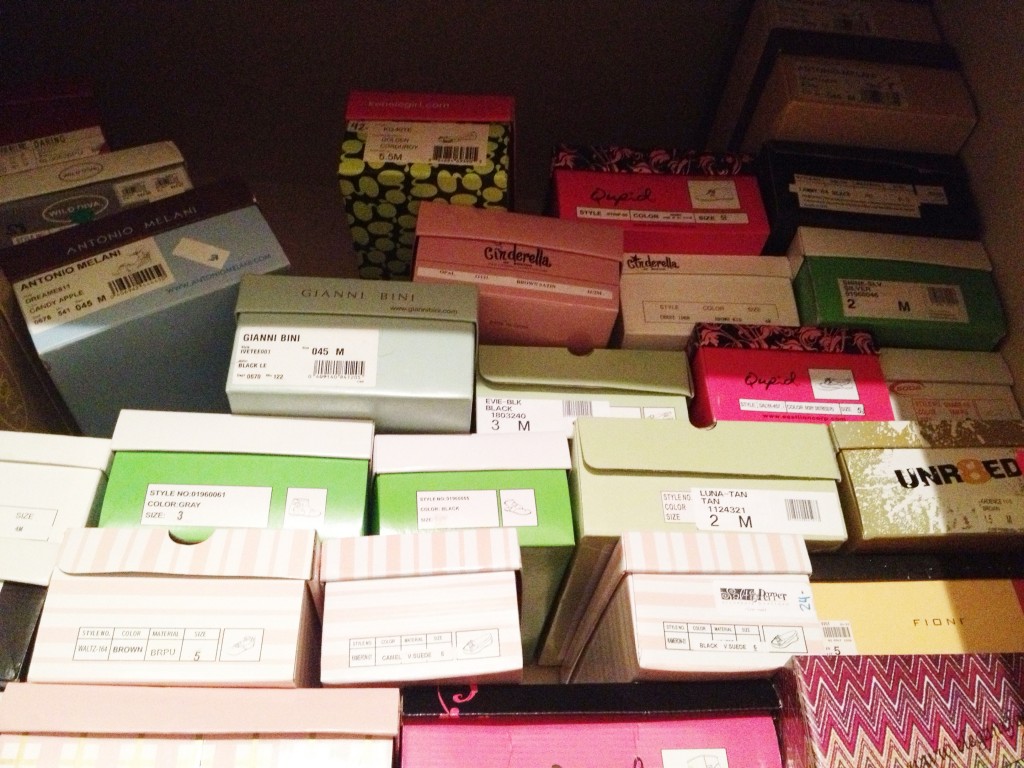
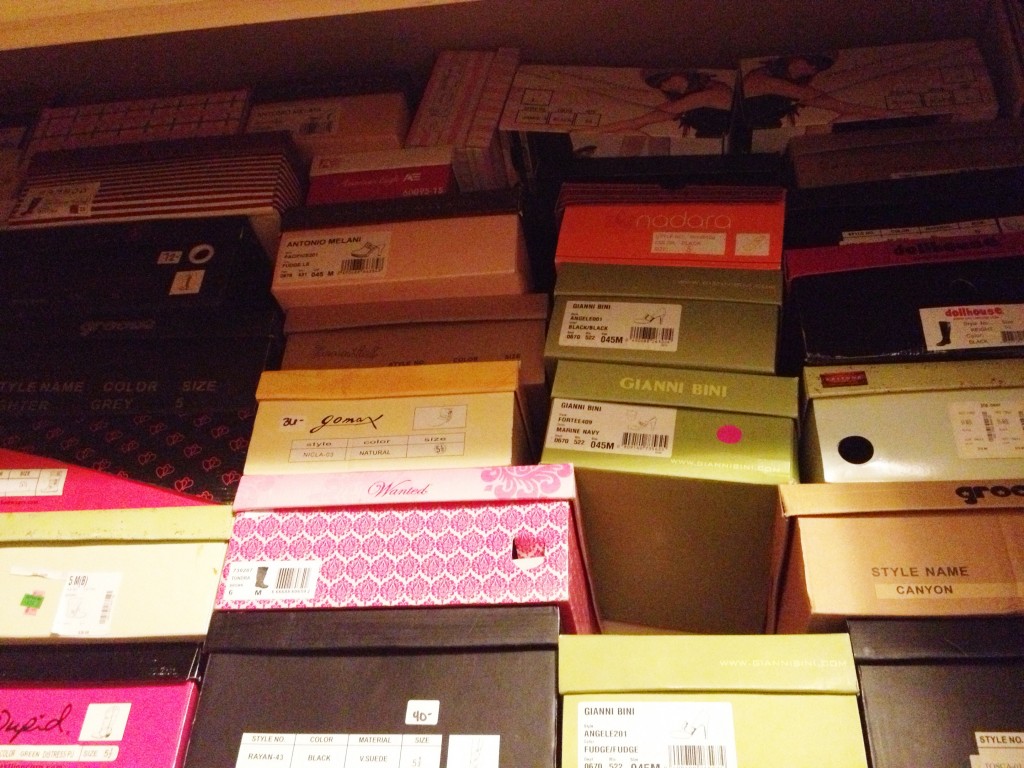
fabulous shoes!Over the years, I’ve collected my fair share of shoes in all styles and colors. Because I have so many, I can’t have them all out at once. To save space, I store my off season shoes and display only the ones I can wear during the current season. Prior to this week, I’ve stored the out of season shoes in their original boxes. This means that I have over 100 shoe boxes stored in the tops of various closets. This also means that at any point during the year, at least half of the boxes are empty while their corresponding shoes are on the shoe shelf.

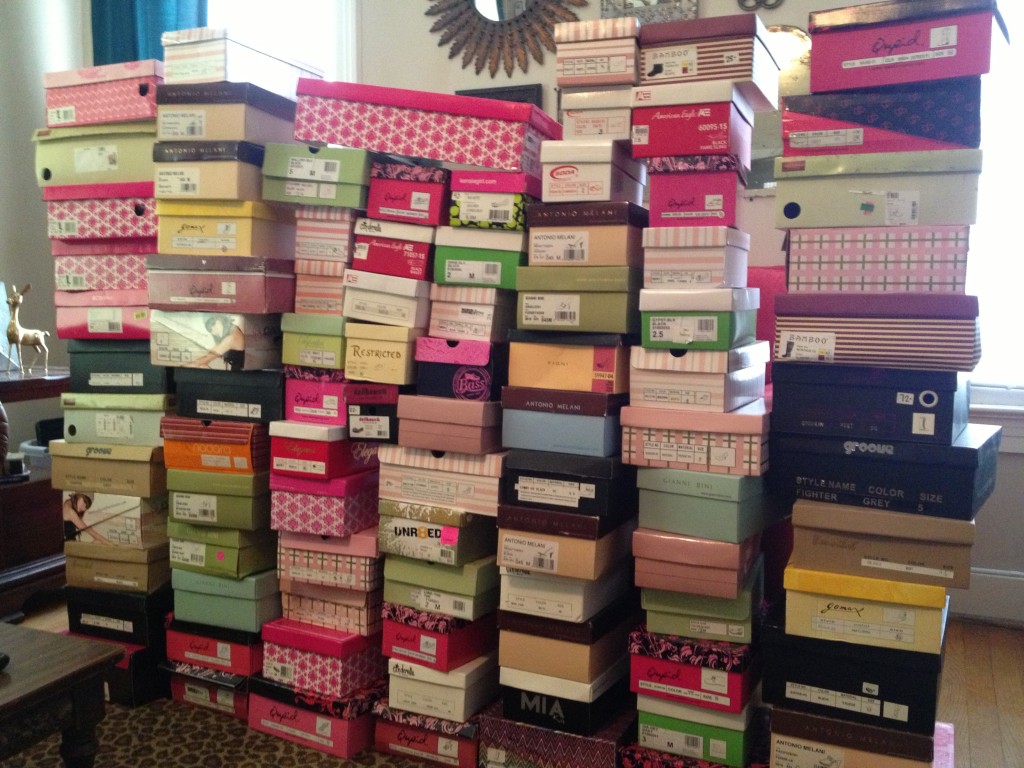
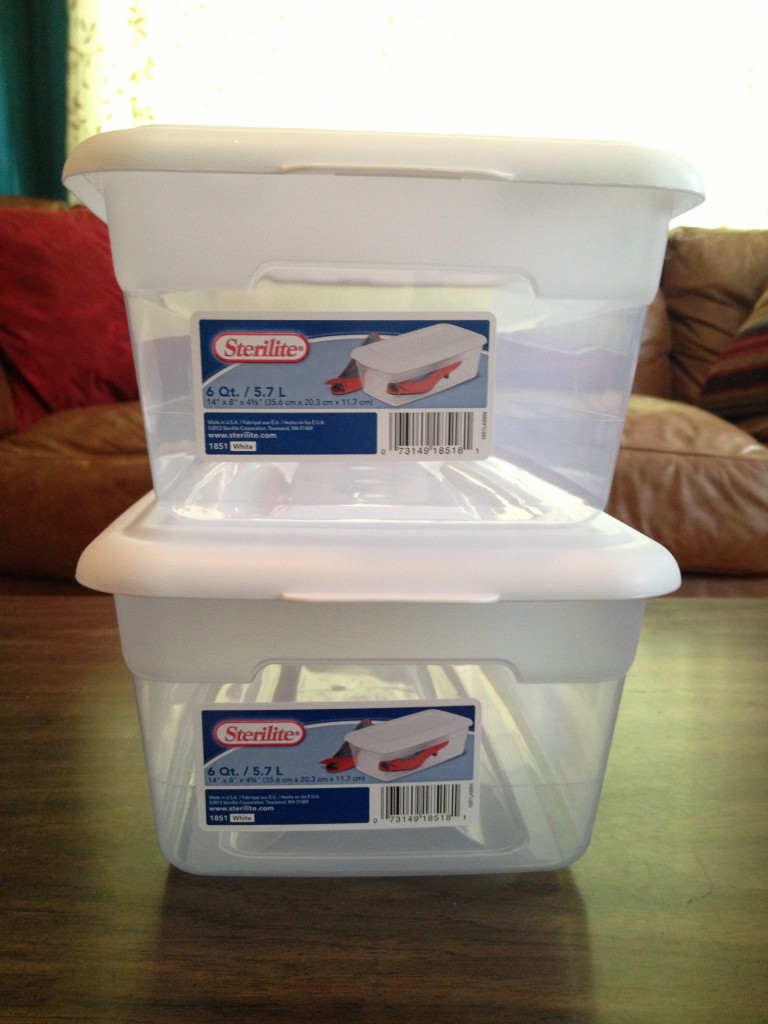
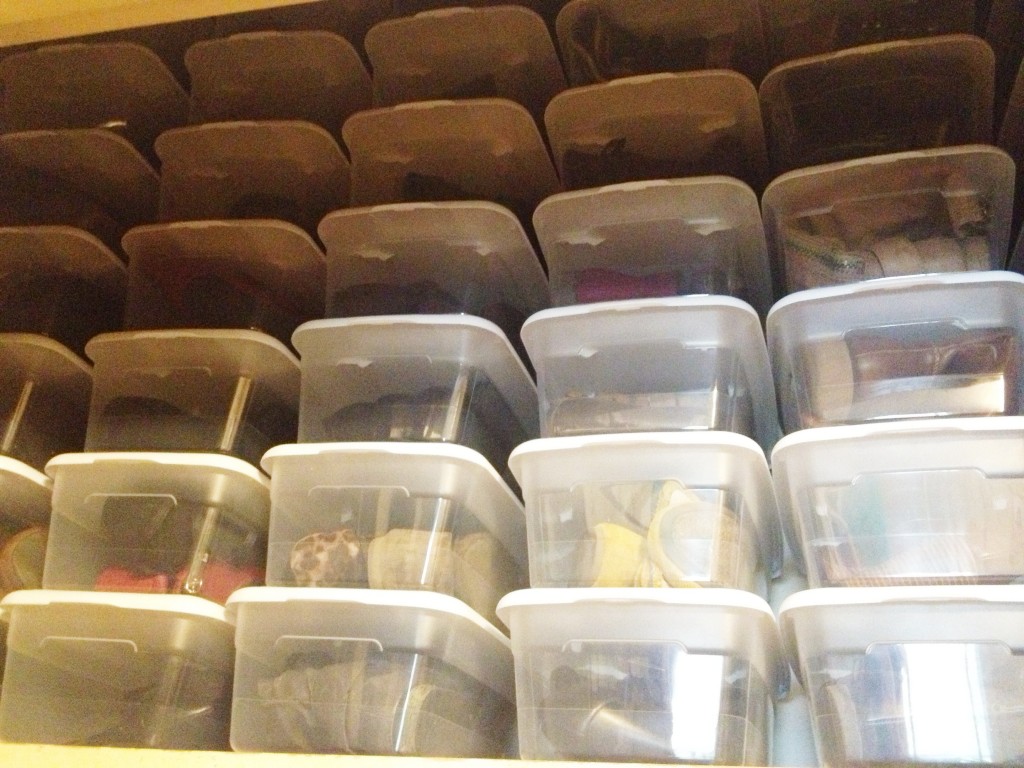
I know what you’re thinking. That’s insane. I could have easily just kept half of the boxes and let winter and summer shoes share the same ones. However, I liked being able to quickly and easily grab a pair that was stored if needed. I could easily do so because they were in their original boxes, and I knew which was which. This was especially important during transition periods, because I may need a pair of sandals before I’d unpacked all of the summer shoes and vice versa. Here are what the tops of two of our closets looked like. As you can see, it’s rather messy looking because the boxes are all different, and since they’re all different sizes, it’s impossible to stack them neatly. A few boxes are missing from me pulling them out as the weather warmed up, an example of why I liked having them in their original boxes. (I apologize that the pictures aren’t very good…it’s very difficult to photograph the top of a closet!) Shoes in storageshoes in storageThe past few months, I’ve been making a focused effort to simplify my home life and get a handle on clutter. (Combining two full households provides for a bunch of extra stuff!) I’ll be posting more about changing systems that don’t work next week. It suddenly hit me that I needed to create a new system for my shoe storage, and that’s what I did. I decided that purchasing clear shoe storage boxes would tremendously improve my shoe organization system and free up a ton of storage in our home. By using the clear boxes, I will no longer be storing empty shoe boxes, as I can use the same 50 boxes to store both summer and winter shoes as necessary. Plus, since they’re clear, I’ll be able to find a certain pair if needed, even more easily than I was before. I’m estimating that I have approximately 150 pairs of shoes…and this doesn’t include things like Old Navy flip flops! I threw away almost 100 boxes when I started this project! Here they are lined up in the living room. That’s a ton of boxes and storage space that was being wasted! 100 shoe boxes to throw awayObviously, I didn’t purchase a box for every shoe that I own, because I’ll use the same boxes for both summer and winter shoes. Plus, some shoes like sneakers and certain flats and heels, can be worn year round, so they stay out on my shoe shelf. I also stored 2 pairs of flats in some boxes and will do the same with sandals. In this case, I just made sure to store similar shoes together. For example, one box contains 2 pairs of similar black moccasins. Another holds ballet flats that I have in 2 different colors. At first, I thought I’d have to come up with a different option for my tall boot storage, but it turned out that most of them fit in the regular boxes if folded a certain way. Anyone with a normal sized foot probably wouldn’t be so lucky. This project cost me around $60, because I bought 55 boxes at just under $1 each. When you look at the benefits versus the cost, it was well worth it. If you’re considering investing in clear shoe storage, I highly recommend getting these exact Sterlite containers. I’ve used several other brands for various projects and these stack better and have better lids. You certainly don’t want lids that won’t attach properly or won’t withstand the weight of stacking. I purchased mine at Walmart. Sterlite clear shoe boxesCheck out the difference that the clear storage containers made! I went from shoe boxes in 2 closets, to barely filling one. And it looks MUCH better.

new shoe boxes in storageTo continue the shoe storage discussion, here’s how I store my in-season shoes. They’re housed on cheap, Target shoe racks that you can build yourself. I’ve had these shelves since college, have moved with them 5+ times, and have been surprised at how well they’ve held up. They’re certainly not the most attractive things, but they’ll do until I have time to come up with a new option. As you can see, my shoes are shelved by color. You’ll notice that everything in my closet is sorted according to color. It’s my number one organization rule! (Of course this isn’t all of my spring shoes…I robbed this photo from Instagram from the night I switched out my shoes. The shelf actually stands approximately 6 feet tall, and is currently holding 81 pairs of shoes.)

shoe shelfMore to come from my closet room soon!

Our Wild Weekend.

This weekend was a busy one. We spent Friday night hanging out at the new River & Rail Cantina with Amanda. The outing originated from an excuse to wear new shoes, but we camouflaged it as an early birthday celebration for Matt. We sat out on the patio next to the fire pits, overlooking the Ouachita River and had the best time laughing the night away. The atmosphere at R&R is superb. (Pardon the water on Matt’s shirt. I couldn’t crop it out or only my head would be left..short girl probs.)

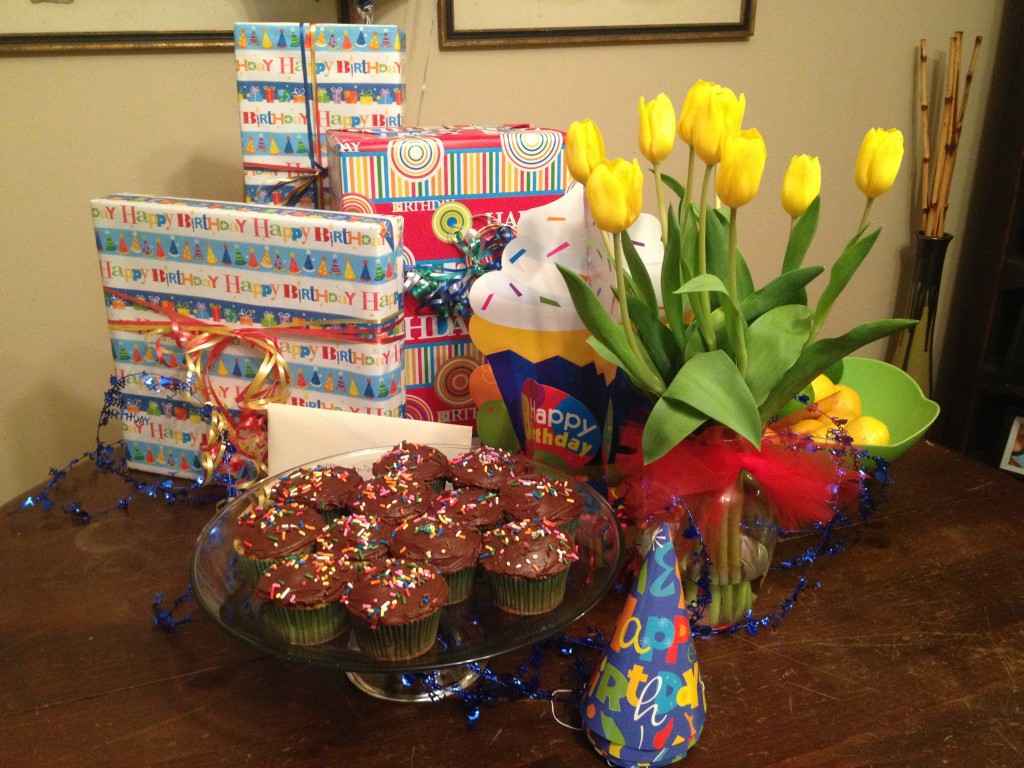
Amanda & I ready to go to R&RThe beautiful Ouachita RiverThe handsome hubby and I at R&RBest Friends Forever!Saturday brought upon a very special day in the Petrus household…Matt’s birthday! Poor thing had to go help with athletic physicals at 7 am (nursing school probs), but this gave me time to wrap presents and tie up loose ends for his big day. I decorated the house as if we were having a big party. Birthdays were always a big deal when I was growing up. My mom always did perfectly themed parties or special birthday activities, so I feel like you absolutely have to make a big deal of the day.

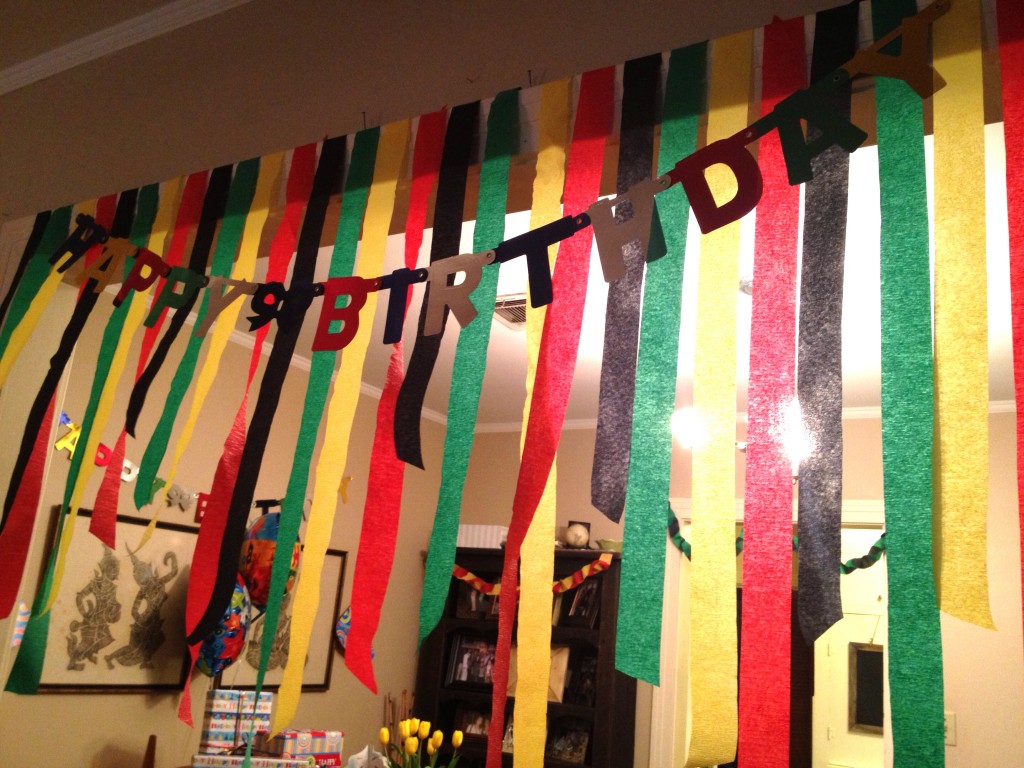
Happy Birthday, MattThe Birthday BoyBirthday decorSuch a handsome birthday boyEven though Matt wanted a quiet night at home, I just couldn’t help decorating the place so that he’d have something exciting to come home too. He grilled some of the most delicious steaks, and Amanda came over to play some board games. I hope he felt extra special on this day.

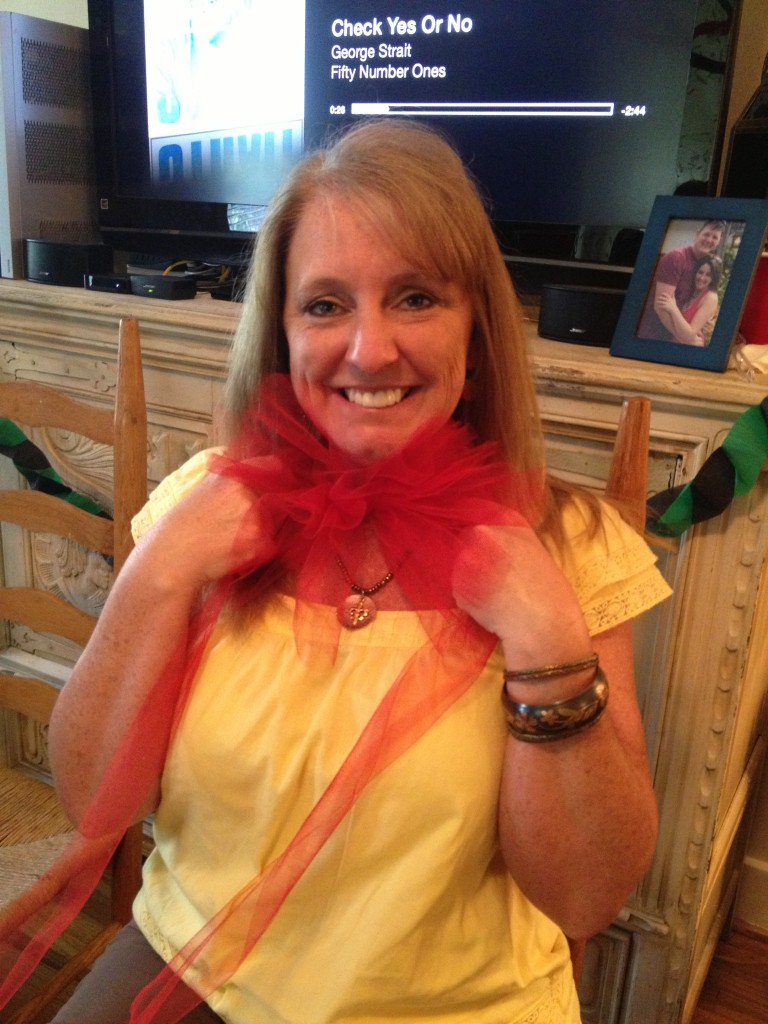
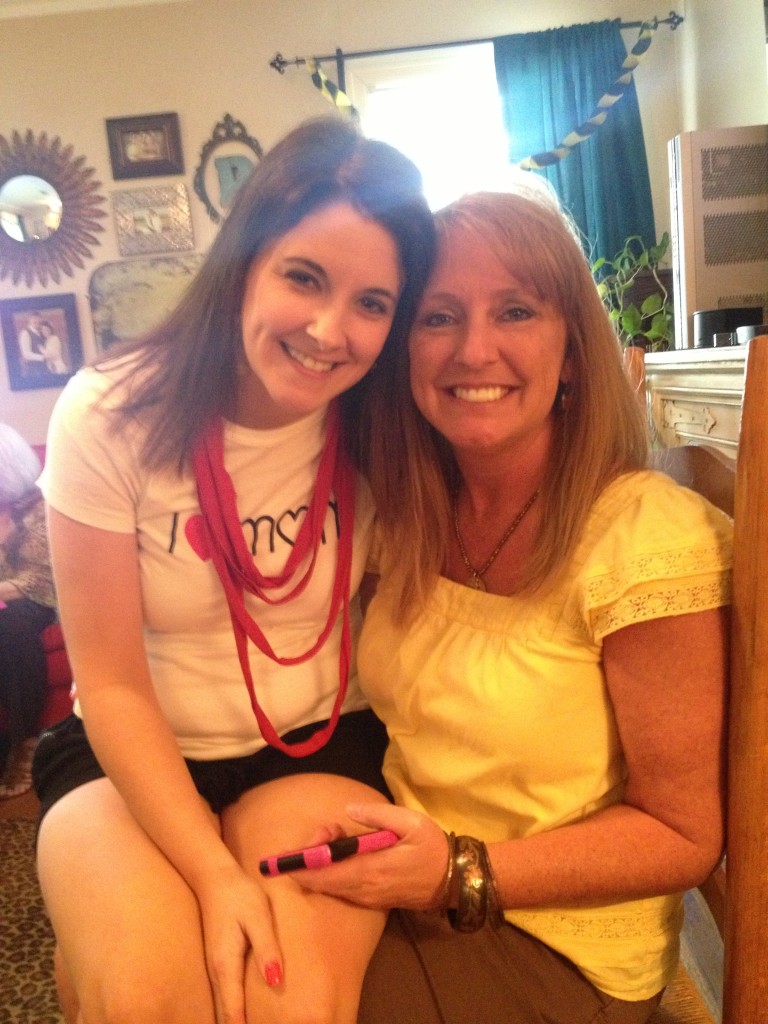
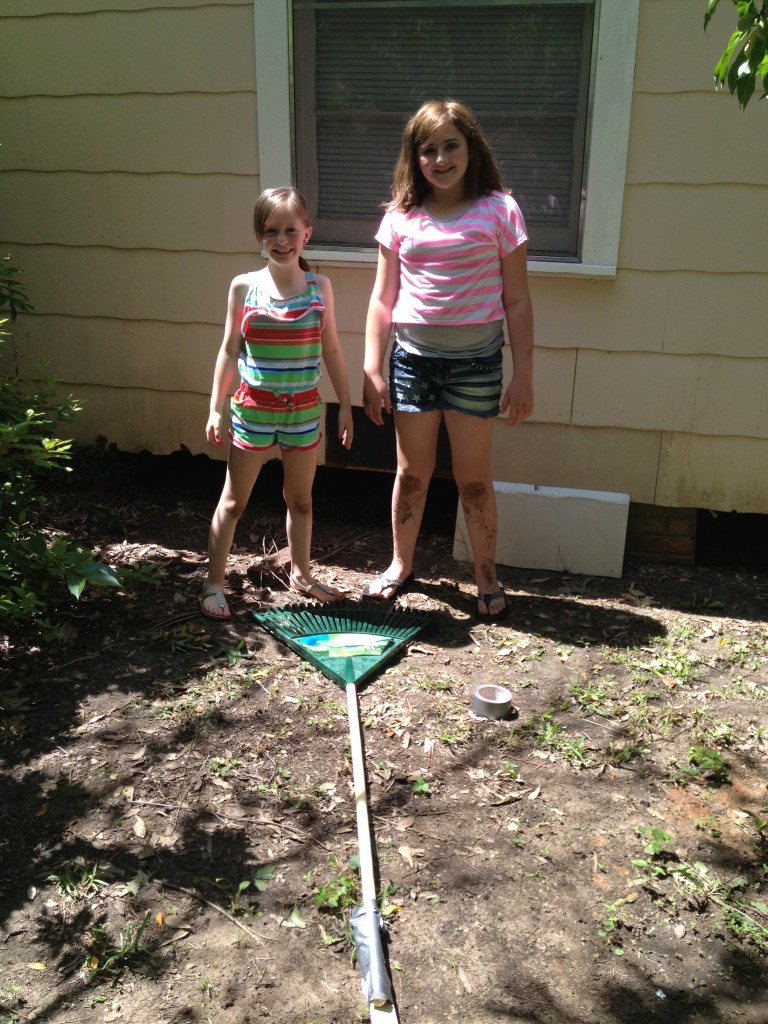
Blow out those candles!Me with the birthday boySunday was Mother’s Day, and we invited my family over for lunch. I offered to host the gathering, because I’m the only one in my family who’s not a mommy yet. Matt grilled burgers, which were delicious as usual. We all sat around a chatted for a bit. Of course, I forgot to take many pics, but I was excited about this get together, because it was our first family gathering for Matt and I to host at our home! (Again, the firsts are always special!) I did catch a picture of Dana (my oldest sister) with “check yes or no” written in the background. The girls lost a ball under the house, and I couldn’t resist a picture of their attempt to fish it out. (They taped a rake to the end of a 10′ pole!) We may have lost a piece of siding during the process, but that’s ok. Memories were made, and I have a handy husband who can fix it in no time. We enjoyed the chance to spend some time with my side of our family and are looking forward to visiting with Matt’s side of the family soon.

Me and my mommyMom's other presentMe with my oldest sisterMuddy girlsI hope everyone had as wonderful of a weekend as we did! We especially hope all of the Moms have a fantastic time (especially our moms/grandmothers…we love you all!). Now we’re off to another busy week!

You can read about some of our others “firsts” here.

Taking a Break

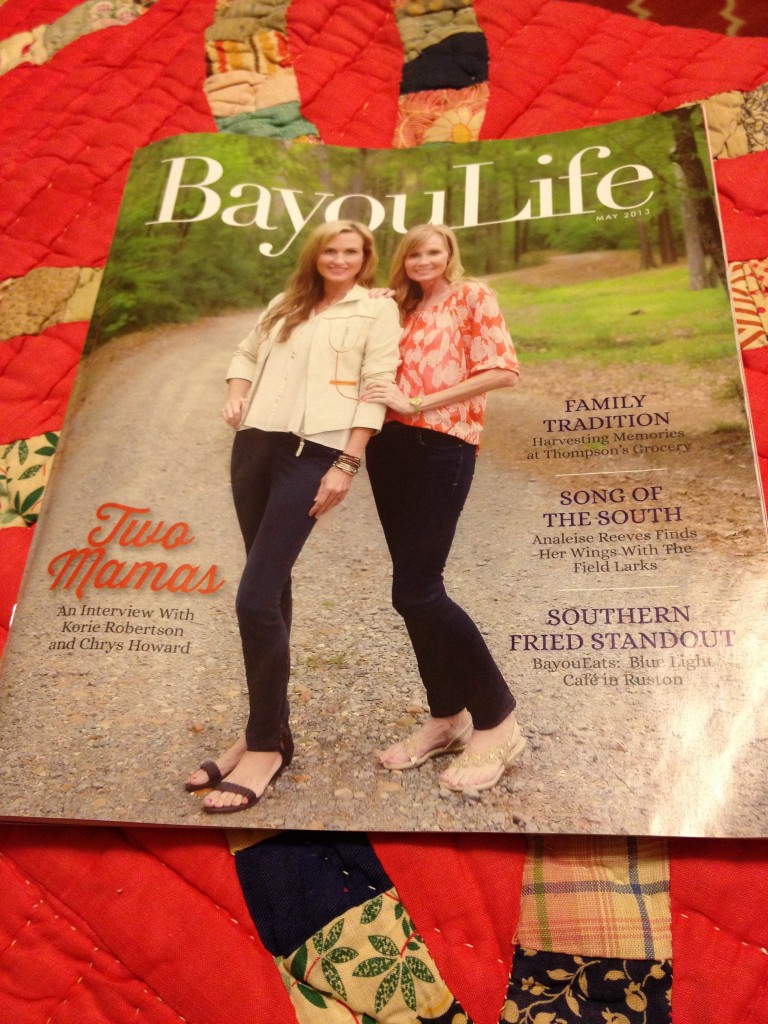
It’s almost midnight on Monday, and I’ve spent the last hour and a half working on blog posts and catching up on the latest Bayou Life Magazine.

Bayou Life Magazine w/Duck DynastyAfter a not-so-great afternoon, I spent most of the night cleaning and working on switching my closet over to spring (post coming soon). This Monday has been a pretty tough and exhausting one, and I really needed some time to stop for a bit.

When I finished the project I was working on, I decided to sit in my big, comfy chair and flip though the new magazine. To be honest, I really needed the time to wind down. All to often, I don’t give myself that opportunity, but today it was much needed.

Whatever you’re doing, be sure to give yourself a chance to check out for a bit. Whether you like to read, catch up on a TV series, or knit…it doesn’t matter. You deserve a chance to relax! Plus, taking a minute or two to wind down gives your mind the break it needs to come back refreshed and ready to go.

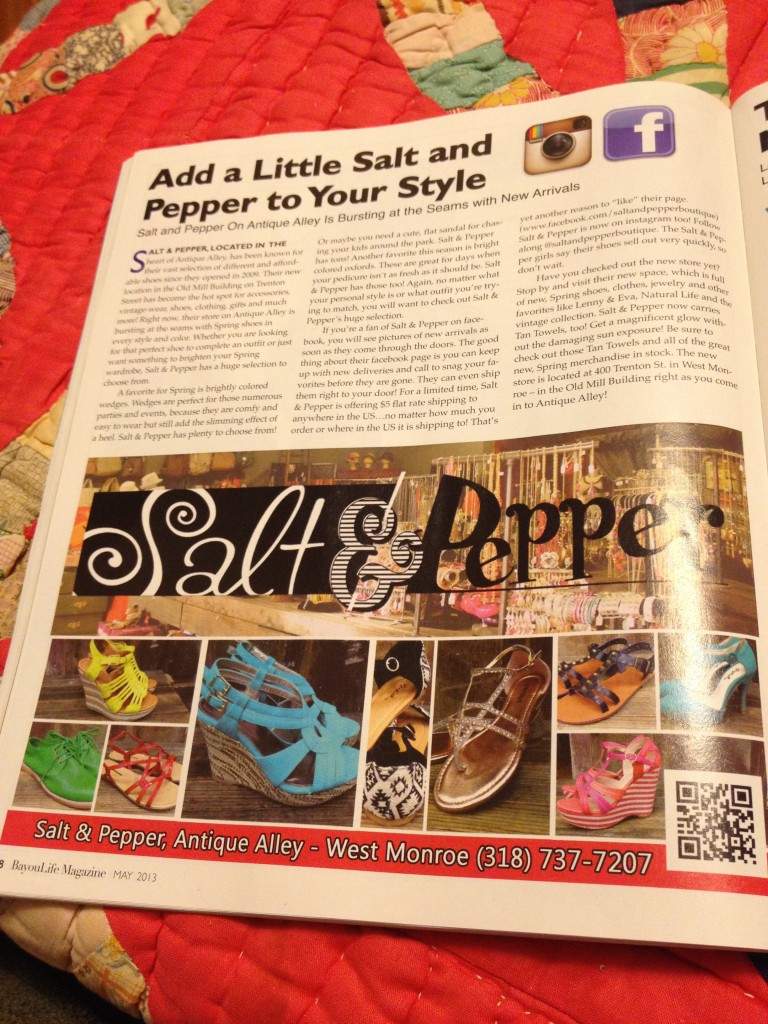
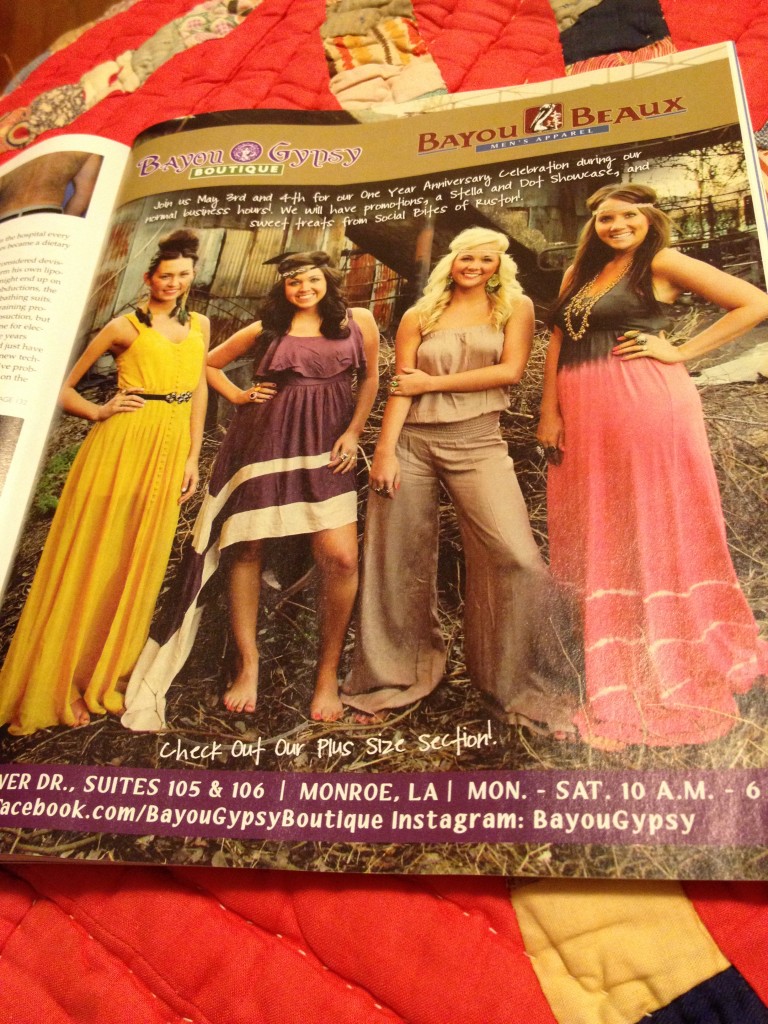
Salt & Pepper adSalt & Pepper Photo ShootBayou Gypsy AdTonight’s “time for myself” session included reading some great articles and scoping out Salt & Pepper’s presence in the magazine. Plus, be sure to notice the ad for Bayou Gypsy/Bayou Beaux. My friend, Courtney, has some precious things in her store, and you should definitely go check it out!

After taking this time for myself, I’m feeling much more capable and in charge. Here’s to hoping for a productive Tuesday!

Tuesday update: I obviously planned on posting this earlier today and didn’t. However, I still found it relevant. As a matter of a fact, I took a little extra time for myself again tonight (Tuesday). After cleaning up from dinner, I sat on the patio and painted my nails while watching the latest episode of “Nashville.” (Yes, I’m addicted!) Both my Monday & Tuesday night “breaks” have been ordinary, run-of-the-mill activities. However, they’ve both been things I don’t usually give myself the free time to do, and actually doing them has made me feel like a new person. If you haven’t planned to already, make a point to do something special for yourself this week…Pamela’s orders!

What Married People Do: Buy a car.

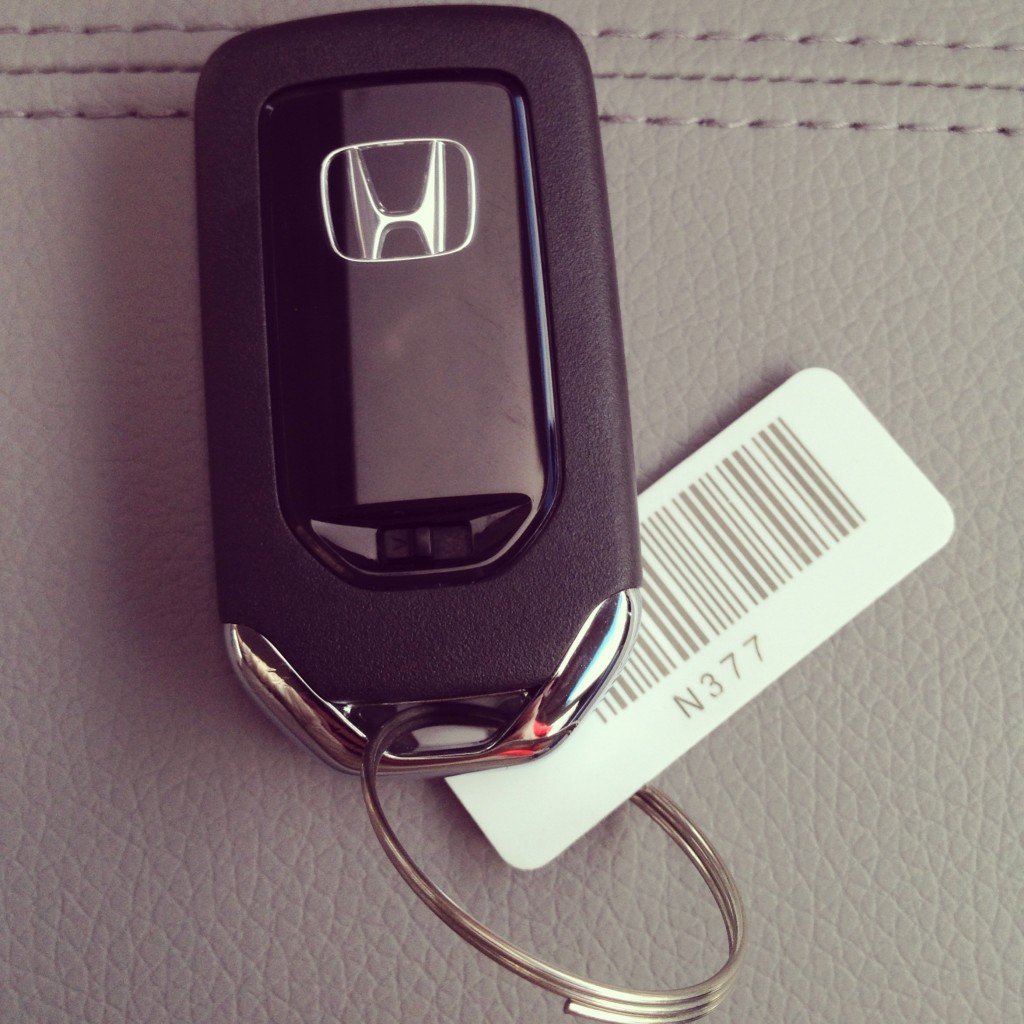
We bought a car! I’m more excited than usual over a new car, because this was mine and Matt’s first big purchase as a married couple.

Honda Accord Car KeyFunny side note: Matt has learned a very valuable lesson. At first, he didn’t understand that our first of everything was vitally important…our first Christmas, first vacation, first house…I’m obsessed with it all. In the beginning he wouldn’t get very excited about all of the little firsts here and there. After about 6 months in, he realized that I want to make a big deal of all of those things. Now, as soon as I say, “Aww…it’s our first {insert random item/holiday/experience}” – he immediately follows with, “You’re right, it’s our first {repeat random item/holiday/experience} and it’s important because all of our firsts are important.” He figured it out! On a serious note, I’m very happy that my husband will play along with my silly notions.

Matt & Pamela Buy a CarThat being said, I made quite a big deal of our car-buying process. (If you follow me on Instagram or Facebook, you already know this because I posted 3 pics of the process…more than I usually allow.) However, it felt like a huge deal to me. We had just made our first big decisions as a couple and worked amazingly together…I felt like celebrating!

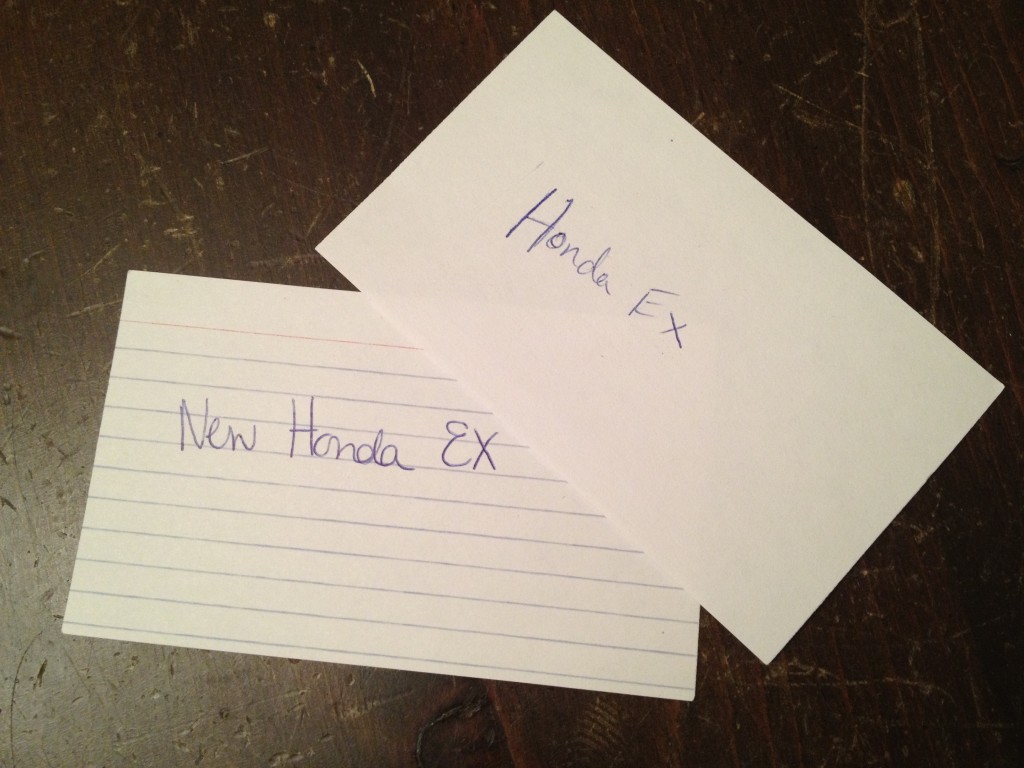
Our car-buying strategy was a tad more elaborate than most. We spent 2+ weeks analyzing different options…Accords, Altimas, Camrys. New, used, certified. Future trade in values, mpg, insurance, down payments…you name it. If it could be considered, then I guarantee we talked it through. We even had a spreadsheet…a color-coded spreadsheet at that! After analyzing the numbers to death, we finally decided to write which car we really wanted down on a note card and show each other at the same time. (That’s how all big decisions are made right??) Luckily, it was the same car!

Car notecardsWhy were we buying a new car? Matt is driving 60 miles round trip to Ruston everyday. Our original plan was for him to drive my car to school instead of his big Dodge with a whopping 16mpg. However, my 6′ tall husband didn’t fit so well into my little g6. So, we decided to buy me a slightly bigger car that he can drive on school days.

I think we knocked this one out of the park. We got a great car with awesome features (You can thumbs up/thumbs down your Pandora from the screen – my fav! Plus, it has back up & lane watch cameras.), and Matt driving it to school is going to save us a ton of money each month.

When I married my husband, one of the biggest draws was that I felt like we could work together through anything. This car-buying experience has shown me that yet again, we make an amazing team. Ladies, when you’re picking a husband, be sure it’s someone you can work through both little and big things with. And someone that you can enjoy the process of making these sorts of decisions with. It will make a huge difference in your overall happiness.

Matt & Pamela with a new Honda AccordSo here it is…the newest addition to the Petrus family – our 2013 Honda Accord EX! We love it’s long list of fun features, the crazy good gas mileage, and the fact that there’s only 3 of this color in the state of Louisiana. Plus, apparently a carseat will fit easily in the back. 🙂

A Quick & Easy Spring Wreath

It was past time for a new, spring wreath, so I finally reserved some time to throw something together. I snagged this green, berry wreath at Hobby Lobby after Christmas for less than $10. (It was $60 regular price.) Even though it was a holiday wreath, I immediately thought of spring when I saw it.

Green berry wreath

floral fabricI decided to tie on some springy, floral fabric to spruce it up a bit. To do so, I cut a small 1″ slit and then pulled both ends of the fabric to tear long strips. I could have cut the strips, but I wanted it to look tattered and irregular. Then, I just cut 4-5″ pieces from the long strips to tie to my wreath.

tearing fabric into stripsstrips of fabricfabric for wreath I also added a burlap bow and ribbon. I used a zip tie to attach the bow, because I like to be able to take bits and pieces off and reuse them for other projects. (This bow came from my January/February wreath.) To add the ribbon through the wreath, I tied one end of the ribbon to the back side and hid the knot behind the bow. After weaving it through the wreath, I tied the other end on the other side of bow and tucked it away. After securing the bow and ribbon, I tied the strips of fabric on in alternating colors to fill the empty spaces around the ribbon. Finally, I tied a piece of spare fabric for a hanger.

zip tie for bowtying ribbon to wreathfloral fabric on wreathhidden wreath hanger

New Spring Wreath!And there you have it! After hanging it on the door, I think it might look a little too much like an Easter wreath. I’ll give it a week or so of hanging there while I decide if I it needs to be reworked or not. What do you think??

Homemade Laundry Detergent: Take 2

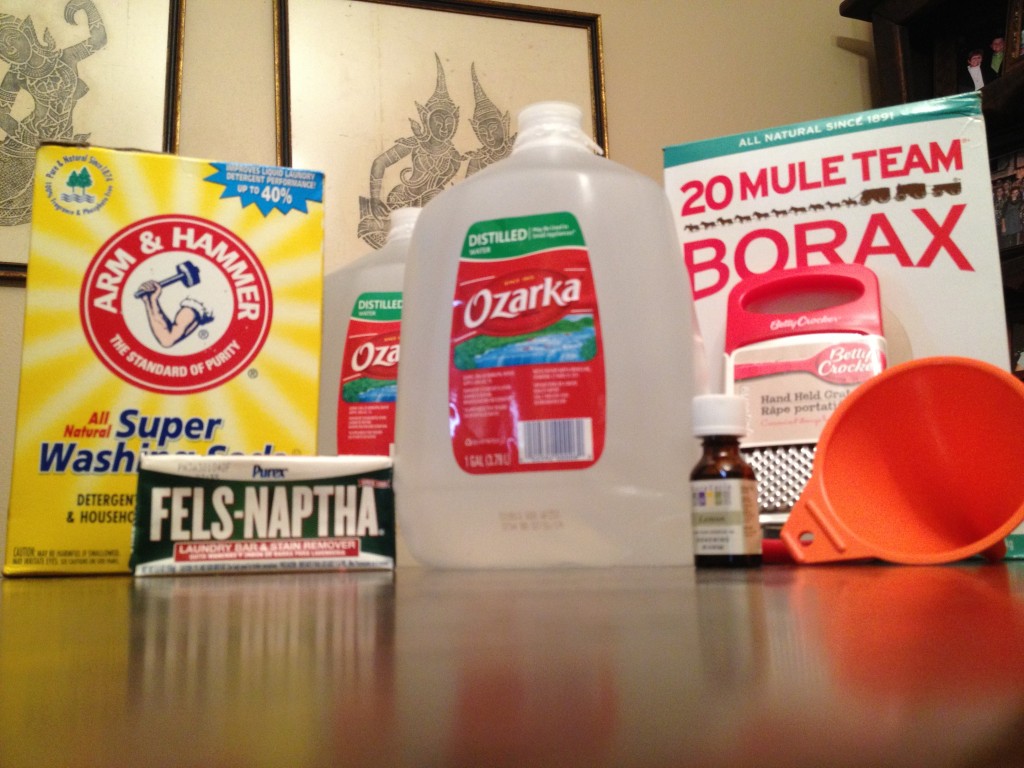
Detergent Supplies

I’ve made a few batches of this laundry soap and decided I just wasn’t crazy about it. I liked that there wasn’t any grating or cooking involved, but I just felt like it wasn’t cleaning quite enough, and it didn’t have a prominent enough smell.

I have a few version of detergent recipes pinned (Don’t we all?), so I thought I’d give another one a shot. I sort of combined this recipe with this one to create my own version. I liked the first one because it included essential oils, which I figured would make it smell good, but I didn’t want to make such a huge batch without trying it first. So, I used the second recipe and combined the Fels-naptha soap and essential oil from the first. Lets hope that was a good idea!

Here’s what I used:
3/4 bar Fels-naptha soap
1 cup Arm & Hammer washing soda
1 cup Borax
Lemon Essential oil
2 gallons water

Detergent SuppliesHere’s what I did:
Obviously, you start by gathering supplies. Sometimes people have a little trouble finding the borax. TP Outdoors carries it (and the Fels-naptha) if you’re in the area. The essential oils were equally tough to find. I finally found mine at Fiesta Nutrition. Some article suggest to not use supplies from your kitchen, so I dug a pot and grated spoon from the garage sale pile.

Grated SoapYou begin by grating your soap. I bought the Betty Crocker grater from the Dollar Tree, specifically to make this soap, but it grated the soap too finely so it was taking FOREVER! I ended up pulling my hand grater from the kitchen and using it instead. One of the recipes suggested using just half of the bar of soap, so the detergent wouldn’t be too thick. I wasn’t sure, so I went the middle of the road and used 3/4 of the bar. However, the detergent ended up being too thick for me, so I’d suggest only using 1/2 of the Fels-naptha.

Cooking soapAfter grating the soap, you add it to the pot with one gallon of water. I also read somewhere that you have better results from using distilled water, so I purchased two gallons from TP Outdoors, as well. (Turns out that distilled water makes it thicker…that may be another reason mine was too thick.)

Heat the soap and water until the soap melts. I cooked mine over medium heat. Warning: this process took much longer than I expected…approximately 10-15 minutes.

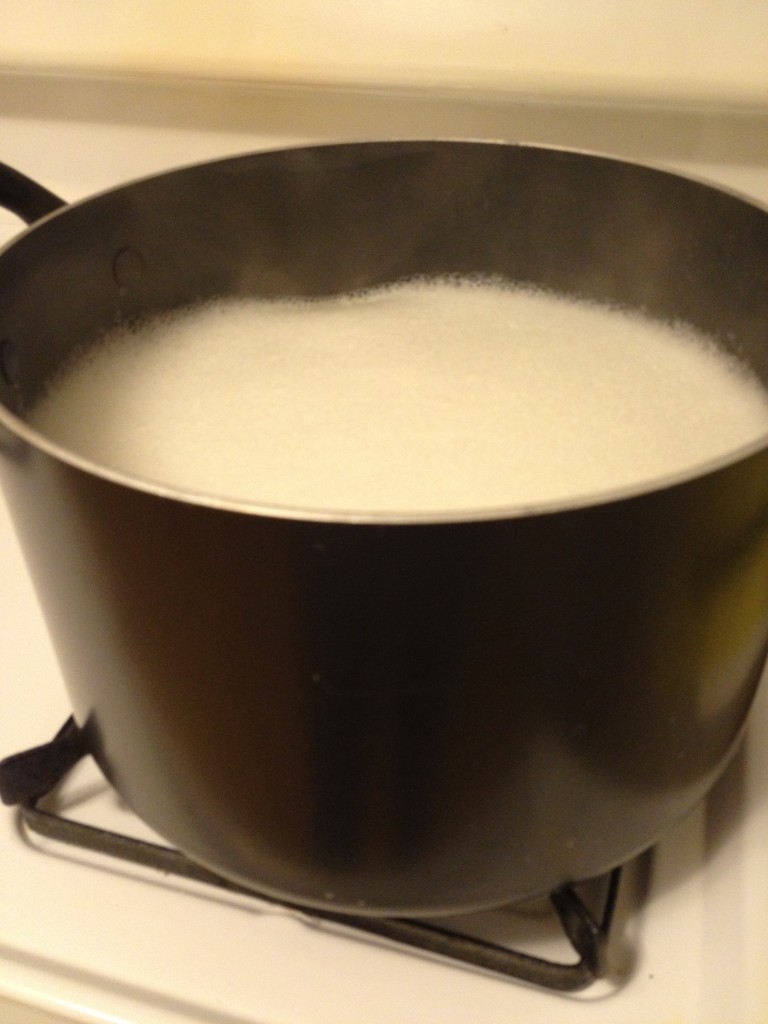
Once the soap is melted, you add in 1 cup of washing soda and 1 cup of borax. I also added 4-5 drops of lemon essential oil. (I chose lemon because I like the smell, and because they say lemon kills bacteria, etc.) Mix these ingredients together and bring to a boil. This process took much longer than I expected too. However, when it started boiling, it almost immediately started to boil over, so I’d keep a close eye on it.

Boiling laundry detergentOnce the mixture starts to boil, remove from heat and add the other gallon of cold water. (I put the second gallon in the fridge to chill earlier that morning.)

Ideally, your pot should be able to hold the 2 gallons of water so you can stir them together comfortably. Mine only held approximately 1 1/2 gallons, so I split the remaining water between the gallon jugs, stirred the mixture in my pot, poured it into the jugs, and shook vigorously to mix in the remaining water.

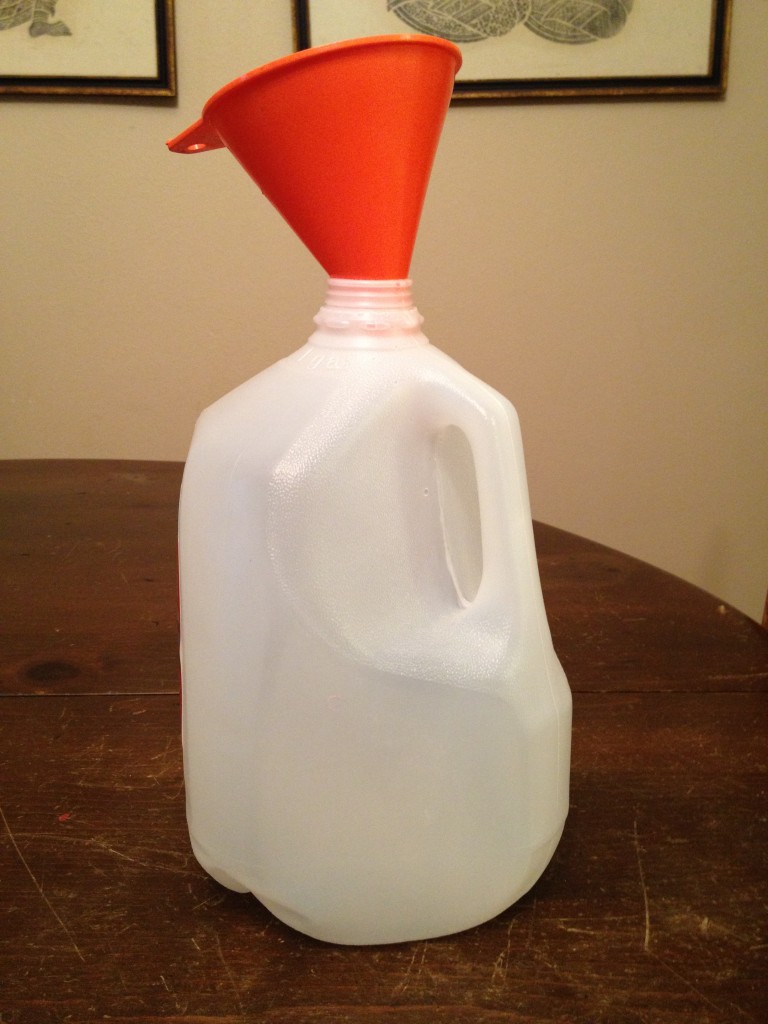
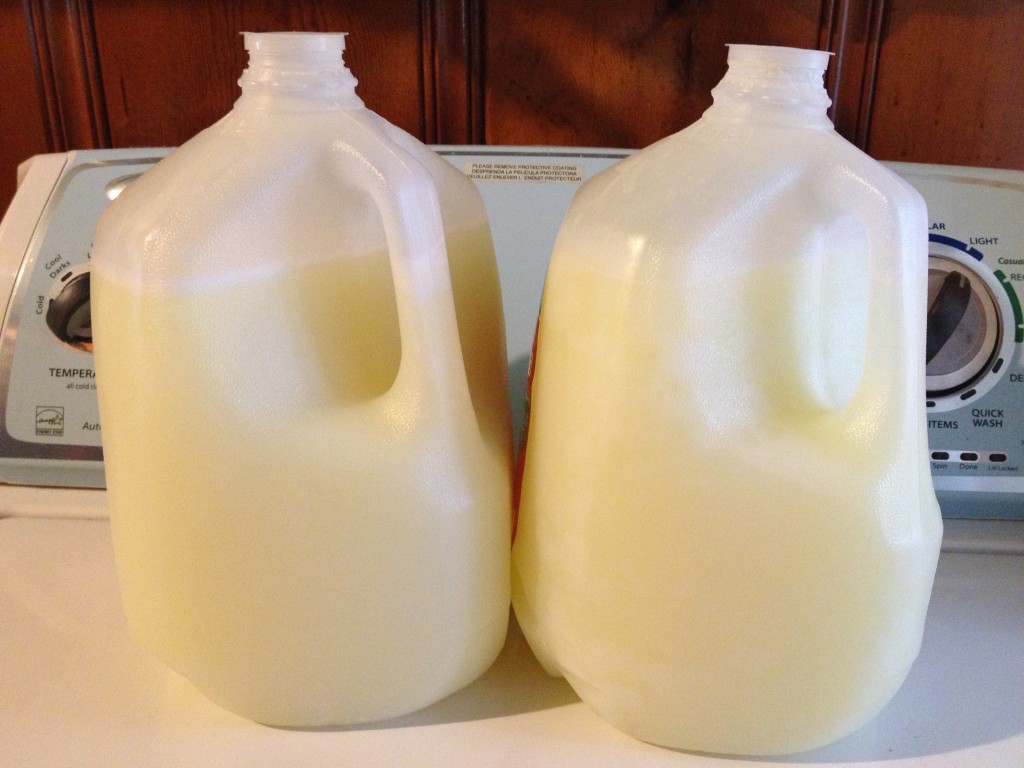
pamelapetrus (4)I saved the gallon jugs, so I used a funnel to pour the mixture back in to the jugs. You’ll want to do this over the sink. I made a huge mess and wasted a good bit! Had my pot not been so full, it would have been easier to pour.

Homemade laundry detergentSo there you have it! The process was less intensive than what I imagined, with grating the soap being the hardest part. You use 1/2 cup per load of this recipe. I am doing laundry today, so I’ll hopefully have an update soon on how well this recipe works. I really like the idea of making my own detergent, so I hope to find a recipe that I like.

If anyone has a recipe that they love, please share. Furthermore, if you try this recipe and love it or hate it, please let me know how it goes!