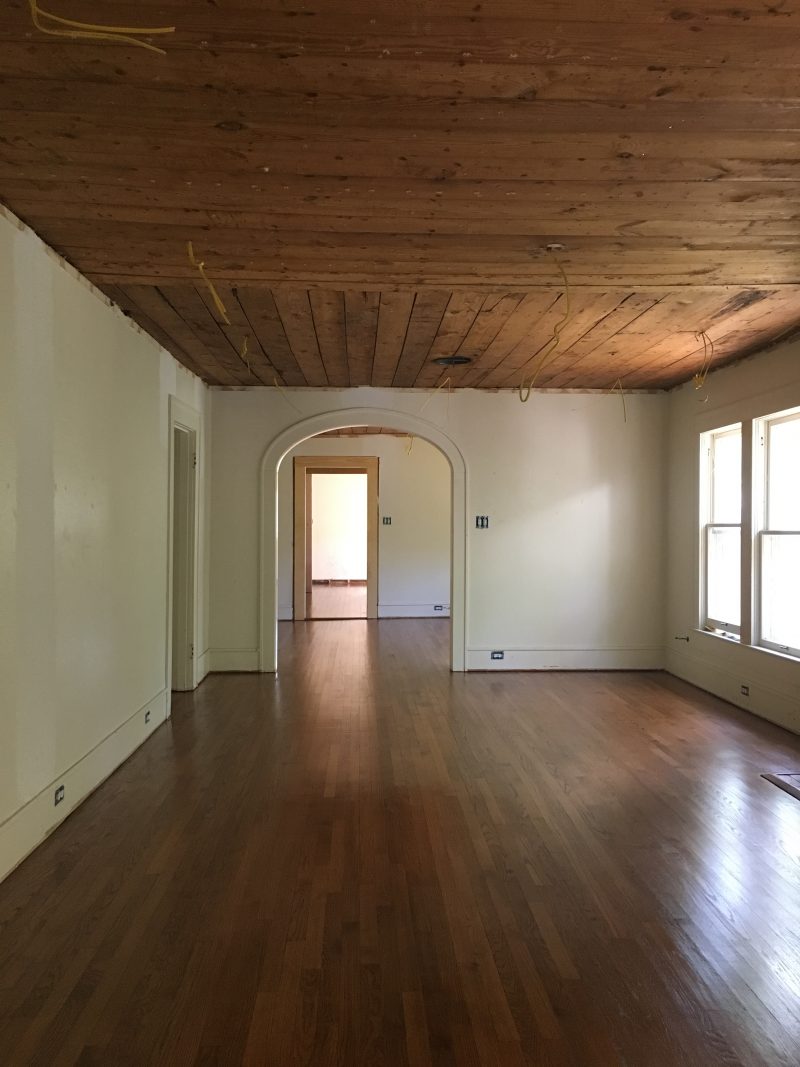
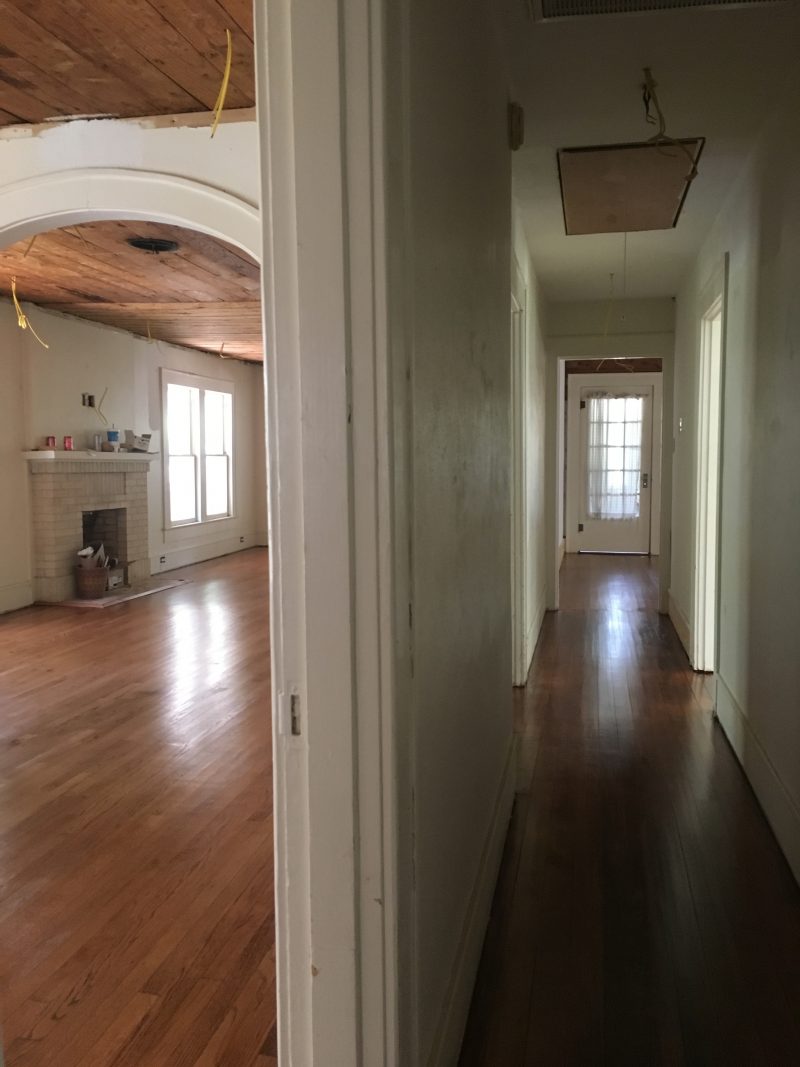
 Let’s talk flooring today. One of the selling points of this house was its original hard wood flooring that was throughout most of the house. Knowing that we could hopefully salvage these old floors both added to the house’s character and saved a big hit on the budget. For a brief moment, I thought we’d rehab those old floors ourselves and we rather quickly gave up that DIY dream!
First things first. If you’re buying an old house and the wood floors are covered with carpet, that can be a really good thing. The carpet covering could have saved years of wear on the wood. When you go to pull that carpet up though, you must be careful. A quick backstory on my house — the lady I purchased the house from had been going in and out of the hospital. By the time I had a contract on the place, her health was failing such that the process was mainly handled by a POA and a group of her friends. When the house was originally listed, there was still carpet in most of the rooms. One of the lady’s friends who helped with the estate sale, pulled back the carpet to expose the wood underneath and decided that pulling out that old carpet would help the place sell more quickly, which is likely true. What they did though, was take a box cutter and slice the carpet in big chunks going from wall to wall. In doing so, they put deep scratches in the room going from one side of the room to the other, in several places in each room. I say all of this to note — if you’re pulling up old carpet with the intention to save the underneath flooring, talk to a professional about the best way to do so. It’s very easy to unintentionally destroy something beautiful. Luckily, I’m not too worried about the floor’s imperfections. It’s a 100 year old house for goodness sakes!
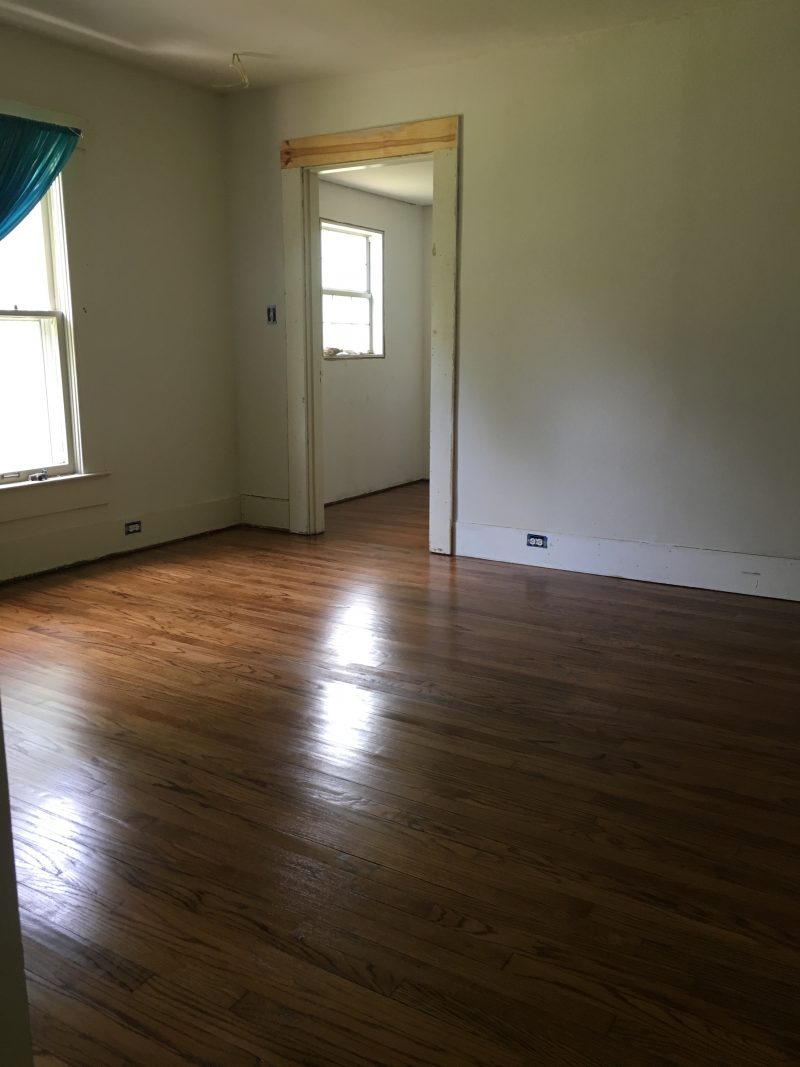
 Another big surprise with the floors was a big damaged spot in the middle bedroom. When I first looked at the home and put a contract on it, the lady’s furniture was still in place. When I came back to an empty house, I realized that a bed in the middle room had been covering an extensive amount of water damage underneath. An old leak in the hall bath had rotted out the beautiful flooring. We thought we’d be able to patch it and so much of the subfloor was rotted that it was best to start over in that room. We put down comparable flooring that was new and used what was salvageable here in the laundry room and back closet (formerly the pink bath). This room is the only room that has new flooring. The rest of the house is either what was already underneath or was pieced together from other areas. I had hoped to not put down any new wood and I’m pleased overall with only having to do this one, small room.
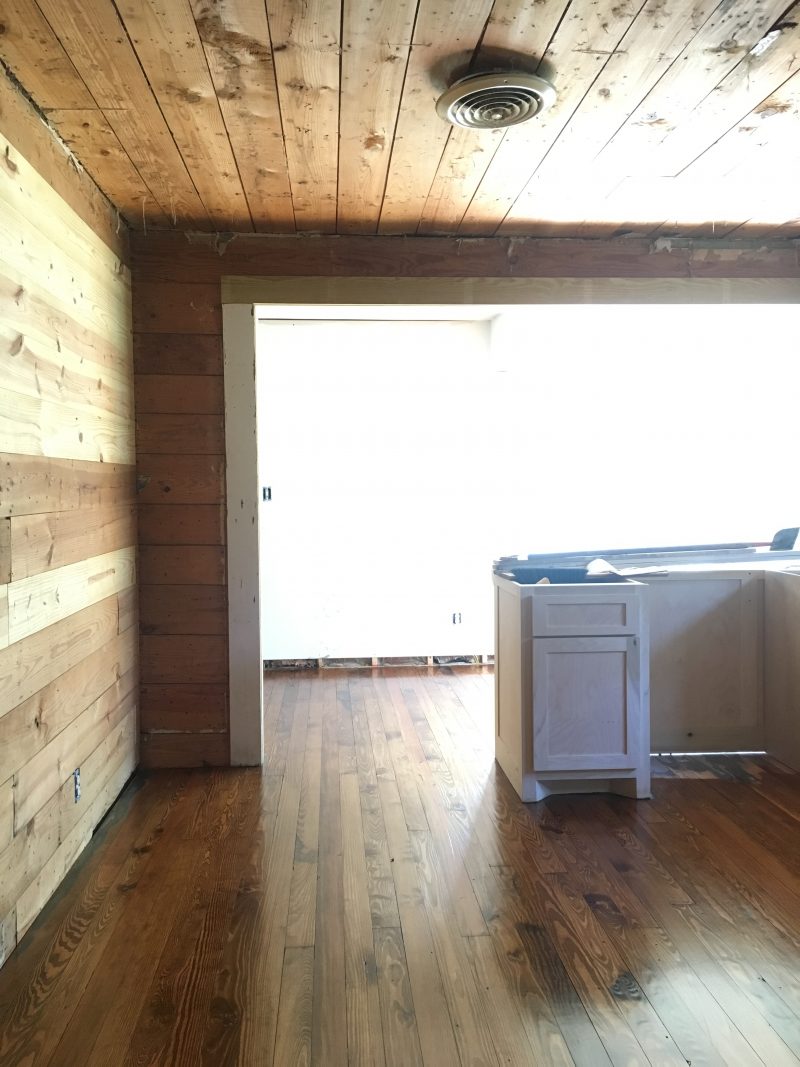
 The kitchen is also old wood. I understand that it’s a bit risky to put wood in a kitchen and I like to live on the wild side! Right now I’m putting wood floors in the kitchen. Who knows what could be next?! (Laughing to myself as I type this. Such a rebel.) The kitchen was the next biggest issue in regards to flooring. It was the most unlevel and you might remember that there was an issue with the cabinet height and saving that beautiful old sink. The short story here is that the cabinets were not standard height. They were much shorter. This meant I could not add a dishwasher. If I raised the cabinets to standard height, the tall apron on the back of that fantastic sink (one of the reasons I bought the house) wouldn’t fit underneath the window. My options were 1. Don’t use the sink. (nope) 2. Remove the windows and put in smaller/raise them. ($$$) 3. Don’t raise cabinets and therefore have no dishwasher. (also nope) 4. Figure something else out.
 One of my most endearing qualities (some will not agree with this) is that I sometimes refuse to give up. I simply wouldn’t not accept the fact that I couldn’t use the sink or that I couldn’t have a dishwasher. I “beat a dead horse” over this issue. (Side note: Is that old saying offensive?? Never thought about that before.) I went through it with everyone who came through the house, hoping for a bright idea. I googled, measured 1,000 times, and luckily for all involved, we figured something out. It turned out that there were layers upon layers of flooring and plywood in the kitchen. It seemed as if when a piece was damaged, they just laid and entirely new floor on top. When someone wanted to change the flooring, they just laid the new style on top of the old. There were 3 or 4 layers of plywood and several layers of linoleum and tile. Once all of this was removed, taking us down to the original floor, we’d redused the floor height by several inches! We were now able to make some minor alterations to the window sill, have normal-height cabinet + a dishwasher, and still use my sink!
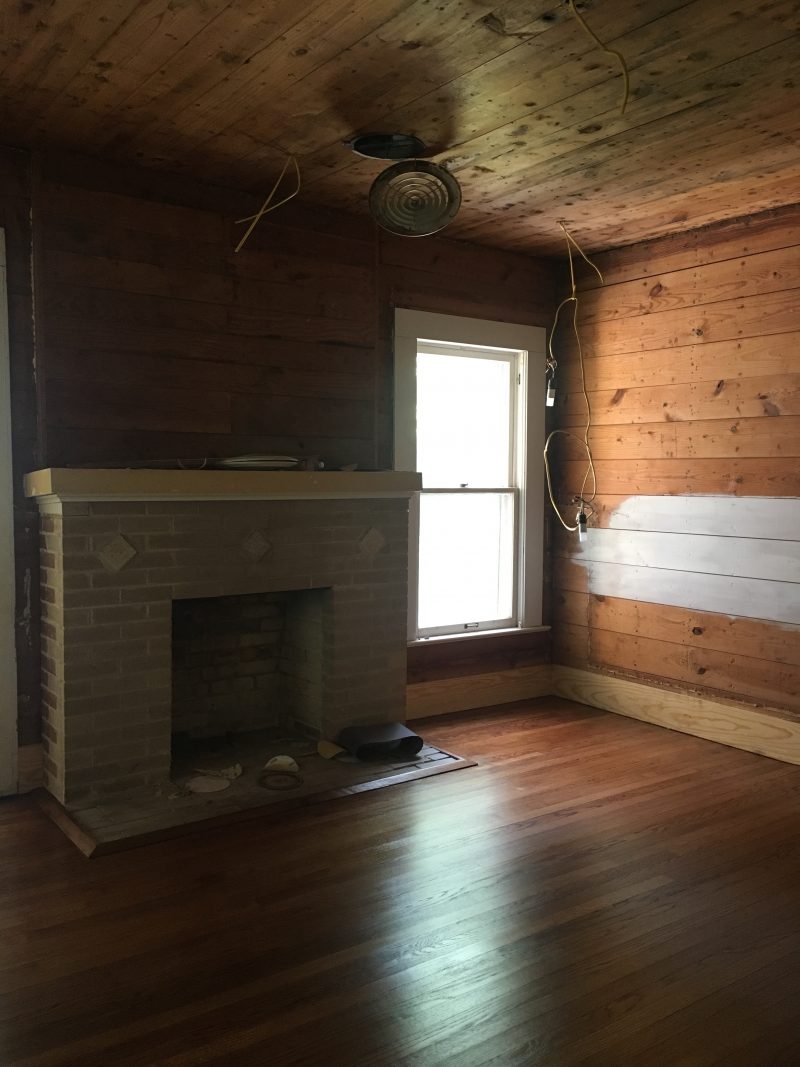
 Originally, I was going to do some sort of patterned tile in here and when we got down to the original wood, I really didn’t want to lose it. There wasn’t enough to keep the wood throughout because so much of it had been damaged. However, I work with one of the most skilled carpenters around and he was able to use what wasn’t damaged in the kitchen, paired with what was removed from the porch area to make it a bathroom. He put the flooring from the two rooms together and they matched seamlessly! It truly looked fantastic. Except what was in the kitchen was covered with this weird tar/epoxy from old tile being used down and the wood from the porch area had at least three colors of blue paint and no telling how many layers of each color. This sanding nightmare is precisely what made us give up on sanding the floors ourselves.
Now you know way more about my new/old wood floors than you probably cared to! The short story is that I’m so glad we were able to save them and I’m thrilled with how they turned out, imperfections and all! This also means we’re in the home stretch with the project so hopefully we’ll be gearing up for the party of a century very soon. And you’re all invited!


One thought on “All About the Original Wood Floors”